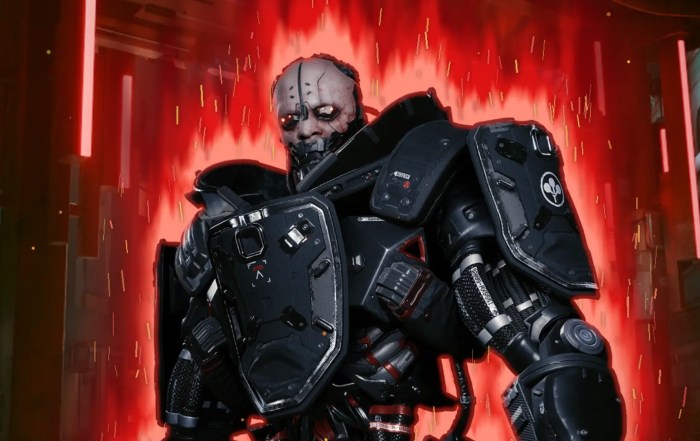


Welcome to the best Johnny Silverhand Build for Cyberpunk 2077 (Patch 2.31). Johnny is the infamous rockerboy and madman stuck in V’s head for the entire campaign. His lore stats are pretty mid, so we’re chroming him out with every piece of cyberware we can get our hands on to juice him up.
The Johnny Silverhand Build pairs the Malorian Arms 3516, Gorilla Arms and a pile of explosives to play as the rockerboy himself in Cyberpunk 2077.
Table of Contents for the Johnny Silverhand Build:
- Build Overview
- Attributes
- Perks (Skills)
- Cyberware
- Weapons
- Gear (Johnny’s Outfit)
- Skill Progression
- Leveling Tips
Strengths and Weaknesses list for the Johnny Silverhand Build:
Strengths
Weaknesses
Cyberpunk 2077 Johnny Silverhand Build Overview

This Cyberpunk 2077: Johnny Silverhand Build is built around his Malorian Arms 3516, backed by Gorilla Arms as the closest thing V can get to Johnny’s silver arm. Johnny doesn’t run a Sandevistan in 2077, so the Operating System slot goes to the Chrome Compressor for raw Cyberware Capacity instead.
Attributes – Johnny Silverhand Build
Distributing Attributes correctly for the Johnny Silverhand Build is important. Attributes delegate the direction of the build and give access to different tiers of perks depending on how many points you invest in each category.
The Cyberpunk 2077 Johnny Silverhand Build’s Attributes are spread out between  Body,
Body,  Cool,
Cool,  Technical Ability, and
  Reflexes.
  Intelligence stays at 3, because Johnny is definitely not the brightest bulb in the game.
Johnny Silverhand Start Attributes
At the start of the game, select the following Attribute allocation to give us the optimal start for the Johnny Silverhand Build in Cyberpunk 2077.
| Attribute | Points | Description |
|---|---|---|
|
|
None |
|
|
Technical Ability |
+2 |
|
|
Reflexes |
+1 |
|
|
Cool |
+1 |
|
|
Body |
+3 |
|
Max Level Attributes

At max level, you want to have the following distribution of Attributes for the Johnny Silverhand Build in Cyberpunk 2077.
 20 Body
- 20 Cool
- 20 Technical Ability
- 18 Reflexes
- 3 Intelligence
Perks – Johnny Silverhand Build Cyberpunk 2077
In this section of the Cyberpunk 2077 Johnny Silverhand Build, I will explain the perks that we use for each attribute.
Perk Points: To get perk points, you can either simply level up or farm Perk Shards. Read our guide on all 13 Perk Shard Locations in Cyberpunk 2077, with map locations, screenshots, and the nearest fast travel point for each shard.
Spare Points: The bold perks are the core of the build, so pick them up before the non-bold ones.
Body Perks
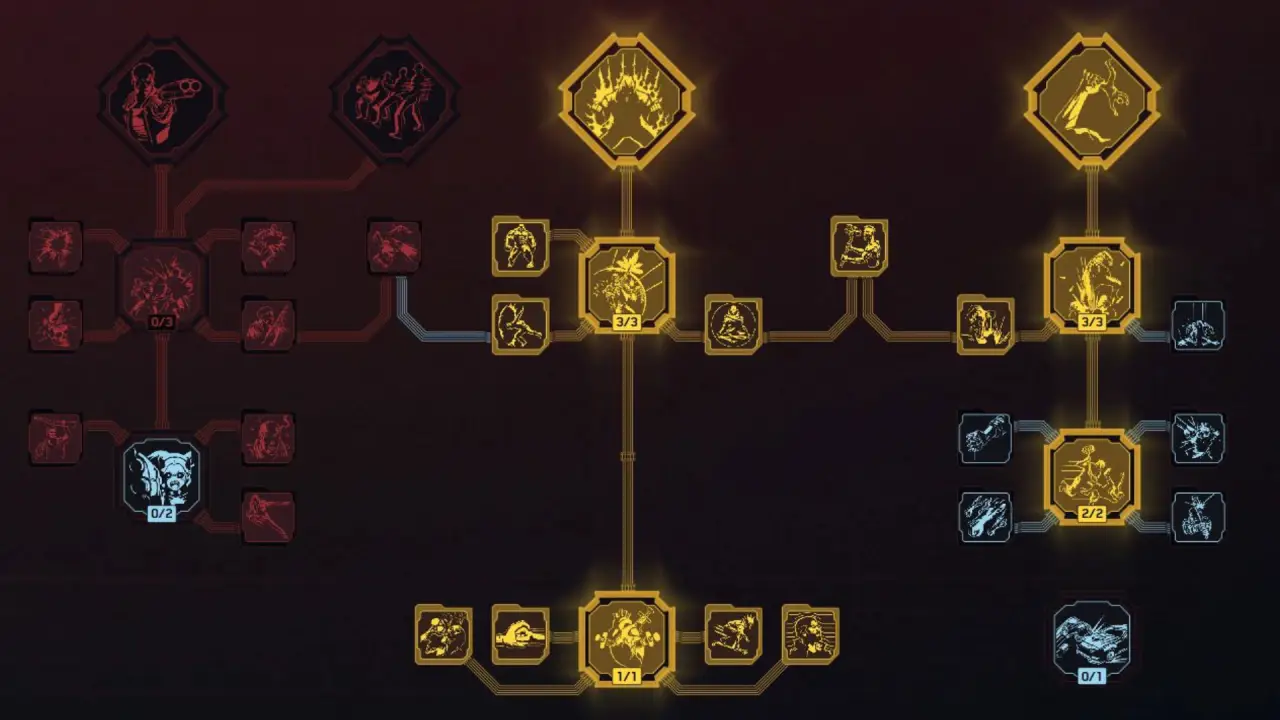
The Body Perk-Tree does two jobs here. The middle is health regen and Adrenaline Rush, and the right side is Blunt Weapons, which is what the Gorilla Arms scale with. Max it out to 20.
Perk Prioritization: Prioritize perks in bold.
Level 4 Perks
The whole health regen row. These stack with each other and carry the build’s sustain.
| Perk | Description |
|---|---|

|
Unlocks passive health regeneration during combat. The foundation everything else multiplies. |

|
The lower your health, the faster you regenerate. |

|
More health regen while sprinting. |

|
+10% health regen rate for each nearby enemy. |

|
A burst of mitigation chance right after using a health item. Works with the regular health items and the Biomonitor auto-heal. |
Level 9 Perks
One perk, and it opens the Blunt Weapon branch for the Gorilla Arms.
| Perk | Description |
|---|---|

|
-15% stamina cost for Blunt Weapon attacks, then lets you barrel into enemies while sprinting and blocking, dealing damage with a chance to knock them down. Barreling through a room with Gorilla Arms is hilarious on its own, and it gates the rest of the branch. |
Level 15 Perks
The big tier. Adrenaline Rush in the middle, Quake and its follow-ups on the right.
| Perk | Description |
|---|---|

|
+35 max health, +20% to all health regen, then Adrenaline Rush itself. Health items also grant Adrenaline worth up to 50% of your max health, which soaks damage as a separate bar. |

|
Adds a 3 second delay before Adrenaline starts decaying. It also connects across to Ripple Effect on the Blunt Weapon side. |

|
Immunity to knockdown, blinding and movement penalties while Adrenaline Rush is active. |

|
+20% movement speed and +10% damage while Adrenaline Rush is active. |

|
Another -15% blunt stamina cost, +20% blunt attack speed, then the ground slam. Leap into the air and smash down to damage and stagger everything nearby, with a chance to knock them down. 10 second cooldown. |

|
+30 stamina for every enemy hit by Quake. Pays for the attack that follows it. |

|
+15% health for every enemy hit by Quake. It sits between the two branches and needs both Calm Mind and Quake, which is why we take Calm Mind. |
Level 20 Perks
Body is at 20, so we take two capstones.
| Perk | Description |
|---|---|

|
Unlocks a Blunt Weapon Finisher that restores 200% health. Hold the button instead and you pick the enemy up and throw them, killing them and damaging whatever they land on. The single most Johnny thing in the game. |

|
+20% Health Item recharge after neutralizing an enemy while Adrenaline Rush is active, so your heals come back faster. |
Cool Perks
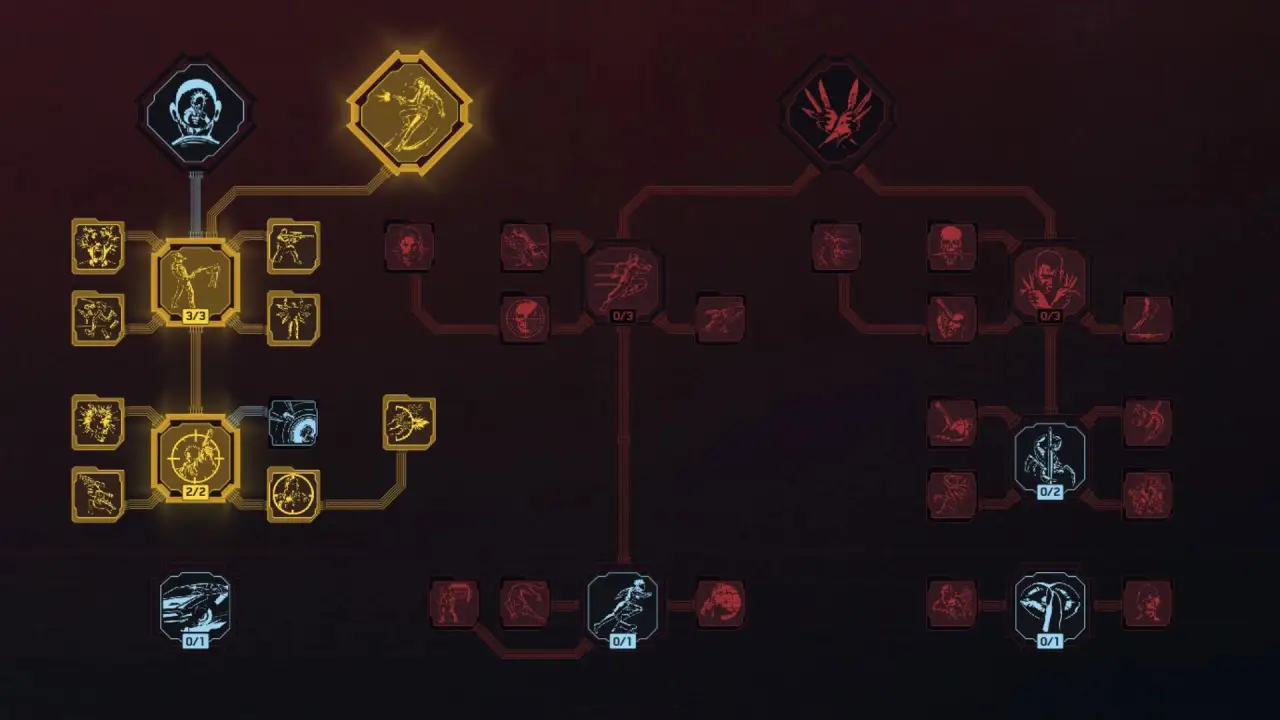
The Cool Perk-Tree is where the Malorian gets its damage. The left side covers Pistols, Revolvers, Precision Rifles and Sniper Rifles. Max it out to 20 for the capstone.
Perk Prioritization: Prioritize perks in bold.
Level 4 Perks
We don’t use any level 4 perks. The stealth side of this tree is not Johnny’s style.
Level 9 Perks
Focus is the entry point, and this build takes the whole row including Deep Breath.
| Perk | Description |
|---|---|

|
+10% headshot and weak spot damage, then Focus mode, which activates automatically when you aim at full stamina. While active, shooting costs no stamina. |

|
Reduces the stamina cost of Focus for each enemy you neutralize while it is active. |

|
Faster reloads after a kill while aiming, stacking twice. |

|
Neutralizing an enemy with a ranged attack while Focus is active resets its duration. Also required for Deep Breath. |

|
Slows time by 25% for you and your enemies while Focus is active. This build has no Sandevistan, so this is your only slow motion. Take your time and line up headshots. |
Level 15 Perks
Deadeye and the perks that keep it running.
| Perk | Description |
|---|---|

|
+10% headshot and weak spot damage, reduced stamina cost for shooting, then Deadeye mode whenever you are above 85% stamina: +20% headshot damage, +20% weak spot damage and no bullet spread. With Focus active you are basically always above the threshold. |

|
Restores stamina after a ranged headshot or weak spot kill, which keeps Deadeye up. |

|
While Deadeye is active, a headshot or weak spot kill grants a fast reload and slows time during it. |
|
While Deadeye is active your shots deal full damage at any range. |

|
Faster weapon swaps to pistols and revolvers, plus stamina when swapping in combat. |
Level 20 Perks
Cool is at 20, so we take the pistol capstone.
| Perk | Description |
|---|---|

|
Hip-firing costs no stamina, and you move much faster while Focus is active. Not strictly necessary, but it fits Johnny perfectly. You are running around fast and firing from the hip anyway. |
Technical Ability Perks
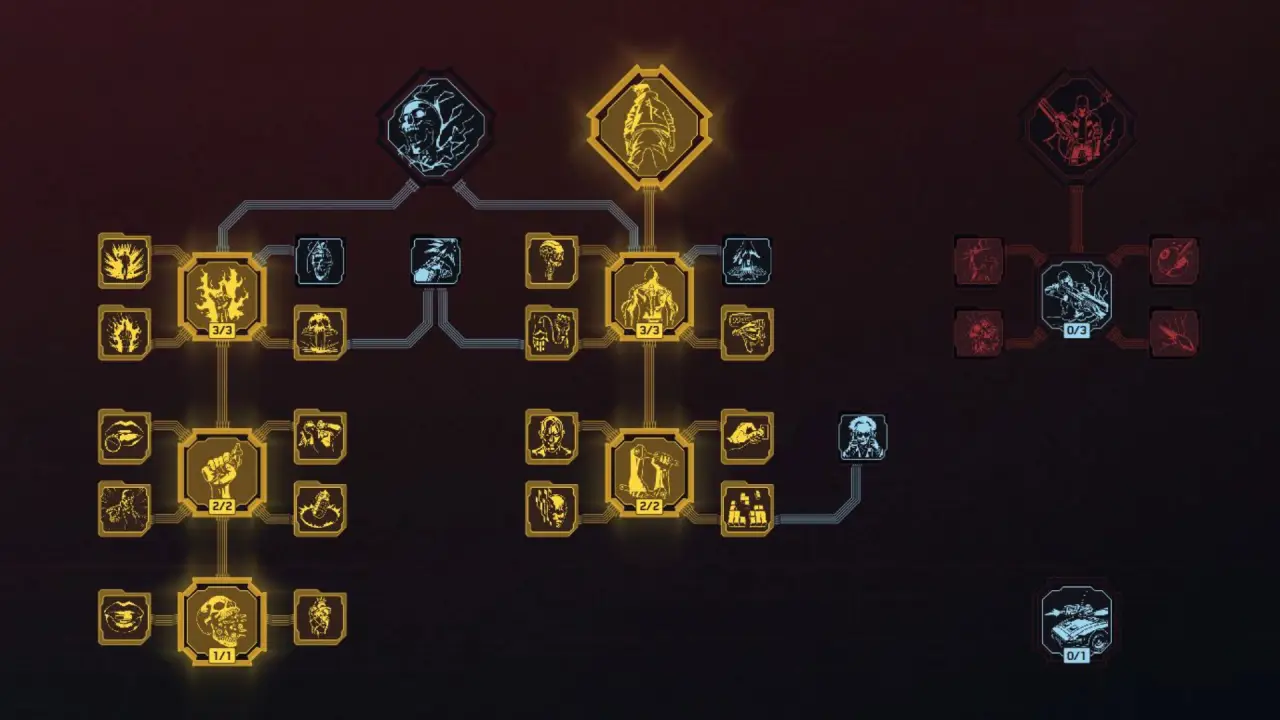
The Technical Ability Perk-Tree is fully used in this build. The middle is Cyberware scaling, and the left side covers health items and grenades, which is where a lot of this build’s staying power comes from.
Perk Prioritization: Prioritize perks in bold.
Level 4 Perks
The whole bottom row on the left. These feed your health items and gate Pyromania further up.
| Perk | Description |
|---|---|

|
An extra Health Item charge and faster out of combat recharge. Required for everything above it. |

|
+15% Health Item recharge speed when you have only used one charge. |

|
+30% health from the final charge of your Health Item. |
Level 9 Perks
Cyberware scaling in the middle, more health item and grenade support on the left.
| Perk | Description |
|---|---|

|
+10% to all cyberware stat modifiers and -20% Cyberware Capacity cost for Integumentary System and Skeleton chrome. Max it out. |

|
Adds a secondary stat modifier to all cyberware. |

|
+4 Cyberware Capacity for every Attribute above the threshold. |

|
Another Health Item charge and better healing. Max it out, and it gates Pyromania. |

|
Reduces incoming damage by 5% while your Integumentary System and Skeleton slots are full. |

|
More crafting components from looting. |

|
Health Items restore more health and recharge faster. |

|
Instantly recharges a Health Item charge on a kill when you are low and out of charges. |

|
+50% grenade recharge speed when you have no charges left. |

|
+1 grenade charge and much faster out of combat recharge. |
Level 15 Perks
Cyberware slots in the middle, and the explosives payoff on the left.
| Perk | Description |
|---|---|

|
Max this out. Hitting an enemy with an explosion grants +5% movement speed and +10% explosion damage for 12 seconds, stacking five times. Taking damage from your own explosion adds two stacks instead of one, which is very Johnny. |

|
At five stacks of Pyromania, they are consumed to replenish a grenade charge while the bonuses stay up. |

|
Increased resistance to your own grenades. You will need it. |

|
Mitigation chance per stack of Pyromania. |

|
+10% to all cyberware stat modifiers, +40 armor and an extra Skeleton slot. Max it out. |

|
Unlocks an extra Hands cyberware slot. |

|
Reduces cyberware cooldowns by 15% when all available slots are filled. |

|
+15% duration for active cyberware effects. |
Tip: when you go to upgrade cyberware, temporarily swap Lucky Day for Chipware Connoisseur. It gives you two stat modifier options instead of one when upgrading anything Tier 3 and above. Swap back when you are done.
Skip: Built Different is not needed, since this build does not use the Cellular Adapter.
Level 20 Perks
One capstone.
| Perk | Description |
|---|---|

|
Lets you exceed Cyberware Capacity by up to 50 points at 0.5% max health per point. Kills then have a chance to trigger Fury: +10% damage, +30% crit chance and +50% crit damage. Mild cyberpsychosis, which Johnny would approve of. |
Reflexes Perks

The Reflexes Perk-Tree sits at 18 and is purely movement tech, all in the middle path. Johnny canonically cannot dash through the air, but this is V’s body, so we may as well use it.
Perk Prioritization: Prioritize perks in bold.
Level 4 Perks
The whole bottom row of the middle path. Slippery unlocks the rest, and the other four make moving and shooting at the same time seamless.
| Perk | Description |
|---|---|

|
The faster you move, the harder you are to hit. Required for everything above it. |

|
Lets you shoot while sprinting, sliding and vaulting. Johnny never stops moving, and neither does his pistol. |

|
Lets you reload while sprinting, sliding and vaulting. |

|
Longer slides. |

|
Faster vaulting and climbing. |
Level 9 Perks
Dash and the perks around it.
| Perk | Description |
|---|---|

|
Rank 1 cuts dash stamina cost, rank 2 unlocks the Dash itself. |

|
Lets you shoot while dashing, so the Malorian keeps firing mid-dash. |

|
+100% mitigation chance while dashing. |

|
Restores 40% stamina when you neutralize an enemy while dashing. |

|
+100% dash range toward enemies. Handy for closing in for a Gorilla Arms hit or a Savage Sling finisher. |
Level 15 Perks
The Air Dash line is the reason to spend points in this tree at all.
| Perk | Description |
|---|---|

|
Lower dash stamina cost, +20% dash speed and the ability to dash in midair. Pair it with Reinforced Tendons if you prefer the double jump over Leeroy Ligament System. |

|
Better midair maneuverability. |

|
Much higher mitigation strength while in midair. |
Level 20 Perks
We don’t use any level 20 perks. Reflexes sits at 18.
Intelligence Perks
We leave Intelligence at 3 and spend nothing here. Johnny isn’t exactly the smartest guy, so let’s leave that lore-accurate.
Relic Perks (Phantom Liberty DLC)
 Relic Perks (Phantom Liberty DLC)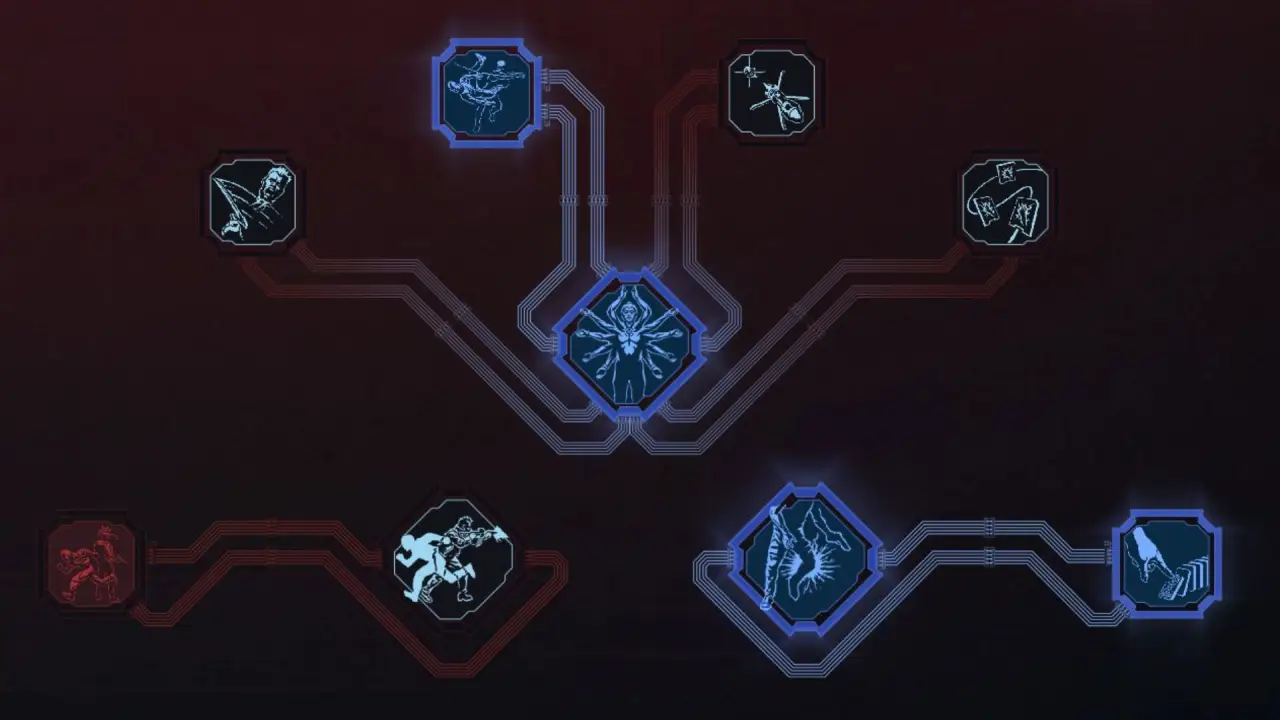
The Relic skill tree only exists if you own Phantom Liberty. You unlock Relic points by finding Relic Data Terminals in Dogtown, which appear on your map as you explore the district.
There are only a few perks here worth taking.
Relic Perks
| Perk | Description |
|---|---|

|
Lets you shoot Vulnerabilities on enemies, which gives 100% crit chance, +25% armor penetration and weak spot damage bonuses. Destroying one sets off an EMP blast that damages nearby enemies. Max this out first. |

|
Destroying a Vulnerability makes new ones appear more often and grants crit damage against them, stacking five times. |

|
Unlocks new abilities for all Arm cyberware. The Gorilla Arms can now be charged up for a massive strike with a shockwave that staggers nearby enemies. |

|
The shockwave from a charged Gorilla Arms attack now knocks down every enemy in range. |
Cyberware for the Johnny Silverhand Build in Cyberpunk 2077
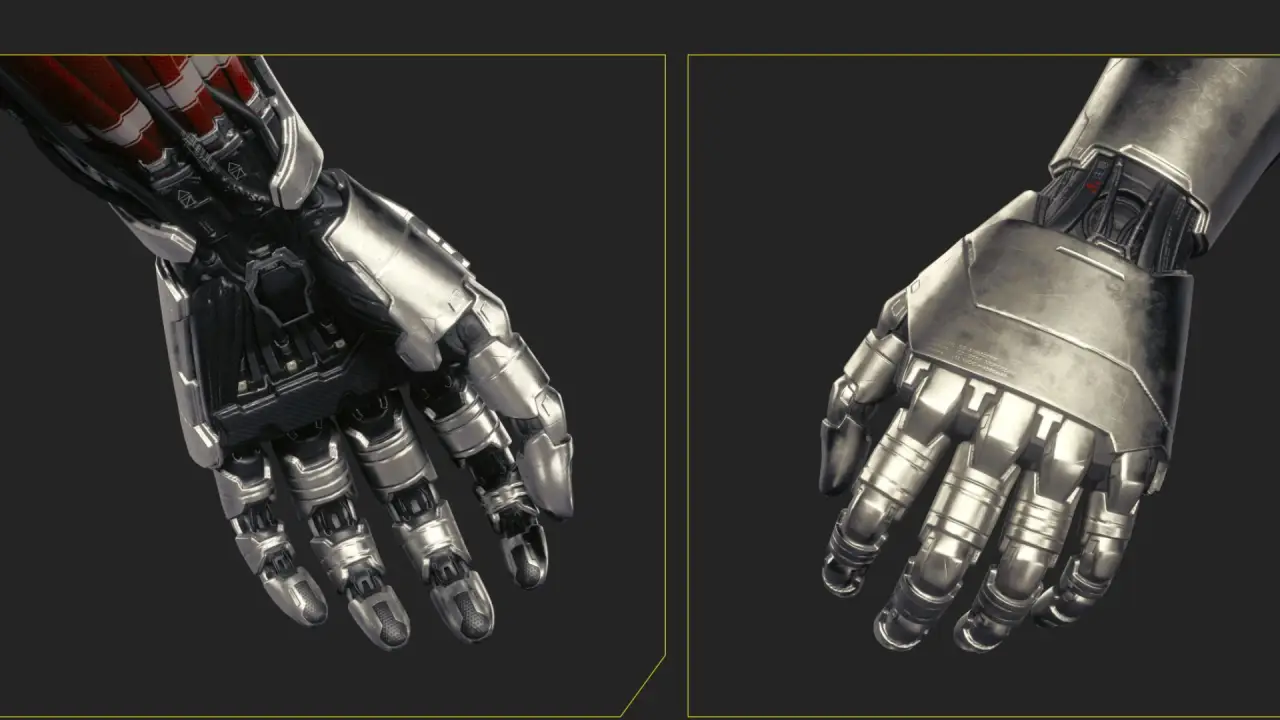
Using the right Cyberware for the Cyberpunk 2077: Johnny Silverhand Build matters. Some of it can be swapped around, but this is the setup I found most effective. The key is the Chrome Compressor: since Johnny runs no Sandevistan, Berserk or Cyberdeck in 2077, that slot becomes pure capacity for iconic chrome everywhere else.
Important: Priority Cyberware is marked in bold.
- Operating System
- Frontal Cortex
- Face
- Arms
- Hands
- Skeleton
- Nervous System
- Circulatory System
- Integumentary System
- Legs
Operating System
| Cyberware | Description |
|---|---|

|
|
Location of items:
- Chrome Compressor: Sold by Ripperdocs across Night City, with availability scaling to your level and Street Cred.
Frontal Cortex
| Cyberware | Description |
|---|---|
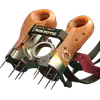
|
Negates an incoming enemy quickhack. Very useful against netrunners, since it simply shuts the hack down. |
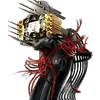
|
Increased damage to drones, robots, mechs and turrets. |
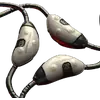
|
Cuts all cyberware cooldowns a little on every kill. Mostly here to fill the slot for Cyborg, since the rest of the Frontal Cortex options are built for Cyberdecks. |
Note: The iconic version of the Newton Module, the Axolotl, and the Quantum Tuner are both cooldown implants. This build has almost no cooldowns to speed up, so they are not worth the capacity.
Location of items:
- Self-ICE: Ripperdoc, level 20
- Mechatronic Core: Ripperdoc, level 10
- Newton Module: Any Ripperdoc.
Face
| Cyberware | Description |
|---|---|

|
Flat +35% Crit Chance. Highlighting cameras and turrets is not really Johnny’s style, so we just take the damage. |
Location of items:
- Kiroshi “Cockatrice” Optics: Iconic, Dogtown Ripperdoc, level 35
Arms
| Cyberware | Description |
|---|---|

|
|
Location of items:
- Gorilla Arms: Any Ripperdoc upon reaching level 10.
Hands
| Cyberware | Description |
|---|---|

|
The Arasaka logo with a few of Johnny’s own touches. It’s pure roleplay and doesn’t cost any capacity. You can swap it out if you want. |
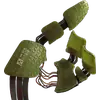
|
Iconic. -33% recoil and -25% bullet spread, and it automatically activates ranged weapon effects that normally only trigger behind cover. |
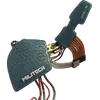
|
Simple recoil reduction for the second Hands slot. |
Recoil is already low on this build thanks to the Cool perks, so the tattoo is an easy flavor pick. Ambidextrous from Technical Ability gives you the second slot, so you can run both.
Location of items:
- Tattoo: Johnny’s Special: Obtained during the quest Chippin’ In, if you choose it.
- Immovable Force: Iconic, Dogtown Ripperdocs (Phantom Liberty DLC), also found in Dogtown airdrops.
- Shock Absorber: Ripperdoc, level 10
Skeleton
| Cyberware | Description |
|---|---|
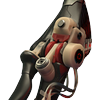
|
A solid chunk of armor for very little Cyberware Capacity. |

|
A large percentage increase to your maximum health. |

|
A percentage bonus to your armor. Swap in the iconic version, Rara Avis, for roughly +37% armor if you have the capacity. |
License to Chrome gives you the third Skeleton slot, which is how all three fit at once.
Location of items:
- Bionic Joints: Any Ripperdoc upon reaching level 10.
- Epimorphic Skeleton: Any Ripperdoc upon reaching level 30.
- Para Bellum: Any Ripperdoc upon reaching level 20.
- Rara Avis: Iconic, Dogtown Ripperdocs (Phantom Liberty DLC), also found in Dogtown airdrops.
Nervous System
| Cyberware | Description |
|---|---|
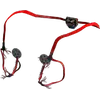
|
Iconic. Crit Chance increases the farther you are from the enemy, up to +100% at 100 m. With a pistol build you are rarely nose to nose, so this is close to free crit chance at any real distance. |
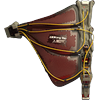
|
Increased Mitigation Chance and Mitigation Strength, so you simply take less damage. |
|
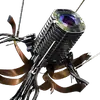
Iconic. +30% movement speed for up to a full minute when entering combat. The regular Adrenaline Converter gives more speed for a much shorter window. |
Location of items:
- Deep-field Visual Interface: Iconic, Dogtown Ripperdoc (Phantom Liberty DLC).
- Neofiber: Any Ripperdoc upon reaching level 20.
- Adreno-Trigger: Iconic, Dogtown Ripperdoc, level 35
Circulatory System
| Cyberware | Description |
|---|---|
|
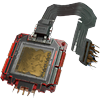
Automatically uses your health item when your health drops below the threshold. No fumbling for the heal button in a heavy fight, which matters a lot since this build has no Sandevistan to buy time. |
|
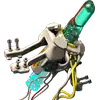
Restores health on every kill. Simple and always useful. |

|
Reduces the stamina cost of shooting, and its Body attunement adds health on top. Helps keep you above the Deadeye threshold. |
Location of items:
- Biomonitor: Stocked by Ripperdocs, upgrading in tier as your level rises.
- Heal-On-Kill: Ripperdoc upon reaching level 10.
- Clutch Padding: Any Ripperdoc upon reaching level 10.
Integumentary System
| Cyberware | Description |
|---|---|

|
Iconic. A lot of armor plus extra health regen that scales with Body, which is +10% regen rate per Body point. Expensive on capacity, but it is what makes you extremely durable. |
|
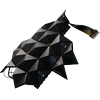
Low cost, solid armor. |
|
A flat percentage reduction to all incoming damage, scaling with Cool. We have 20 Cool, so it is at its best here. |
Location of items:
- Chitin: Iconic, Dogtown Ripperdocs (Phantom Liberty DLC), also found in Dogtown airdrops.
- Subdermal Armor: Any Ripperdoc upon reaching level 10.
- Pain Editor: Ripperdoc from level 30.
Legs
| Cyberware | Description |
|---|---|
|
Iconic. A straight bump to movement speed. Johnny canonically has no double jump, so this is the fitting pick. |
|
Unlocks the double jump. Take this instead if you would rather have the mobility, especially alongside Air Dash. |
Location of items:
- Leeroy Ligament System: Iconic, Dogtown Ripperdocs (Phantom Liberty DLC), also found in Dogtown airdrops.
- Reinforced Tendons: Any Ripperdoc upon reaching level 10.
Weapons for the Johnny Silverhand Build in Cyberpunk 2077
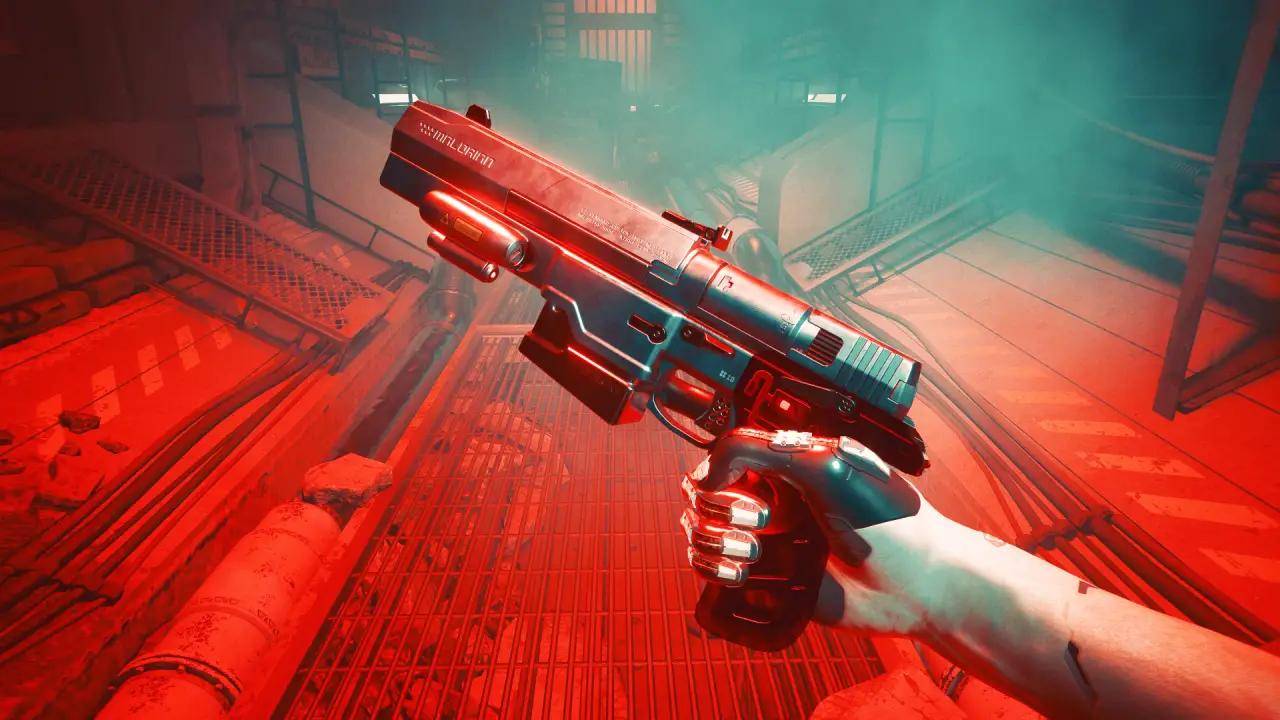
Johnny only really needs one gun, and it is his own, the Malorian Arms 3516. The catch is that you only get it during Chippin’ In in late Act 2, so you need something to carry you until then. That is what the Dying Night is for. The perks behind both:
- Cool perks like Focus, Deadeye and Run ‘N’ Gun boost Pistols, Revolvers, Precision Rifles and Sniper Rifles.
- Body perks like Wrecking Ball and Quake boost Blunt Weapons, which includes your Gorilla Arms.
- Technical Ability perks like Pyromania and Burn This City boost grenades and explosives.
Upgrade: Weapons can be upgraded when you go to the crafting section and then swap to upgrades.
| Item | Description |
|---|---|
|
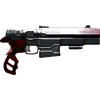
Johnny’s iconic pistol, custom made for him. +150% headshot damage multiplier, which most pistols get to some degree, but also +50% armor penetration, which very few pistols give, even iconics. It has no fancy ability beyond that, so it lives and dies on raw multipliers. Upgrade it to Tier 5++ and it hits very hard. |
Dying Night |
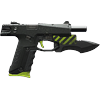
Your pistol until you get the Malorian. An iconic Power pistol you get for free at the very start of Act 1. It deals more damage while you are moving and guarantees Shock with rapid hits, which suits a build that never stops running and shooting. Like the Malorian it is a Power weapon, so the same Cool perks apply and your bullets ricochet. |
Note: You can also use any other Handgun/Revolver in the game.
Grenades: I use Ozob’s Nose, an iconic grenade you can craft. If you don’t have it, a regular grenade is fine. All grenades can be upgraded, so the Tier 1 version you start with is nothing like the Tier 5+ version later on. Stick to something explosive, because flash, smoke and recon grenades get nothing from Pyromania.
Health item: MaxDOC MK.5 for the big instant heal. Bounce Back gives a smaller instant heal plus regen over time if you prefer that, but with a crowd on you the large one is better.
Malorian Arms 3516 (Iconic Power Pistol)

Custom-made for Johnny Silverhand. The guy had taste. It is a Power weapon, so bullets ricochet off surfaces, and it has an iconic mod slot on top of its headshot and armor penetration multipliers.
- Prerequisites: Must have completed the main story quest Tapeworm (Late Act 2).
- Where: During the side job Chippin’ In (quest starts in Afterlife), which unlocks after Tapeworm.
- How to Get It: You take it from Jeremiah Grayson during the quest.
- What to Do: Loot his body after the confrontation at the Red Queen’s Race. Do not leave the area without searching him.
- Note: The same quest also gives you Johnny’s Samurai jacket from Rogue, his Aviators, and the option to take Tattoo: Johnny’s Special.
Dying Night (Early Game Alternative)
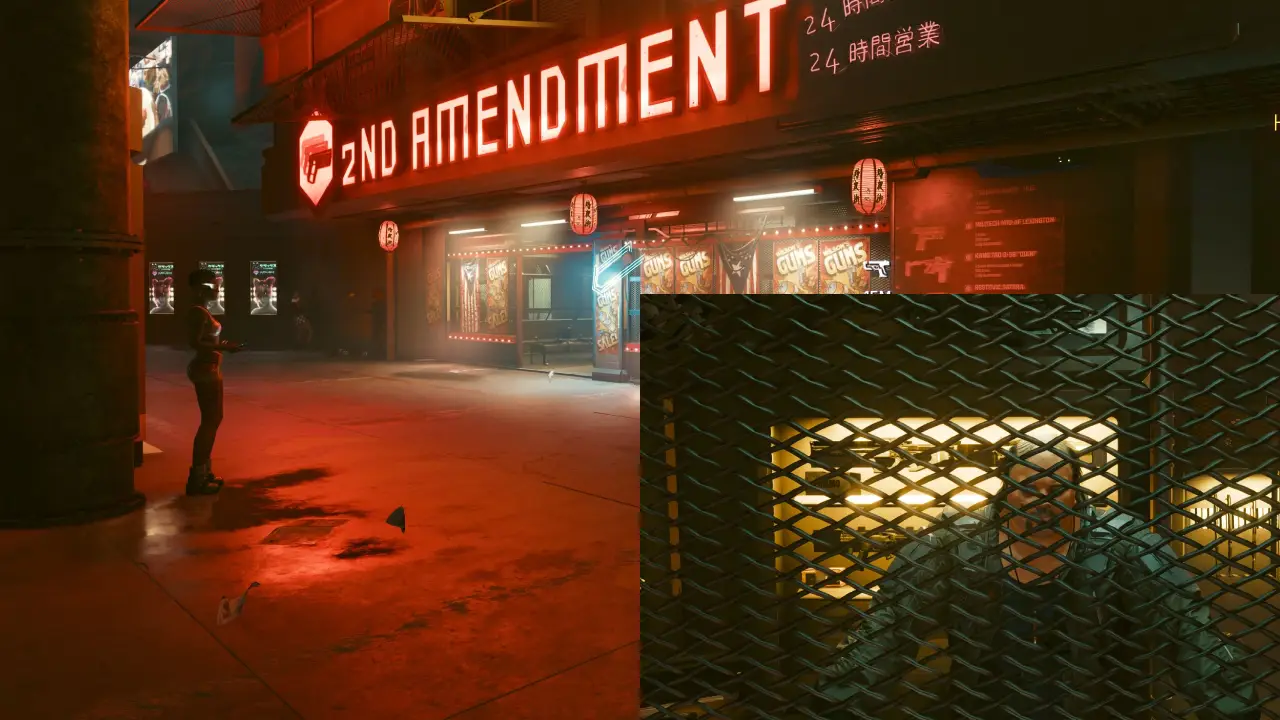
The Malorian only shows up in late Act 2, but this Johnny build is a pistol build from the start. The Dying Night is Robert Wilson’s iconic Lexington, and it is practically handed to you at the beginning of Act 1. Its iconic ability increases damage while you are moving and guarantees Shock with rapid hits, which lines up perfectly with Multitasker and Run ‘N’ Gun.
- Prerequisites: None. Available right after the prologue (Early Act 1).
- Where: Side job The Gun, at Wilson’s 2nd Amendment shop inside your apartment building (Megabuilding H10).
- How to Get It: After waking up in your apartment and meeting Jackie downstairs, you get a notification from Wilson. Open his shop inventory and the Dying Night is listed for 0 Eddies.
- What to Do: “Buy” it for free, then keep upgrading it until you replace it with the Malorian.
- Note: If you miss it or sell it, Herold Lowe sells missed iconics at the EBM Petrochem Stadium in Dogtown.
Another early option: Kongou, Yorinobu Arasaka’s iconic Power pistol. It sits on the table by the bed in his Konpeki Plaza penthouse during The Heist, at the end of Act 1. A Johnny build carrying an Arasaka gun is ironic, but it is a strong pistol with reduced recoil and a higher rate of fire.
Gear for the Johnny Silverhand Build in Cyberpunk 2077

Gear is cosmetic, so all of this build’s defense comes from cyberware instead. The good news is that every piece of Johnny’s outfit can actually be earned in game, no mods needed.
- Replica of Johnny’s Samurai Jacket (Outer Torso): Rogue gives it to you at the start of the side job Chippin’ In.
- Johnny’s Tank Top (Inner Torso): automatically awarded at the end of Tapeworm, in the hotel in Pacifica.
- Johnny’s Aviators (Face): automatically added during Chippin’ In, after Johnny takes V’s body out for a night.
- Johnny’s Pants (Legs): during the gig Psychofan in The Glen, Heywood. They are in a suitcase in the bedroom.
- Johnny’s Boots (Feet): during the gig Family Heirloom in Charter Hill, in the same locker as the shard you need for the quest.
Skill Progression in Cyberpunk 2077
This is often overlooked; in the character menu, you can actually click on “Skill Progression”. This will send you to a very powerful mechanic in Cyberpunk 2077.
By leveling up these trees you gain powerful effects.
For our Cyberpunk 2077: Johnny Silverhand Build you want to focus on Headhunter, Solo, Engineer and Shinobi. Generally, while playing the game you will naturally level up these anyway. It still pays off to focus on one or two at the beginning.
Headhunter (Cool)
- Level 5: -10% Visibility to enemies
- Level 10: +10% Headshot & Vulnerability damage
- Level 15: +1 Perk Point
- Level 20: No weapon sway when crouched
- Level 25: -10% Visibility to enemies
- Level 30: +15% Headshot & Vulnerability damage
- Level 35: +1 Perk Point
- Level 40: Optical Camo is active while grappling enemies
- Level 45: -30% Recovery time after a throw
- Level 50: +30% Crouch walk & sprint speed
- Level 55: Undetected damage bonus lasts 3s in combat
- Level 60: +15% Optical Camo charge on stealth/special kills
How to Level Up Headhunter (Cool)
- Looting Skill Shards from chests and enemies.
- Perform stealth takedowns and neutralizations on unaware enemies.
- Get headshots and hit enemy weakspots using any weapon type.
- Defeat enemies using pistols, revolvers, sniper rifles, precision rifles, or thrown weapons (knives and axes).
- Deal damage and secure kills while crouching or using Optical Camo.
Solo (Body)
- Level 5: +50 Carrying Capacity
- Level 10: +10 Max Health
- Level 15: +1 Perk Point
- Level 20: +20% Fist/Gorilla Arms damage & speed (Fists bleed)
- Level 25: +100 Carrying Capacity
- Level 30: +15% Max Health
- Level 35: +1 Perk Point
- Level 40: +10% Crit Chance within 5 meters
- Level 45: +25% Strong/Quick Melee damage
- Level 50: +25% Health after performing a Finisher
- Level 55: Adrenaline decays 50% slower, min 10% floor
- Level 60: Berserk Mode: +30% Finisher threshold, +50% Finisher heal, +30% duration
How to Level Up Solo (Body)
- Looting Skill Shards from chests and enemies.
- Defeat enemies using Heavy Weapons (Shotguns, Light Machine Guns, and Heavy Machine Guns).
- Defeat enemies using blunt weapons, Gorilla Arms, or bare fists.
- Force open locked doors, rip heavy turrets from their mounts, and pass physical Body attribute checks in the world.
- Execute physical melee finishers.
Engineer (Technical Ability)
- Level 5: +15 Armor
- Level 10: +5 Cyberware Capacity
- Level 15: +1 Perk Point
- Level 20: +10% Grenade damage & explosion radius
- Level 25: +25 Armor
- Level 30: +10 Cyberware Capacity
- Level 35: +1 Perk Point
- Level 40: Increased Shock chance when charging Tech weapons
- Level 45: +15% Health Item effectiveness
- Level 50: +30% to all Cyberware stat modifiers
- Level 55: +10% Bolt damage, +40% Bolt burn, Chain Lightning burns
- Level 60: Fury Mode: You occasionally release a massive EMP blast
How to Level Up Engineer (Technical Ability)
- Looting Skill Shards from chests and enemies.
- Defeat enemies using Tech weapons, especially by firing fully charged shots or Bolt shots.
- Get kills using damage-dealing grenades or the Projectile Launch System (PLS) cyberware.
- Craft new weapons, quickhacks, and item components.
- Upgrade weapons and cyberware at Ripperdocs or through your crafting menu.
- Dismantle weapons, armor, and junk items into crafting components.
Shinobi (Reflexes)
- Level 5: +5% Movement Speed
- Level 10: -5% Dodge/Dash Stamina cost
- Level 15: +1 Perk Point
- Level 20: Better accuracy after dodging/dashing
- Level 25: +5% Movement Speed
- Level 30: -10% Dodge/Dash Stamina cost
- Level 35: +1 Perk Point
- Level 40: Increased Mitigation Chance the faster you move
- Level 45: +25% Fast Attack damage
- Level 50: Sliding & Air Dashing reload 20% of your weapon
- Level 55: Mid-air/Slow-mo: low stamina does not penalize combat
- Level 60: Sandevistan Mode: +40% Crit Chance; No movement Stamina cost
How to Level Up Shinobi (Reflexes)
- Looting Skill Shards from chests and enemies.
- Defeat enemies using blade weapons (Katanas, Machetes, Chainswords, or Mantis Blades).
- Actively dodge, dash, air-dash, slide, and vault while in active combat.
- Defeat enemies using Assault Rifles or Submachine Guns (SMGs), especially while moving at high speeds.
Netrunner (Intelligence)
- Level 5: +5% RAM Recovery Rate
- Level 10: +1 Max RAM
- Level 15: +1 Perk Point
- Level 20: +20% Smart Weapon lock-on range
- Level 25: +5% RAM Recovery Rate
- Level 30: +1 Max RAM
- Level 35: +1 Perk Point
- Level 40: -20% RAM cost for hacking devices/vehicles
- Level 45: +15% Control/Convert duration; +5% Combat hack damage
- Level 50: +40% Overclock duration
- Level 55: -10% Health loss during Overclock
- Level 60: Overclock Mode: Reveals enemies (10m) & hacks through cover
How to Level Up Netrunner (Intelligence)
- Looting Skill Shards from chests and enemies.
- Use offensive, control, or covert quickhacks on enemies during combat.
- Hack environmental objects, security cameras, and devices to distract enemies or trigger explosions.
- Successfully jack into and hack Access Points (Data Terminals) using Breach Protocol.
- Defeat enemies using Smart weapons or the Monowire.
Leveling Tips for the Johnny Silverhand Build in Cyberpunk 2077
Here are a few general leveling tips for the Johnny Silverhand Build in Cyberpunk 2077.
- Perfect Start
- How to make Money
- Upgrade Weapons
- How Gear Scaling Works
- How to get Perk Points Fast
- Dogtown Consumables
Perfect Start in Cyberpunk 2077
Here are the steps that I recommend taking with a new Cyberpunk 2077 playthrough.
Starter Build: You can also check out my Cyberpunk 2077 Starter Build that takes you from level 1 to level 15.
- Regular Start (Don’t skip ahead to Phantom Liberty).
- Immediately after the prologue, once you are out of your room and go downstairs before you enter the elevator.
- Weapon Vendor: Buy the Iconic pistol Dying Night.
- Coach Fred: Capacity Boosters (in case you get over capacity so you can still move).
- Buff Routine: Sleep & Shower. This gives you 20% Skill XP acquisition and Health Regen.
- Watson Clean Sweep (NCPD Missions):
- Watson is the first district you play in.
- Clearing all missions takes 1-2 hours. This will give you at least 10 levels, 15 Street Cred and over 150k Eddies Cash.
- Loot all enemies and either disassemble for materials or sell them at the vendor for extra Eddies.
- Get the Fenrir SMG from the monk mission. This SMG is insanely good at the start because it often stuns enemies.
- Visit a Ripperdoc at level 10: After you have enough money, its time to get chromed up.
- Reinforced Tendons (Legs): Allow you to double jump
- Kerenzikov (Nervous System): Slows Time by 60% for 2s.
- Synaptic Accelerator (Nervous System): Slows time by 20% for 2s when enemy detection reaches 50%.
- Whatever else you can fit!
- Time to start playing for real. The Pickup mission is waiting for you!
How to make Money
It is actually fairly easy to make money in Cyberpunk 2077. The best way to make money is to clear all the NCPD and Cyberpsycho missions in each district. As previously mentioned, clearing most of the Watson district NCPD mission alone already gives you approximately 150k Eddies Cash.
Upgrade Weapons
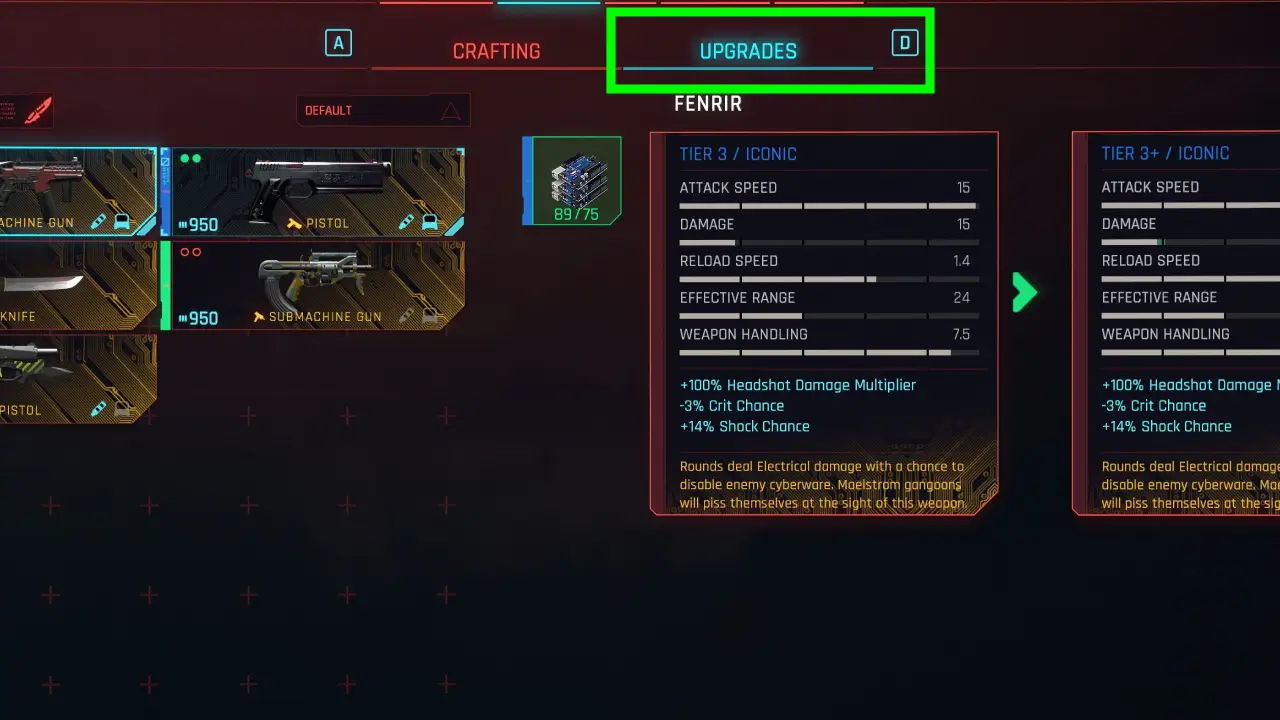
This often gets overlooked, but you can upgrade early-game weapons in Cyberpunk 2077. Go to the crafting section, then move to the Upgrade tab. Here you can upgrade all weapons if you have the necessary crafting components.
Gear Scaling in Cyberpunk 2077
Gear scaling is automated in Cyberpunk 2077. The moment you reach a certain level, you will start finding more and more high-quality items. Meaning the faster you reach a higher level the sooner you will find better gear from chests or enemies. That counts for Gear, Weapons, Cyberware, Outfits, etc.
- Tier 1: Level 1-9
- Tier 2: Level 10-19
- Tier 3: Level 20-29
- Tier 4: Level 30-39
- Tier 5: Level 40-44
- Tier Iconic: Level 45-50
How to get Perk Points in Cyberpunk 2077
You need Perk Points to unlock additional Perks for the Johnny Silverhand Build in Cyberpunk 2077. Perks are the bread and butter of any CP2077 Build, as they significantly enhance your power.
- You get one Perk Point per character level.
- Skill Progression awards you with Perk Points.
- You can farm up to 13 Perk Shards (10 base game, 3 Phantom Liberty DLC)
Perk Point per Character Level
Not much needs to be said here; leveling up gives you one extra Perk Point.
Skill Progression
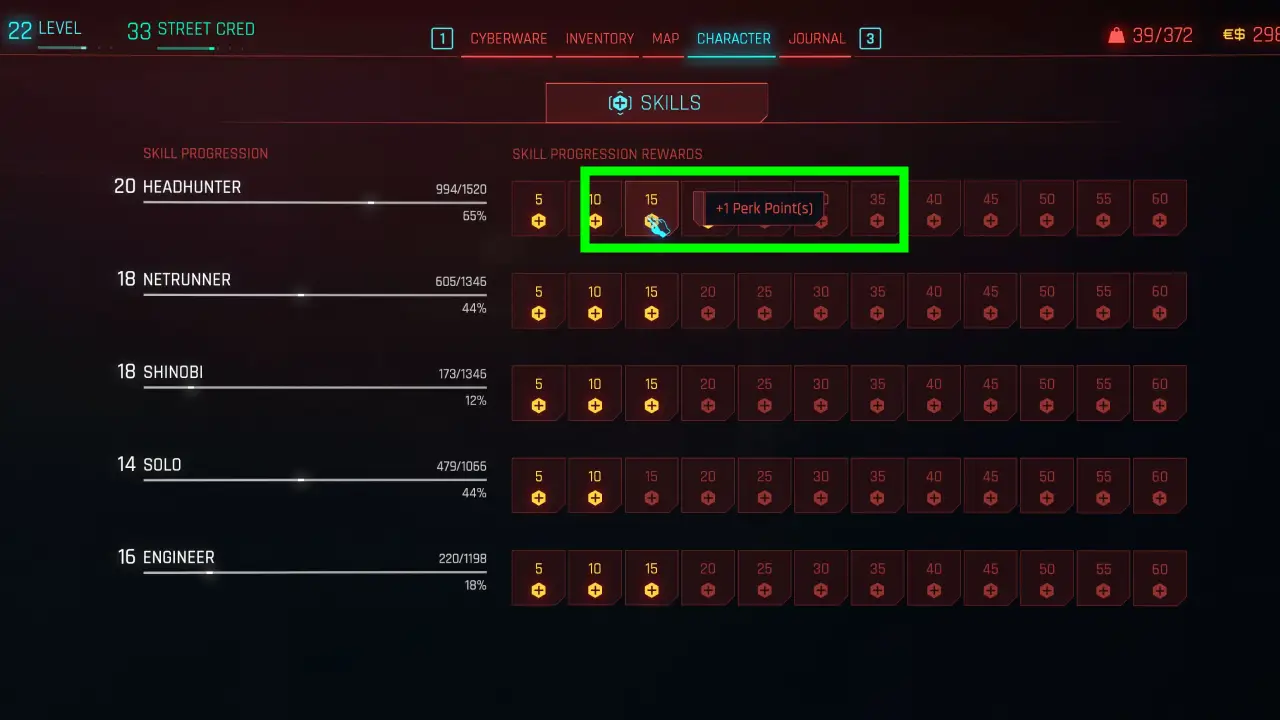
This is often overlooked; the Skill Progression system also awards you Perk Points at 15 and 35. So you can get an additional 10 Perk Points from this.
Character menu > bottom right Skill Progression.
Perk Shards
There are 10 base-game Perk Shards and 3 Phantom Liberty DLC Perk Shards you can collect to earn additional perks in Cyberpunk 2077.
Read Guide: All 13 Perk Shard Locations in Cyberpunk 2077
Here is the full list, click on the hyperlink of each location to see images, it will send you to the full Cyberpunk 2077: Perk Shards Location Guide.
| Shard # | Exact Sub-Location | District | Nearest Fast Travel Point | Source Content |
|---|---|---|---|---|
| 1 | Abandoned Warehouse A B C (Garages) | Watson (Northside) | Offshore Street | Base Game |
| 2 | NCPD Scanner Alert (Car Trunk) | Westbrook (Japantown) | Dark Matter | Base Game |
| 3 | Roadside Crash Site (Billboard/Drone) | The Badlands | Sunset Motel | Base Game |
| 4 | Suspected Organized Crime Activity (NCPD) | The Badlands | Sunset Motel | Base Game |
| 5 | Dead Maintenance Worker at Ventilation Shaft | City Center (Corpo Plaza) | Corpo Plaza Apartment | Base Game |
| 6 | At Memorial Park, in a chest during NCPD Assault | City Center (Corpo Plaza) | Arasaka Tower | Base Game |
| 7 | Gang Activity under Bridge (NCPD) | Heywood (The Glen) | Ventura & Skyline | Base Game |
| 8 | Arasaka Park Entrance Building Upstairs | Santo Domingo (Arroyo) | Arasaka Industrial Park | Base Game |
| 9 | Reported Crime Garage (NCPD) | Santo Domingo (Rancho Coronado) | Woodhaven Street | Base Game |
| 10 | Riverside Garage (NCPD) | Santo Domingo (Arroyo) | Red Dirt Bar | Base Game |
| 11 | “Dog Eat Dog” Starter Quest | Dogtown | Dogtown Entrance | Phantom Liberty DLC |
| 12 | Red Van Junk Shop (Marcin) inside EBM Petrochem Stadium | Dogtown | EBM Petrochem Stadium | Phantom Liberty DLC |
| 13 | Longshore Stacks below Jung Store behind cardboard | Dogtown | Longshore Stacks | Phantom Liberty DLC |
Dogtown Consumables (Phantom Liberty DLC)
During the starter quest of the Phantom Liberty DLC in Cyberpunk 2077 called “Dog Eat Dog” you eventually enter the marketplace area (You can also access the area later at any time). Here you can buy various new stuff that isn’t available in the base game. his will also still be availabl
Some vendors also sell permanent consumable upgrades, 12k each. Best you go talk to all the vendors in that area and see what they offer.
- Bartender Shop: Dendritic Protoplasma Supplier permanent +1% Ram Recovery Rate.
- Netrunner Shop: Dendritic Protoplasma Supplier permanent +2% Ram Recovery Rate.
- Note: The items are called the same, but they both work, so you get a total of 3% Ram Recovery Rate.
- Food Vendor: Prototype Pseudo Embryonic Cell Builder permanent +2 Health.
- Meds Vendor: Prototype Pseudo Embryonic Cell Builder permanent +3 Health.
- Note: The items are called the same, but they both work, so you get a total of +5 Health.
- Note: You find the Meds vendor on the opposite side of the Netrunner Vendor in a hallway.
- Food Vendor: Military-Grade Lactic Acid Recyclers: +1% Stamina Regen Rate.
- Herold Weapon Vendor: Sells you all the Iconic Weapons you have missed during your playthrough.
- Marcin/ Michal Kicinski Junk Vendor: 1 Perk Shard and 1 Progression Shard of each type.
Additionally, make sure to check all other vendors in Dog Town. For example at the Longshore Stacks fast travel point, you also have vendors that sell you permanent upgrades.