Type: Overland, Dungeons & Arena
Any Class & Race
Welcome to the ESO Solo Werewolf Build. The build is optimized for solo play in Overland, Dungeons and Arenas.
The Solo Werewolf Build has high damage and healing to get you through any content without trouble!
Table of Contents:
If you want a group-focused max DPS Werewolf build please check out the “Claws” Werewolf Build! You can also find all Class setups in the Claws build, whereas here we just focus on the Werewolf part of things! If you are looking for an introduction to Werewolf, I recommend checking out the very detailed Werewolf, everything you need to know guide!
Here is a quick list of the strengths and weaknesses of the ESO Solo Werewolf Build.
Strengths
Weaknesses
Solo Setup Werewolf Build for ESO
Now, let us take a look at the actual Solo Werewolf Build setup.

5x Savage Werewolf, 5x Briarheart, 1x Swarm Mother, 1x Pale Order with the Hearty Garlic Corn Chowder.
Gear Setup
This gear setup provides a mix of damage and healing sets.
- Ring of the Pale Order is the most powerful healing item set in the game, it is a must have.
- Briarheart is great as it adds extra healing to the Solo Werewolf Build. However, if you want to opt for a more damage-oriented set, you can go for it.
| Gear | Set | Weight | Trait | Enchantment |
|---|---|---|---|---|
| Medium | ||||
| Medium | ||||
| Medium | ||||
| Medium | ||||
| Medium | ||||
| Light | ||||
| Medium | ||||
| Jewelry | ||||
| Jewelry | ||||
| Jewelry | ||||
| Dagger | ||||
| Dagger | ||||
| Any | Any | Any | Any |
Where can I get the gear?
Slimecraw: Wayrest Sewers 1 (veteran mode)
Ring of the Pale Order: Antiquities System
Briarheart: Wrothgar or Guildstores
Savage Werewolf: Moon Hunter Keep Dungeon
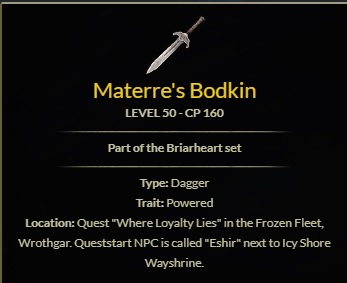
There is an unique Dagger for Briarheart that you can acquire from a quest in Wrothgar. Next to the Icy Shore Wayshrine, talk to a guy called Eshir and follow his questline. If you do this on two characters, you will get two daggers. You will have to re-trait them, though, with the transmute station.
Solo Werewolf Skills


| Werewolf |
|---|
| Slot 1: Rip and Tear |
| Slot 2: Bloodclaws |
| Slot 3: Feral Pounce |
| Slot 4: Hircine’s Rage |
| Slot 5: Ferocious Roar |
| Ultimate: Werewolf Berserker |
Skill Explanation
- Light Attacks: Light Attacks should always be used between abilities; they deal a lot of damage and apply a bleed damage over time effect on the enemy.
- Rip and Tear: Your spammable, deals massive damage and heals you.
- Bloodclaws: Strong damage over time effect and also heals.
- Feral Pounce: Strong direct damage and also applies a DoT.
- Hircine’s Rage: Buff that boosts your damage and gives you Major Brutality/Sorcery and Minor Berserk while slotted.
- Ferocious Roar: Buff that places Feeding Frenzy synergy for allies to increase damage. While slotted, it gives you Major Prophesy/Savagery.
- Berserker: While transformed, you gain Major Berserker and your LA/HA apply bleed damage. Also generates “Fury” that can be activated for even more extra damage.
Human Form Skills
You can use whatever skills you want for this Solo Werewolf Build. If you want more guidance, I recommend following the skill layouts of the ESO Werewolf Group Build. The main difference comes from what sets we use that support us with self-healing between the Group and Solo Werewolf Build.
- Nightblade Skills
- Sorcerer Skills
- Templar Skills
- Dragonknight Skills
- Warden Skills
- Necromancer Skills
- Arcanist Skills
Class Mastery
Class Mastery is a new system designed to help pure-class builds perform better. Most Class Mastery passives don’t work in Werewolf form. However, there are some exceptions; pick these for your Solo Werewolf Build with whatever class you are using:
Nightblade:
Sorcerer:
- Static Reverberation
- Calculated Defense (Can be activated with Ferocious Roar)
Templar:
Dragonknight:
Warden:
Necromancer:
Arcanist:
- None
Champion Points
Below you can find the Champion Points setup for this build. Work your way from top to bottom in your allocation. For more information on Champion Points, please visit the Champion Points Overview Page on ESO-Hub.com.
Hovering over each perk will give you insights on what it does. Presets are also provided for each of the allocations below.
Click the tab below to open the allocation.
Important Info for Solo Stamina Werewolf Build PvE
Buff-food
Now that sustain is super easy in Werewolf form, we can opt for a dish that pushes our Max Stamina as high as possible.
Hearty Garlic Corn Chowder
(Corn, Garlic)

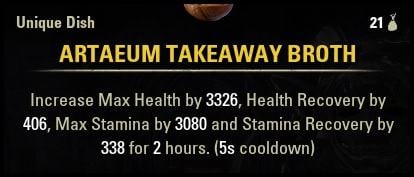
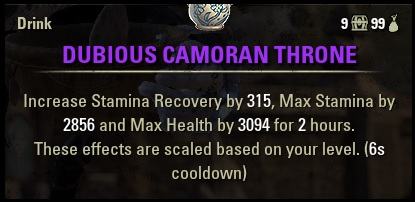
Alternatively, you can also use Artaeum Takeaway Broth or Dubious Camoran Throne.
For more information on all buff food and drinks I recommend visiting the Buff Food and Drink Overview Page.
Mundus Stone
For more information on Mundus Stones, please visit the Mundus Stone Overview Page.
The Thief Mundus Stone (Increased Critical Hit Rate)
Race
All stamina-based races work with this setup. More about each race can be found on the racial overview page.
Dark Elf
Khajiit
Orc
Redguard
Imperial
Wood Elf
Nord
Argonian
High Elf
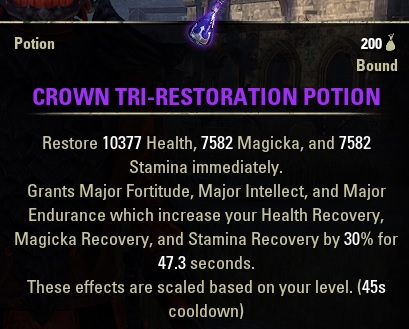
Potions
You can either use the Essence of Health or the Crown Store potions that provide you with all 3 stats. We are using tri-stat potions because we need the stamina, magicka and health. The stamina is used for our damage abilities, block and dodge roll. Magicka is used for support abilities such as Hircine’s Rage.
Essence of Health
(Max Health, Max Stamina, Max Magicka)
(Columbine, Mountain flower, Bugloss)

Passives
Make sure to have all the Werewolf Passives: Insatiable Hunger, Master of the Chase, Blood Rage, Feral Cruelty, Shadow of the Bloodmoon, Call of the Hunt.
Additionally, remember while in Werewolf-form the following passives actually also work:
- Racial Passives
- Class Passives
- Alliance War Passives
- Guild Passives
Of course, when you are in human form, you want everything else too.
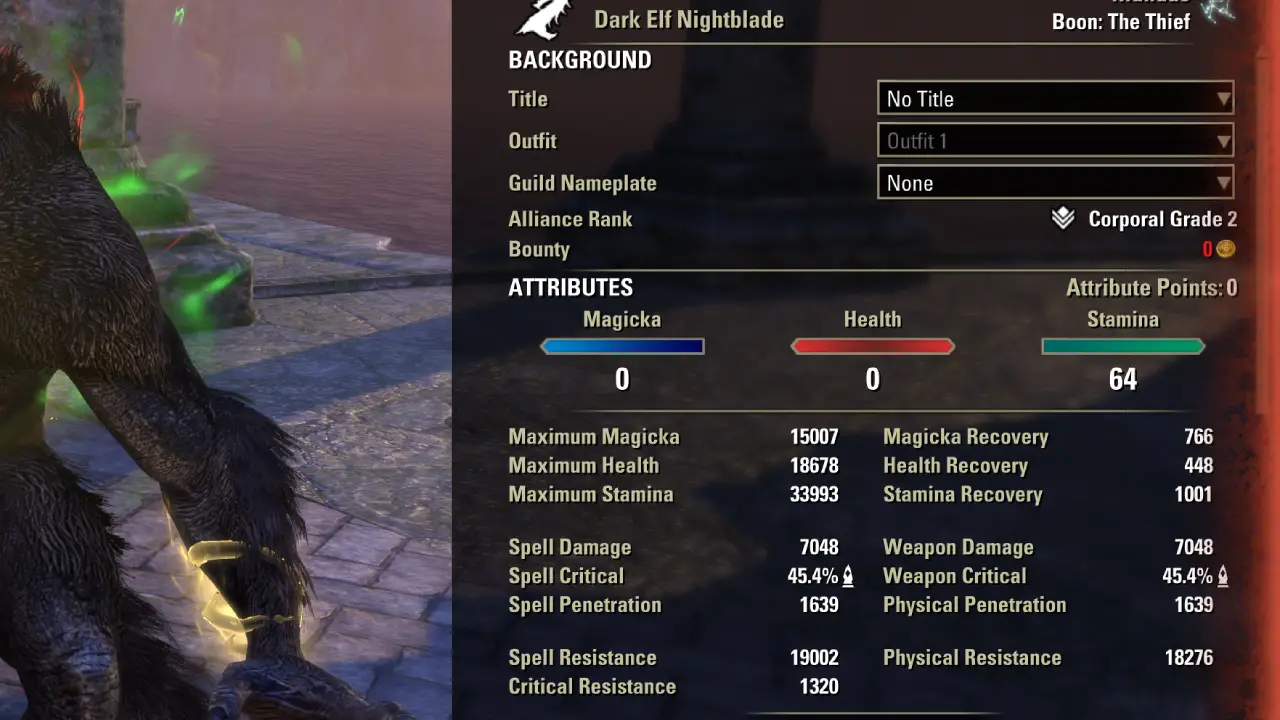
Attributes
0 Health, 64 Stamina, 0 Magicka
Resource Management
Heavy Attack is our main resources tool, each heavy attack restores around 4500 stamina, 3000 is base and we also get an extra 50% from the Pursuit passive. Heavy Attacks also deal crazy damage, therefore you won’t even lose damage.
Potions also make a huge difference, if you use the recommended tri-stat potions and activate them, you regain 9122 Health, 7582 Stamina, and 7582 Magicka. Please make sure to have the Medicinal Use passive, that way the recovery buff will last for the full duration of the potion.
Hircine’s Rage also restores a huge chunk of Stamina.
Related Werewolf Content:
- Werewolf DPS Build (Group Setup)
- Werewolf Guide – Everything You Need To Know
- Werewolf PVP Build for Stamina Sorcerer
Related Guides: