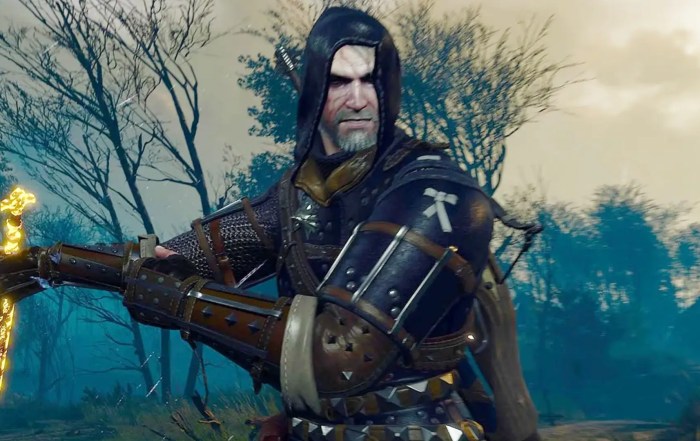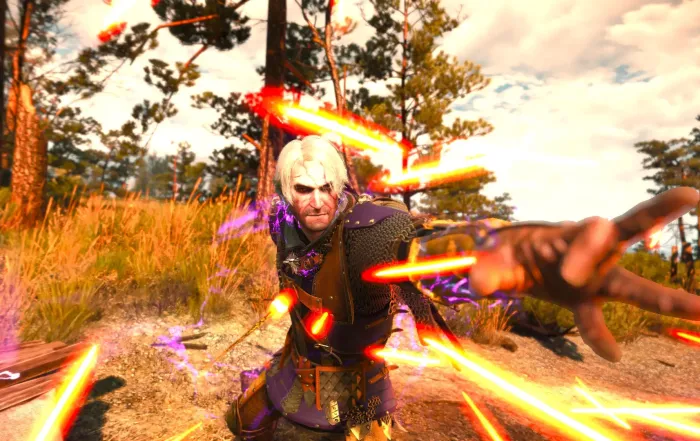


Here, we’ll look at a powerful Witcher 3: Remastered build focused on the Igni sign. Igni deals AoE fire damage to enemies in front of Geralt, potentially setting them ablaze and stunning them.
Igni can be powered up more than any other sign in the game (except perhaps Aard – see our overpowered Aard Build). Recreating this build lets you destroy most enemies in the game using a deadly combination of Igni and Yrden.
We have included a step-by-step levelling progression table so you don’t need to wait until endgame to use the build.
Table of Contents:
- How to Use This Igni Build
- Armour and Weapons
- Skills and Levelling
- Mutations
- Potions and Bombs
- How to Play the Igni Build
Witcher 3 Igni Build Overview
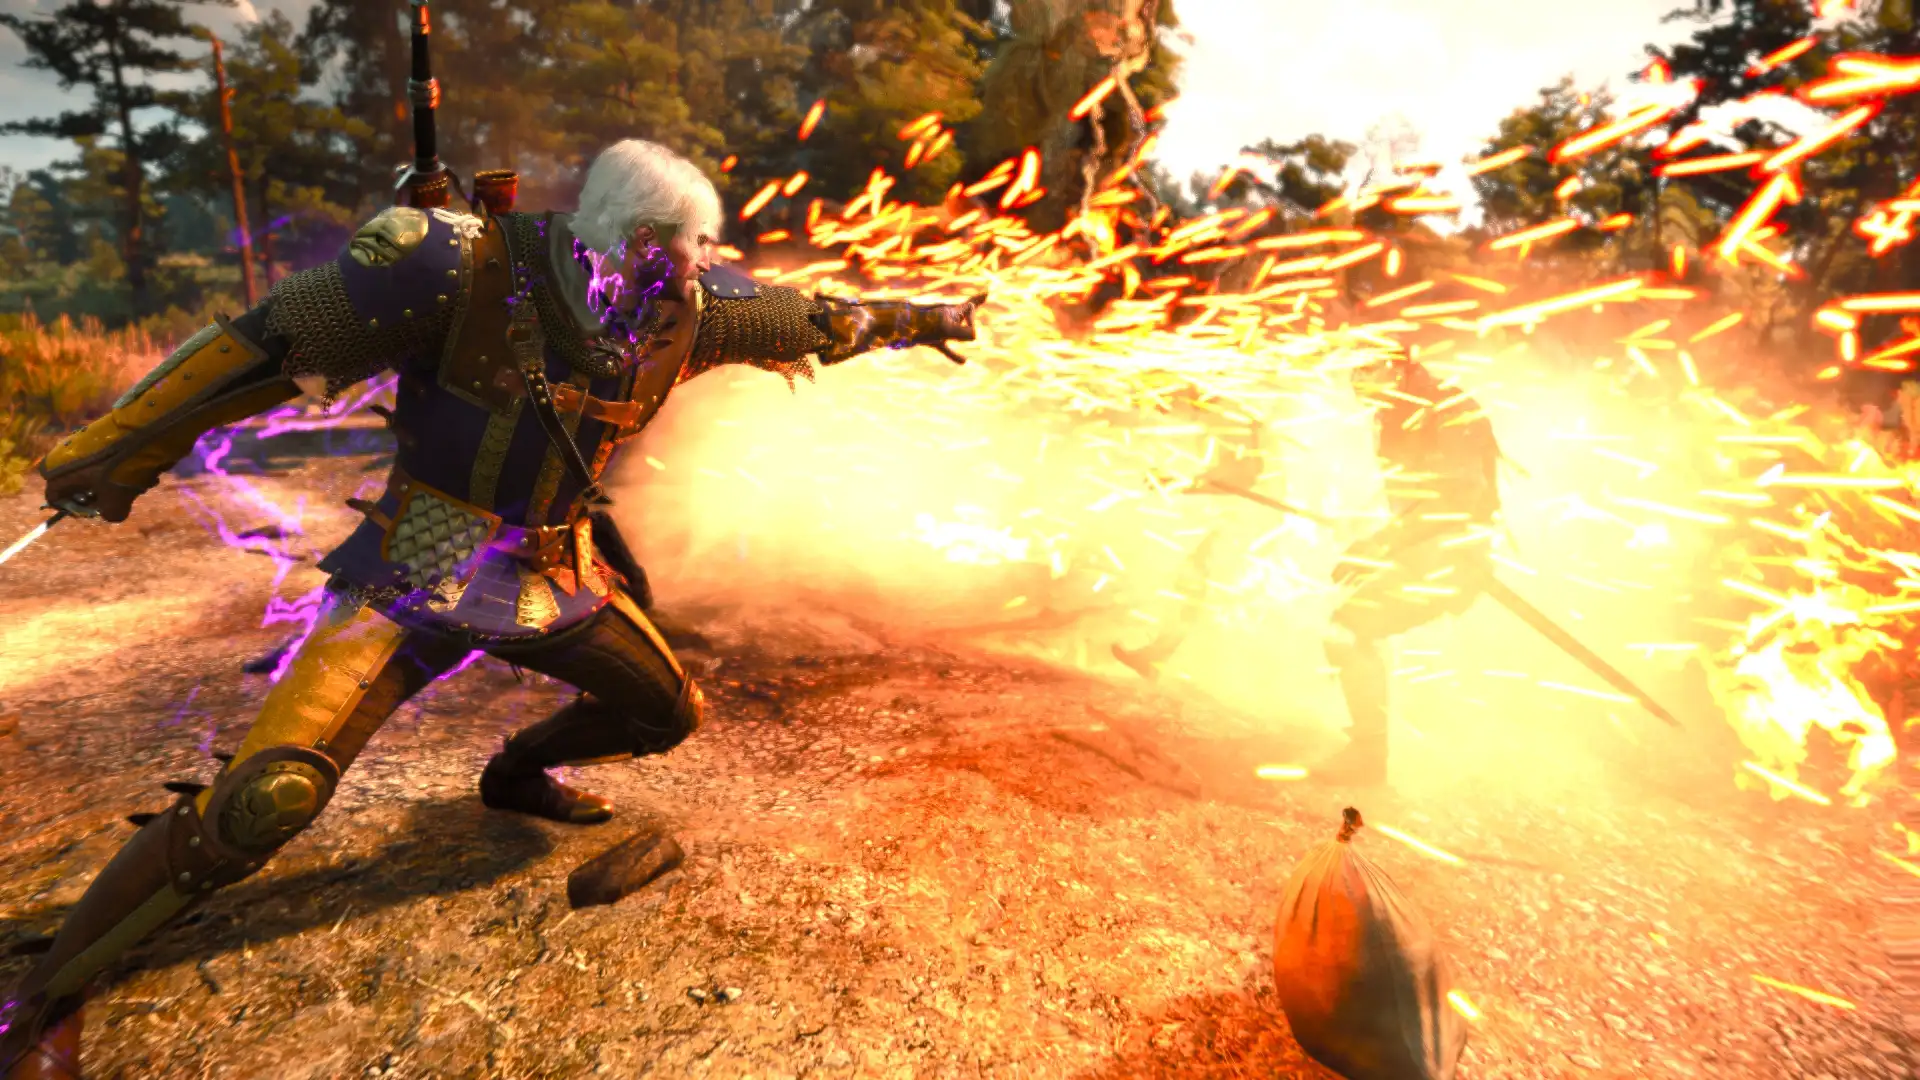
This Witcher 3 Igni build focuses on high Sign Intensity, combined with specific Igni buffs from Geralt’s skill tree and gear.
We used the Griffin School Armour set to gain even more Sign Intensity. When upgraded to Mastercrafted or Grandmaster tier, the armour enhances the Yrden sign, giving a massive 100% buff to Sign Intensity when Geralt stands in the area.
Since the Witcher 3: Remastered update, Geralt can get even more Igni and Yrden buffs from his skill tree, allowing this build style to reach new heights. This build guide will teach you how to use everything at Geralt’s disposal to make Igni as OP as possible, effectively turning him into a pyromancer.
Witcher 3 Igni Build Armour and Weapons
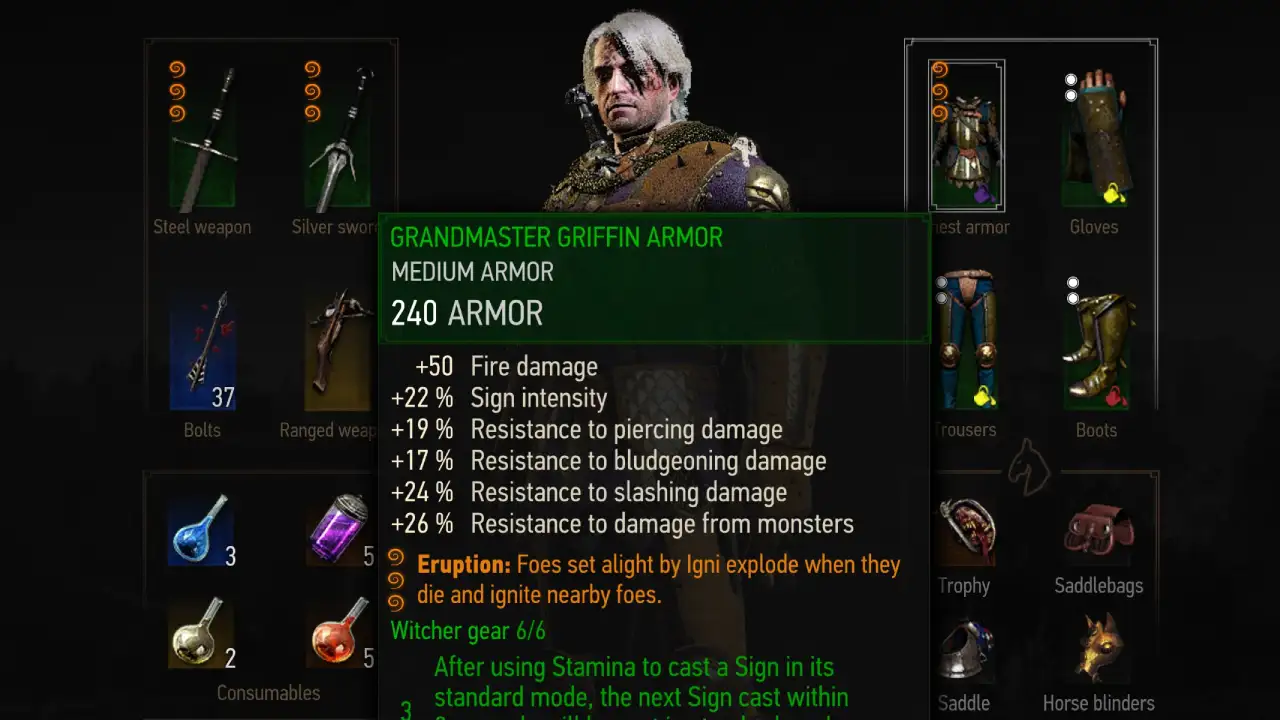
To create this Witcher 3 Igni Build, we recommend using Grandmaster Griffin Witcher Gear.
You can craft the basic version of this armour early in the game, but you won’t get access to the fully upgraded version until much later. The basic version is still very strong relative to the enemies you’ll face at that point in the game, even on Death March difficulty. Keep upgrading it when you reach the required level for the next tier, and you’ll stay one step ahead of almost everything the game throws at you.
We need the fully upgraded (Grandmaster) version to maximise this build’s potential; however, it can work without it, but it just won’t be as strong. To learn how to obtain and upgrade the Griffin Armour, check out our Griffin Armour Guide.
Weapon and Armour Upgrades
Here are the recommended upgrades for your gear:


You can find the Runewright in the far northeast of the Novigrad and Oxenfurt region, near the Upper Mill Signpost, east of Brunwich village.
Witcher 3 Igni Build Skills & Levelling
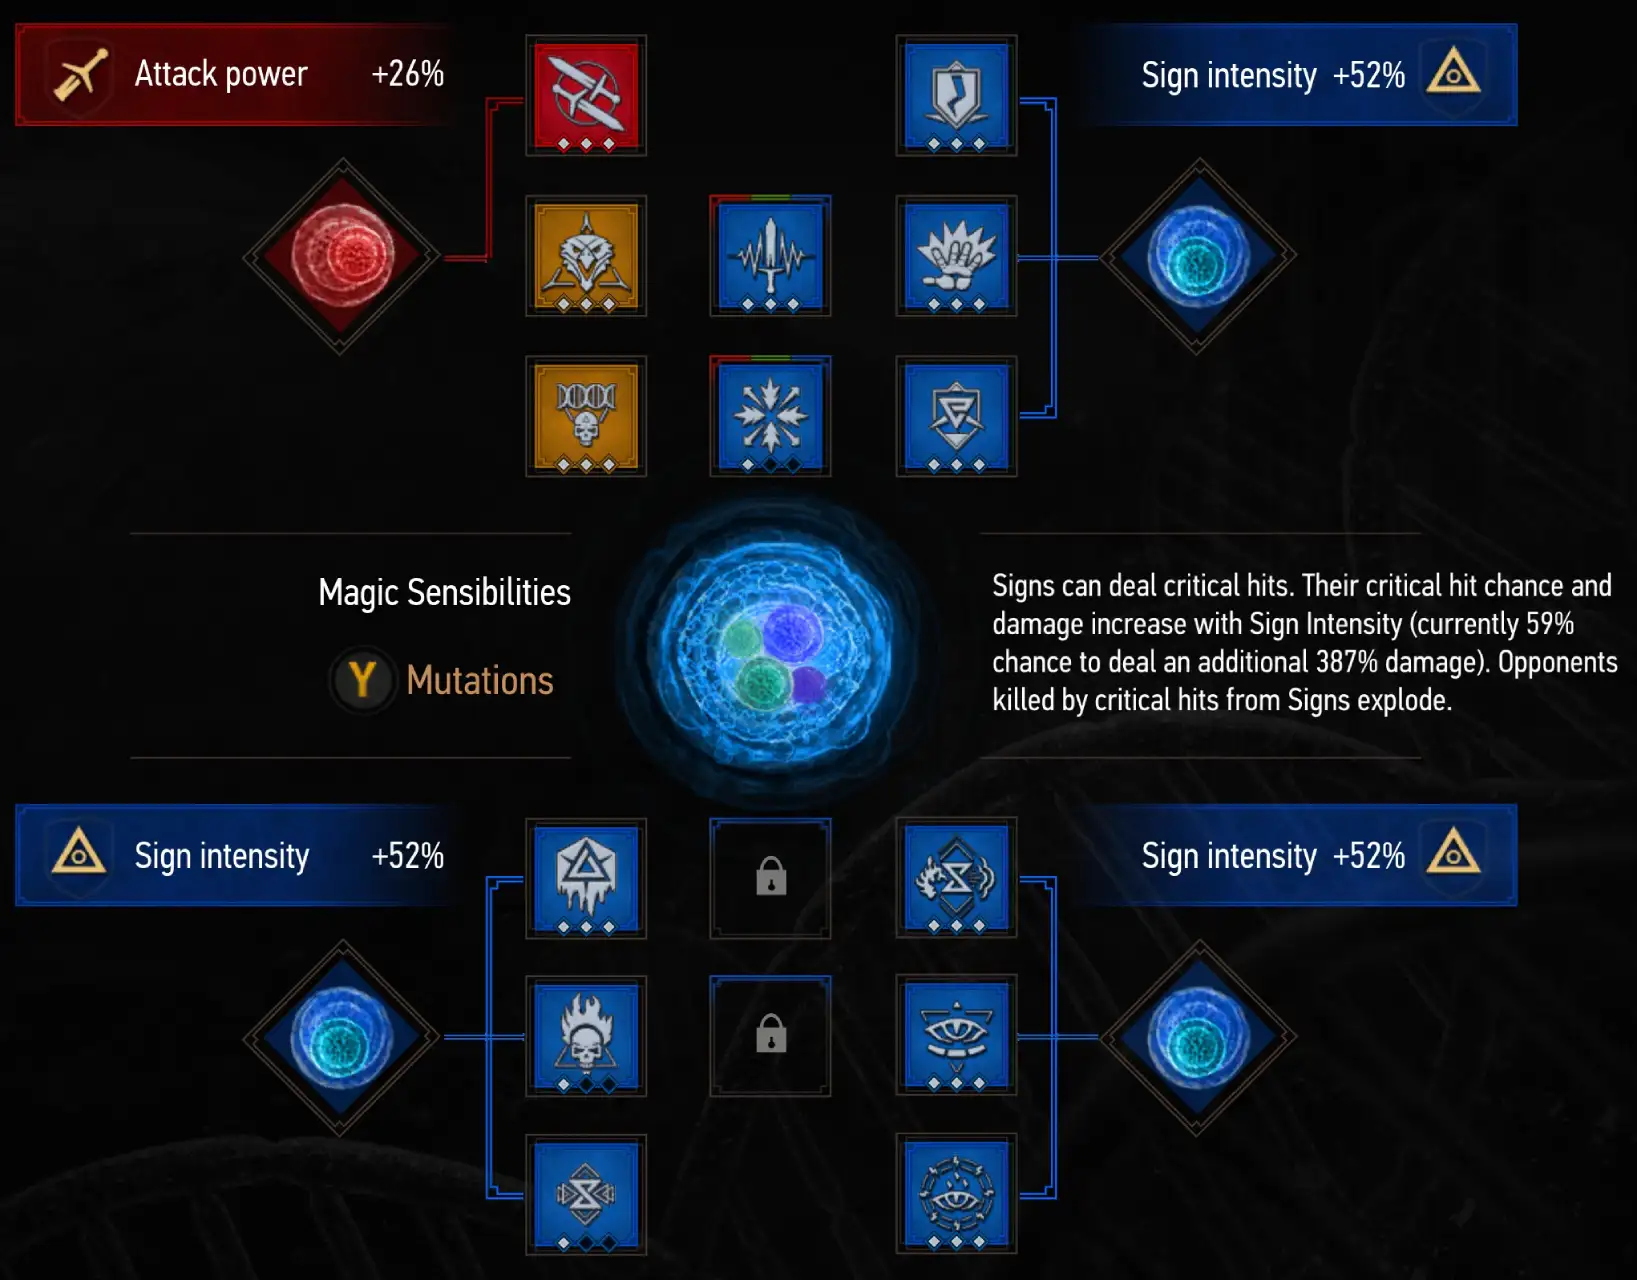
The table below shows the ideal order to unlock Skills for this Witcher 3 Igni Build, so you can start using the build from the moment you begin your adventure. The number in brackets indicates how many skill points to invest in each skill.
| Skill | Explanation |
|---|---|

Muscle Memory (x3) |
Gives a helpful early-game buff to your fast attack damage, triggered by dodging. |

Delusion (x3) |
Unlocks all Axii dialogue options. Skip this if you don’t want to use Axii to manipulate minds in dialogue. |

Melt Armour (x3) |
Increases Igni’s burn chance, making it much stronger. Also debuffs enemy armour. |

Firestream (x1) |
We only get 1 point to progress further down the skill tree. |

Supercharged Glyphs (x3) |
Enemies in your Yrden trap take damage over time. |

Catalyst (x3) |
Almost doubles your Igni damage against enemies within your Yrden trap. |

Griffin School Techniques (x3) |
Each piece of Medium Armour equipped boosts your Sign Intensity and Stamina Recovery. |

Sustained Glyphs (x3) |
Boosts the duration of your Yrden, making the Yrden/Igni combo much easier to use. |

Exploding Shield (x1) |
Quen explodes when it breaks. Just take one point to progress the skill tree. |

Active Shield (x3) |
Hold down Quen to channel a magic shield that heals you when you are hit. Helps when fighting multiple ranged enemies. |

Focus (x3) |
Each Adrenaline Point boosts Sign Intensity. |

Aftershock (x3) |
Casting any Sign deals magic damage in a small radius. |

Resonance (x3) |
Casting a sign buffs your next three melee attacks. This helps against enemies resistant to Igni. |

Metabolic Control (x3) |
Increases maximum Toxicity, so you can drink more potions before getting poisoned. |

Synergy (x3) |
Increases the bonus from slotted Mutagens. Slot red & blue skills next to a matching Mutagen! |
To unlock and fully upgrade these skills for your Witcher 3 Igni Build, you need 42 Skill Points. There are two ways to get more skill points: each time you level up, you will receive one, and the first time you interact with a newly discovered Place of Power, you’ll also receive one.
Mutation for the Witcher 3 Igni Build
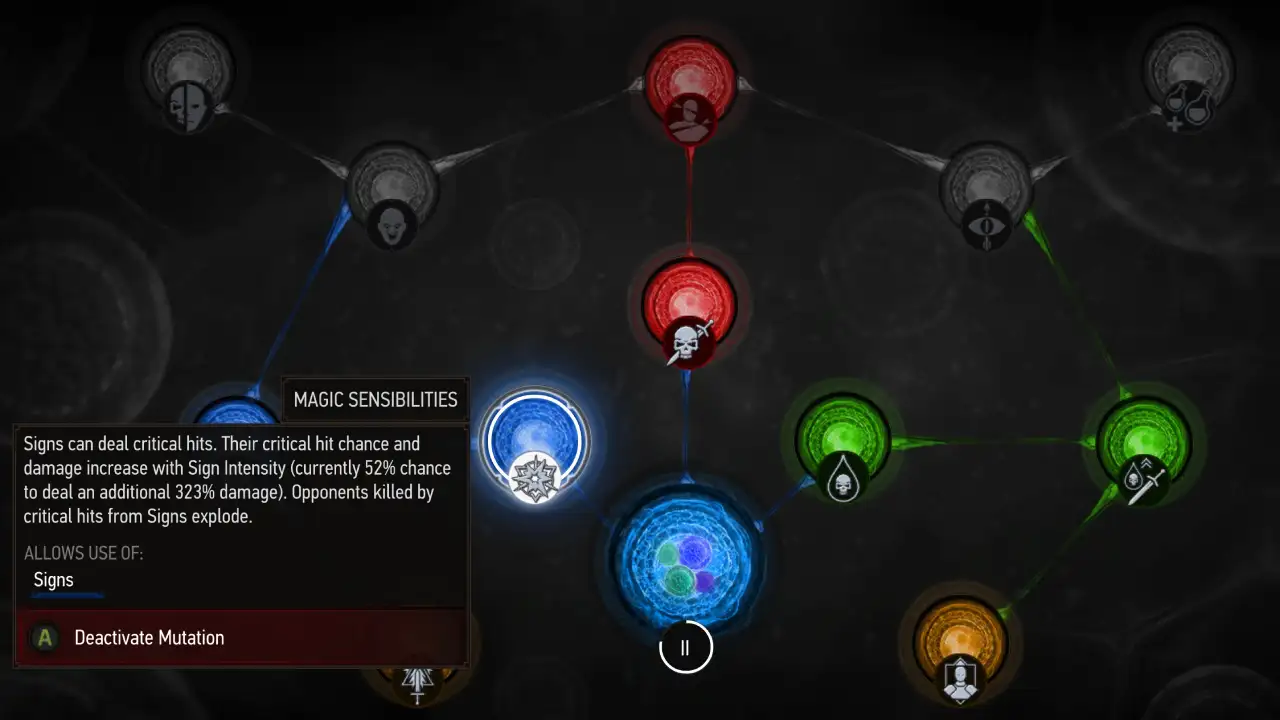
To unlock the Mutation system, you’ll need the Blood and Wine DLC and to complete the quest called Turn and Face the Strange.
For this Witcher 3 Igni Build, we’re using the Magic Sensibilities mutation. This is the first blue mutation in the tree, so it’s very easy to unlock, just requiring two Greater Blue Mutagens and two skill points.
This mutation allows your signs to critically hit, with the chance and damage scaling based on your Sign Intensity. With the recommended set-up, we got a 59% critical chance on signs, with the critical hits adding 387% bonus damage. This effect greatly increases Igni’s damage potential.
Potions and Bombs for the Witcher 3 Igni Build
Here are the best Potions and Bombs for the Witcher 3 Igni Build:


You can only use one Decoction at a time because we haven’t invested in any alchemy skills for this build. An active Decoction also means you won’t be able to drink potions as often because of the high toxicity.
Don’t worry if you don’t have all of these right away. The basic and Enhanced versions are almost as good as the Superior version.
How to Play the Witcher 3 Igni Build
This build’s playstyle changes depending on how far you are in the game and how much of the recommended gear and skills you’ve obtained.
Important: This build’s one weakness is high-level Bandit/Pirate/Deserter encounters with large numbers of archers. Always prioritise them over melee opponents, using Quen to help you. While not suggested in the Skills section above, an optional countermeasure is to put a point in Arrow Deflection. But personally, I didn’t think it was necessary because the arrows are easy to dodge, and it usually takes only a moment to reach the archers.