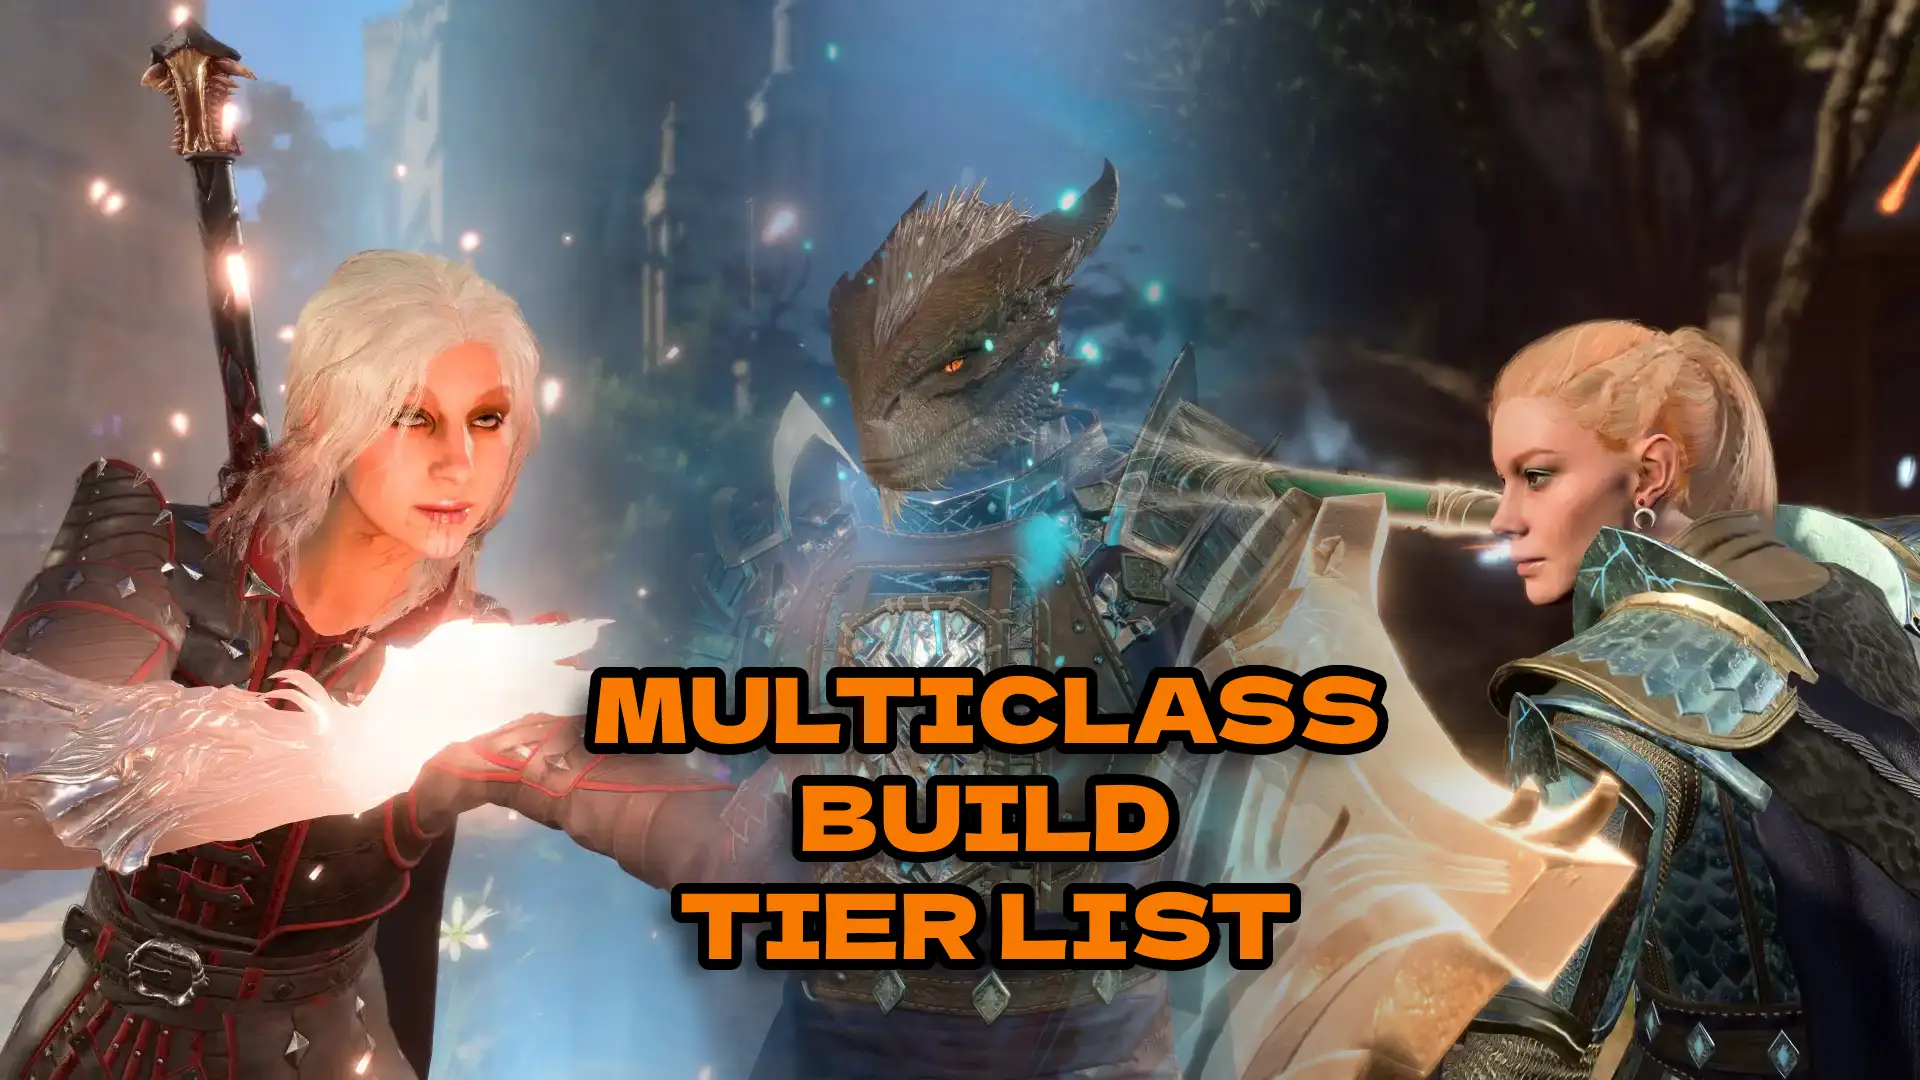
Are you looking for an OP build for your BG3 playthrough?
In this guide, we will be ranking the best Baldur’s Gate 3 Multiclass Builds. While all of the builds mentioned in this guide are strong enough to complete the game on any difficulty (and stronger than their single-class counterparts), some of them stand out as being really overpowered.
We’ll rank the builds based on these factors:
- Power – How good the build is at dealing damage.
- Utility – Supporting allies and debuffing enemies.
- Versatility – Does the build still perform outside its ideal circumstances?
- Simplicity – How easy is the build to play? Is it beginner-friendly?
Each build will receive a rank between S and D across all these categories, and we’ll use that to determine its total ranking.
More BG3 Tier Lists: BG3 Best Builds Tier List (single-class) | BG3 Companions Tier List | BG3 Best Class Tier List | BG3 Patch 8 New Subclasses Tier List
How Multiclassing Works in BG3:
- New classes can be added as you level up. They are added on a level-by-level basis.
- Example: If you are a level 6 Barbarian and decide to add 1 Rogue level, you will only get the features of Rogue level 1.
- Example 2: If you want the features of a level 6 Barbarian and Rogue, you need to be max level and add 6 levels of each class.
Pro Tip: It’s usually best to choose classes that work together easily. For example, the Barbarian and Fighter go well together because they both use Strength as their attacking attribute. But sometimes it pays to dip into other classes for various features they offer.
Tier List Table of Contents:
BG3 S-Tier Multiclass Builds
S-Tier builds are the strongest options available and can handle anything in the game with ease.
BG3 Sorlock Build

- Power: S+
- Utility: B+
- Versatility: S
- Simplicity: D
- Total Ranking: S
The Sorlock Build is very powerful; it is arguably the strongest spellcaster setup in the game. It works by combining the Sorcerer and Warlock classes. While you’ll have a smaller range of spells than Wizards, you will be extremely potent with what you do have, and it’s enough of a range to have ample options for single-target damage, AoE damage and crowd control.
The main downside of the build is that it’s quite gear-dependent. It is also tricky to play – you need to use upcast ![]() Scorching Ray with the
Scorching Ray with the ![]() Hat of Fire Acuity to buff yourself. You can then cause havoc with your other spells. Ensure you have the
Hat of Fire Acuity to buff yourself. You can then cause havoc with your other spells. Ensure you have the ![]() Hastened buff (either from a spell or a
Hastened buff (either from a spell or a ![]() Potion of Speed) and utilise
Potion of Speed) and utilise ![]() Quickened Spell to devastate enemies at the start of combat, either by assassinating their champion or locking down their entire party with the Command Spell, then burning or freezing them where they stand with AoE magic.
Quickened Spell to devastate enemies at the start of combat, either by assassinating their champion or locking down their entire party with the Command Spell, then burning or freezing them where they stand with AoE magic.
We have, of course, provided an early-game gear setup so you can use the build from the start.
Unless you are very experienced, you will make mistakes when playing this build. But mastering it will turn you into a very skilled BG3 player.
Whether you are playing alone or with your friends, with a bit of patience, the BG3 Sorlock Build will carry your party through the entire game.
BG3 Martial Bruiser Build

- Power: S+
- Utility: D
- Versatility: B
- Simplicity: A+
- Total Ranking: S
The Martial Bruiser combines the Berserker Barbarian, capable of attacking with a Bonus Action, with the Thief Rogue, which grants you extra Bonus Actions.
This simple but effective interplay exists between the Thief and several other subclasses in BG3, most notably the Barbarian and the Monk.
If you can collect all of the recommended gear, most notably the ![]() Bhaalist Armour,
Bhaalist Armour, ![]() Gauntlets of Hill Giant Strength, and
Gauntlets of Hill Giant Strength, and ![]() Nyrulna, you’ll become crazy strong in Act III, so much so that your Critical Hits will often kill enemies in one hit, even on Honour difficulty.
Nyrulna, you’ll become crazy strong in Act III, so much so that your Critical Hits will often kill enemies in one hit, even on Honour difficulty.
The build will still be very strong before that, too. As with all of our builds, we’ve included an early-game setup so you can use the build right from the start of BG3.
If you’re after a melee heavy hitter who is very easy to play and can carry your party through the game, the Martial Bruiser Build is one of the best possible choices.
BG3 Eldritch Blaster Build

- Power: S
- Utility: D
- Versatility: A
- Simplicity: A
- Total Ranking: S-
The Eldritch Blaster Build is focused on buffing the Warlock’s ![]() Eldritch Blast Cantrip as much as possible. To do this, we combined the Warlock with the Sorcerer and the Fighter subclasses.
Eldritch Blast Cantrip as much as possible. To do this, we combined the Warlock with the Sorcerer and the Fighter subclasses.
This build is a bit of a glass cannon – it has very high critical chance and incredible damage potential, but low defence. But with damage output like this, I can’t mark the build down much for being low on the utility side – it has a singular purpose, to kill enemies as quickly as possible, and it does an excellent job. Buffing and healing should be left up to another party member.
The only downside of this build is that it is very gear-dependent – you’ll need to collect multiple items in Act III that are tricky to obtain, such as ![]() Sarevok’s Horned Helmet,
Sarevok’s Horned Helmet, ![]() Potent Robe, and
Potent Robe, and ![]() Bloodthirst. But it’s well worth the time spent, and the build is still pretty decent before you can obtain those items, thanks to our early-game setup, which is much easier to get.
Bloodthirst. But it’s well worth the time spent, and the build is still pretty decent before you can obtain those items, thanks to our early-game setup, which is much easier to get.
Learn more: BG3 Eldritch Blaster Build.
BG3 Gloomstalker Assassin Build

- Power: S+
- Utility: D
- Versatility: B
- Simplicity: D
- Total Ranking: S-
The Gloomstalker Assassin Build is the ultimate ambusher. It combines the Assassin Rogue with the Gloomstalker Ranger, the two most ambush-themed subclasses in BG3.
The result is a build that will absolutely massacre enemies on the first turn of combat, but quickly falls off after that.
This makes the Gloomstalker Assassin a bit tricky to play. You need to plan ahead, stack as many buffs as possible onto your character at the start of combat, then successfully ![]() Surprise the enemy party by initiating combat from stealth.
Surprise the enemy party by initiating combat from stealth.
This is not an easy build to play, and I don’t recommend it for your first playthrough because you’ll miss dialogue because of your need to ambush as many enemies as possible. But for a second playthrough, the Gloomstalker Assassin is a very powerful build with an unconventional playstyle.
Alternatively, you may want to try the Drow Infiltrator Build. This is a very similar, Drow-themed take on the Gloomstalker Assassin.
BG3 A-Tier Multiclass Builds
A-Tier builds are very strong, but not as overpowered as the S-Tier Builds.
BG3 Berserk Thrower Build

- Power: S
- Utility: D
- Versatility: A
- Simplicity: C
- Total Ranking: A+
The Berserk Thrower combines the Berserker’s ability to throw weapons using a Bonus Action with the extra Bonus Action granted by the Thief Rogue. We also included the Fighter class for the ![]() Action Surge feature.
Action Surge feature.
This build deals awesome damage when you throw your weapon, and it works best when combined with a weapon that automatically returns to your hand when thrown, allowing you to spam your throw multiple times per turn. Eventually, it’s possible to throw up to 10 times on one turn (with some buffs applied).
Getting the ![]() Nyrulna weapon at the start of Act III is vital to fully optimise the build, as it deals AoE damage every time you throw it, resulting in some crazy damage output when fighting in the tight streets, alleys and tunnels of Baldur’s Gate.
Nyrulna weapon at the start of Act III is vital to fully optimise the build, as it deals AoE damage every time you throw it, resulting in some crazy damage output when fighting in the tight streets, alleys and tunnels of Baldur’s Gate.
The downside of the build is that throwing pathfinding can sometimes be very finicky, so good positioning and anticipation of enemy movements are required to get the best out of this setup.
The Berserk Thrower Build offers you an unconventional playstyle and consistently surprises me with how well it performs. It’s a great choice if you’ve completed the game once and want to shake things up.
BG3 Magic Missile Build

- Power: A
- Utility: B
- Versatility: A
- Simplicity: A
- Total Ranking: A
As its name suggests, the Magic Missile Build is built to empower the Wizard’s ![]() Magic Missile spell as much as possible.
Magic Missile spell as much as possible.
This spell has a great level of potential because it is almost guaranteed to hit its target, and it can be buffed and upcast to shoot up to nine projectiles with one cast. Furthermore, there’s a lot we can do to buff the damage of each projectile, such as using ![]() The Spellsparkler to generate
The Spellsparkler to generate ![]() Lightning Charges, and every damage buff applies to each projectile individually.
Lightning Charges, and every damage buff applies to each projectile individually.
This allows the Magic Missile Build to stack up insane amounts of damage, and the equipment recommended in the build will do most of the hard work for you – you just have to go to the trouble of collecting it.
The use of the Wizard class gives you access to a wide range of other spells that can be used to buff allies or debuff enemies, too, so the build is rather versatile and decent at support.
If you don’t mind putting all of your eggs in one basket and empowering a single spell above everything else, then the Magic Missile Build will give you a mighty party member who is quite easy to play.
BG3 Lockadin Build

- Power: A-
- Utility: B
- Versatility: A
- Simplicity: A
- Total Ranking: A-
The BG3 Lockadin Build combines the Paladin with the Hexblade Warlock to create a mighty warrior who curses enemies you attack, raising horrific spectres from their fallen bodies to further torment your foes.
The main issue with this build is that it’s a slow burner initially. For Act I, you are just a normal Paladin. But later on in Act II and Act III, you will unlock the Warlock class and begin finding some of the strong items that bring the build to the next level.
You enjoy very high base damage thanks to items like ![]() Balduran’s Giantslayer and
Balduran’s Giantslayer and ![]() Diadem of Arcane Synergy, and additional Critical Chance thanks to the
Diadem of Arcane Synergy, and additional Critical Chance thanks to the ![]() Risky Ring and
Risky Ring and ![]() The Dead Shot.
The Dead Shot.
I dropped the Power ranking to A- instead of a standard A, because sometimes you can get bad luck with the crits. But in general, the Lockadin Build is a melee powerhouse and very satisfying to play.
BG3 Dual-Hand Crossbow Build

- Power: A-
- Utility: B
- Versatility: A
- Simplicity: B
- Total Ranking: A-
The Dual-Hand Crossbow Build combines the Ranger, Rogue and Fighter classes along with, as you probably guessed, dual-wielded ![]() Hand Crossbows.
Hand Crossbows.
The goal here is to fire as many crossbow bolts per turn as possible, and apply multiple damage buffs to each bolt. The result is a cool alternative playstyle that holds its own surprisingly well against many other builds in this ranking.
The only downside of the build is that to fulfil the A- ranking we’ve given it, you do have to obtain several items from rather dangerous places in Act III. The most important additions are the ![]() Bhaalist Armour and
Bhaalist Armour and ![]() Dolor Amarus.
Dolor Amarus.
The Dual-Hand Crossbow Build is probably the closest you can get to a Bounty Hunter or Witch Hunter playstyle in Baldur’s Gate 3.
BG3 B-Tier Multiclass Builds
B-Tier Builds are still quite strong, but have a few weaknesses that hold them back.
BG3 Sorcadin Build

- Power: C
- Utility: A
- Versatility: A
- Simplicity: A
- Total Ranking: B+
While its attacking prowess is decent, the Sorcadin is nothing special in this regard. However, this build excels at debuffing and stunning enemies.
You need to hit enemies with a few attacks to get it going, building up stacks of ![]() Arcane Acuity thanks to the
Arcane Acuity thanks to the ![]() Helmet of Arcane Acuity, but once that’s done you will enjoy a very high success chance with control spells such as
Helmet of Arcane Acuity, but once that’s done you will enjoy a very high success chance with control spells such as ![]() Command or
Command or ![]() Hold Person. Many of these spells can be upcast to hit several targets at once, or you can combo them with the Sorcerer’s
Hold Person. Many of these spells can be upcast to hit several targets at once, or you can combo them with the Sorcerer’s ![]() Twinned Spell to split them.
Twinned Spell to split them.
If you want a reliable build to form the backbone of your BG3 party, the Sorcadin Build is a great choice.
BG3 Mystic Knight Build

- Power: C
- Utility: A
- Versatility: A
- Simplicity: A
- Total Ranking: B+
The Mystic Knight is very similar to the Sorcadin Build mentioned above. The main difference is that this one is themed around the Dragonborn race, incorporating the Draconic Bloodline subclass.
We’ve also added one level of the War Domain Cleric, which gives you a limited number of bonus attacks after each Long Rest.
If you want to do a playthrough with the Dragonborn race, the Mystic Knight is a strong build designed with that in mind.
BG3 Lorecerer Build

- Power: B-
- Utility: A
- Versatility: A
- Simplicity: D
- Total Ranking: B-
The Lorecerer Build seeks to enhance the Bard’s combat prowess by incorporating the Sorcerer class and adding items to boost its spell success chance.
The College of Lore Bard also gives you access to strong spells like ![]() Call Lightning and
Call Lightning and ![]() Hunger of Hadar.
Hunger of Hadar.
Playing this build is a bit tricky because it requires complicated interplay between the ![]() Hat of Fire Acuity and the
Hat of Fire Acuity and the ![]() Scorching Ray spell (upcasted) to buff your spell potency, and then using another spell like
Scorching Ray spell (upcasted) to buff your spell potency, and then using another spell like ![]() Command on the same turn to stun lots of enemies at once. Having the
Command on the same turn to stun lots of enemies at once. Having the ![]() Haste buff active at all times is pretty much mandatory to get the most out of this build.
Haste buff active at all times is pretty much mandatory to get the most out of this build.
If you enjoy a bit of a challenge and want a build that will engage with pretty much every gameplay system in BG3, the Lorecerer Build is an excellent choice.
BG3 C-Tier Multiclass Builds
C-Tier Builds are a little mediocre, and only slightly stronger than their single-class counterparts. They are still strong enough to complete the game on any difficulty without too much trouble. But they’re overshadowed by the builds in S, A and B tiers.
BG3 Bardlock Build

- Power: C
- Utility: A
- Versatility: A
- Simplicity: C
- Total Ranking: C+
The Bard class in BG3 comes with a pretty wide range of spells, good group support and excellent Skill Proficiencies. But it suffers from a shortcoming – a total lack of powerful Cantrips, making it difficult for the Bard to deal consistent damage.
The Bardlock aims to remedy this problem by incorporating the Warlock class, giving you access to the ![]() Eldritch Blast Cantrip, which combos very nicely with the
Eldritch Blast Cantrip, which combos very nicely with the ![]() Hex spell and some equipment recommended in the build.
Hex spell and some equipment recommended in the build.
Despite these improvements, the Bardlock remains a “jack of all trades” and won’t push more damage than most of the other builds in this ranking. But it will hold its own and be an asset to your team.
Check our BG3 Bardlock Build Guide if you want to learn more about this build.
BG3 Elementalist Monk Build

- Power: C+
- Utility: D
- Versatility: B
- Simplicity: B
- Total Ranking: C+
The Elementalist Monk combines the Four Elements Monk with the Thief Rogue.
This version of the Monk comes with a variety of special Monk spells, cast with Ki Points instead of Spell Slots. The Thief subclass is once again included for its extra Bonus Action.
While the damage output of this setup is better than the basic single-class Four Elements Monk, it falls a bit short compared to many of the other builds in this ranking.
Despite this, the Elementalist Monk Build is plenty strong enough to complete the game on any difficulty and is fairly easy to play thanks to the versatility added by its ranged magic.
BG3 Mighty Brawler Build

- Power: C
- Utility: D
- Versatility: C
- Simplicity: B
- Total Ranking: C
The Mighty Brawler combines the Way of the Open Hand Monk’s flurry attacks (activated with Bonus Actions) with the Thief Rogue’s extra Bonus Action.
This allows you to dish out a huge number of punches and kicks on each turn. The main limiting factor is that the Monk can’t apply as many damage bonuses to these attacks as some of the other builds in this ranking, such as the Berserk Thrower, which has a similar premise. You can get some nice damage buffs from items like the ![]() Gloves of Soul Catching and
Gloves of Soul Catching and ![]() Horns of the Berserker, though.
Horns of the Berserker, though.
Your ranged options will also be limited, and you don’t have any spells, so you’ll need to be very mindful of positioning and line of sight rules when outnumbered by ranged enemies.
Despite these issues, the Mighty Brawler Build isn’t weak as such; it still outperforms the single-class Open Hand Monk. But it does fall into the shadow of many other builds listed here.