

Welcome to the Diablo 4 Necromancer Skeletal Minions build.
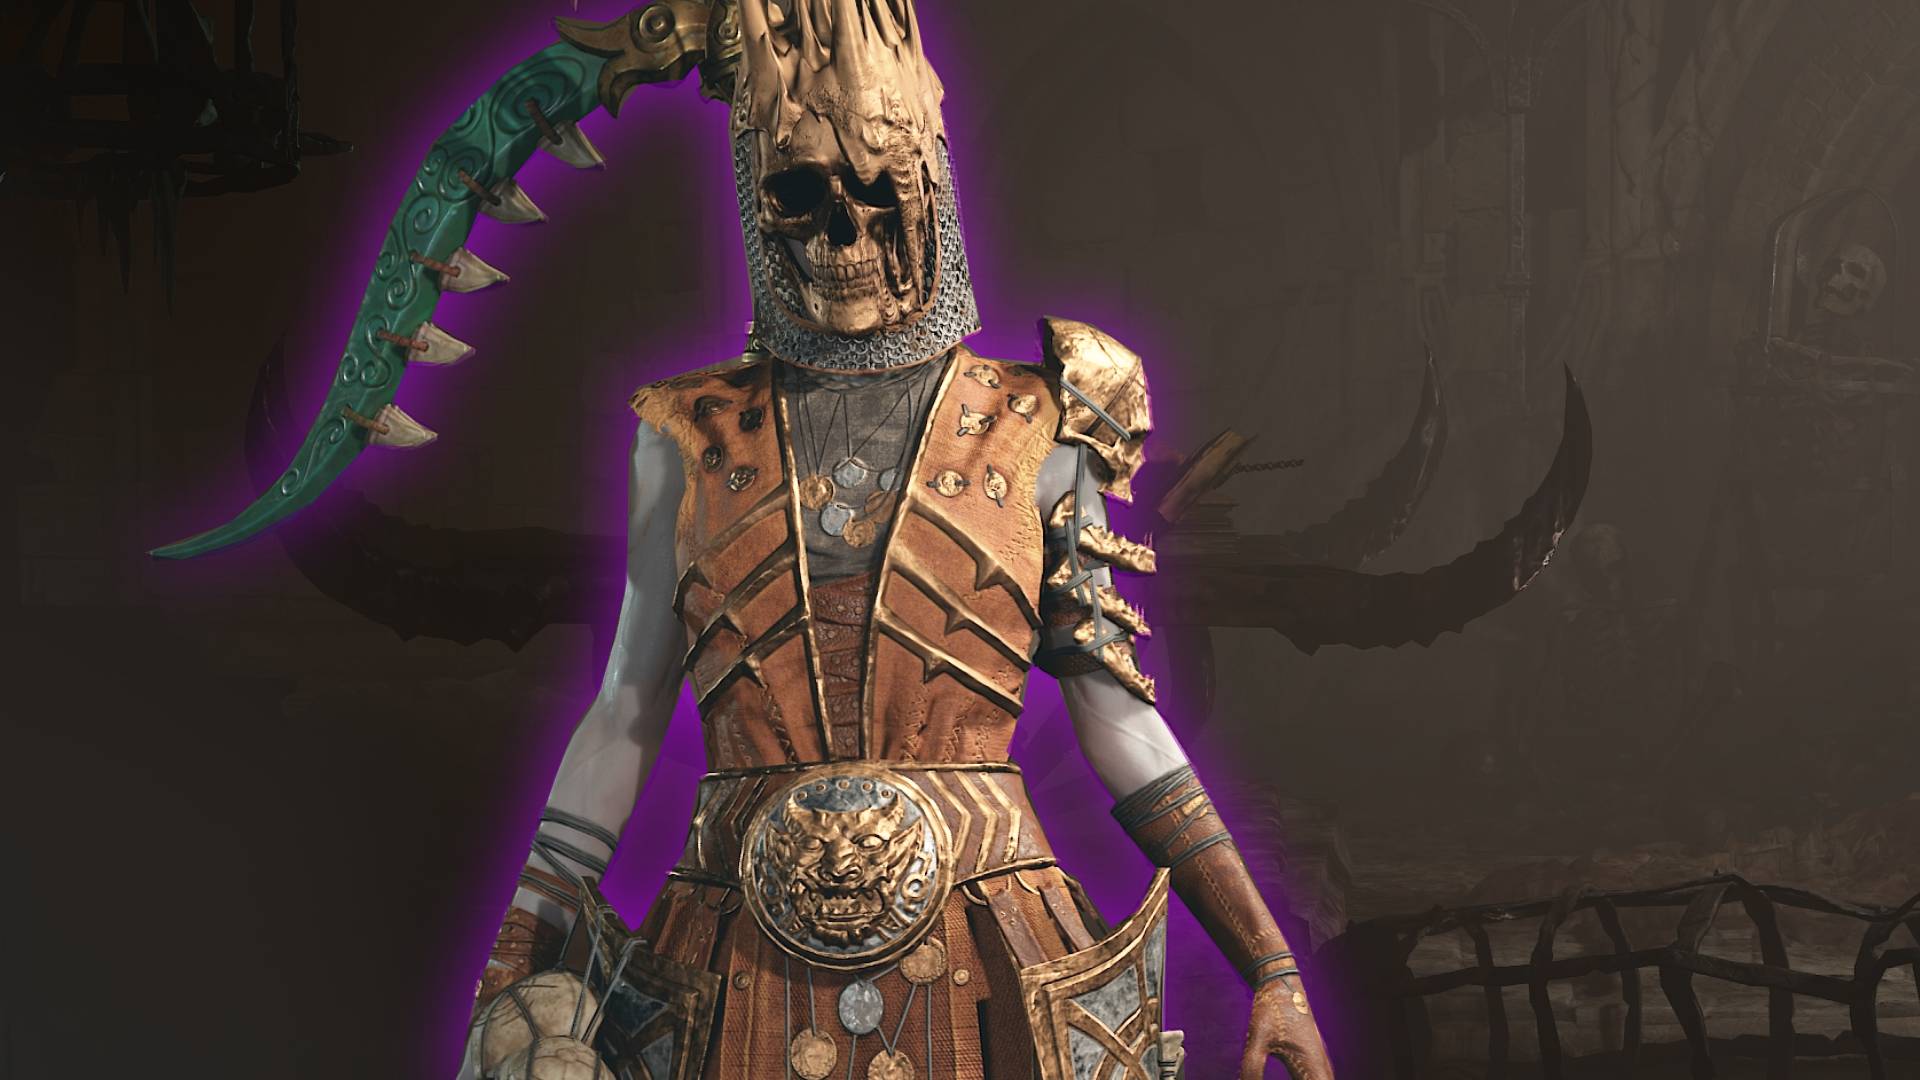
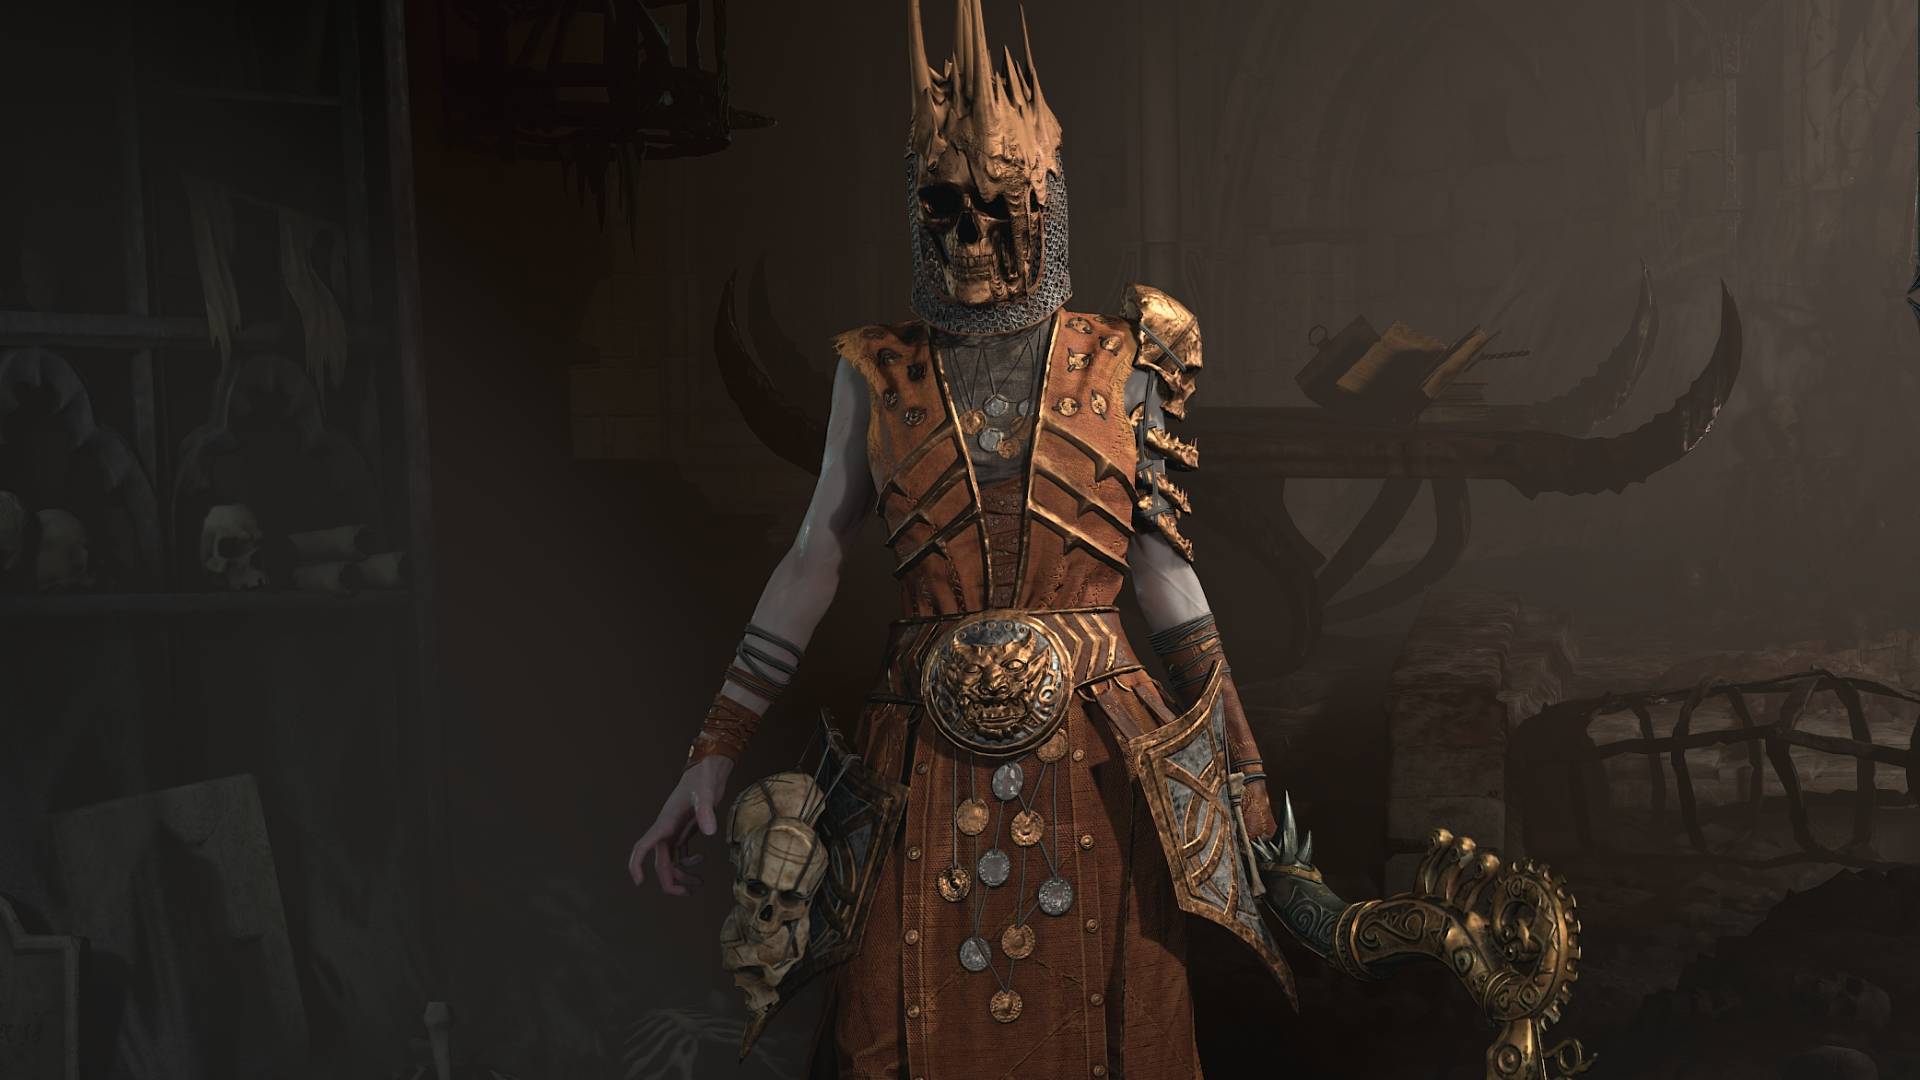
This Necromancer build is focused on summoning Skeleton and Golem Minions to deal damage and protect you, and makes use of skills that synergise nicely with this playstyle.
Table of Contents:
Necromancer Minion Setup for Diablo IV
For this Necromancer Skeleton Army build in Diablo 4 you won’t need the exact same setup, the build already works if you pick the recommended skills and passive perks. However, the build will perform better if you can get your hands on the right Legendary items and Aspects for it. To get the best possible results toward the endgame, it’s a good idea to obtain these elements of the build.
Legendary items drop in dungeons, usually on the last boss.
Necromancer Build Skills Setup
In this section we will list the required skills for this build, along with which upgrades we chose. We also provided an explanation for each skill pick, so you know how the skill fits in with the build.
Reap
Generate Essence: 4 per enemy hit.
Sweep an ethereal scythe in front of you, dealing X damage. Hitting an enemy with Reap increases your damage reduction by 15% for 2 seconds.
Upgrades:
- Enhanced Reap – If an enemy hit by Reap dies within 2 seconds, you gain 30% Attack Speed for 3 seconds.
- Acolyte’s Reap – Reap forms a corpse under the first enemy hit. Can only occur every 5 seconds.
Explanation: Reap is a good Basic skill to use because it generates some Essence, allowing us to keep casting other skills. It can also give us some other useful buffs once the upgrades are unlocked. If you struggle with managing Essence early on in the game, then you can instead use Bone Splinters, another Basic skill which does less damage but generates significantly more Essence. Then respec back to Reap later in the game when your build is more complete.
Sever
A specter of you charges forward and attacks with its scythe for X damage, then returns to you and attacks again for X damage.
Upgrades:
- Enhanced Sever – Sever damages enemies along its path for 25% of its initial damage.
- Supernatural Sever – Sever deals 2% increased damage for each Minion you have upon cast.
Explanation: Sever is our Core skill, meaning it has no cooldown and is mostly limited by its Essence cost. It’s a great DPS skill that can damage enemies multiple times per cast, and it also synergises really well with the theme of our build, receiving a damage boost for each active Minion.
Corpse Explosion
Detonate a corpse, dealing X damage to surrounding enemies.
Upgrades:
-
- Enhanced Corpse Explosion – Corpse Explosion’s Radius is increased by 15%.
- Blighted Corpse Explosion – Corpse Explosion becomes a Darkness skill, and instead of exploding, releases a vile miasma dealing X Shadow Damage over 6 seconds.
Explanation: This is a great skill for dealing with large groups of enemies. Once you get a cast of Corpse Explosion going, the chances are you’ll be defeating more enemies soon after, allowing you to cast it again and deal more damage.
Casting Corpse Explosion doesn’t cost any Essence and has no Cooldown – all you need is a Corpse to cast it on, so once you get started with it, your ability to dish out damage in a large fight can increase exponentially.
Corpse Tendrils
Veins burst out of a corpse, pulling enemies in, stunning them for 3 seconds and dealing X damage to them. Does not consume the corpse.
Upgrades:
- Enhanced Corpse Tendrils – Enemies who are in range of Corpse Tendrils are slowed by 50% before being pulled.
- Plagued Corpse Tendrils – Enemies who are damaged by Corpse Tendrils are made Vulnerable for 3 seconds.
Explanation: Corpse Tendrils is a very powerful source of Crowd Control, pulling and stunning enemies onto a Corpse, which you can then also use for a Corpse Explosion. This lets you deal huge AOE damage to many enemies at once.
Raise Skeleton
Raise a Skeleton from a corpse to fight for you.
Once all of your Skeletons have been summoned, Raise Skeleton briefly summons a Skeletal Priest to empower your Minions for 5 seconds, increasing their Damage by 20% and healing them for 10% of their Maximum Life.
Explanation:
The Necromancer’s Summoning Skills are not found within the normal skill tree, but from the Book of the Dead, which we will explain further a little later in this guide.
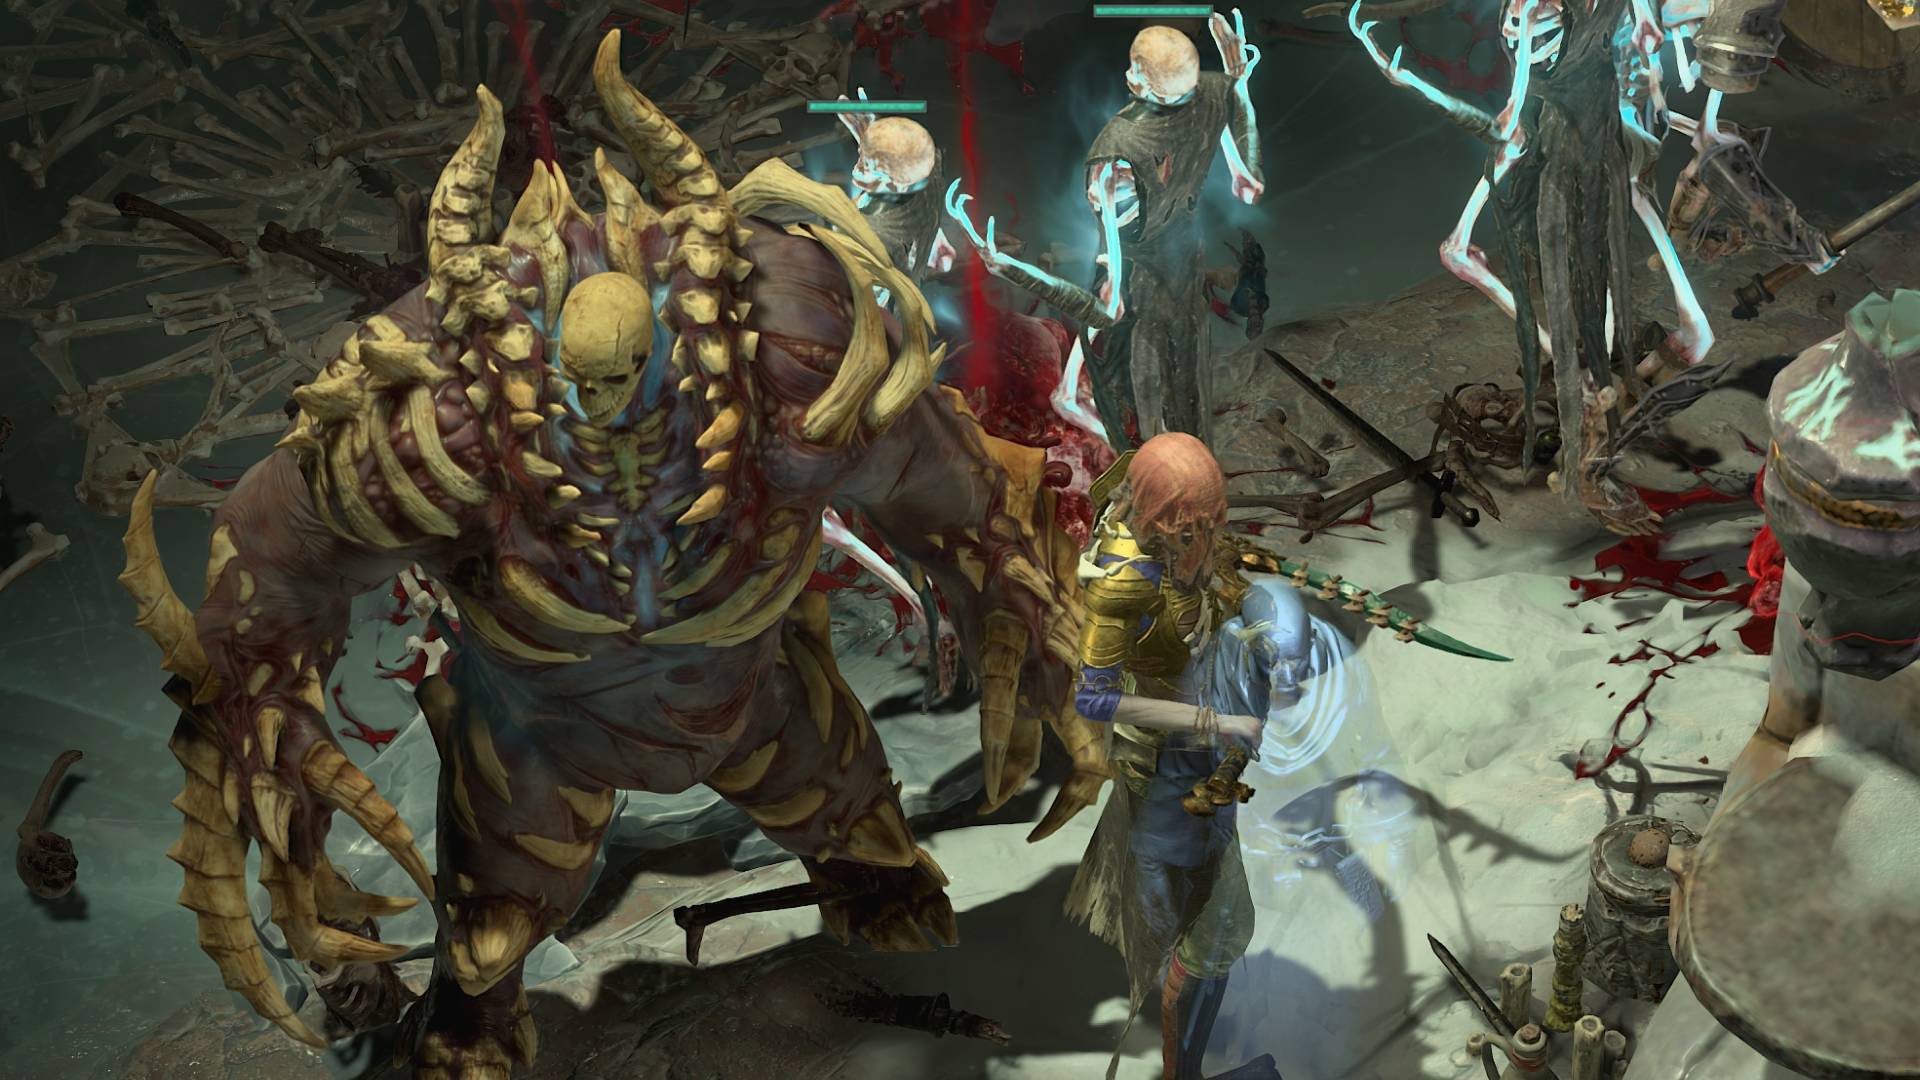
Keeping Skeletons summoned will dish out some extra damage and also help to protect you from enemies. Plus, what good is a Necromancer if they don’t have an army of skeletons to set loose on their enemies?
Golem
Passive: You are protected by a Golem with X Life that attacks for X Damage. The Golem sheds corpses as it takes damage.
Active: Your Golem becomes Unstoppable, Taunts nearby enemies and takes 30% less damage for 6 seconds.
When your Golem dies, it respawns after 20 seconds.
Explanation: After unlocking the Golem, we can only use Bone Golems to begin with, which are great for taunting enemies and dropping some extra corpses, which can be used to fuel our other spells even if there are no adds around.
However, you can switch to the Blood Golem a little later on, which can be activated to drain life from nearby enemies, dealing damage and healing itself. This is a great way of dishing out extra damage and keeping your Golem Healthy, which gives it an additional damage boost.

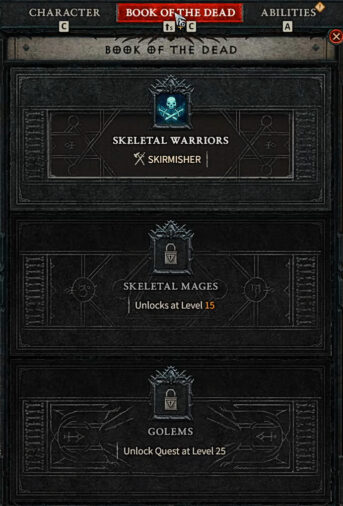
Diablo IV Necromancer Build Book of the Dead Explained
The Book of the Dead is the Necromancer’s class specific mechanic in Diablo IV. It is available from the beginning of the game, initially only allowing you to summon basic skeletons at Level 1. As you level up, you’ll unlock new options and upgrades for your minions.
We are sourcing our Raise Skeleton and Golem skills from the Book of the Dead. Remember that you still need to slot them like normal skills in order to summon them.
When you reach level 25, you will unlock a class-specific Priority quest that you need to complete in order to unlock the Golem skills.
Diablo IV Necromancer Build Skillpoints
In this section, we will list the order in which you should spend your Skillpoints when making this build. This is particularly useful if you’re just starting out with your Necromancer, and want to gradually make this build as you level up.
We’ve included 58 Skillpoints here – the 48 you get from levels 2-49, and the 10 you unlock by earning Renown when exploring Sanctuary.
- Reap
- Enhanced Reap
- Sever
- Enhanced Sever
- Supernatural Sever
- Acolyte’s Reap
- Sever tier 2
- Sever tier 3
- Sever tier 4
- Sever tier 5
- Skeletal Warrior Mastery (Passive)
- Skeletal Warrior Mastery tier 2
- Skeletal Warrior Mastery tier 3
- Corpse Explosion
- Enhanced Corpse Explosion
- Blighted Corpse Explosion
- Corpse Tendrils
- Enhanced Corpse Tendrils
- Plagued Corpse Tendrils
- Unliving Energy (Core Passive)
- Imperfectly Balanced (Core Passive)
- Imperfectly Balanced tier 2
- Imperfectly Balanced tier 3
- Grim Harvest (Passive)
- Fueled By Death (Passive)
- Reaper’s Pursuit (Passive)
- Gloom (Passive)
- Gloom tier 2
- Gloom tier 3
- Terror (Passive)
- Terror tier 2
- Terror tier 3
- Crippling Darkness (Passive)
- Shadowblight (Key Passive)
- Golem Mastery (Passive)
- Corpse Explosion tier 2
- Corpse Explosion tier 3
- Corpse Explosion tier 4
- Corpse Explosion tier 5
- Hewed Flesh (Passive)
- Hewed Flesh tier 2
- Hewed Flesh tier 3
- Grim Harvest tier 2
- Grim Harvest tier 3
- Fueled by Death tier 2
- Fueled by Death tier 3
- Inspiring Leader (Passive)
- Skeletal Mage Mastery (Passive)
- Death’s Defense (Passive)
- Death’s Defense tier 2
- Death’s Defense tier 3
- Hellbent Commander (Passive)
- Hellbent Commander tier 2
- Hellbent Commander tier 3
- Golem Mastery tier 2
- Golem Mastery tier 3
- Skeletal Mage Mastery tier 2
- Skeletal Mage Mastery tier 3
Necromancer Paragon Boards
In this section we will showcase the ideal Paragon setup for this build. We have included a step by step explanation on how to progress through the Paragon Boards, which Boards to use and which Glyphs and Nodes to take. At the bottom of this section we’ve also included an image of each Board. If you want to view these in more detail, we have saved them here.
Below are the step by step instructions for building your Necromancer Paragon Boards:
- Starting Board
- Progress up the right side of the board, taking the Prime Node, and the Damage Magic Nodes nearby.
- Progress to the Glyph Socket. Slot the Blood-Drinker Glyph.
- Take the Intelligence Nodes to the bottom left of the Glyph Slot.
- Progress to and unlock the Knowledge Node, along with the nearby Magic Nodes.
- Progress to the Preservation Node and unlock it, along with the nearby Magic Nodes.
- From Preservation, continue up the right side of the Board to the Exit Node. Attach the Wither Board.
- Wither Board
- Make sure the board is rotated to have the Glyph Slot on the top right.
- Progress to the Dragging Shadows Node and unlock it.
- Next we go leftwards until we unlock the Wither Node.
- Backtrack to Dragging Shadows and continue progressing upwards, then rightwards to Lingering Shadows. Unlock this and the nearby Magic Nodes.
- Progress upwards and leftwards to Gnawing Darkness. Unlock this, and the nearby Magic Nodes.
- Backtrack a little, then progress rightwards to the Malediction Node. Unlock this, along with nearby Magic Nodes.
- Unlock the Glyph Slot. Use the Scourge Glyph.
- Unlock Willpower Nodes that are within range of the Glyph.
- Progress rightwards and then down to the Exit Node. Attach the Flesh-Eater Board.
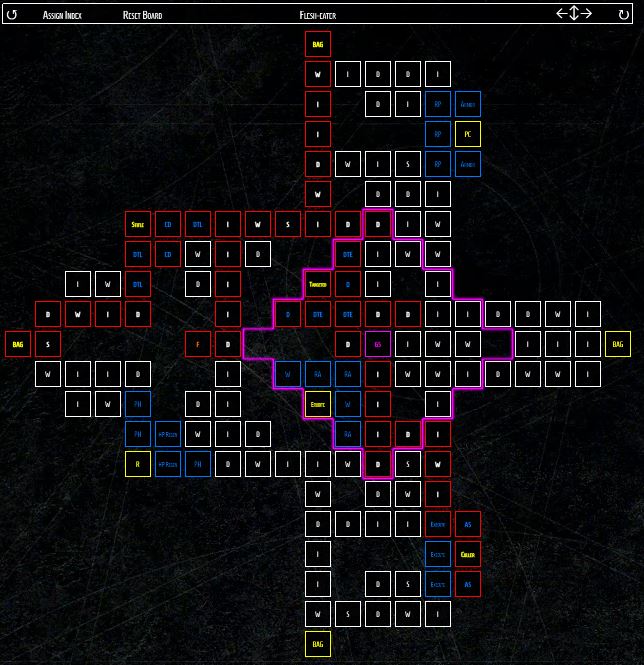
- Flesh-Eater Board
- Rotate the board so that the Glyph is slightly right of the center.
- Progress rightwards and upwards to the Stifle Node. Unlock this and the nearby Magic Nodes.
- Progress to the Flesh-Eater Node and unlock it.
- Backtrack to near the Stifle Node and continue rightwards, then down to the Targeted Node. Get this, and the nearby Magic Nodes.
- Unlock the Glyph Slot. Use the Territorial Glyph.
- Unlock Dexterity Nodes within range of the Glyph.
- Progress down to the Culler Node. Unlock it, along with the nearby Attack Speed Magic Nodes.
- From the Common Intelligence Node above the Glyph area, progress directly up to the Exit Node. Attach the Scent of Death Board.
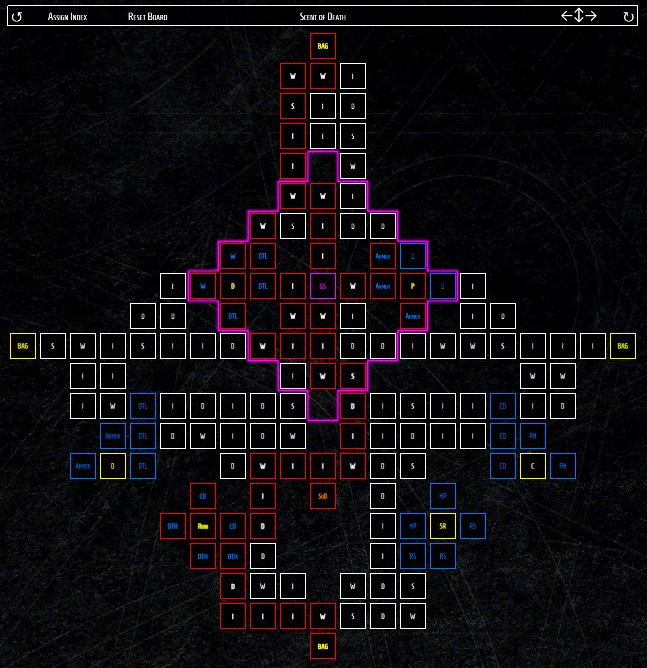
- Scent of Death Board
- Rotate the board so that the Glyph is slightly above the center.
- Progress left to the Ruin Node. Unlock this, and the nearby Magic Nodes.
- Progress to the Scent of Death Node and unlock it.
- Progress upwards to the Glyph Slot and slot the Darkness Glyph.
- Unlock the Preservation Node and nearby Armour Magic Nodes.
- Unlock the Deathmarked Node and nearby Magic Nodes.
- Unlock remaining Willpower Nodes in range of the Glyph.
- Progress upwards to the Exit Node. Attach the Bloodbath Board.
- Bloodbath Board
- Rotate the board so that the Glyph is on the bottom left.
- Progress to the Glyph Slot, then slot the Control Glyph.
- Unlock the Remedy and Hardened Nodes, and their nearby Magic Nodes.
- Unlock remaining Intelligence Nodes that are within range of the Glyph.


Codex of Power and Legendary Aspects
In this section we will list the most useful Legendary Aspects for this Diablo IV Necromancer Build. Some Aspects can be unlocked by completing a specific dungeon, and then imprinting the Aspect on a piece of gear at an Occultist. However, other Aspects are not included in the Codex of Power and must be sourced from a looted Legendary item.
Offensive Aspects (Can be placed on weapons, gloves, amulets and rings):
- Blighted Offensive Aspect: You deal up to 120% increased damage for 6 seconds after the Shadowblight Key Passive damages enemies 10 times. Unlocked by completing Akkhan’s Grasp in Hawezar.
- Offensive Aspect of Grasping Veins: Gain 20% increased Critical Strike Chance for 6 seconds when you cast Corpse Tendrils. You deal 60% bonus Critical Strike Damage to enemies damaged by Corpse Tendrils. Unlocked by completing Corrupted Grotto on Kehjistan.
- Offensive Aspect of Reanimation: Your Skeletons gain increased damage while alive, up to 30% after 10 seconds. Unlocked by completing Aldurwood in Scosglen.
- Cadaverous Offensive Aspect: Consuming a Corpse increases the damage of your next Core skill by 10%, up to 50%. Must be sourced from looted Legendary Gear.
- Offensive Aspect of Decay: Each time the Shadowblight passive deals damage to enemies, it increases the next Shadowblight’s damage within 10 seconds by 40%, stacking up to 5 times. Must be sourced from looted Legendary Gear.
Note that it’s generally not advisable to imprint Offensive Aspects on your weapons at low level, since you’ll probably be replacing it very often whenever you find one with higher item power. Wait until you’re level 50 and have found a strong weapon before doing so.
Defensive Aspects (Can be placed on Helm, Chest Armour, Pants, Amulet and Rings)
- Defensive Aspect of Disobediance: You gain 0.5% increased armour for 4 seconds when you deal any form of damage, stacking up to 50%. Unlocked by completing Halls of the Damned in Kehjistan.
Utility Aspects (Can be placed on Helm, Chest Armour, Boots, Gloves and Shields)
- Blood Getter’s Utility Aspect: Your maximum number of Skeletal Warriors is increased by 2. Must be sourced from looted Legendary Gear.
- Viscous Utility Aspect: Your maximum number of Skeletal Mages is increased by 2. Must be sourced from looted Legendary Gear.
Resource Aspects (Can be placed on Rings only)
- Resource Aspect of the Umbral: Restore 1-4 of your Primary Resource (Essence) when you Crowd Control an enemy. Unlocked by completing Champion’s Demise in Dry Steppes.
Gear and Stats for the Diablo IV Necromancer Build
Finally, we will look at the ideal stat boosts to look out for when deciding what Gear to wear on your Diablo IV Necromancer build. At the end of this section we will also touch on which gems to use in Sockets on your gear.
Best stat rolls for each item type:
- Weapon – Two-Handed Sword: Look out for Core Skill Damage, Vulnerable Damage, Critical Strike Damage, Damage to Enemies affected by Shadow DoTs, Damage to Crowd Controlled.
- Helm: Look out for Intelligence, Maximum Life, and buffs to any Resistances.
- Chest Armour: Look out for Maximum Life, Armour, Damage Reduction, Minion Life
- Gloves: Look out for increased Sever rank, Attack Speed, Damage and Intelligence.
- Pants: Look out for increased Corpse Explosion rank, Maximum Life, Intelligence, Damage Reduction and Minion Life.
- Boots: Look out for Movement Speed, increased Corpse Tendrils rank and Fortify Generation.
- Amulet: Look out for Damage, Movement Speed, Damage Reduction, and buffs to other stats like Intelligence.
- Rings: Look out for Damage, Damage to Close Enemies, Damage to Crowd Controlled Enemies, and Vulnerable Damage.
Use the following gems in your item sockets:
- Weapon: Amethysts, for increased Damage over Time.
- Armour: Rubies, for increased Maximum Life.
- Jewelry: Skulls, for increased Armour.
Remember that you can visit a Jeweler vendor to forge three of the same gem together into one higher quality one. But it’s not worth doing this when you’re low level. Save up gold and resources for when you reach level 50.
Other Diablo 4 Builds:
FAQ about Necromancer
Currently the best Necromancer Build that you can play in Diablo 4 is the Necromancer Skeleton Army Minion Build. It is played by most players that pick the Necromancer class.
The best stat for a Necromancer in Diablo 4 is Intelligence, providing an all-around boost to skill damage. More info can be found in the Necromancer Minion Build for Diablo 4.
All of the weapons that a Necromancer can equip are viable in Diablo 4. The most important thing to look out for in early game is that you get your Attack Power up. The Necro Minion Build can use a 2H Sword, Scythe, or 1H weapon with orb.