


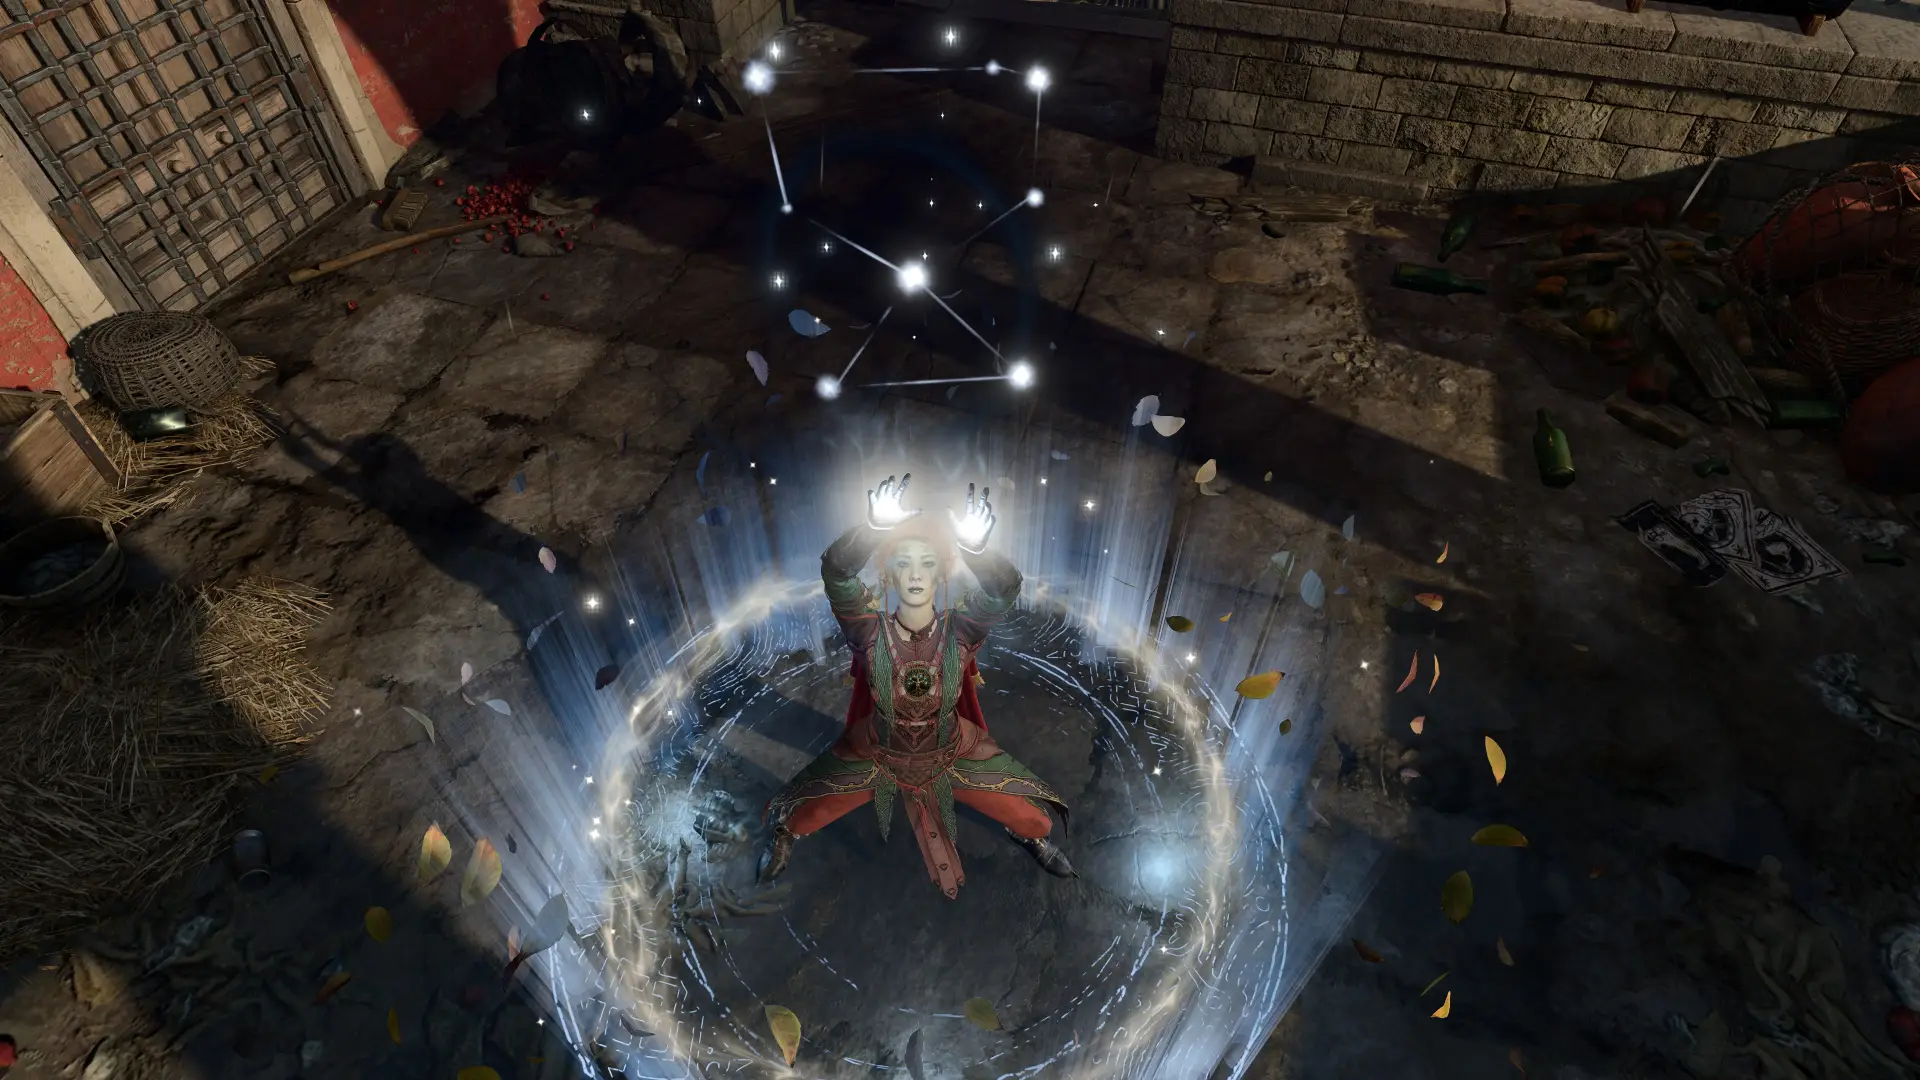
Welcome to the best BG3 Circle of Stars Druid Builds. The Druid class is highly effective, it has access to a wide range of supportive and attacking spells and can transform into different creatures via the Wild Shape action in BG3. The Circle of Stars Druid adds to these already impressive abilities by taking power from one of three constellations: the Archer, the Chalice, and the Dragon. You can switch between special Starry Forms at will to gain additional powers.
For more Druid builds, visit our BG3 Druid Builds page or explore the complete BG3 Builds Database. You can also check out our BG3 Builds Tier List to see which builds perform best.
Table of Contents:
- Introduction to the Circle of Stars Druid Build
- Circle of Stars Build Character Creation
- Circle of Stars Build Levelling Progression
- Circle of Stars Druid Equipment
- Circle of Stars Build Extra Info
Before we proceed, here is a quick look at the Strengths and Weaknesses of the Circle of Stars Druid in Baldur’s Gate 3:
Circle of Stars’ Strengths
Circle of Stars’ Weaknesses
BG3 Circle of Stars Build Overview
Here is a quick overview of the Druid Class and the Circle of the Stars subclass, which we’ll be using for this build. If you’re already familiar with how they work, you may want to skip this section.
Druid Class Summary
These are the most important aspects of the Druid Class in Baldur’s Gate 3:
 Wild Shape (Level 2) – You can use a Wild Shape Charge to transform into a beast. When your beast form reaches 0 HP, you return to human form with the HP you had before you transformed. As you level up, you’ll unlock more Wild Shapes. Some Wild Shapes are unique to specific Druid subclasses.
- Wild Shape Improvement (Levels 4, 8 and 12) – Wild Shape Attack Damage is increased.
- Wild Strike (Level 5) – You can attack twice per Action while in Wild Shape form.
- Improved Wild Strike (Level 10) – You can attack three times per Action in Wild Shape form.
In addition to these class features, the Druid gains access to a fairly wide range of spells, with a high portion of Concentration Spells. They are particularly good at channelling AoE damage, buffs and debuffs. They also possess several healing spells. This combination of features makes the Druid quite versatile. On the other hand, the Druid can be tricky to play because you cannot cast spells while in animal form, and you don’t have many non-Concentration Spells or strong Cantrips.
Circle of the Stars Subclass Summary
Now, let’s look at the most important features of the Circle of the Stars subclass:
- Starry Forms (Level 2) – You can spend your Wild Shape Charges to take on a Starry Form instead of an animal transformation. Starry Forms grant additional features to your Druid:
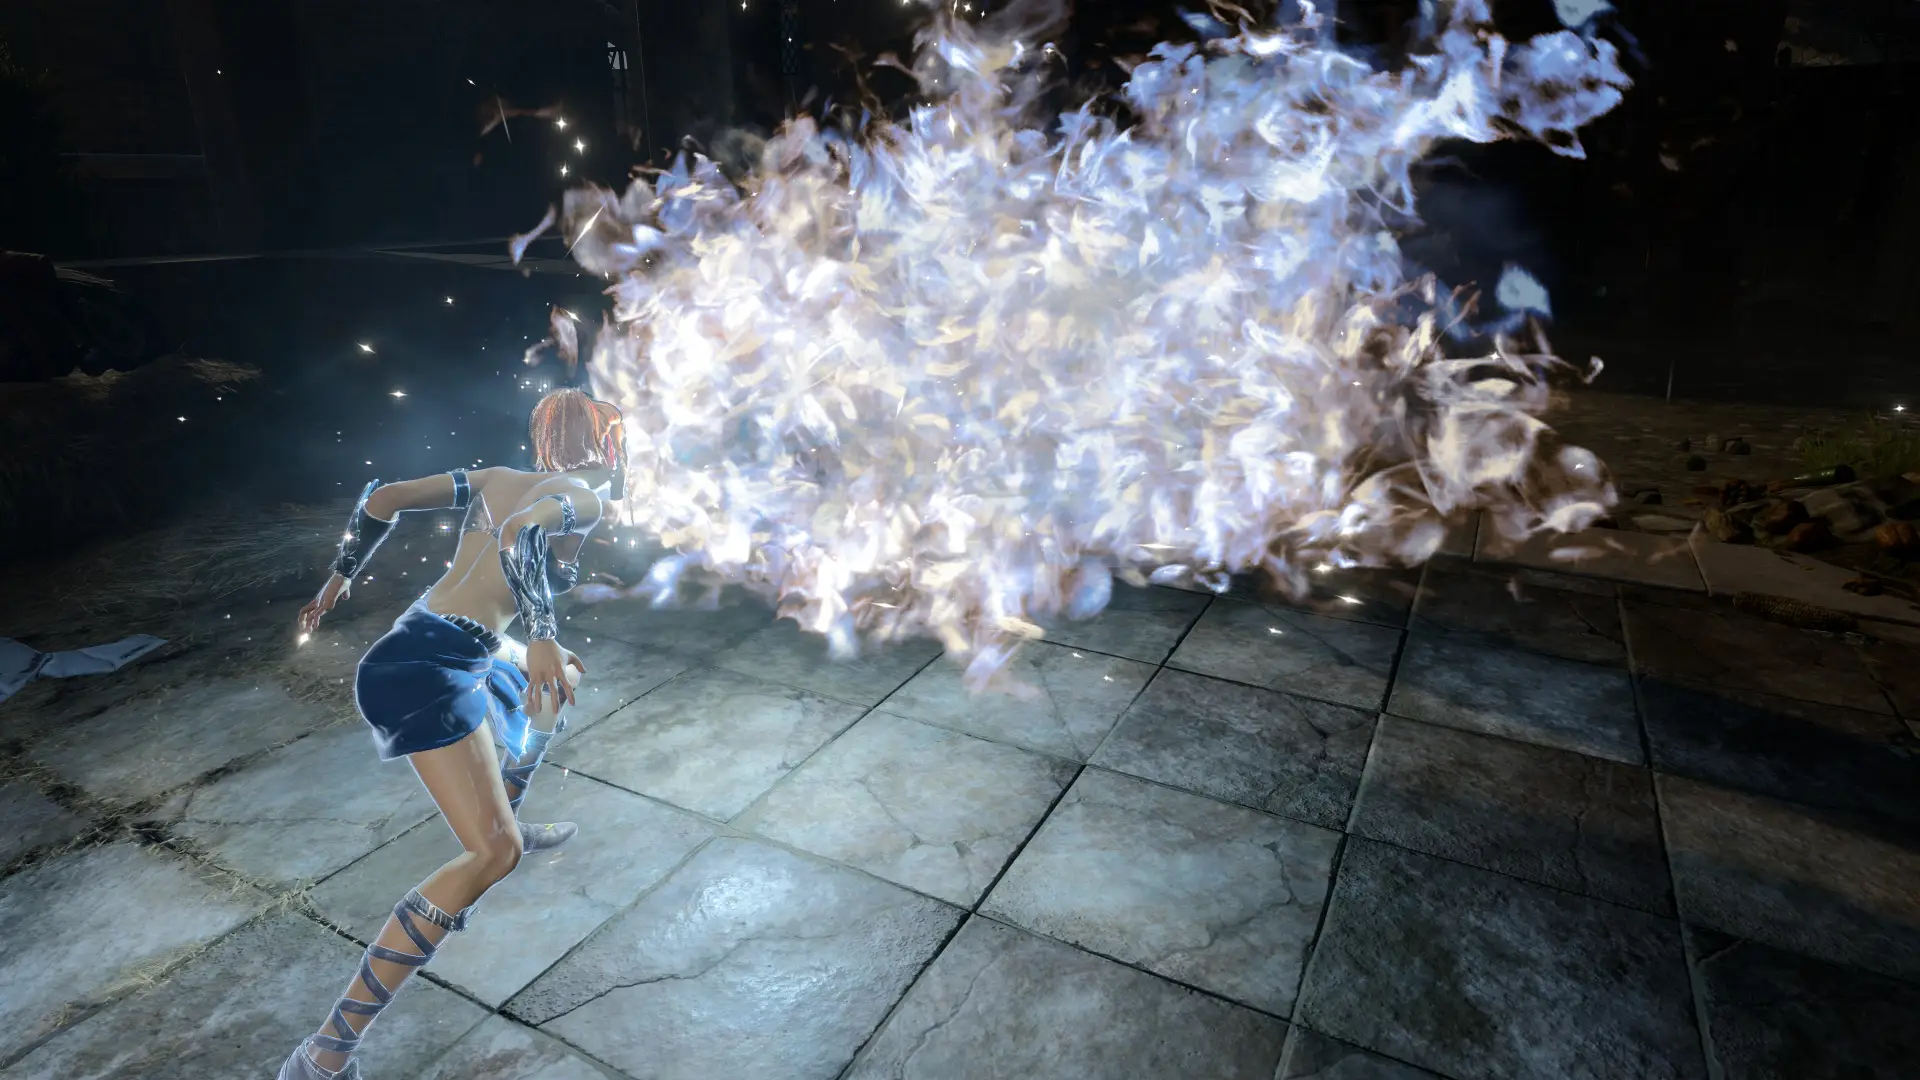
- Starry Form: Archer – You can cast Luminous Arrow as a Bonus Action, dealing extra Radiant Damage.
- Starry Form: Chalice – Whenever you cast a healing spell that consumes a Spell Slot, you can use Chalice Healing to heal more HP.
- Starry Form: Dragon – Guarantees a minimum roll of 10 on Concentration Saving Throws. You can use Dazzling Breath as a Bonus Action, dealing Radiant Damage in an AoE.
- Star Map: Guiding Bolt (Level 2) – You gain a unique subclass resource called Star Maps. They allow you to cast Guiding Bolt without spending a Spell Slot. The Star Maps are replenished when you Long Rest.
- Cosmic Omen (Level 6) – When you Long Rest, gain three Cosmic Omens. They allow you to buff or debuff a character’s Attack Rolls, Saving Throws or Ability Checks.
- Twinkling Constellations (Level 10) – Your Starry Forms are improved, and you can now switch between them once per turn as a free action:
- The Archer’s Luminous Arrow gains an additional 1d8 damage die
- The Chalice’s Chalice Healing gains an additional 1d8 healing die
- The Dragon can now hover and fly up to 6 metres per turn
Character Creation (Level 1) for the Circle of Stars Druid
In this section, we will guide you through the best options in Character Creation for the BG3 Circle of Stars Druid Build. While you can deviate somewhat from this if you want, following these steps will result in the most powerful starting point for your Druid.
Top 5 Circle of Stars Races
The race you select has no bearing on your Ability scores, which are the most important factor at play. This gives players more freedom to choose any race and class combination that they wish, without having to worry about being pigeon-holed into a “meta” race for their class.
However, there are still some useful passive features sourced from your race and subrace, which may be of advantage when it comes to the Circle of the Stars Druid. Some interesting options are:
| Race | Strengths | Info |
|---|---|---|
Wood Elf |
|
Wood Elves are a great choice for most build types in BG3, thanks to their superior movement speed. Natural Proficiency in Perception is always useful, and immunity to magical Sleep will help you out a lot, especially in the early game, where enemy mages love to spam this spell.
You can also use a Half Wood-Elf for most of the same benefits. |
Duergar |
|
With their wide choice of armour and weapon proficiencies, and resistances to poison, charm, and paralysis, Duergar are one of the strongest races in BG3.
The only downside of Duergar is their small stature – this reduces their base Movement Speed to 7.5 metres per turn (most races get 9 metres). |
|
Gold Dwarf |
|
The Gold Dwarf is good for beginner players, because it gets some extra HP as you level up. |
Forest Gnome |
|
Gnomes gain Advantage on Intelligence, Wisdom and Charisma Saving Throws, a strong bonus which shouldn’t be underestimated.
The three Gnome variants are very similar, but the Forest Gnome is a good thematic choice for a Druid. Like Dwarves, Gnomes are small, so they have reduced Movement Speed. |
|
Human |
|
Humans are useful for their unrestricted Skill choice. Used wisely, this allows your character to be proficient with a useful Skill that wouldn’t normally be available for your Class.
The extra carrying capacity is a nice boost, too. |
Background & Skills
The following Backgrounds are the best choice for your Circle of the Stars Druid:
- Acolyte
- Folk Hero
- Outlander
These backgrounds give us the most proficiency with Wisdom-based skills. You will want to have high Wisdom on your Druid, since this is the ability needed for spellcasting on this class. These backgrounds fit nicely with that.
For your Skills, choose any remaining options that are Wisdom or Dexterity-based.
Abilities
For Druids, Wisdom is the most important ability, followed by Constitution and Dexterity. We want 16 points in Wisdom to improve the efficacy of spellcasting, and 16 in Constitution will improve your HP and your ability to maintain Concentration on your spells. Dexterity helps to improve your Armour Class.
It usually makes sense to keep the ability scores on even numbers as much as possible, since your Ability Modifiers (i.e. Wisdom Modifier) only gets changed for every second point – for example 12 Wisdom = +1 Wisdom Modifier, 14 Wisdom = +2 Wisdom Modifier, etc.
- 10 Strength
- 14 Dexterity
- 16 Constitution
- 8 Intelligence
- 16 Wisdom
- 10 Charisma
Cantrips
You can choose two Cantrips to start the game with. We recommend the following options:
- Thorn Whip – Does a modest amount of piercing damage, but its most useful application is its ability to control the position of enemies on the battlefield. If an enemy is entrenched in a strong position and giving you a hard time, you can use Thorn Whip to pull them towards you. This is especially useful on enemies who have an elevation advantage over you. Thorn Whip can pull them down to your level. Depending on how high they are, they may receive additional falling damage.
- Shillelagh – Shillelagh imbues your staff or club with magical energy for the next 10 turns, causing it to deal extra bludgeoning damage. This spell might seem fairly mediocre at first glance, but it’s actually a huge blessing for us in the early game, as it also causes our melee attacks to use our Wisdom instead of our Strength, massively improving your attack rolls if you built the Druid as recommended above. This is also a Bonus Action, meaning you can cast it and then perform an attack on the same turn.
- Please Note: In the equipment section later in the guide, we have recommended dual-wield Scimitars for your melee weapons. The Shillelagh staff is mainly intended for the first few levels when there aren’t many good Scimitars available, but you can use it for longer if you prefer to use a staff.
Spells
You also need to select four Prepared Spells to begin the game with. On the Druid, your spells need to be prepared before you can use them. We recommend choosing the following four spells:
- Speak with Animals – You can speak with animals, potentially uncovering additional information and quest paths. This will not consume a Spell Slot when cast outside of combat.
- Thunderwave – Thunderwave produces a large directional wave originating from your character, knocking back all characters and objects in its path. It also deals some Thunder damage. Not only is this a decent AOE damage spell, it’s also great for creating space, and you can knock enemies off ledges or cliffs, subjecting them to additional fall damage or even an immediate demise.
- Faerie Fire – Faerie Fire is an AOE debuff spell, placing an effect on characters in the area that improves Attack Rolls against them. It requires Concentration to maintain the spell, but you’re generally going to have considerably better results from attack rolls as long as you can maintain this on your targets. Just be careful not to place it on your allies by accident. This also pulls targets out of any effects that make them invisible.
- Healing Word – Healing Word is a nice healing spell that can be used at long range. At first glance, you might think that Cure Wounds is better, due to its higher potential healing roll. However, this is a mistake. Cure Wounds can only be cast at Melee Range, which gives it a major disadvantage versus Healing Word, and Healing Word is also a Bonus Action, meaning you can still attack or cast another cantrip or spell on the same turn.
Note that the number of Prepared Spells we can have depends on our Character Level and our Wisdom. Each character Level will give another slot, and increasing our Wisdom skill further will also add to this.

What is Concentration in BG3?
The Concentration mechanic is important to understand for any spellcaster. Many spells that leave a lingering effect on an enemy or an area require Concentration to maintain. You can see if a spell requires Concentration on its tooltip.
What this means is that whenever the caster takes damage, they must go through a Concentration Check. Failing the check will break Concentration and put an end to any ongoing Concentration spells that they were maintaining. Having a higher Constitution score improves your chances of passing Concentration Checks.
You can only have one Concentration spell active at a time (per character). Casting another Concentration Spell will replace the ongoing effects of the previous one.

Circle of the Stars Build Levelling Guide
We will now walk you through the full levelling up process for our BG3 Circle of the Stars Druid Build.
Early-Game Levelling 2-4 for your BG3 Circle of Stars Druid Build
The BG3 Circle of the Stars Build early-game levelling process consists of levels 2-4.
Level 2
When you reach Level 2, you will need to choose which Subclass you want to use for your BG3 Druid Build. As you know, we’ll be choosing the Circle of Stars.
From this level onwards, you will be able to use your Wild Shape charges to transform into a Badger, Cat, Spider or Wolf.
Meanwhile, your Circle of Stars subclass will initially grant you the following benefits:
- Starry Forms – You can spend your Wild Shape Charges to take on a Starry Form instead of an animal transformation. Starry Forms grant additional features to your Druid:
- Starry Form: Archer – You can cast Luminous Arrow as a Bonus Action, dealing extra Radiant Damage.
- Starry Form: Chalice – Whenever you cast a healing spell that consumes a Spell Slot, you can use Chalice Healing to heal more HP.
- Starry Form: Dragon – Guarantees a minimum roll of 10 on Concentration Saving Throws. You can use Dazzling Breath as a Bonus Action, dealing Radiant Damage in an AoE.
- Guidance Cantrip – Buff an Ability Check or Saving Throw by 1d4
- You gain 2 Star Maps per Long Rest.
- Guiding Bolt – Deal Single-target Radiant Damage. If successful, give the next Attack Roll against the target
 Advantage.
 - Star Map: Guiding Bolt – Consume one Star Map to cast Guiding Bolt without spending a Spell Slot.
Finally, you can choose one more spell at this level. I recommend the ![]() Ice Knife spell, which gives the build some much-needed burst damage, with some modest AOE potential too.
Ice Knife spell, which gives the build some much-needed burst damage, with some modest AOE potential too.
Level 3
At Level 3, you gain access to second-level spells – more powerful forms of magic for your Circle of Stars Druid.
You can choose one other spell from the Druid spell list to prepare, too. I recommend getting ![]() Moonbeam, which is a small
Moonbeam, which is a small ![]() Radiant Damage AOE that remains in place and damages anyone who touches it. As long as you maintain Concentration, you can move the beam each turn.
Radiant Damage AOE that remains in place and damages anyone who touches it. As long as you maintain Concentration, you can move the beam each turn.
Level 4
At Level 4, you can choose a Feat for your character, enhancing your abilities. We recommend choosing Ability Improvement, which unlocks 2 additional Ability Points. Put both points into Wisdom to improve your Spellcasting. Your Wisdom score should now be 18.
You can choose another Cantrip at this level. If you didn’t already get the Resistance Cantrip, grab that one here. Otherwise, just get whatever you like the most from the remaining options.
Finally, you can select two more spells from the Druid list to prepare. I recommend the following two spells:
- Enhance Ability – Grant yourself or an ally Advantage on all checks using the chosen Ability. Lasts until Long Rest or until Concentration is broken. When applicable, you can activate this in out-of-combat dice rolls in the same way as the Guidance cantrip. This is a really handy spell to have available.
- Heat Metal – Targets an enemy with a metal weapon or armour. Deals fire damage and forces the enemy to either drop the item or receive
 Disadvantage on Attack Rolls and Ability Checks. This is a strong dual-purpose spell that can debuff or disarm an opponent while also dealing damage. The spell requires Concentration, and you can trigger the damage again each turn as long as you retain Concentration.
Mid-Game Levelling – Circle of the Stars Druid Build
The BG3 Druid Build mid-game levelling process consists of levels 5-8.
Level 5
At Level 5, you gain the ![]() Wild Strike passive, which gives you an extra attack per Action when in a Wild Shape form..
Wild Strike passive, which gives you an extra attack per Action when in a Wild Shape form..
Your damaging Cantrips will gain an extra damage die at this level – they will now deal twice as much damage.
In addition, you can choose one more Druid spell to prepare – you now have access to Third Level spells, too. ![]() Call Lightning is a good option – it deals considerable AOE damage, and you can recast it again each turn as long as you maintain Concentration.
Call Lightning is a good option – it deals considerable AOE damage, and you can recast it again each turn as long as you maintain Concentration.
Finally, you get an extra Star Map, allowing you to use ![]() Star Map: Guiding Bolt three times per Long Rest.
Star Map: Guiding Bolt three times per Long Rest.
Level 6
You may choose one more spell at this level, too. We recommend ![]() Protection from Energy, which lets you give a creature you touch a 50% Resistance to an elemental damage type. This is quite situational, but keep it in mind when you encounter a fight that features heavy damage of a particular type.
Protection from Energy, which lets you give a creature you touch a 50% Resistance to an elemental damage type. This is quite situational, but keep it in mind when you encounter a fight that features heavy damage of a particular type.
You can also use your Wild Shape to transform into an Owlbear or a Panther.
From now on, you’ll gain three ![]() Cosmic Omens every Long Rest. These allow you to improve or debuff Attack Rolls, Saving Throws and Ability Checks.
Cosmic Omens every Long Rest. These allow you to improve or debuff Attack Rolls, Saving Throws and Ability Checks.
Level 7
At Level 7, your magic becomes quite a bit more powerful, as you gain access to fourth-level spells at this level.
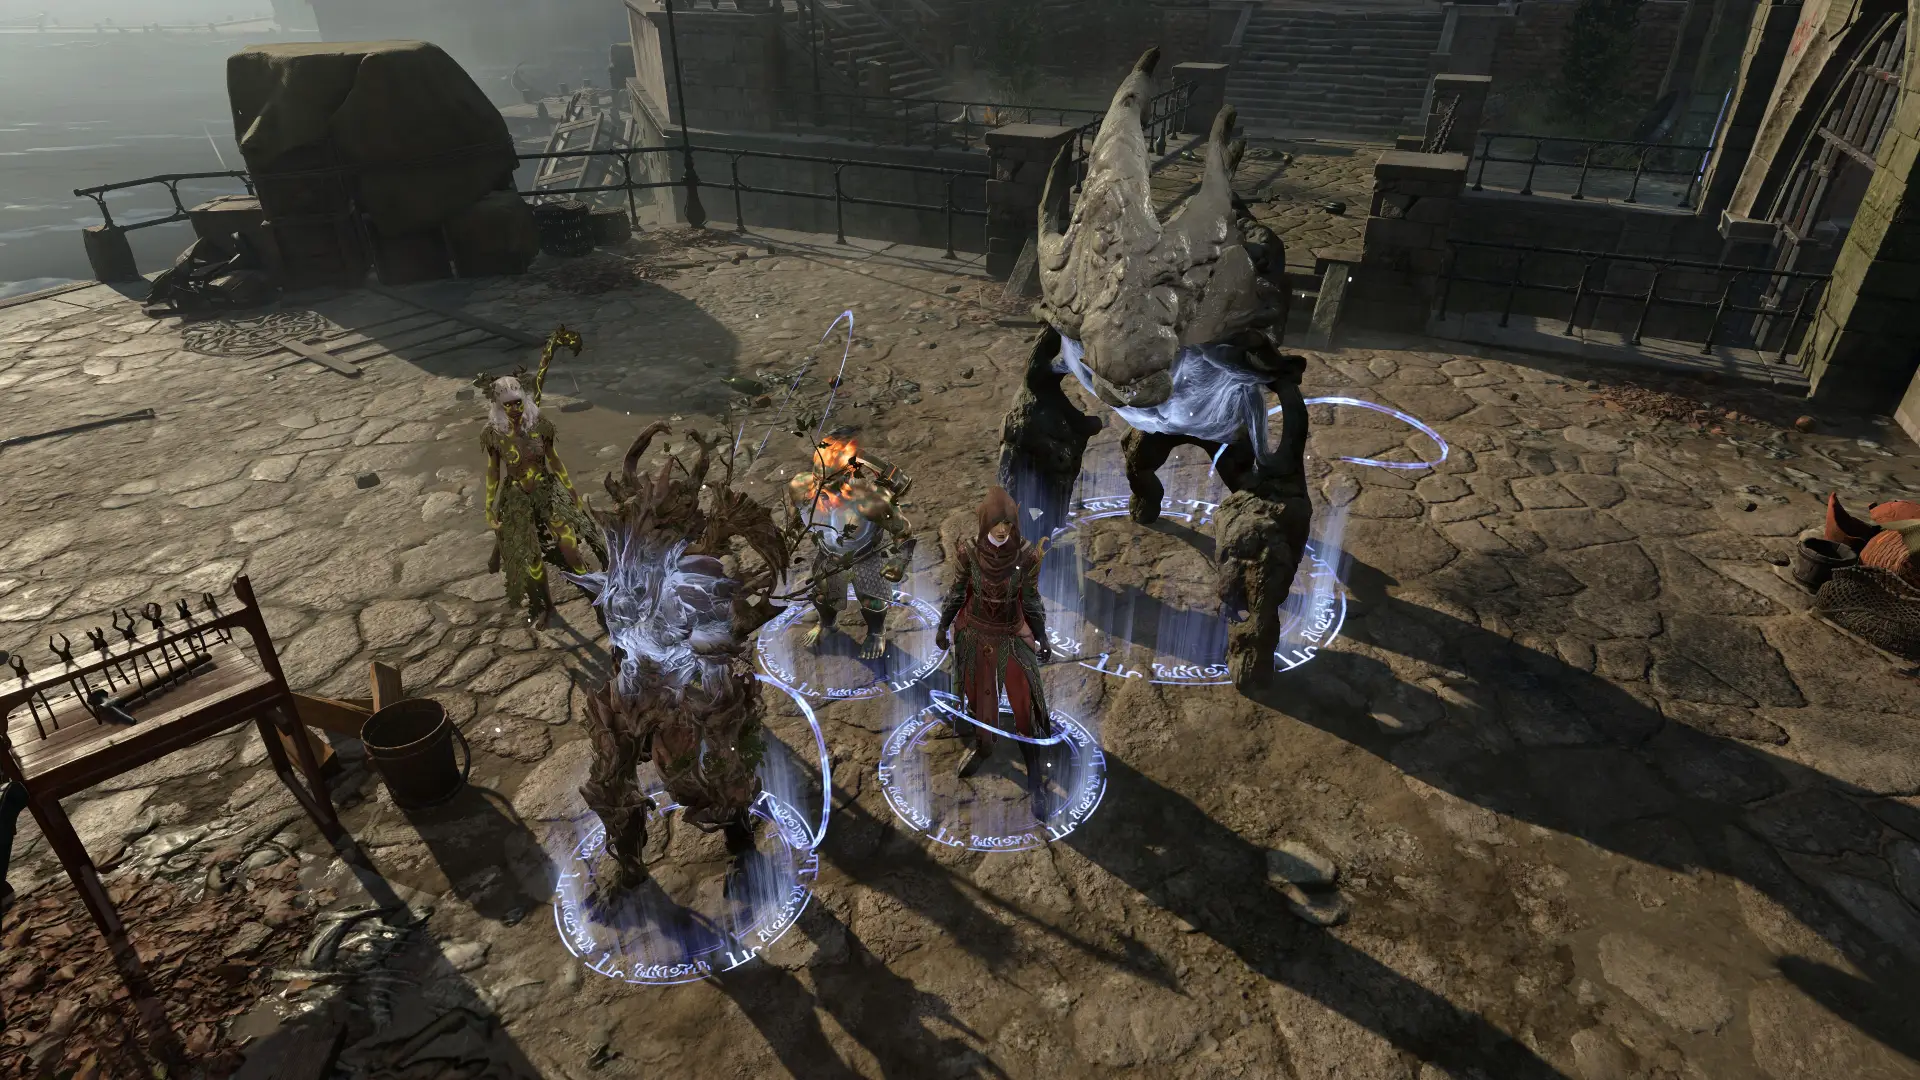
You can also choose one more spell from the Druid list to prepare. ![]() Conjure Woodland Being allows you to summon a dryad, who can, in turn, summon a tree spirit. This spell is essentially two summons in one. They can last until your next Long Rest, so you might as well pre-summon them before combat. They can deal some extra damage to enemies, create difficult terrain and distract enemies from attacking you directly.
Conjure Woodland Being allows you to summon a dryad, who can, in turn, summon a tree spirit. This spell is essentially two summons in one. They can last until your next Long Rest, so you might as well pre-summon them before combat. They can deal some extra damage to enemies, create difficult terrain and distract enemies from attacking you directly.
Level 8
At Level 8, you must choose another Feat. Choose Ability Improvement and increase your Wisdom again, this time to 20.
Now that your Wisdom has been increased to 20, you can choose two more spells from the Druid spell list:
- Freedom of Movement – A situational spell, this can be used to immediately cure any stun and grant immunity to the slowing effects of difficult terrain. It also prevents the target from being magically paralysed or restrained.
- Confusion – Creatures in the target area who fail a Wisdom Saving Throw become confused, acting irrationally. They will be forced to spend their turn moving around randomly, attacking a random creature regardless of allegiance, or sometimes may just pass their turn entirely. Sometimes this can be better than a stun, as you can temporarily turn your enemies against each other.
End-Game Levelling – Circle of the Stars Druid Build
The BG3 Build end-game levelling process starts at level 9 and ends with max level 12.
Level 9
At Level 9, you gain access to even more powerful magic for your Circle of Stars Druid. We get to unlock one new spell. I recommend:
![]() Insect Plague – Locusts attack everyone within range, dealing 4-40
Insect Plague – Locusts attack everyone within range, dealing 4-40 ![]() Piercing Damage, making the area Difficult Terrain, and imposing
Piercing Damage, making the area Difficult Terrain, and imposing ![]() Disadvantage on
Disadvantage on ![]() Perception Checks. Requires Concentration to maintain.
Perception Checks. Requires Concentration to maintain.
You also get an extra Star Map and an extra Cosmic Omen for your Circle of Stars subclass. This gives you four uses per Long Rest for both of these features.
Level 10
At this level, you unlock the Dilophosaurus Wild Shape, allowing you to transform into a dinosaur.
You can now attack three times per action when in beast form.
Your cantrips gain another damage die, now having three dice each. You can also choose another Cantrip – we already picked out the best ones, so just get whichever one you like the most.
You now unlock the ![]() Twinkling Constellations feature, which improves your Starry Forms, and you can now switch between them once per turn as a free action:
Twinkling Constellations feature, which improves your Starry Forms, and you can now switch between them once per turn as a free action:
- The Archer’s Luminous Arrow gains an additional 1d8 damage die
- The Chalice’s Chalice Healing gains an additional 1d8 healing die
- The Dragon can now hover and fly up to 6 metres per turn
Finally, you can choose one more Druid spell to prepare. I recommend picking ![]() Conjure Elemental. This spell summons a pretty tough elemental creature to help you in combat. BG3 summons are quite underrated, in my opinion – while they often aren’t amazing at attacking enemies, just having them active distracts enemies; your party takes less damage because enemies often waste their time attacking summons rather than summoners.
Conjure Elemental. This spell summons a pretty tough elemental creature to help you in combat. BG3 summons are quite underrated, in my opinion – while they often aren’t amazing at attacking enemies, just having them active distracts enemies; your party takes less damage because enemies often waste their time attacking summons rather than summoners.
Level 11
At Level 11, you gain access to Sixth-level spells, the most powerful tier of magic in Baldur’s Gate 3.
![]() Sunbeam is a very powerful spell that deals high
Sunbeam is a very powerful spell that deals high ![]() Radiant Damage in a long line-shaped AOE. You can recast it each turn, as long as you maintain Concentration. We recommend choosing this spell at Level 11.
Radiant Damage in a long line-shaped AOE. You can recast it each turn, as long as you maintain Concentration. We recommend choosing this spell at Level 11.
Level 12
At Level 12, you will be able to choose one final Feat for your Druid Build. We recommend using War Caster, which will make it easier for you to maintain Concentration on your spells. Most of the Druid’s good spells are Concentration Spells, so this choice makes a lot of sense.
You can also choose one more spell to Prepare.
If nobody else in your party has ![]() Heroes Feast, then it’s a very good idea to grab this. It gives your entire party 12 extra HP,
Heroes Feast, then it’s a very good idea to grab this. It gives your entire party 12 extra HP, ![]() Advantage on Wisdom Saving Throws and immunity to Diseased,
Advantage on Wisdom Saving Throws and immunity to Diseased, ![]() Poisoned and
Poisoned and ![]() Frightened. This is a very good buff and it lasts until your next Long Rest, so I highly recommend having someone in your party to cast it immediately after each Long Rest. If you have a Cleric in your party, then they can do it instead of the Druid, for example.
Frightened. This is a very good buff and it lasts until your next Long Rest, so I highly recommend having someone in your party to cast it immediately after each Long Rest. If you have a Cleric in your party, then they can do it instead of the Druid, for example.
If Heroes’ Feast is already covered, then give ![]() Wall of Thorns a try. As the name suggests, this conjures a wall of thorny vines that deal 7d8
Wall of Thorns a try. As the name suggests, this conjures a wall of thorny vines that deal 7d8 ![]() Piercing Damage to anyone trying to move through them. Moving through the vines reduces Movement Speed by 75% and can also cause them to become
Piercing Damage to anyone trying to move through them. Moving through the vines reduces Movement Speed by 75% and can also cause them to become ![]() Entangled (immobilised), meaning they will be forced to stay there and take even more damage on their next turn. This is like a juiced-up version of the Spike Growth spell from earlier, and it can cause serious problems for enemies. If you are taking a defensive position in a battle, then this spell is ideal for making sure anyone who wants to reach you has a horrible time. Just try to put in a location that cannot be bypassed – the AI will (usually) try to avoid nasty AOE effects like this and doesn’t mind spending 3 turns running the long way around.
Entangled (immobilised), meaning they will be forced to stay there and take even more damage on their next turn. This is like a juiced-up version of the Spike Growth spell from earlier, and it can cause serious problems for enemies. If you are taking a defensive position in a battle, then this spell is ideal for making sure anyone who wants to reach you has a horrible time. Just try to put in a location that cannot be bypassed – the AI will (usually) try to avoid nasty AOE effects like this and doesn’t mind spending 3 turns running the long way around.
Circle of Stars Druid Build Equipment
In this section, we will take a look at the best equipment for the Circle of Stars Druid build. We have included both an early-game and late-game variation. Early-game items are available in Act I and the earlier parts of Act II, while the late-game items are available in late Act II or Act III.
Don’t worry if you don’t have exactly the same gear, and feel free to experiment with other combos too. The gear here is just a guideline.
Early-Game Circle of Stars Equipment
This is the early-game gear setup that you can use for your Circle of Stars Druid. You don’t need to get all the items, but the build will perform better if you find some of them. You can find these items in Act 1 or early Act 2.
| Slot | Icon | Item | Location | Benefits |
|---|---|---|---|---|
| Head | Key of the Ancients | Dropped by Findal in the Underground Passage near the Druid Grove, OR by Nettie in the Druid Grove | Grants +1 to Nature skill, enhancing nature-related checks. | |
| Cloak | Cloak of Protection | Purchased from Quartermaster Talli at Last Light Inn (Act 2). | Provides +1 to Armour Class and Saving Throws, boosting overall defense. | |
| Chest | Barkskin Armour | Purchased from Quartermaster Talli at Last Light Inn (Act 2). | Permanently applies the Barkskin effect, ensuring a minimum AC of 16, even in Wild Shape. | |
| Gloves |  |
Hellrider’s Pride | Buy, loot or steal from Zevlor in Act I. Or, complete the Investigate Kagha or Kill Kagha quest to get it as a reward. | Creatures you heal get Resistance to Physical Damage. You get +1 to Strength Saves. |
| Boots |  |
Disintegrating Night Walkers | Looted from True Soul Nere in the Grymforge | You cannot be Enwebbed, Ensnared or Entangled, and cannot slip on Ice or Grease. You can use Misty Step for free. |
| Necklace | Anything you find | None | None | |
| Ring | Ring of Protection | Complete the Steal the Sacred Idol quest inside the Druid Cave. | Gives you a +1 bonus to Armour Class and Saving Throws. | |
| Ring | The Whispering Promise | Sold by Volo or Grat the Trader | When you heal an ally, you also Bless them, giving a 1d4 bonus to Attack Rolls and Saving Throws. | |
| Main Hand | Adamantine Scimitar | Crafted at the Adamantine Forge. Requires Mithral Ore and the Scimitar Mold. | Ignores resistance to slashing damage | |
| Off Hand | Scimitar +1 | Sold by various traders in Act 1 or looted from a crate near Dammon in the Druid Grove. | Provides a +1 bonus to attack and damage rolls. |
These early-game items are mainly intended to boost your defences and improve your healing. At the start of the game when you haven’t obtained a decent pair of Scimitars yet, use your Quarterstaff with the Shillelagh Cantrip if you need to do melee damage (or use your Wild Shapes).
Endgame Gear
The endgame gear setup is built with items from late Act 2 and Act 3. While you don’t need all these items, getting as many as possible is recommended to increase the Circle of Stars Druid Build’s overall power.
| Slot | Icon | Item | Location | Benefits |
|---|---|---|---|---|
| Head |  |
Hood of the Weave | Sold by Mystic Carrion in Philgrave’s Mansion | • +2 to Spell Save DC |
| Cloak |  |
Cloak of the Weave | Sold by Helsik at the Devil’s Fee (After Special Stock unlock). | • +1 to Spell Save DC and Spell Attack Rolls |
| Chest | Armour of Landfall | Sold inside Sorcerous Sundries | • Advantage on Constitution Saving Throws • Can cast Plant Growth for free • +1 to Spell Save DC • Starting your turn on Vines or Plant Growth heals you 1d4 |
|
| Gloves |  |
Helldusk Gloves | Dropped by Haarlep in the House of Hope. | • +1 to Spell Save DC and Spell Attack Rolls • +1 to Strength Saving Throws. • Access to Rays of Fire, a unique Cantrip • Weapon Attacks gain 1d6 Fire Damage. Unarmed Attacks gain 1d6 Necrotic Damage. |
| Boots |  |
Helldusk Boots | Looted from a locked gilded chest on the top floor of Wyrm’s Rock Fortress | • You cannot be forcefully moved by enemy spells or actions • Immunity to being slowed by Difficult Terrain • You can use your Reaction to succeed a Saving Throw you were about to fail. |
| Necklace | Amulet of Greater Health | House of Hope Archive. | • Boosts Constitution to 23. | |
| Ring | Ring of Regeneration | Sold inside Sorcerous Sundries. | • Restores 1-4 HP beginning of every turn. | |
| Ring |  |
Ring of Feywild Sparks | Dropped by Auntie Ethel in Act III (Blushing Mermaid Cellar) | • Hidden +1 buff to Spell Save DC |
| Main Hand | Justiciar’s Scimitar | Dropped by Lythindor in the Gauntlet of Shar. | • Chance to blind target if you attack with Advantage. • +2 Enchantment. • Shadowsoaked Blow action. |
|
| Off Hand | Belm | In an Opulent Chest in the cellar of Elerrathin’s Home | • +2 Enchantment • Use Whirlwind Attack to make an Attack Roll against all nearby foes • Use Perfectly Balanced Strike to make a full-damage attack with a Bonus Action each turn. |
In the latter parts of BG3, we have access to much better items that can improve your spellcasting, and we’re aiming to take advantage of that here.
Most of the items in this list improve your Spell Save Difficulty Class, a stat used to determine how high enemies need to roll to succeed a Saving Throw against your spells. The higher we can stack this number, the harder it will be for enemies to resist your spells’ effects.
We’ve also included the Ring of Regeneration to give your Druid passive HP regen each turn, and the Amulet of Greater Health to improve your HP and your Constitution score, which will help with Concentration Saving Throws. The main idea behind this build is for your spellcasting to be as resilient as possible, being difficult for enemies to resist and making Concentration Saves as easy as possible. You should still be careful not to put yourself in harms way when concentrating though.
We’ve also included two powerful Scimitars for melee attacks when needed. If you want to swap these for another melee weapon setup, then that’s fine – they don’t affect the main aspect of the build, which is spellcasting, and are only there to be used in a pinch when you have no good spellcasting options.
Circle of the Stars Build Extra Info
Below you will find some extra information and tips to help you get the most out of this Circle of Stars Druid Build for Baldur’s Gate 3.
How to Play the Circle of the Stars Druid in BG3
Early Game
During the first few levels, Druids can be a bit tricky to play because their Cantrips are quite weak, and their spells are mostly Concentration spells centred around buffs or debuffs. This makes it difficult to deal reliable damage. However, the Circle of Stars subclass gives you a solution to this problem; you can use the Archer starry form to shoot a Radiant Bolt at an enemy every turn, dealing extra Radiant Damage. This uses your Bonus Action, so you can still cast a regular Cantrip, Spell or make a weapon attack on the same turn.
At the beginning of the game, the best way to deal with this is to equip a ![]() Quarterstaff and boost it with the
Quarterstaff and boost it with the ![]() Shillelagh cantrip, increasing its damage and allowing you to roll attacks with Wisdom instead of Strength. Another option is to use your Wild Shapes to attack in animal form.
Shillelagh cantrip, increasing its damage and allowing you to roll attacks with Wisdom instead of Strength. Another option is to use your Wild Shapes to attack in animal form.
When Concentrating on spells, keep your Druid as safe as possible from enemy attacks by utilizing distance and obstructions. Concentration is more important for Druids than any other spellcaster in BG3 – you will quickly burn through your Spell Slots for very little benefit if you cannot maintain it. Once again, the Circle of Stars Druid helps you out here. You can use the Dragon starry form to guarantee a minimum Concentration Saving Throw roll of 10, which will typically prevent you from losing Concentration against weak attacks (or accidentally stepping in puddles of poison or fire). You can’t use both the Archer and Dragon forms at the same time, however. Plan your moves and decide if you’ll be Concentrating in the upcoming battle.
One of your most useful spells in the early game is ![]() Spike Growth, which covers a large area with spikes that damage anyone who tries to walk through them. With good placement, this spell can turn a difficult fight into an easy one.
Spike Growth, which covers a large area with spikes that damage anyone who tries to walk through them. With good placement, this spell can turn a difficult fight into an easy one.
Mid Game
When you reach Level 5, you can start using the ![]() Call Lightning spell. This is one of the best concentration spells in the game, dealing up to 40
Call Lightning spell. This is one of the best concentration spells in the game, dealing up to 40 ![]() Lightning Damage in an AoE. If you maintain Concentration, you can recast it every turn without spending another Spell Slot. This spell offers great value, as long as you keep Concentration.
Lightning Damage in an AoE. If you maintain Concentration, you can recast it every turn without spending another Spell Slot. This spell offers great value, as long as you keep Concentration.
You will begin unlocking stronger Wild Shapes as you progress through the game, such as the powerful Owlbear, who comes with a huge HP pool. It can frighten enemies and jump down from a height to deal crushing damage on impact.
Late Game
The Druid’s playstyle remains largely the same into the late game. By now, you may have replaced your Shillelagh staff with ![]() Scimitars or other melee weapons, and your spells and Wild Shapes keep getting stronger.
Scimitars or other melee weapons, and your spells and Wild Shapes keep getting stronger.
You can use spells like ![]() Insect Plague and
Insect Plague and ![]() Sunbeam to deal devastating AoE damage to foes. Do everything you can to keep your Druid’s Concentration intact, and you can dominate the battlefield with this magic.
Sunbeam to deal devastating AoE damage to foes. Do everything you can to keep your Druid’s Concentration intact, and you can dominate the battlefield with this magic.
Circle of Stars Druid Build Illithid Powers (optional)

Illithid Powers are unlocked later in BG3 when you learn more about Mind Flayers and Tadpoles. By eating Jars of Mind Flayer Parasites you gain one point. This is another optional skill tree that you can get access to if you want. Here are some of the best Illithid Powers for the BG3 Druid Build with the Circle of Stars subclass:
- Luck of the Far Realms: This ability allows you to convert a successful attack roll into a critical hit once per long rest. Utilising this power during a Wild Shape attack can result in substantial damage, making it ideal for eliminating high-priority targets.
- Cull the Weak: When you reduce a creature’s hit points below a certain threshold, this power instantly kills it and deals 1-4 Psychic Damage to nearby enemies. This is particularly effective when engaging groups of weaker foes, enabling you to thin their numbers rapidly.
- Fly: This can be used to reach hard to get to places or change positions in combat.
- Black Hole: This power creates an area-based effect that pulls in and slows targets. It’s particularly useful for crowd control, allowing you to cluster enemies together for area-of-effect attacks or to isolate them from vulnerable allies.
- Psionic Backlash: This is a top-tier reaction from the Illithid Powers skill tree in BG3. This allows you to deal psychic damage when a nearby enemy casts a spell.
Other Baldur’s Gate 3 Builds
- Bard Build – College of Lore
- Ranger Build – Hunter
- Monk Build – Way of Shadow
- Monk Build – Way of the Four Elements
- Monk Build – Way of the Open Hand
- Necromancer Build – Necromancy
- Fighter Build – Battle Master
- Barbarian Build – Berserker
- Warlock Build – Great Old One
- Cleric Build – Light Domain
- Rogue Build – Thief
- Sorcerer Build – Wild Magic
- Wizard Build – Evocation School
- Paladin – Oath of Ancients
- More Baldur’s Gate Guides & Builds
If you want to check out the map of Baldur’s Gate 3, please visit the Baldur’s Gate 3 Interactive Map.