

Welcome to the Specter’s Abyss Dungeon Guide for Throne & Liberty. In this guide we will walk you through the mechanics of the various mob and boss fights in Specter’s Abyss, providing tips and tricks to survive and conquer this dungeon.
Specter’s Abyss is the first group dungeon available to you in Throne & Liberty. It has a minimum level of 20. This is a great dungeon for learning the basics of group play in TL. To access Specter’s Abyss, open the game menu and select “Secret Dungeons”. You can find Specter’s Abyss at the top of the list.
Specter’s Abyss Mechanics and Guide
We will now talk you through the enemies and mechanics in each room of the Specter’s Abyss dungeon in Thone and Liberty, step by step.
Before we begin, note that it’s vital for at least one player (ideally a tank) to have a Crowd Control ability – some enemies in Specter’s Abyss have wipe mechanics that need to be interrupted with Crowd Control.
First Room
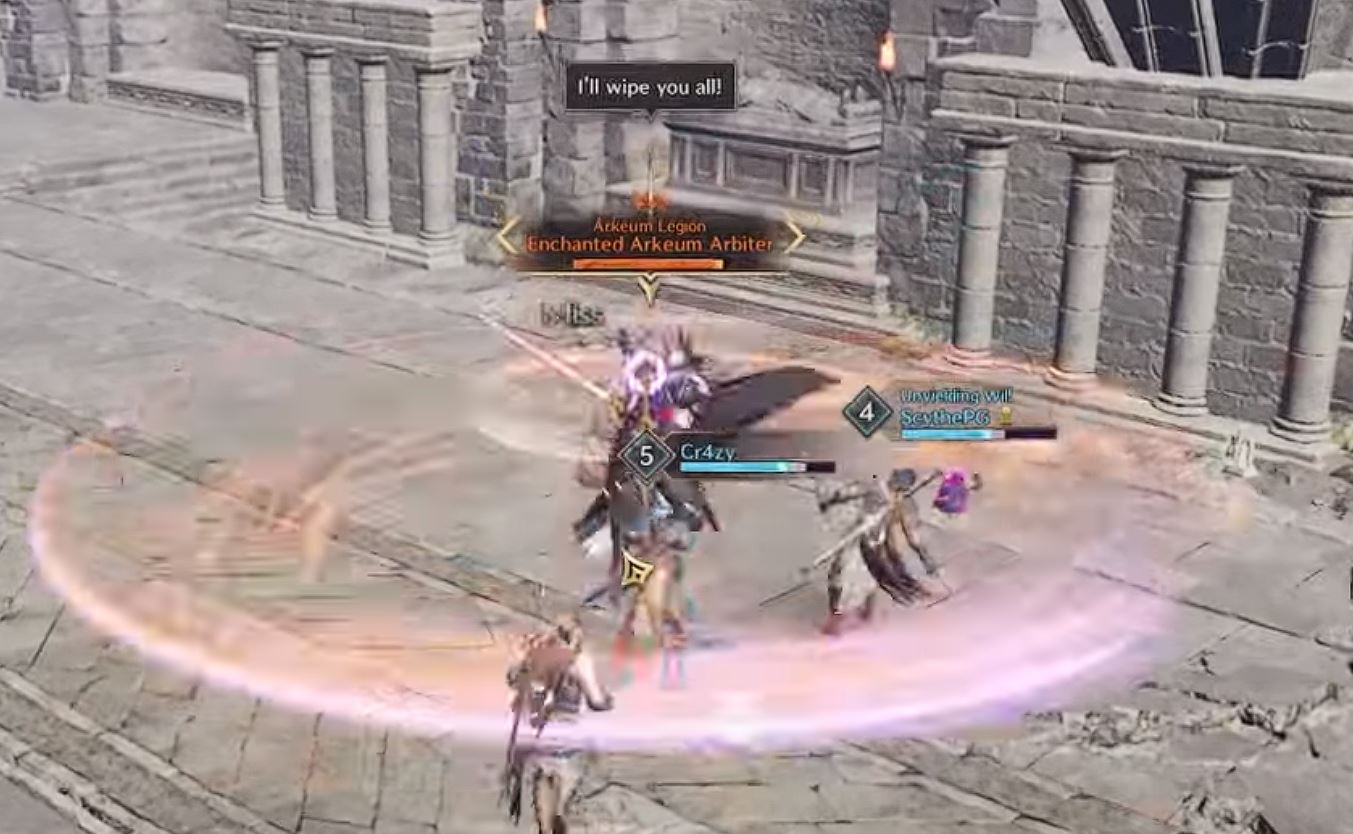
The first room of Specter’s Abyss contains some regular mobs and one Arbiter, a more powerful enemy.
The basic mobs don’t present much of a threat and can just be dealt with normally. The Arbiter has a large AOE attack that needs to be interrupted with a Crowd Control ability. The player(s) in charge of Crowd Control should listen out for the Arbiter’s shouted taunts, when you hear it he needs to be interrupted. You can also see the attack when it is happening, it looks like a yellow or orange circle originating from the Arbiter.
After clearing the first room, you will meet the first boss of the dungeon, the Shadowmancer.
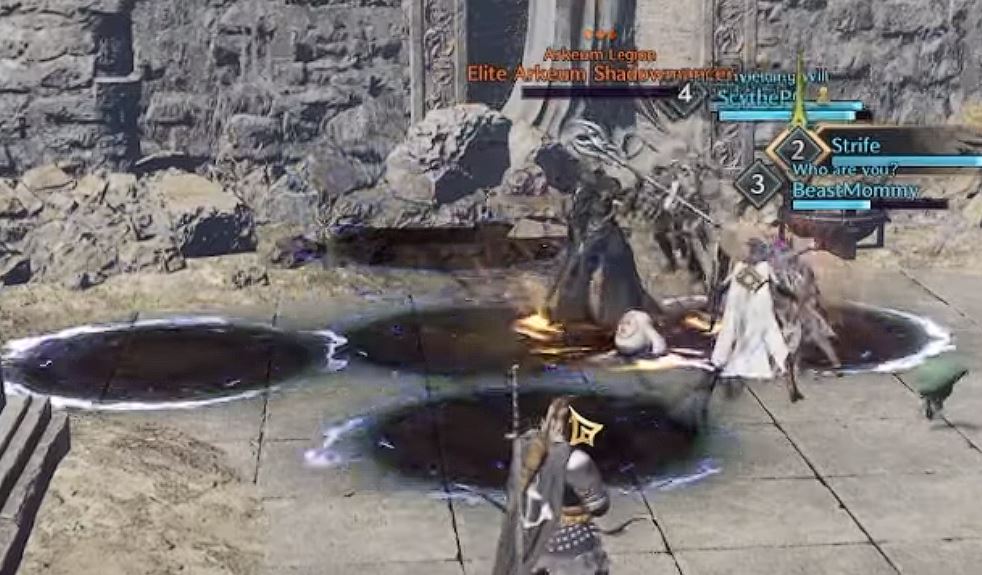
Shadowmancer Boss
The Shadowmancer is quite an easy boss, he only has one special mechanic: periodically he will cast a spell to lift a player up in the air. The player will eventually die if they are not helped. Another player needs to use a Crowd Control ability on the Shadowmancer to interrupt this mechanic before it causes any real problems.
Some dark lightning circles will appear under players – make sure you do not stand in these as they will drain your health quite quickly.
Other than that, the Shadowmancer just has some normal attacks, not so different from mobs, so just keep dealing with the mechanic mentioned above and keep damaging the boss until you finish him off.
Twin Rooms
After finishing the Shadowmancer boss, you can advance into the next area of the dungeon. This area consists of two different rooms along with a locked gate. Each room contains a lever, both of which need to be pulled to unlock the gate.
Proceed beyond the locked gate and you will find the next boss, called the Riot Squad Captain. Defeating this boss also requires the use of Crowd Control abilities to interrupt mechanics.
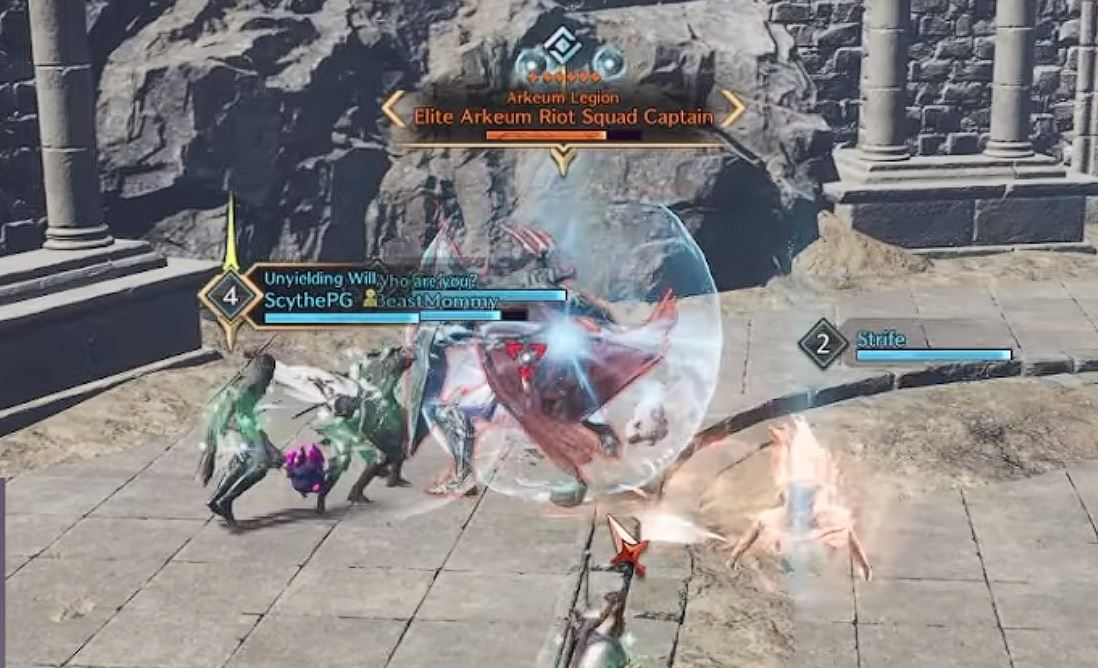
Riot Squad Captain Boss
The Riot Squad Captain is another fairly simple boss, again with only one mechanic that you need to worry about. The boss will periodically become protected by a blue protective bubble, you can see this very clearly.
To dispel the bubble, continue damaging the boss and it will eventually break – try to do this as quickly as possible. Once the shield is broken, someone in your group needs to use a Crowd Control ability on the boss to interrupt the mechanic.
Once you have done this, the rest of the fight is just a rinse and repeat of the same process.
After defeating the Riot Squad Captain, you can proceed to the final room of Specter’s Abyss, which contains the final boss.
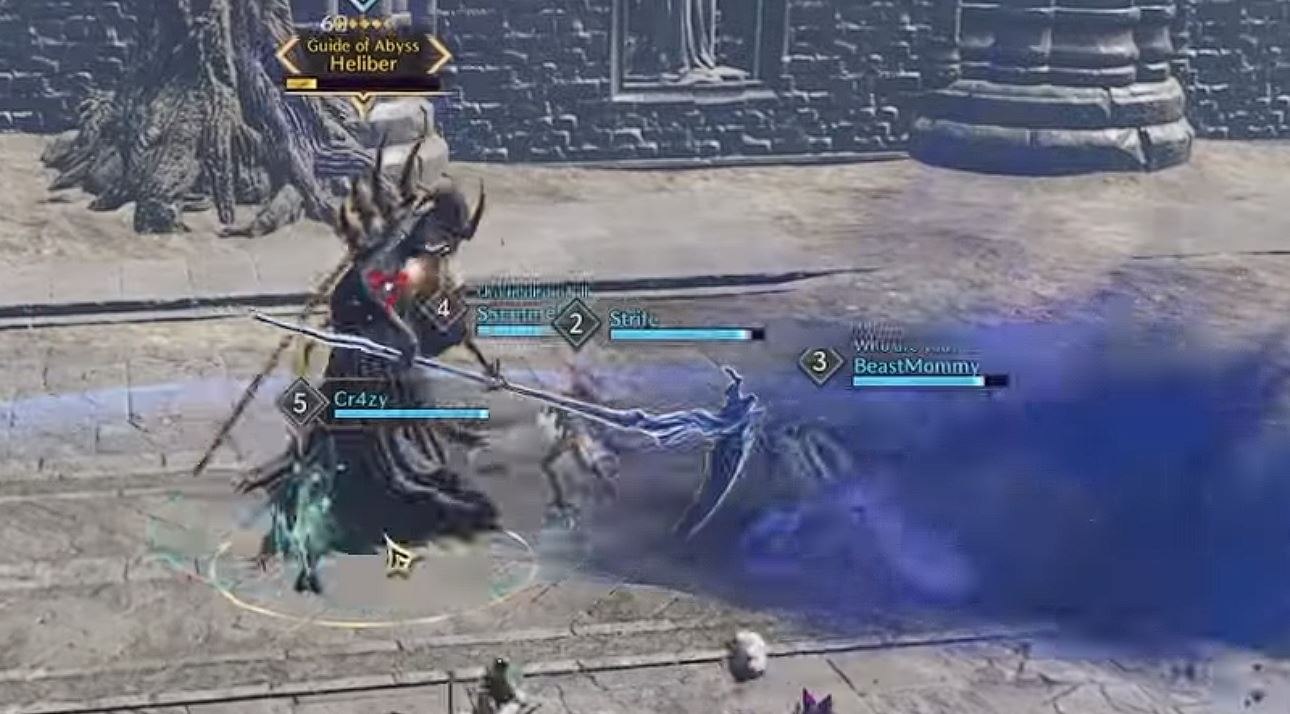
Heliber – Specter’s Abyss Final Boss Guide
In the middle of the final room of Specter’s Abss, you will find a red magical prison. Interact with it to activate Heliber, the final boss of this dungeon.
Unlike the previous bosses, Heliber has multiple mechanics, these are listed below:
- Conal AOE – Heliber casts a cone-shaped AOE at the player who currently has aggro. This should be the tank, and the tank should make sure to face the boss away from the group so that this does not kill any party members. Players should avoid standing next to the tank without good reason, otherwise they are likely to be caught by this mechanic.
- Teleport – Heliber will periodically teleport to the furthest player away from him. Players should be mindful of their positioning and avoid standing too far away from the boss, otherwise it can get messy as the tank will be forced to reposition the boss, and players may get caught in the cone AOE which could be cast in an unusual direction as a result of the boss teleporting too far away.
- Bubble Spell – Heliber chooses one random player and casts a bubble spell on them. Every player needs to quickly stand inside the bubble – anyone who doesn’t do this will be one-shotted. Groups who aren’t aware of this mechanic or who ignore it will be unable to finish this boss fight.
As long as the tank keeps aggro on the boss and all players are mindful of their positioning and the bubble mechanic, then this fight shouldn’t cause any major problems.
I hope you found this Specter’s Abyss Dungeon Guide for Throne and Liberty useful.