

Welcome to the ESO Castle Thorn Guide. The Castle Thorn Dungeon is located in the Western Skyrim zone, the dungeon is part of the Stonethorn DLC which is part of the Greymoor Chapter. In the ESO Castle Thorn Dungeon, you will encounter a total of 5 bosses and plenty of trash packs.
Story: A Vampire army rises from the fortified halls of Castle Thorn, led by the keep’s master, the powerful Lady Thorn. Before this dread host can march on the people of Western Skyrim, you must assault the fortress, fight your way through this monstrous legion, and put a stop to their invasion!
Table of Contents:
Rewards & Loot in Castle Thorn
Sets in Castle Thorn
There is a total of 3 different sets plus a Monster Set that drops in the ESO Castle Thorn Dungeon.
- Light: Talfyg’s Treachery
- Medium: Unleashed Terror
- Heavy: Crimson Twilight
- Monster Set: Lady Thorn
Rewards from Castle Thorn
- Title: The “Bane of Thorns” title is obtained by completing the “Bane of Thorns” achievement in Castle Thorn.
- Title: The ” Inedible” title is obtained by completing the “Thorn Remover” achievement in Castle Thorn.
- Skin: Reanimated Vampiric Thrall Skin: Obtained by completing the Castle Thorn Conqueror achievement.
The Stonethorn DLC comes with two dungeons: Castle Thorn and Stone Garden.
- Dye: Hazardous Chartreuse: Obtained by completing the Stonethorn Delver achievement.
- Non-Combat Pet: Energetic Dwarven Shock-Spider: Obtained by completing the Stonethorn Explorer achievement.
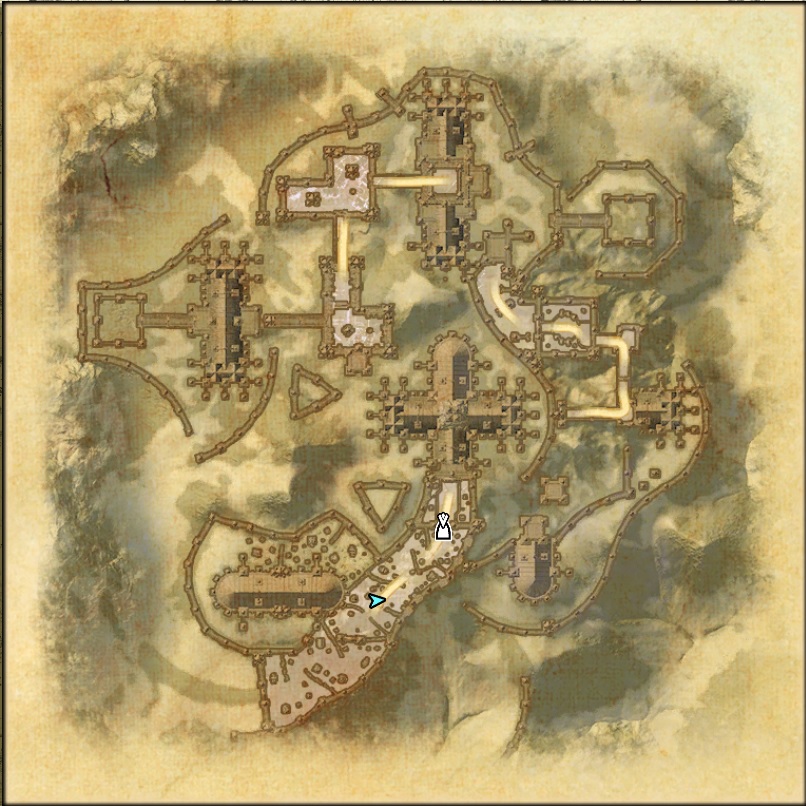
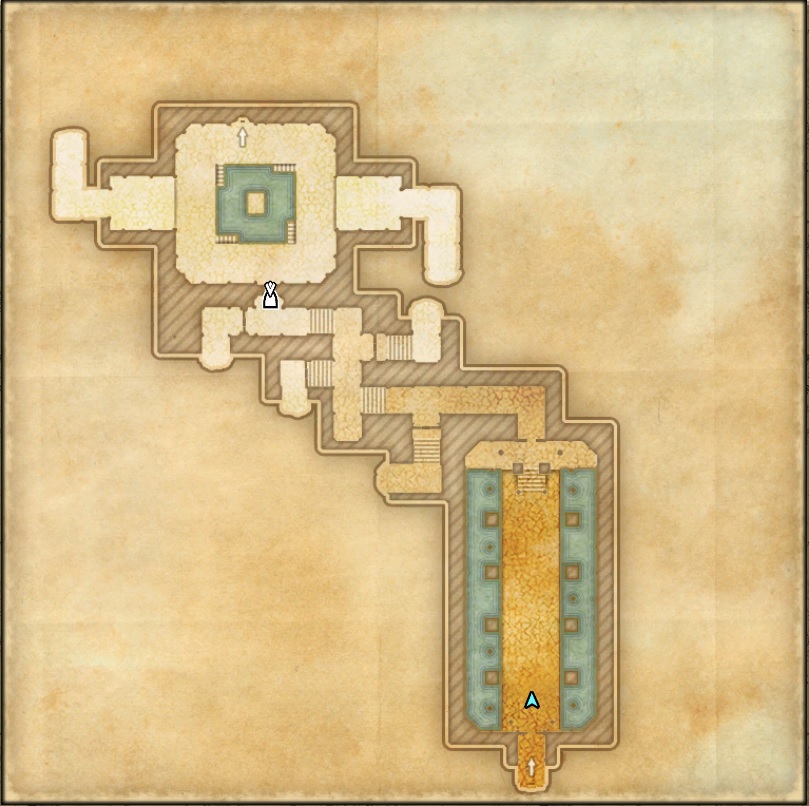
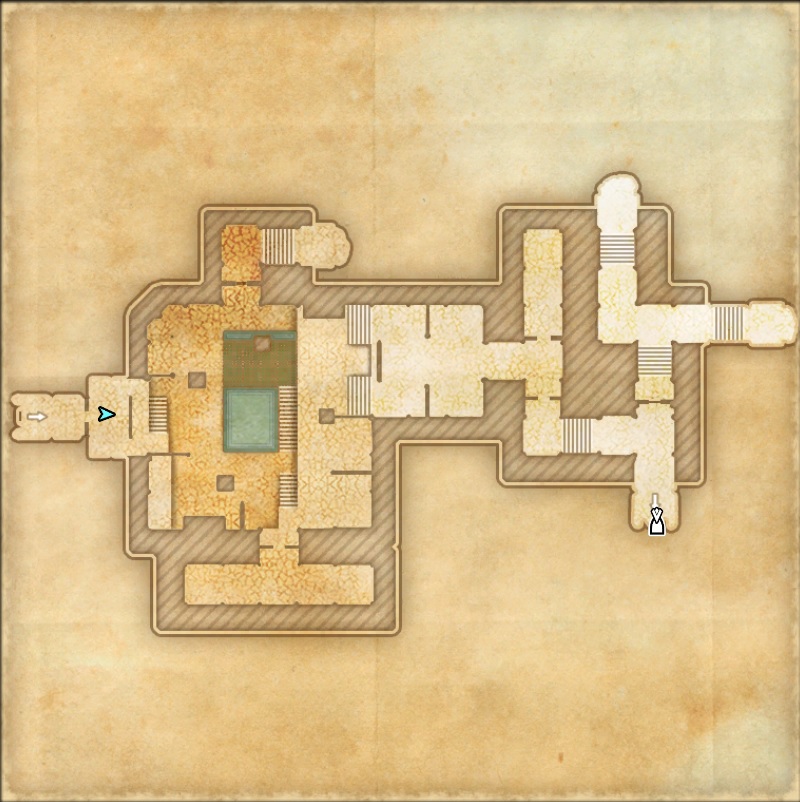
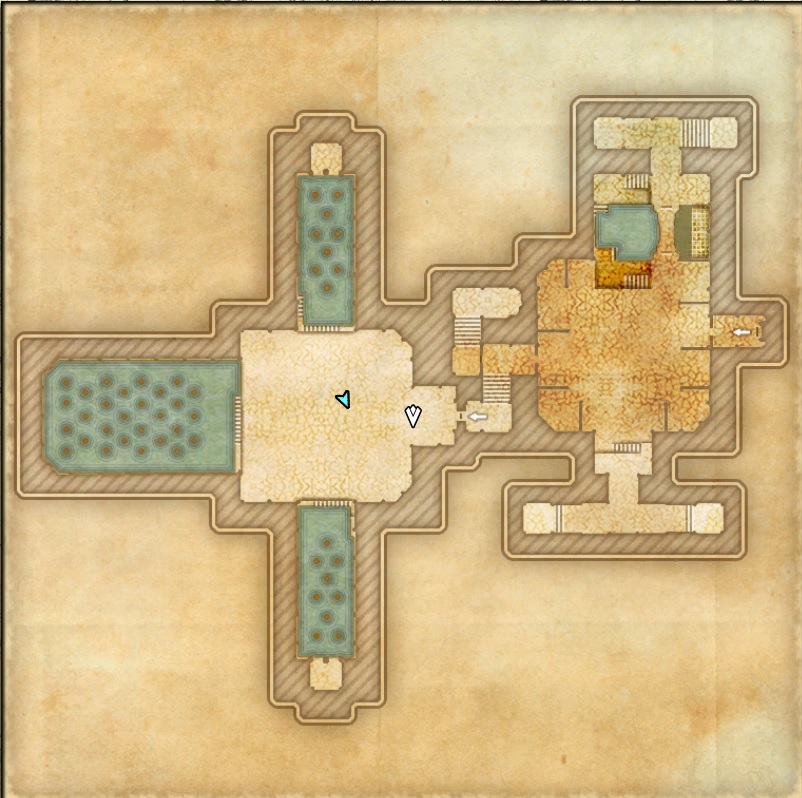
Castle Thorn Maps
Bosses in Castle Thorn
There are a total of 5 boss fights in the Castle Thorn Dungeon.
| Boss | Health | Health Hardmode | Adds |
| Dread Tindulra | 4’511’248 | None | Multiple Death Hound Broodlings |
| Blood Twilight | 3’608’999 | None | Scamps & 2H adds |
| Vaduroth | 5’563’873 | None | Reanimated Vampire & Virulent Viscera |
| Talfyg | 6’014’998 | None | Multiple Gargoyles |
| Lady Thorn | 7’412’883 | 22’238’648 | Blood Guardian, Blood Scavengers, Blood Crawlers |
Boss Fights Castle Thorn
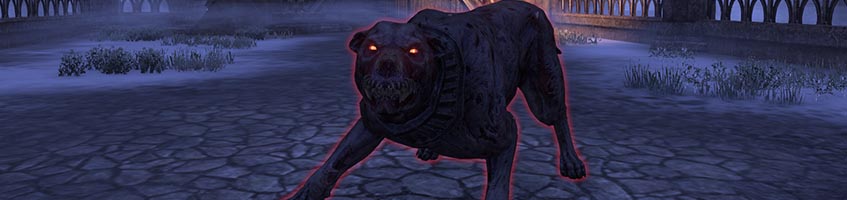
First Boss Dread Tindulra
Boss Health: [HP: 4’511’248 Mio]
The first boss is called Dread Tindulra. The boss isn’t super dangerous apart from a stun mechanic where you have to help your buddy break free by interrupting the boss.
Fire Spit: Dread Tindulra will spit fire into the air from time to time, leaving fire AoE on the ground. The ground AoE is static and therefore easy to avoid.
Death Breath: Conal fire AoE that deals immense damage, the tank will be fine absorbing the damage, the other players should try to stay far enough away to not get it or behind the boss.
Stun Jump: The boss will jump at a random target and stunlock the player. The group mates have to interrupt the boss to get the stunned player free, if this takes too long the player will die.
Death Hound Broodlings: The boss will spawn Broodlings from time to time, they don’t have a lot of health so they should die in your AoE fairly fast. The tank should try to pull them in or taunt them so they are stacked together.
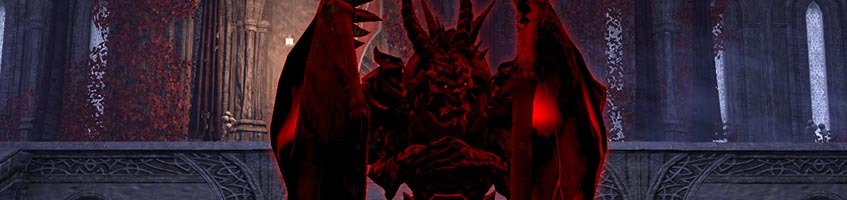
Second Boss Blood Twilight
Boss Health: [HP: 3’608’999 Mio]
The second boss is called Blood Twilight, he doesn’t really have dangerous mechanics apart from the blood pool AoE attack. You can also totally ignore all the mechanics and burn him down before he does anything at all in the middle.
Blood Pool: After a while 4 scamps will appear and connect to the boss. After a few seconds the boss will go up into the air and the arena downstairs will be completely red, you have to get out of there as it deals a lot of damage, outside you will get no damage at all so it is pretty easy to avoid.
AoE Cone: From time to time the boss will teleport and use an AoE conal attack, you can block this to mitigate the damage.
Barrage: The boss will shoot red balls at you (like Rakkhat in Maw of Lorkhaj) that you have to absorb as a tank.
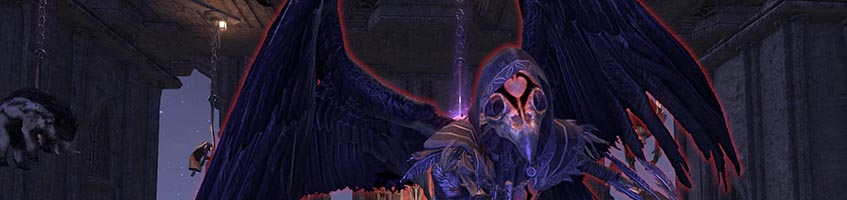
Third Boss Vaduroth
Boss Health: [HP: 5’563’873 Mio]
The third boss is called Vaduroth. The boss itself is not really dangerous, he spawns a reanimated Vampire from time to time that has dangerous attacks.
Scythe Throw: The boss Vaduroth will throw his Scythe to a place and you will all get pulled him. Dodge roll out of the AoE as soon as possible and make sure to not stack with your other group members, as the Aoe will also explode on you. If you shield up you will be also fine even if you stack the AoE damage.
Reanimated Vampire: From time to time a reanimated Vampire will spawn, the tank has to make sure to taunt him as the add deals a lot of damage. Focus the add down as fast as possible so it is out of the way. If you have enough damage you can also just let it die in your AoE.
Mini Batswarm: A mini Batswarm will appear that will roam around, avoid it otherwise it will deal damage to you.
Fourth Boss Talfyg
Boss Health: [HP: 6’014’998 Mio]
The fourth boss is called Talfyg and it starts to get more interesting here in terms of mechanics. You can either kill all the Gargoyles one by one or try to burn the boss.
Heavy Attack: The boss has a powerful heavy attack that has to be dodge rolled by the tank to avoid a lot of damage. If you don’t dode roll the attack it will also apply a bleed on you.
Smash: The boss Talfyg will smash his fists into the ground and leave a pool of blood on the ground, make sure to not stand in it because it deals a lot of damage.
Fire Gargoyle: The fire Gargoyles will spit fire, leave fire AoE on the ground and also do a fire conal AoE attack on players, lots of fire!
Ice Gargoyles: After a while Ice Gargoyles will awaken, they will get closer and closer to you, they are slow and easy to avoid.
Annihilate: The boss will hold his hand up and create a big blood ball and then shoot a beam at each player, if you stand in it you will die, avoid it!
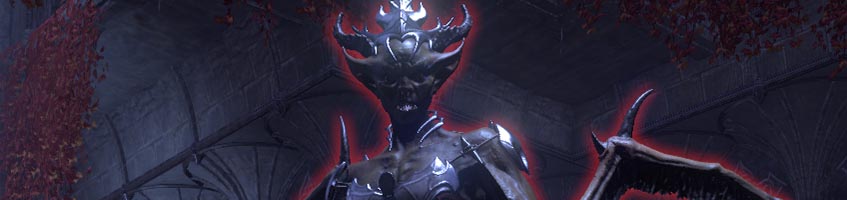
Final Boss Lady Thorn – Castle Thorn Dungeon
Boss Health: [HP: 7’412’883 Mio] – [Hardmode HP: 22’238’648 Mio]
The final boss is called Lady Thorn and very mechanic heavy. Only do the hardmode if your group is coordinated with voice coms, otherwise it will be super difficult to get anywhere in the fight.
There will be two phases where the boss will go nuts and will be invincible in the air, these happen at:
- 60% HP
- 20% HP
Blood AoE: The boss Lady Thorn will cast AoE fields close to her and shoot them out in a line on the left and right side of her. If you get hit by it you will take damage and get stunned.
Mega Batswarm: The whole arena will be covered in bats except a small green field, you have to get into that green field as fast as possible, otherwise you are going to die! During this mechanic she will continue to use other mechanics as well.
Blood Explosion: She will summon blood AoE on the ground on random places that will explode, avoid it.
Heavy Attack: The boss has a powerful heavy attack that should be dodge rolled if possible, mostly important for the tank that holds the boss.
Charge: From time to time she will turn invisible and charge at a random target, you have to block this otherwise you will die as it deals a lot of damage.
Batswarm: The boss will disappear and leave a field of bats behind, avoid it as it deals crazy damage. AoE will shoot out of the Batswarm that you should try to avoid. After a while the mini AoEs will all go to one location and that is where the boss will reappear, if you stand in it you get oneshot.
-Invincible Phase-
- 60% HP
- 20% HP
The whole arena will be covered in bats, you once again have to stay inside the circle to not die. Now this time the circle will move (In hardmode circles moves faster). That means you have to keep up with the circle while AoE explosions happen that stun you and adds attack you AND the boss will occasionally charge at you too from the air.
During this phase you have to kill the scamps that will leave a Blood Corruption synergy behind that you can synergize. Once synergized you throw the blood at the main boss, after doing this 4 times this phase will be over.
- Stay in the circle
- Kill Scamps and synergize their Blood Corruption
- Kill mini adds
- Kill big add Blood Guardian and interrupt his AoE attack
- Avoid Boss charge attack
- Dodge roll or avoid AoE exploison
If someone dies during this phase it is almost impossible to recover unless you either have a Necromancer in your group that uses the resurrection Ultimate Reanimate or someone wears Kagrenac’s Hope to speed up the resurrection time.
-Execute Phase-
The execute phase gets even crazier, the boss will once again be damageable but the Mega Batswarm won’t go away, so you have to keep moving along with the green circle and avoid all the attacks of the boss on top of that!
During this phase the boss will mostly use her normal attack, heavy attack and the charge attack that you have to block.
Full Veteran & Hardmode Run
This is the full veteran run with hardmode in the Castle Thorn Dungeon for The Elder Scrolls Online.
Timestamps for bosses:
- 00:30 Boss 1 Dread Tindulra
- 03:19 Boss 2 Blood Twilight
- 06:11 Boss 3 Vaduroth
- 10:50 Boss 4 Talfyg
- 15:05 Boss 5 Lady Thorn Endboss HM
The build I was using in this run is the Magicka Nightblade PvE Build.
Solo Castle Thorn Run
This is a full solo run of the Castle Thorn Dungeon which is part of the Stonethorn DLC in the Greymoor Chapter. I used my Solo Nightblade Build for this run.