

Welcome to the Voidwastes Dungeon Guide for Throne and Liberty. Voidwastes is a Co-op dungeon and is part of the Dimensional Circle++ difficulty and requires you to be level 50 to enter it. It is recommended to do this with 6 players.
In this guide we will walk you through the mobs, bosses and mechanics in the Voidwastes dungeon.
The Dark Elemental attracted beings from Diabolica. These monsters mercilessly slaughtered people under Shaikal’s will. Ahzreil, wanting to use Shakal as a weapon of war, cast a powerful dark magic to bring his mind under control. However, Shaikal instead absorbed Ahzreil’s power and became a being of even deeper darkness. In the end, Shaikal turned into an imcomprehensibly powerful being, Shakarux, forcing Ahzreil to finally give up on him.
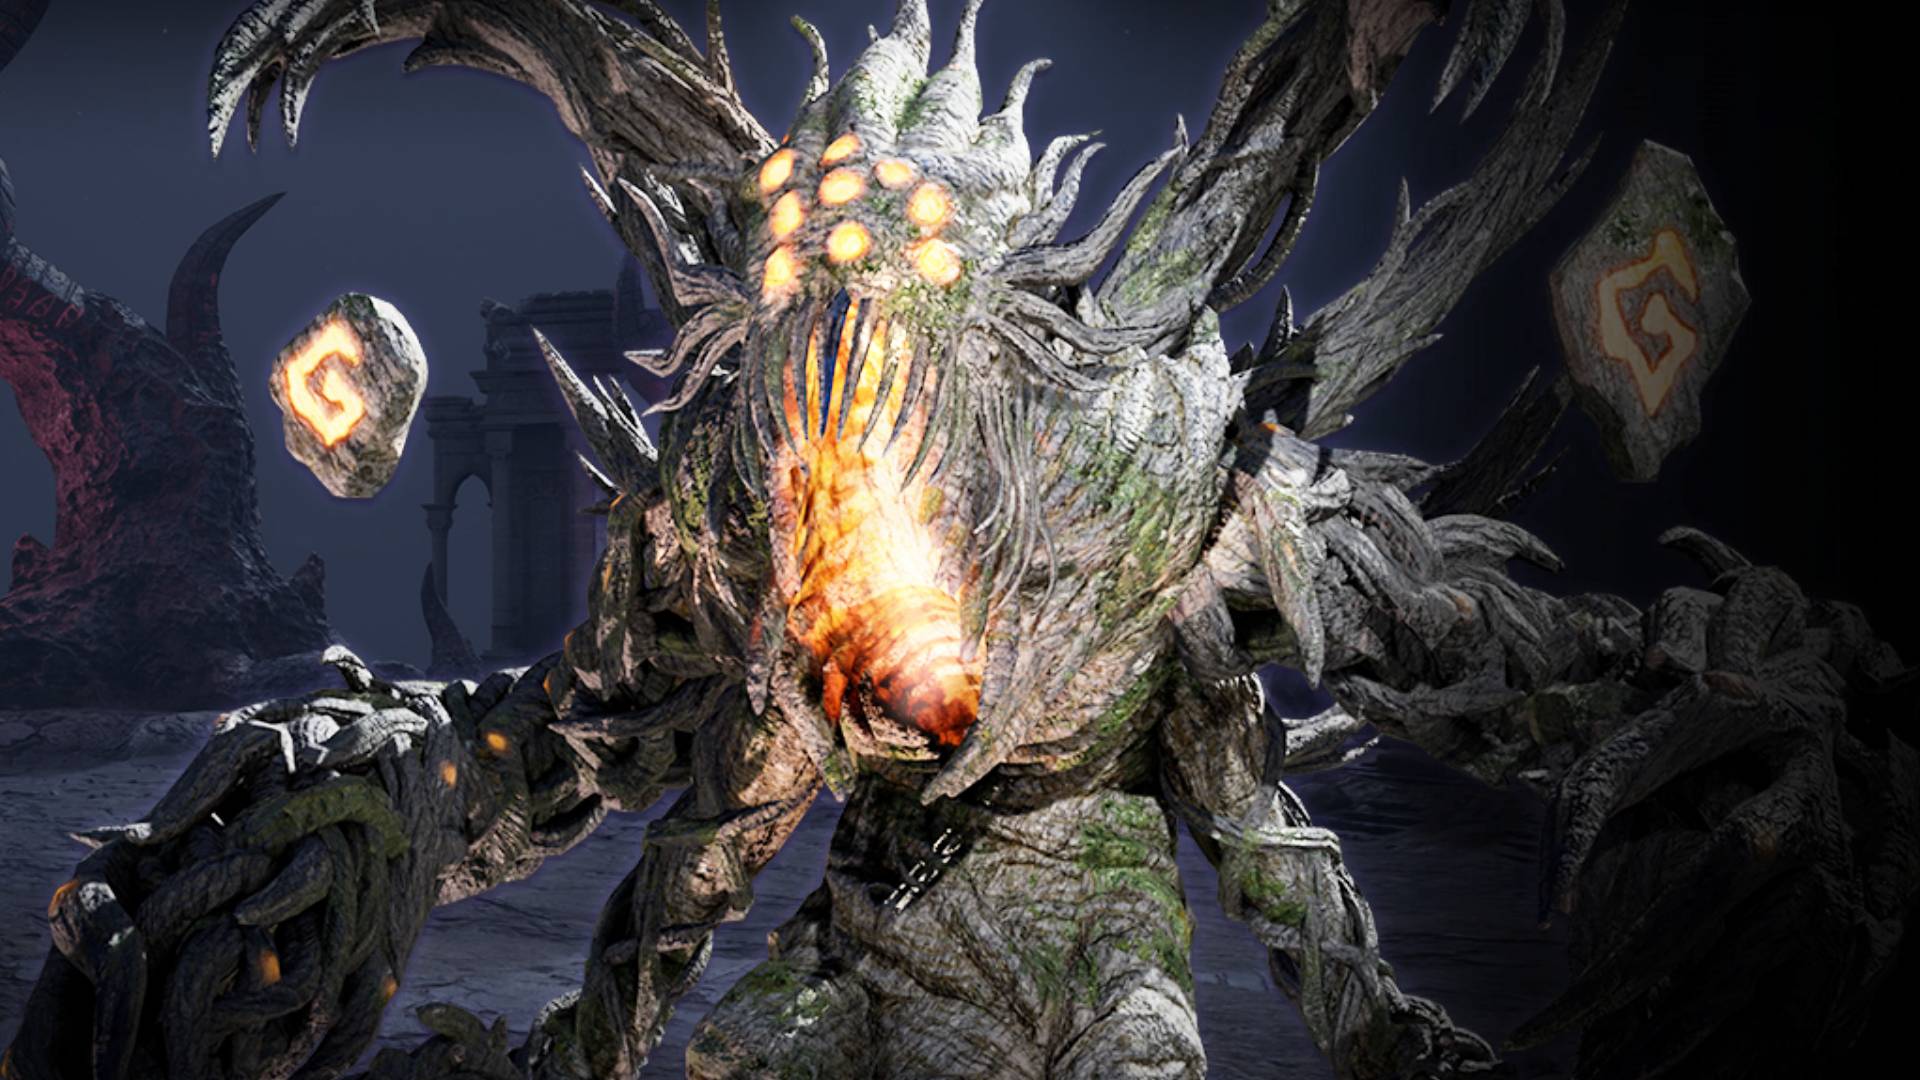
Voidwastes Final Boss – Shakarux
Shakarux is the final boss of the Voidwastes dungeon in Throne & Liberty.
The mechanics of the boss are listed below:
- AOE shockwave – The boss hits the ground, sending out a yellow shockwave that damages everyone. This is a Fury attack, so you should block it to negate the damage.
- Touch of Darkness – Three purple “lasers” will aim towards the boss from crystals around the edge of the room.
- The lasers will gradually apply stacks of “Touch of Darkness” to the boss. If the boss reaches 30 stacks, he will explode, dealing massive damage to your group and probably causing everyone to wipe.
- You should have a player blocking each laser at all times.
- The lasers will also give players stacks of “Touch of Darkness”, and cause them to explode if they get too many stacks, killing them instantly.
- To avoid getting too many stacks, you need a second player near each laser, and you need to take turns to block the laser. You can tell you have too many stacks when your character has a purple aura around them. Trade places when you see this, or earlier.
- Red Orb – The boss will curse a player with a red orb. If you see a red orb on your character, you need to head to the edge of the arena, away from other players. After a few seconds, the red orb will turn into a large black hole AOE that sucks players in. Taking this to the edge makes it much easier to deal with and means it takes less space away.
- Acid Pools – The boss drops some acid pools on the ground. Simply move away and avoid these until they disappear.
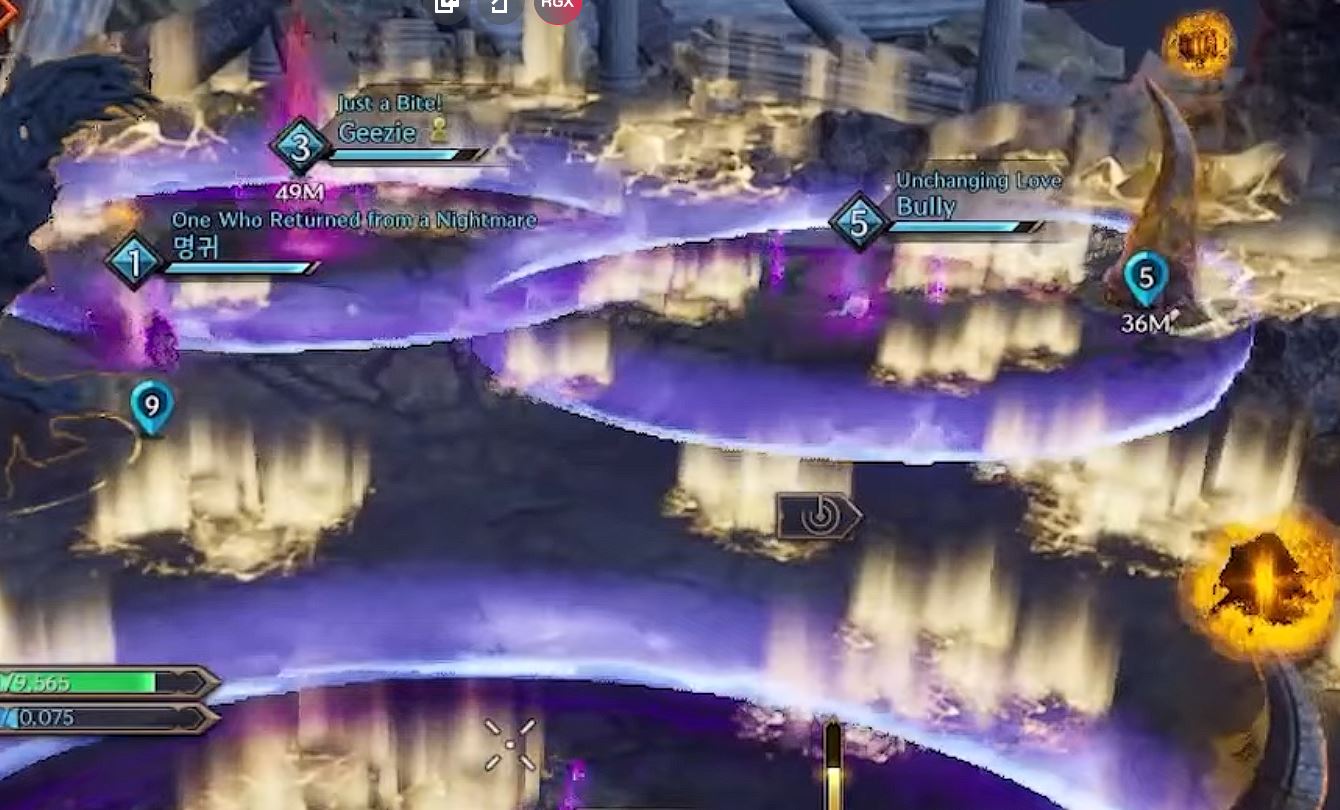
- Breath – The purple lasers will disappear, and a maze of yellow-brown vents appear on the ground. When this happens, players need to spread out evenly, taking care to avoid the vents. After a few seconds, five players will get a large circle around them. The boss will then begin a long, wide, breath attack that gradually rotates around the room. Your team needs to navigate through the maze while also ensuring that your circle doesn’t touch any other player. If the circles touch, you will both be stunned.
- Gold Orbs – The sixth player is marked with a golden orb, and will not get a circle around them. This player effectively has aggro during this phase, and the boss will be chasing them with their breath attack. There are three other golden orbs that will appear on the dark pillars around the edges of the room. The player with the orb needs to run in the correct direction so that the boss rotates and breaths on all of the golden orbs, destroying them. If this is not done, the golden orbs will explode, dealing around 6,000 damage each. If you miss one golden orb it’s survivable, but missing two is very dangerous and missing all three is an almost certain wipe. The player with the golden orb shouldn’t worry too much about other players when doing this – it is everyone else’s job to make sure they avoid the breath, destroying the orbs is the most important thing.When you’re new, you should stop DPS during this mechanic and just focus on surviving the mechanic. But more experienced players can eventually start dealing damage when this is happening.
- More Gold Orbs – The boss will curse all players with a golden orb. These orbs explode, dealing heavy damage (around 8,000). If everyone is healthy when this happens then there shouldn’t be any deaths. Bunch up quickly afterwards so the healer can heal everyone.
- Low HP Enrage – At low HP, the boss will drop double red orbs, which can be dealt with in the same way as the single red orbs from earlier. Sometimes he will do the gold orb explosion back to back, so the healer needs to make sure to heal everyone quickly whenever the gold orb mechanic occurs, just in case it gets repeated straight after.
We hope you liked this guide for the Voidwastes dungeon in Throne & Liberty.