

Welcome to the Carmine Rage Island Dungeon Guide for Throne and Liberty. Carmine Rage Island is a Co-op dungeon in Dimensional Circle++ difficulty. It requires you to be level 50 to enter, and it is recommended that you do this with 6 players.
In this guide, we will walk you through the mechanics and strategy for this dungeon, including the mobs and all bosses.
Please note this guide is currently a Work in Progress and will be further updated as we learn more about the dungeon.
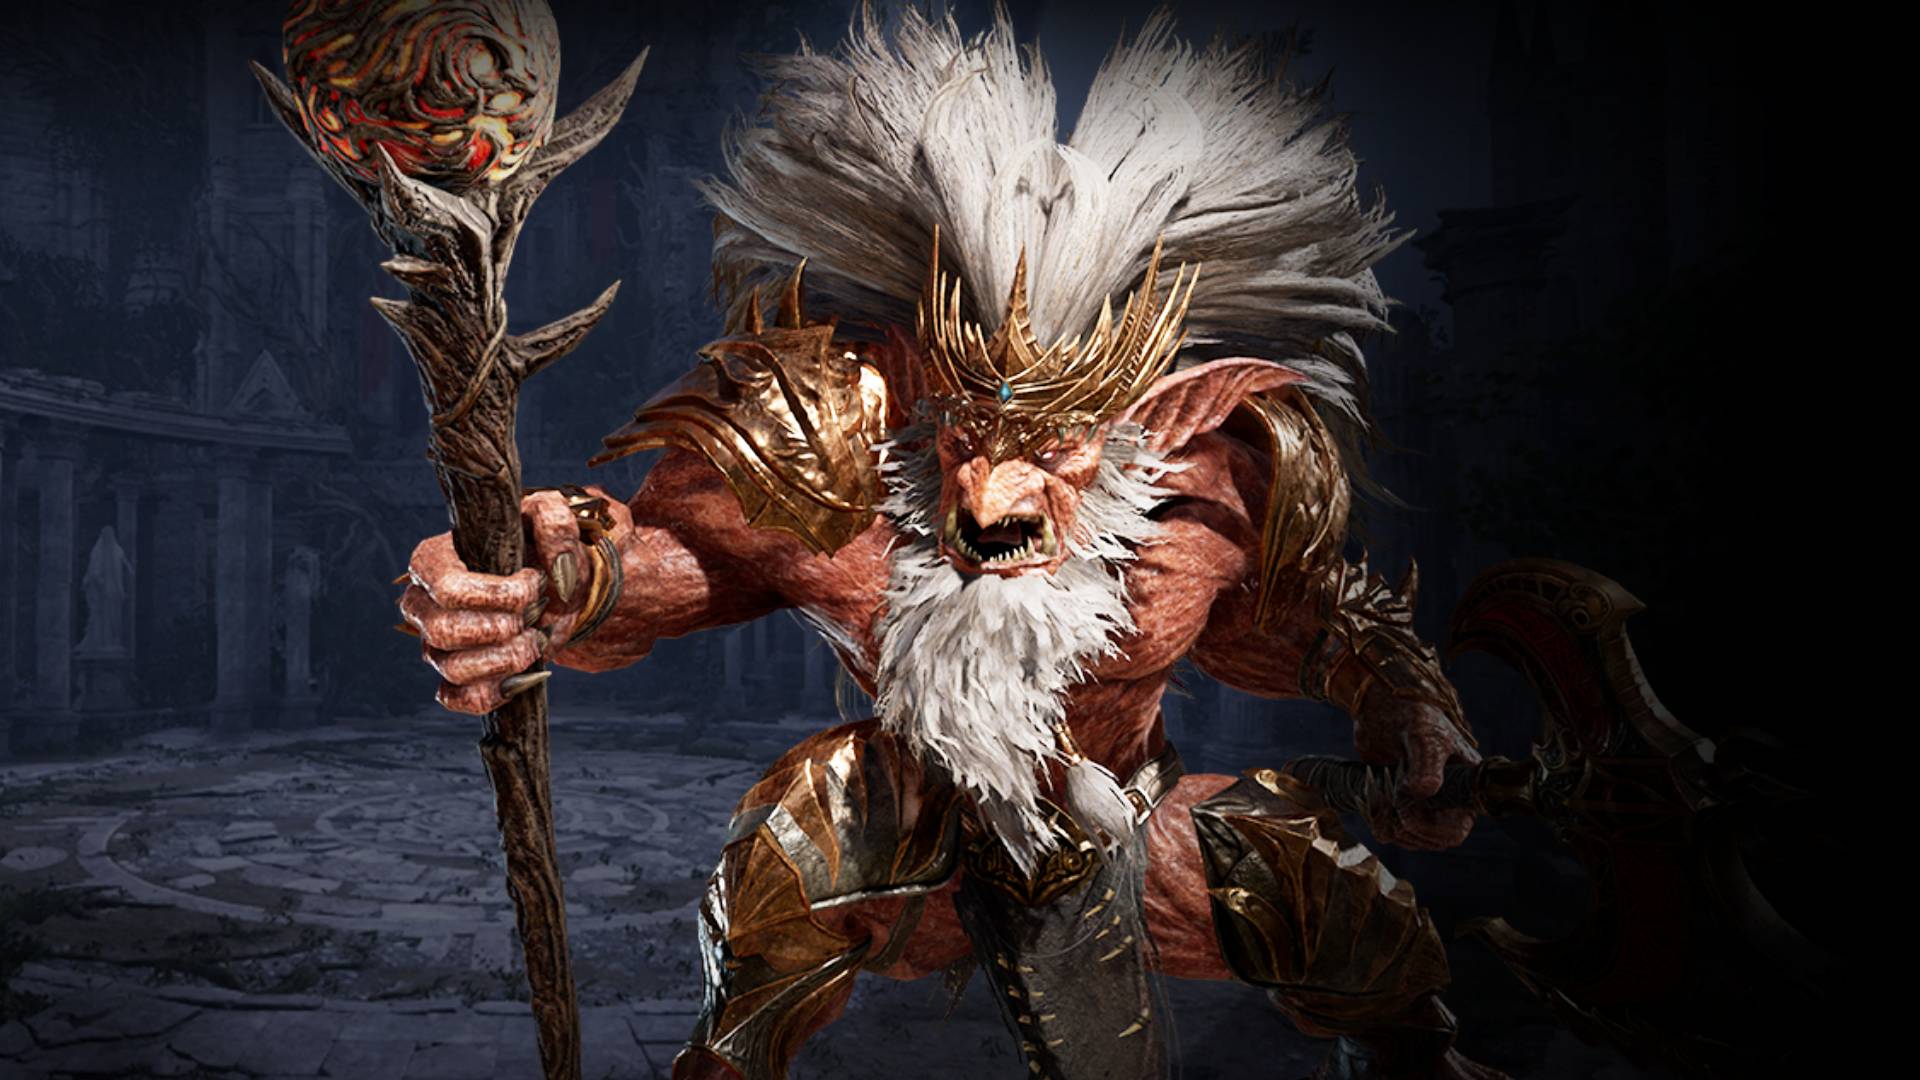
Gaitan sought revenge against humans for mistreating goblins. With the help of the dark elf Soleil, Gaitan gained strength beyond any ordinary goblin. With this new power, he waged a bloody war against humans. They say the blood shed during battle turned the sea around the island red. Gaitan named his new clan Bloodwave and continues to gain power, slaughtering every human he can. Now, the ambitious Red Golbin King aims to unite all goblin clans and take over the world.
Carmine Rage Island: Final Boss – Gaitan
Red Goblin King Gaitan is the final boss of the Carmine Rage Island dungeon in Throne & Liberty.
Gaitan is a simple boss fight, as long as you pay attention to the mechanics and ensure your group has the correct positioning.
The mechanics of Gaitan are explained below.
- Frontal Cleave – The boss has a large sweeping frontal cleave attack. Therefore, the tank should aggro the boss and face them away from the group. The rest of the group should make sure they are not standing in front of the boss.
- Shockwave – Gaitan punches the floor three times, sending out directional shockwaves. Stand between the shockwaves to avoid the damage.
- Charge – The boss will periodically charge at the furthest player, crashing into anyone who gets in the way. To help counteract this, one player should be stood away from the rest of the group either to the left or the right, towards the edge of the arena. This player needs to ensure they are the furthest player from the boss at all times, and be ready to get out of the way when the boss charges them. After charging the furthest player, the boss charges into the group, and then charges back to the tank (or whoever has aggro). Kiting the first charge allows you to control this mechanic and make it predictable, but the rest of the group still needs to be ready to dodge the second charge.
- Whirlwind – The boss does a whirlwind attack – you will see this as a dark red circle around the boss. Stand as close to the boss as possible to minimise the damage from the attack. Being tightly packed together also makes it easier for your healer.
- Tether and Axe – This mechanic (or more accurately a set of mechanics) is by far the hardest and most complicated part of the boss fight. It begins after the boss has done the Whirlwind attack for the second time – the boss will then teleport to the middle and begin the tether mechanic. This mechanic has a lot of stages to it, so we made a separate section to fully explain it, found just below.
Gaitan Tether and Axe Mechanic Explained
Soon after teleporting to the middle, the boss will apply a tether to four players that stops them from moving and deals gradual damage, while a fifth player will be assailed by a magical axe until the end of the fight. If the player with the axe dies they drop a permanent AOE that damages everyone, making the fight much harder. While it is possible to get through this mechanic without any real organisation if your group’s DPS is good enough, it is much easier to do it properly – you can control which players get the tether and which player gets the axe, if you are careful and plan ahead.
When the boss teleports to the middle, the Axe debuff will be given to either the second furthest player from the boss, or the tank. After this, the four furthest players will be pulled to pillars around the boss and tethered. The tethers deal damage over time, and moving away from the tether will greatly increase the damage.
It is imperative that the player with the Axe debuff does not also get the tether, or they will have an extremely hard time surviving. Therefore as soon as they have collected the axe debuff, they need to immediately run to the middle of the room to avoid getting the tether.
The healer should also go to the middle as they need to stay mobile to heal the player with the axe and the tethered players. Having a tethered healer makes the fight much harder.
After the tethers are applied, the player with the axe needs to move towards the edge of the room and focus on kiting the axe to avoid the damage – survival is very important, as if you die you will drop an AOE that damages everyone for the rest of the fight.
The first priority of the healer should be to keep the axe player alive, and the second priority is to look after the tethered players and throw them some healing when needed.
There is one other element to this phase. After tethering the players, the boss will start launching cleave attacks towards each tethered player. At this point, you need to quickly run away from the pillar to the left or the right to get out of the AOE. When the boss cleaves the pillar you were tethered to, the tether will break but you will then be stunned for about 5 seconds, meaning it’s possible to be stunned and caught in the next shockwave if you ran in the wrong direction.