

Welcome to the Cursed Wasteland Dungeon Guide for Throne & Liberty. The Cursed Wasteland is one of the tougher dungeons in Throne & Liberty; the minimum level is 50.
In this guide we will walk you through the dungeon step by step, explaining the mechanics of the mobs and bosses, and strategies for overcoming the various challenges posed by the Cursed Wasteland and its denizens.
Cursed Wasteland Dungeon Guide
Below is a step-by-step walkthrough of the Cursed Wasteland.
First Rooms
If this is your first time in the Cursed Wasteland, turn around from the position where you spawned in, and you will see a collectable book that you should pick up – this is for the Cursed Wasteland’s Exploration Codex quest. Completing the quest will give you some extra rewards, so it’s worth doing.
The first area of the Cursed Wasteland introduces you to an important feature of the dungeon that you’ll need to be constantly wary of. You will see a large glowing crack in the ground. Anyone who touches one of these cracks takes heavy damage and is stunned.
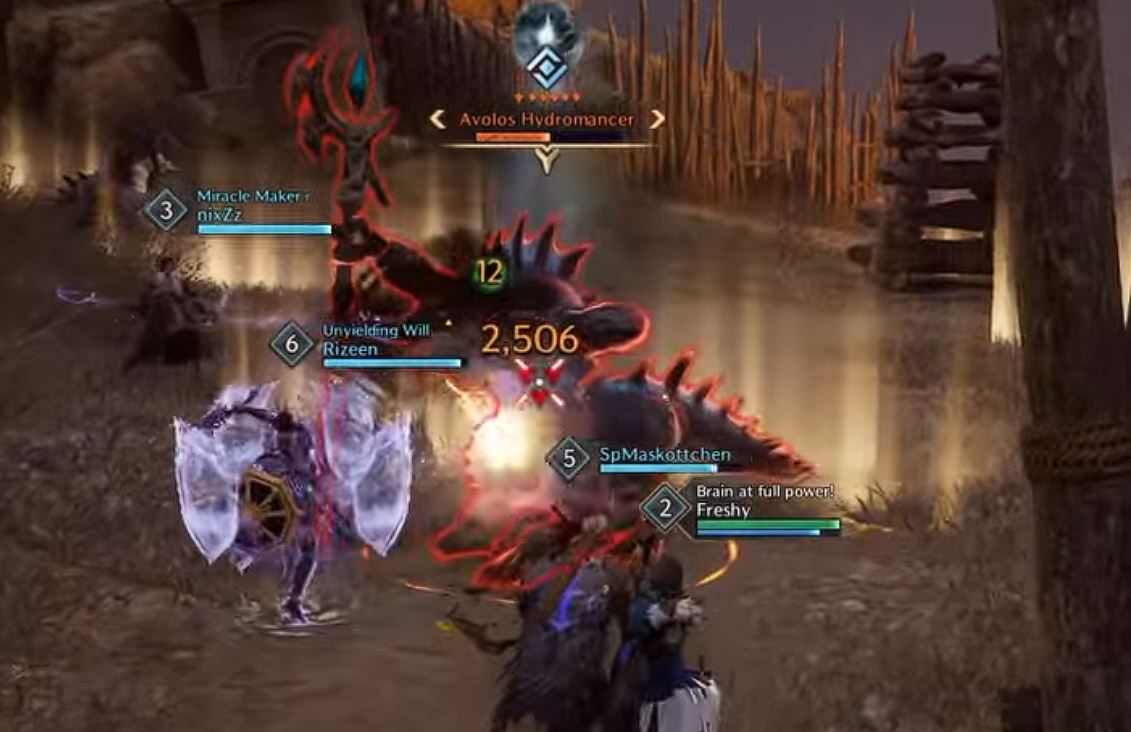
Progress through the area with your group, taking care to avoid the cracks, and you will begin running into Avolos monsters. When fighting the monsters, look out for the elemental versions, such as the Hydromancers and Aeromancers. These are much more dangerous than their normal counterparts due to their spells, and your damage dealers should prioritise them to avoid unnecessary problems.
You will encounter a bonfire, make sure to rest here before proceeding. After the bonfire, there is another group of monsters, followed by the entrance to the next room, guarded by two enemies. We recommend taking these out separately unless your group is very skilled – focus damage on one monster while crowd-controlling the other if necessary. After defeating these two guards, you can enter the next room, where you will find the first boss.
First Boss – Blath
When you enter the room, you will see a purple orb in the middle. Activating this orb will summon Blath, the first boss of the Cursed Wasteland in Throne & Liberty.
The tank should be ready to taunt Blath immediately, otherwise he will quickly begin targeting random players with heavy-hitting attacks.
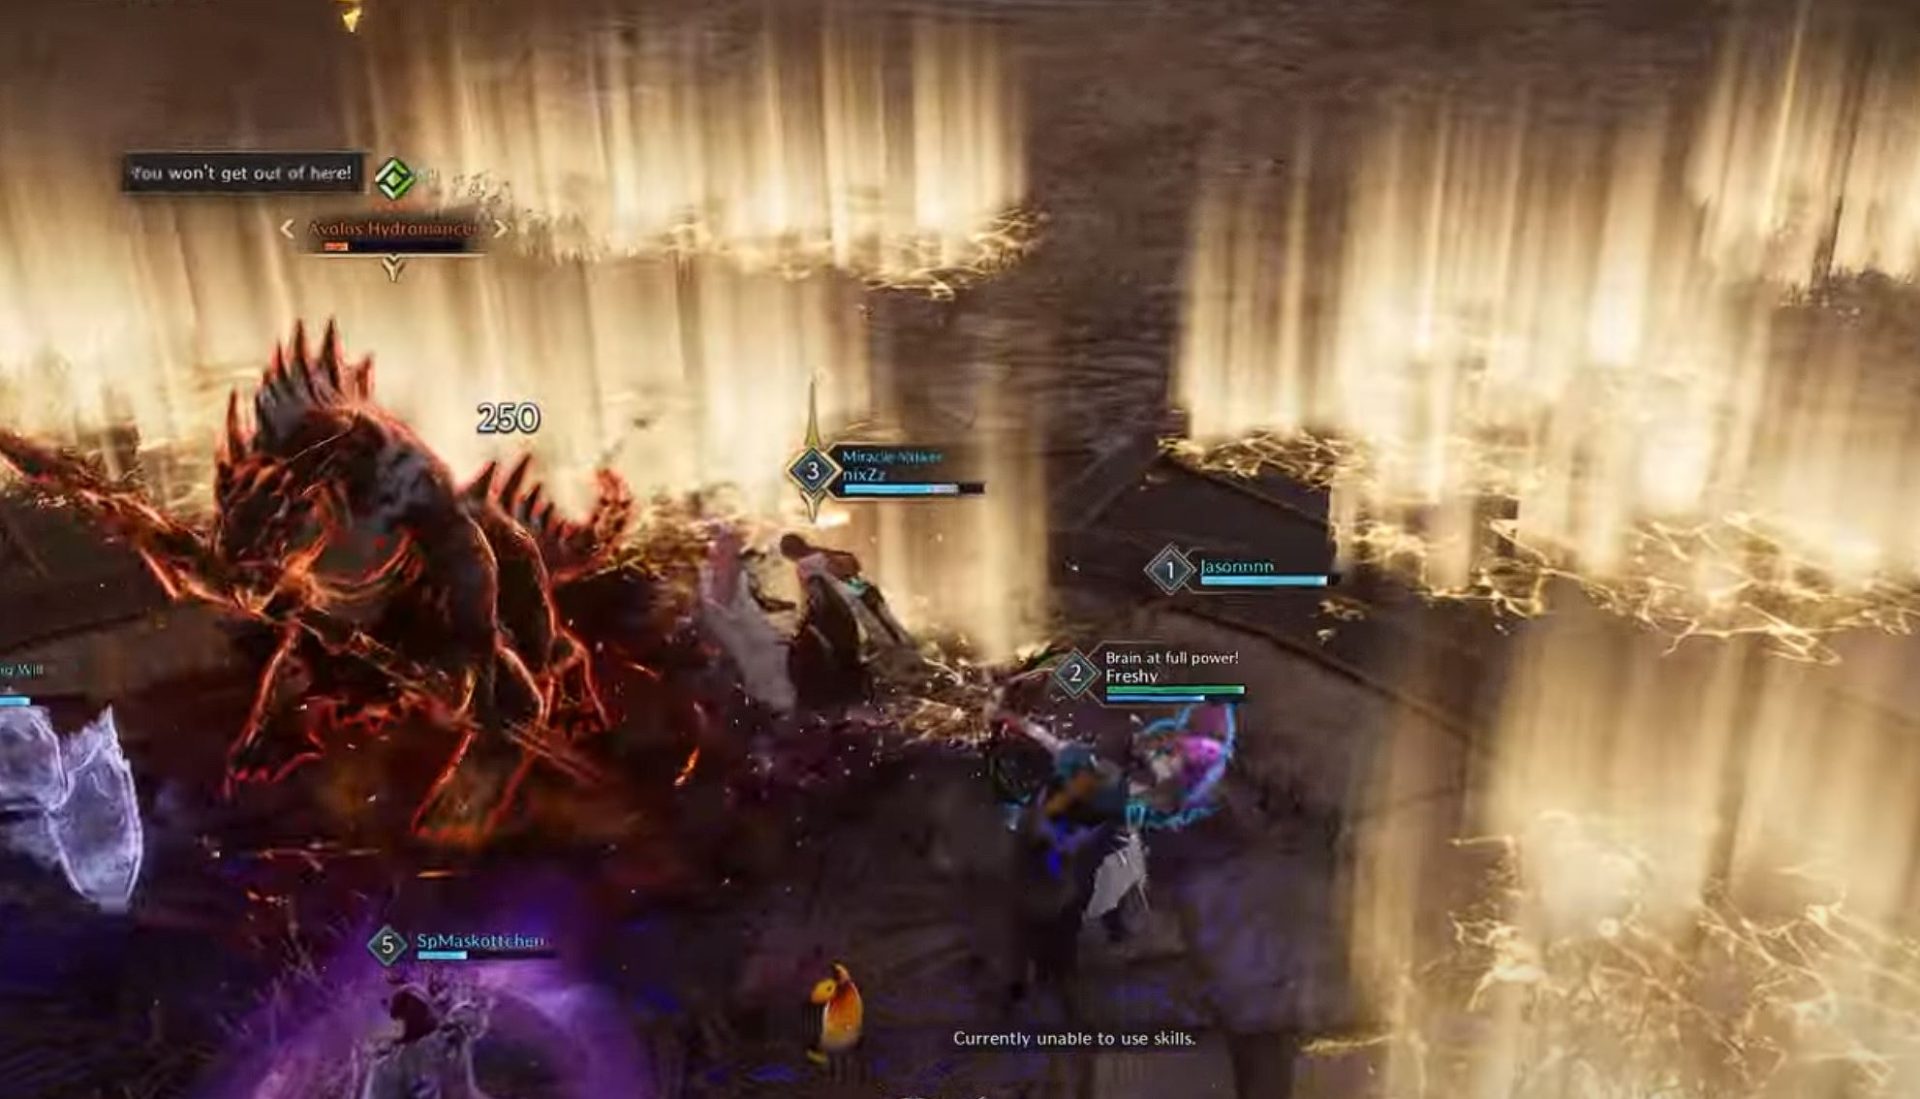
Blath only has one notable mechanic: Blath will pull players into proximity with him – you cannot avoid this effect. After a moment, you will be surrounded by a web of the glowing cracks mentioned earlier, and a creeping AOE will begin expanding from the middle. You need to find your way out of the maze before this AOE reaches you, otherwise you will immediately die. Don’t be too eager to move when this mechanic starts, wait until the cracks appear before moving, otherwise one will likely spawn underneath you.
The fight is just a rinse-and-repeat from this point. As long as everyone knows how to deal with the aforementioned mechanic and your tank (with help from the healer) can survive the boss’ standard attacks, you shouldn’t have too many issues here.
Inner Rooms
After defeating Blath, you can proceed further into the Cursed Wasteland. There is another bonfire that you can use to heal. Nearby you will see two cracks arranged in V-shape. In between the cracks, you can find another book for the Exploration Codex. If you don’t already have it, carefully navigate the cracks to pick up the book.
Once you’re done, proceed through the dungeon and you will encounter another two elemental monsters guarding the entrance to the next boss room. Deal with them one by one like before, then proceed to the next boss fight.
Second Boss – Belrog
Belrog is the second boss of the Cursed Wasteland in Throne & Liberty. He works in a fairly similar way to Blath.
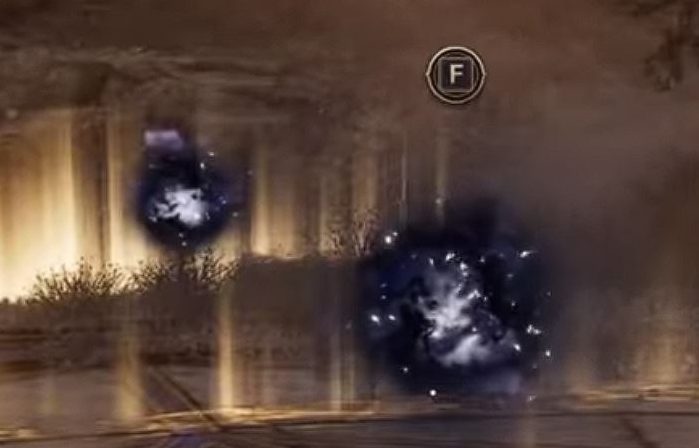
Belrog also has only one major mechanic, and just like Blath he will pull you to the middle of the room at the beginning of the mechanic. Things are a bit different after the initial pull, though. You will be completely surrounded by cracks in the ground, arranged in a layered square formation. Your team needs to all move in the same direction here, interacting with the cracks to disable them (press F when looking at the orb floating above the crack). Coordination is important here, if you get out quickly then you won’t be harmed, but delays can be fatal.
Once you’ve cracked this mechanic, the rest of the boss fight is another rinse-and-repeat process.
After defeating Belrog, you can move on to the next area to find another bonfire. The last book can be found on top of a ruined pillar near the bonfire. Once you’re done here, you can move on to the final part of the dungeon.
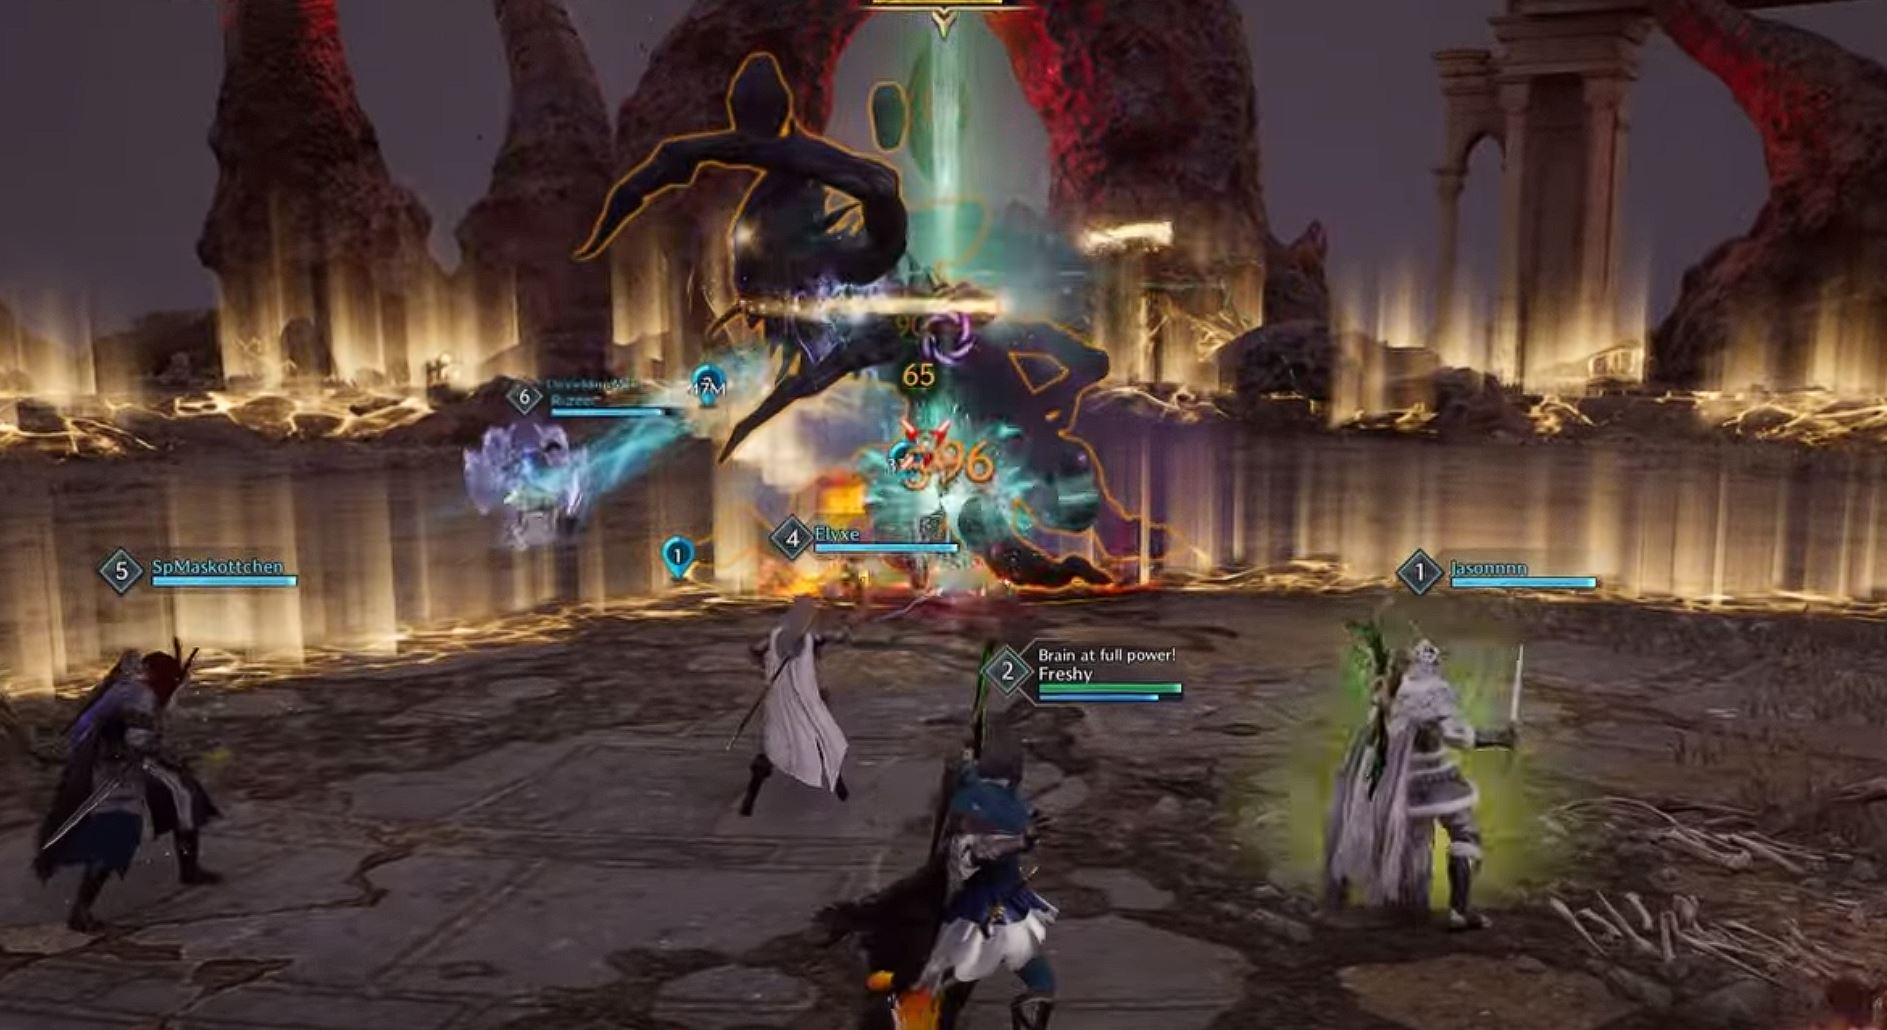
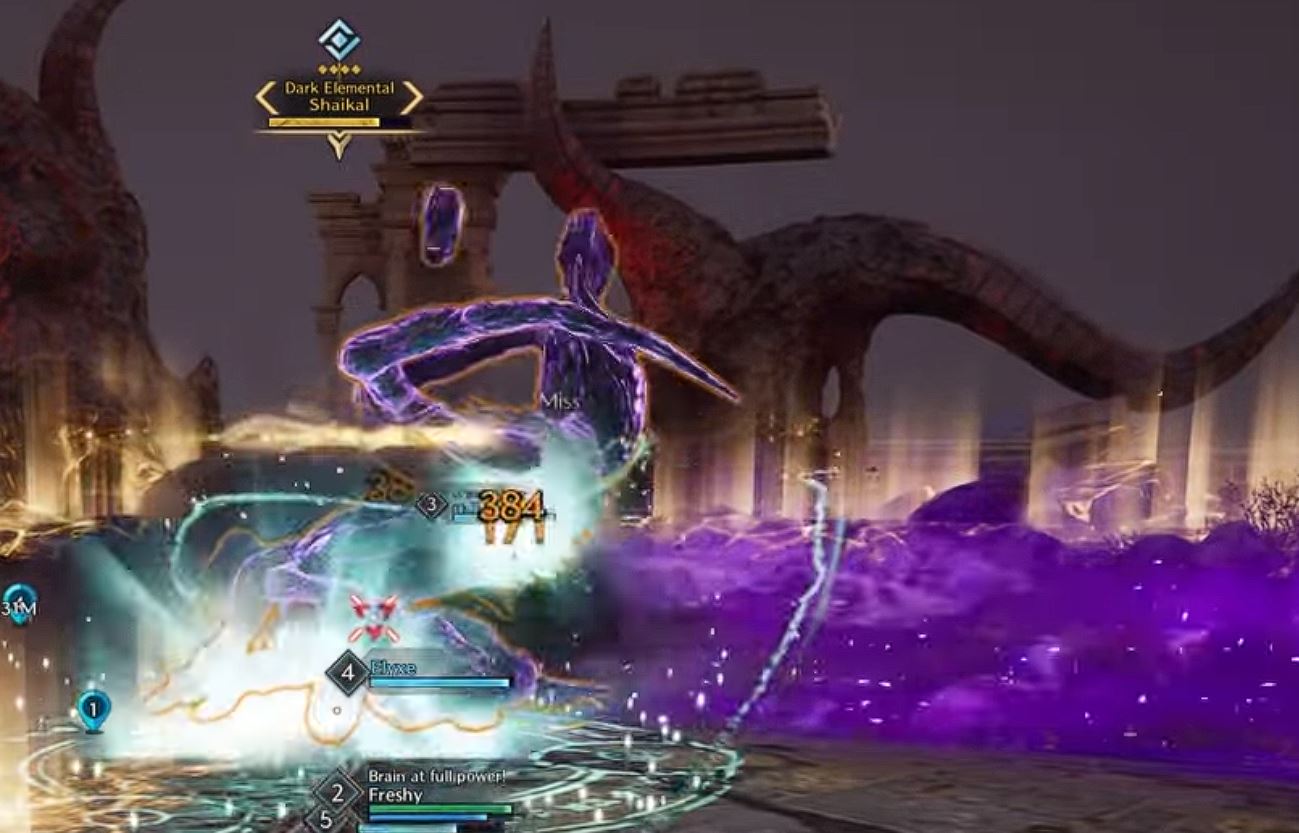
Cursed Wasteland Final Boss – Shaikal
While the previous two bosses were fairly simple with only one mechanic of note, Shaikal is a lot more complicated and requires a coordinated team with good situational awareness.
You will immediately notice that the room is split into thirds by more glowing cracks. This is important for the boss fight, so keep it in mind. On this subject, Shaikal has a large conal cleave attack that will be directed at the tank. For this reason, it is generally a good idea for the tank to have one-third of the room to themselves, while the rest of the team stands in another section, leaving one section with no players in it.
Shaikal has the following mechanics:
- Fury AOE – Shaikal targets players with an AOE Fury Attack. This can be blocked – watch out for the purple indicator!
- Ground AOEs – Players will sometimes have to deal with small damage AOEs spawning underneath them. Keep watching your feet and move when needed.
- Frontal Cone – As mentioned above, Shaikal will target the player with aggro (which should always be the tank) with a conal AOE. This shouldn’t be much of a problem for the rest of the group, as long as the tank is in his/her own section as advised above.
- Red Orb – A random player will have a red orb placed on them. The victim of this mechanic needs to move out of their group, as close to the edge of the arena as possible without touching any cracks. After a few seconds, the orb will create a large red AOE on the ground. Once this happens, you can move back into your group. You must place this AOE at the edge of the room, otherwise you will damage all of your teammates and possibly prevent melee players from damaging the boss properly.
- Purple Orb – Shaikal will place a purple orb on a random player. This player should move as close to the tank section as possible. Meanwhile, another player needs to go to the crack opposite the one with the purple orb and deactivate the crack. The team then needs to evacuate this section and move to the unoccupied one – the player with the purple orb will be followed by a very large purple cone – they need a lot of space to run into, but if they start next to the tank section and then run back towards their team who have now moved to the previously empty section, there should be enough space to move into. Anyone who gets hit by the purple cone will be killed. Beware that the purple cone might travel some way into the section that you move into, so it’s recommended to retreat to the far end of the section.
- Alternative Strategy – Instead of the entire team moving, the player with the purple orb can run to the empty section and disable the crack, while the tank disables the crack on their side of the empty section, and a few seconds later another player disables the final crack. This way, the player with the orb has to run a full loop of the arena to rejoin their team, but the rest of the team can stay in their position and does not need to move. If you do it this way, the tank must remember to run away after disabling the crack, otherwise they will get hit by the purple cone. The boss cannot attack anyone else during the purple orb phase, so the tank can safely run around without needing to block.
- Low Health Frenzy – At low health (below 25%) Shaikal becomes more enraged. Two players instead of one will now get the red orb, but you can still deal with it in the same way as before. Additionally, as a last attempt to wipe your team, Shaikal will perform the purple orb mechanic twice in a row. This might catch players off guard if it’s their first time, so make sure to warn any newcomers that this will happen.
This is quite a lot of dangerous mechanics to navigate, positioning and situational awareness are very important.
If you managed to defeat Shaikal then congratulations, you have now completed one of the more challenging dungeons in Throne & Liberty!
I hope you liked this guide about the Cursed Wasteland in Throne and Liberty.