

Welcome to the Bolt Staff Necromancer Sniper Build for Vermintide 2.
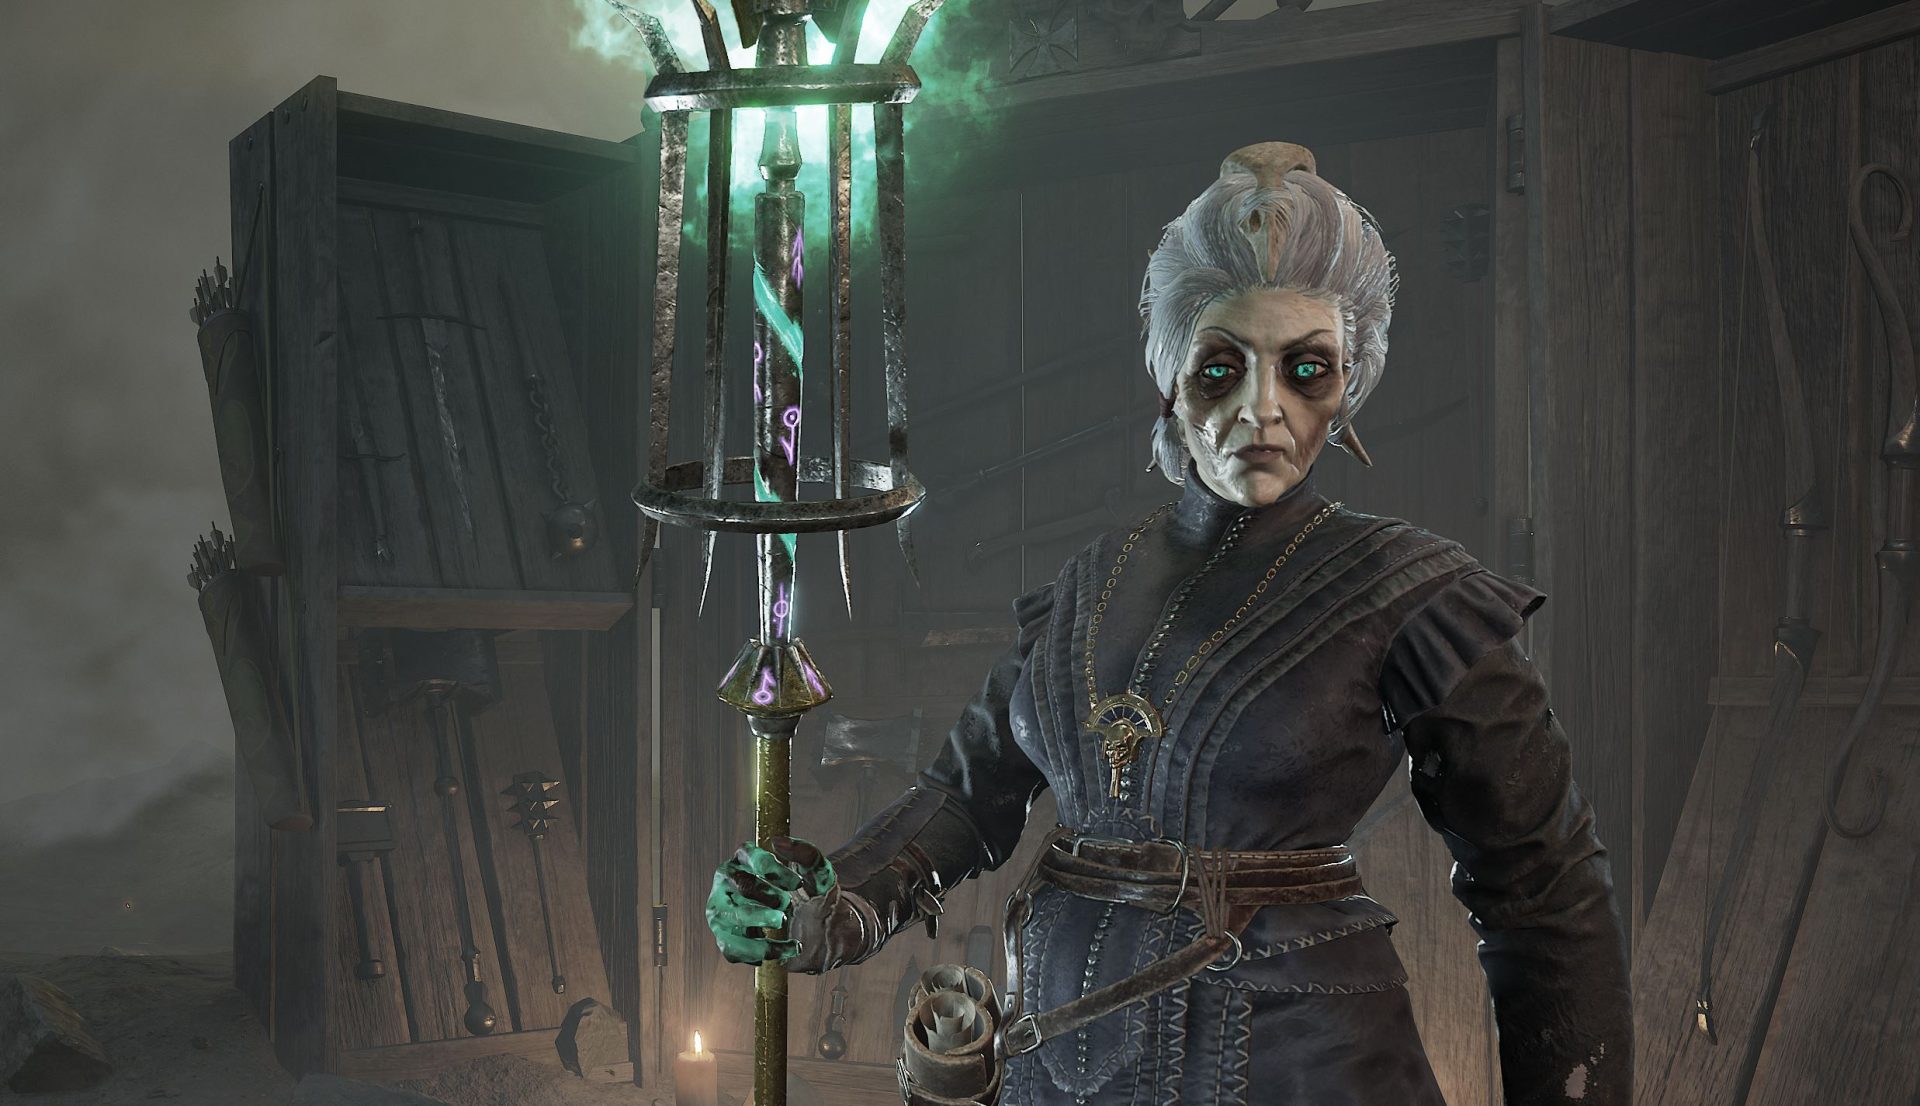
In this build guide we will be showing off a powerful build for the new Necromancer class in Warhammer: Vermintide 2. This build is for Sienna’s long-awaited fourth career, the Necromancer, which has just been released.
We will talk you through all elements of the build, including how to make the build, which Talents to use and how to play it.
Table of Contents:
Bolt Staff Necromancer Introduction
This version of the Necromancer build is focused on dealing high single-target damage. It is able to snipe elites and specials from a long distance and does decent boss damage too.
We’ll be using the dagger for our melee weapon – it offers good mobility, a little bit of cleave and fairly good single-target damage. Our ranged weapon will be the bolt staff, which is best used to sniping single enemies, but it can also deal decent damage against hordes.
With the Necromancer class, Sienna can sacrifice her summoned skeletons to rapidly vent a large portion of Overcharge, allowing you to continue casting spells. This will be of great help for this build.
Bolt Staff Necromancer Talents
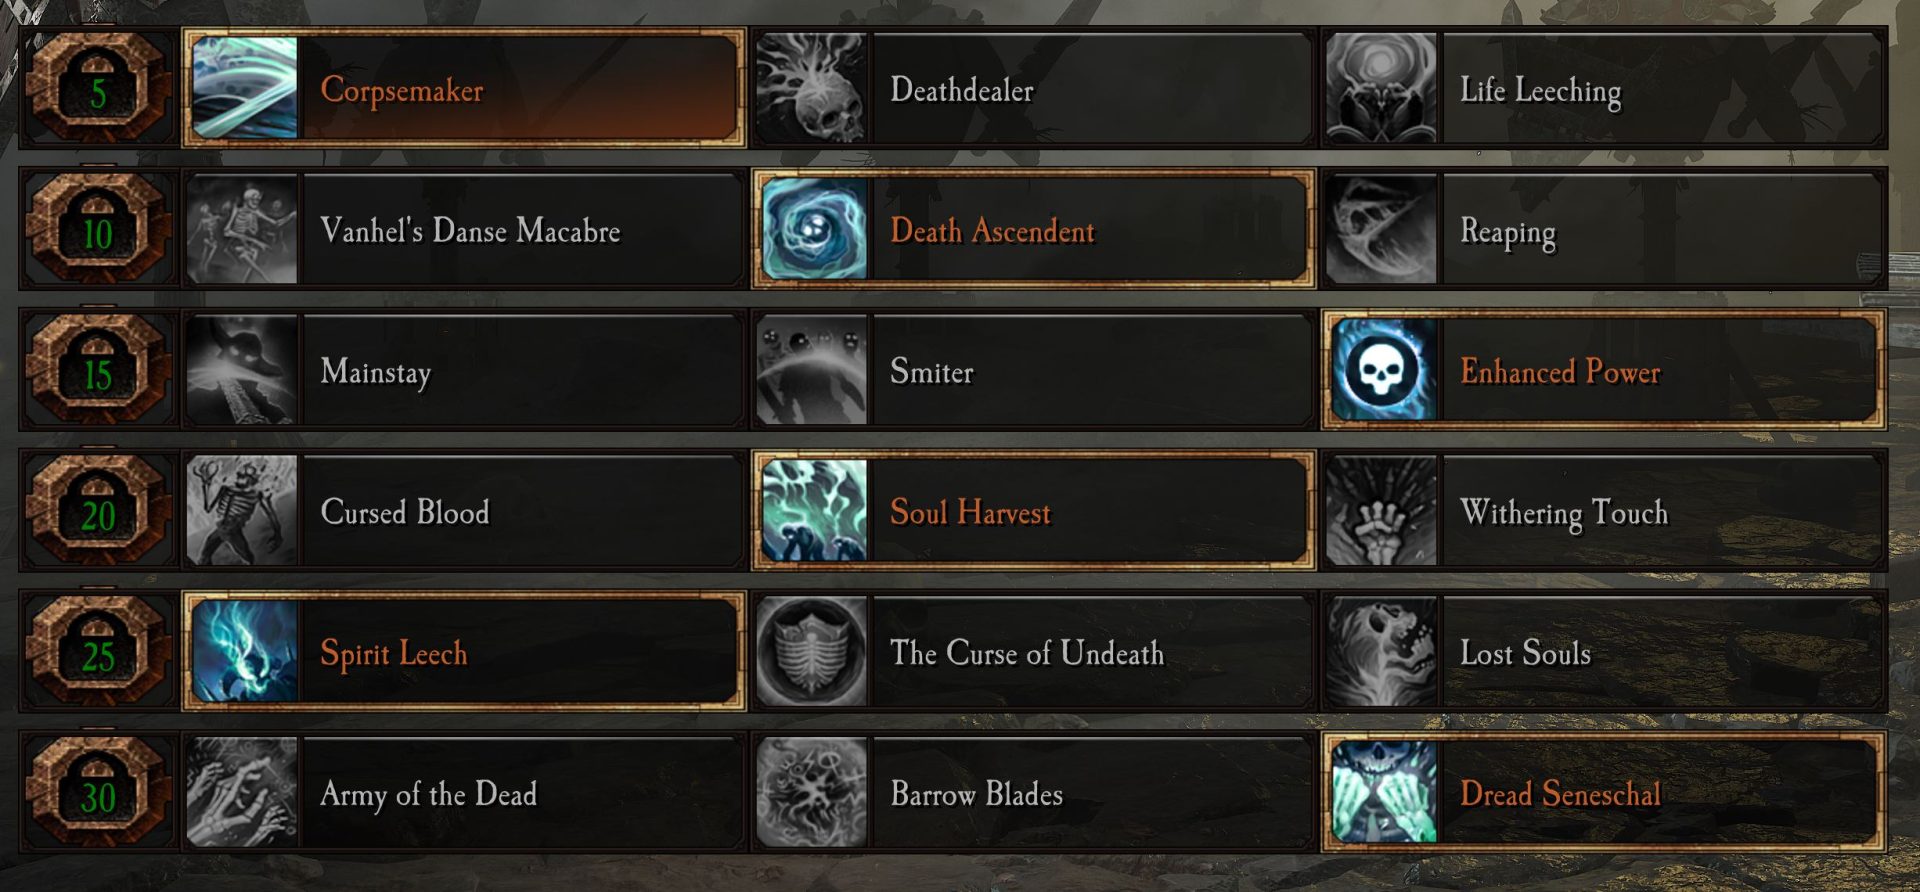
Here is a quick list of the required Talents for this build. For a more detailed description of each talent and why we are using it, check below the list.
- Corpsemaker
- Death Ascendant
- Enhanced Power
- Soul Harvest
- Spirit Leech
- Dread Seneschal
Corpsemaker
While the dagger doesn’t have huge amounts of cleave, it has enough that we can get decent Temporary Health from damaging multiple enemies in one swing. Remember to do this once in a while to protect your green HP.
Death Ascendant
This is an extra buff to your ranged damage that is fairly easy to keep up. Each time you cast a spell, your ranged power increases by 5% for 6 seconds, with the effect stacking up to 5 times. You can prebuff at the start of combat by doing five quick light attacks with the Bolt Staff. However prebuffing isn’t entirely necessary – the build still works fine if you don’t do that.
Enhanced Power
Since this is a primarily ranged build, Enhanced Power makes the most sense, as it gives a flat buff to all of your damage.
Soul Harvest
Every enemy that is burning from your spells has their soul harvested when they die. When eight are harvested, your next attack is a guaranteed Critical Hit. This is useful for pumping up the damage output of your Bolt Staff, and it also synergises with the Heat Sink trait on your Bolt Staff to reduce the amount of overcharge generated.
Spirit Leech
Every elite enemy you kill restores 15% of your Cooldown. This is a no-brainer for this build since the Bolt Staff is the ideal weapon for quickly sniping elites (especially Stormvermin and Bestigors) – you’re going to regenerate your career ability very quickly with this combo.
Dread Seneschal
Since the skeletons are pretty bad at fighting and don’t do much damage, we aren’t too interested in the other options for this talent. Dread Seneschal makes the skeletons better at staying alive, which is the most important thing. Our skeletons have two main roles: Distracting and holding back enemies to give us more space, and being sacrificed to quickly vent overcharge. Dread Seneschal helps with both of these by keeping the skeletons alive for longer.
Necromancer Sniper Equipment
In this section, we will cover the traits and properties for the equipment on this Necromancer build in Vermintide 2. Unless you’re playing below Legend difficulty, this build is quite sensitive to your item properties and can perform considerably worse if certain aspects are different. If you can upgrade all of the items to red quality then that also helps, as this guarantees the maximum possible values for each property. However, if you don’t have enough red materials or want to test out the build before spending them on it then don’t worry, the build still works well without everything in red. The most important thing is to have the same weapons, properties and weapon traits.
Melee Weapon – Dagger
The dagger is a decent weapon for holding enemies back and regenerating THP. You can use the heavy attacks to deal decent damage to armoured enemies in a pinch, which will also put a fire DoT on them. Ideally, the weapon is used defensively rather than offensively, but if you’re forced to use it for damage output then it can hold its own. The dagger has a “move tech” that allows you to move faster and outrun enemies – to do this you simply spam the push attack while running (hold right click to block and briefly hold left click after the regular push in order to perform a push attack)
- Trait: Swift Slaying
- Property: +2 Stamina
- Property: Block Cost Reduction
Ranged Weapon – Bolt Staff
The Bolt Staff is the main damage source of this build, and you will ideally spend most of your time using this weapon. You can press or hold left click to perform light attacks, which can be used to finish off low-health enemies or damage hordes. However the best attack is the charged bolt attack – hold right click to charge up a javelin bolt, then press left click to throw it.
There’s a very important audio cue you need to listen out for with this staff: As it is charging up the bolt, you will hear a fiery “whoosh” sound after about a second, and then a second whoosh sound a second later. To get the maximum damage and penetration from the bolt, you need to wait for the second sound, then you can throw it. This will one-shot most elites and specials (on Legend), however Chaos Warriors are quite a bit tougher to bring down. If you can get headshots with these attacks, then that makes them a lot easier to deal with.
When using the staff to damage hordes, hold down right click and quickly left click repeatedly to throw many weaker javelins. This is sufficient to do a lot of damage to horde enemies, as they lack any armour. Be careful not to get too much friendly fire with the Bolt Staff, it does quite a lot of damage to allies on Legend difficulty or above, so you can end up annoying people if you’re too careless.
- Trait: Heat Sink
- Property: Power vs Chaos
- Property: Crit Chance
Necklace
The Necklace is used to increase the build’s defensive prowess. Newer players may want to use Barksin as their trait, however, more experienced players may prefer Natural Bond, which causes your HP to regenerate passively while preventing you from healing yourself.
- Trait: Natural Bond OR Barkskin
- Property: Health
- Property: Block Cost Reduction
Charm
The Charm is used to increase our damage against certain enemy types, which is important for making sure the Bolt Staff deals enough damage to one-shot certain enemies.
- Trait: Decanter OR Proxy
- Property: Power vs Chaos
- Property: Power vs Infantry
Trinket
We’re using our Trinket to further improve our crit chance, gain curse resistance (this reduces the HP loss when your team is carrying Grimoires). We’re also using the Explosive Ordnance trait which makes the radius of incendiary bombs huge! This is a really good intervention in dangerous situations – if you sense that the run is about to take a drastic bad turn, you can turn the tide with a well-timed fire bomb. Drink a Strength Potion before throwing the bomb to make it even stronger.
- Trait: Explosive Ordnance
- Property: Curse Resistance
- Property: Crit Chance OR Stamina Recovery for extra defence


How to Play the Necromancer Bolt Staff Build
The Necromancer Bolt Staff build can be played by anyone, however this build does have a higher skill ceiling than our other Necromancer Build. Making good use of the Bolt Staff requires a lot of quick actions and good positioning, spatial awareness and movement, to ensure that you have enough space to keep casting and also staying on top of your overcharge.
The build comes with a lot of extra Crit Chance and the Heat Sink trait on the staff, which will minimise the amount of overcharge that you generate. However, you’re still going to have to vent. Luckily the Necromancer allows you to do this rapidly by sacrificing one of your summoned skeletons. To do this, press the potion keybind (4 on PC by default) to equip your Icon of Death skull. Then press reload/vent (R by default on PC) to sacrifice one of your skeletons, immediately venting a large portion of your overcharge. It takes a bit of time to get used to this, but once you’re familiar with it you can do it very quickly and start dishing out constant damage with your Bolt Staff. Remember to keep skeletons up at all times, and keep killing Elites to recover your Career Skill, so you can summon more skeletons!
The skeletons are also useful for defending an area, buying you more space to move around. Sometimes you may want to order them to defend a precise area – do this by equipping the Icon of Death skull, holding right click and then pressing left click to order the skeletons to protect the targeted area. They will stay there until they die, or until you reset the order by selecting the Icon of Death again and left clicking.