

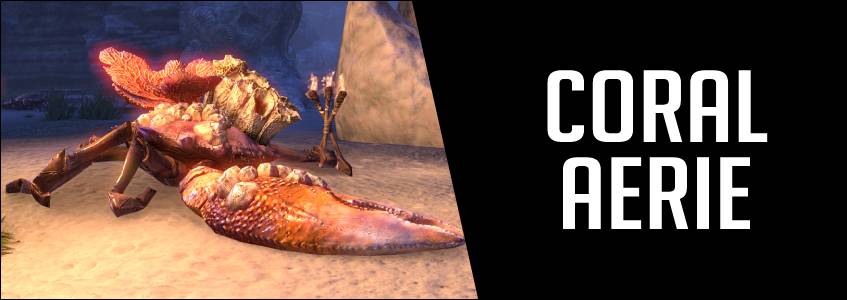
Welcome to the ESO Coral Aerie Dungeon Guide for both Normal and Veteran mode. The Coral Aerie dungeon is located in the Summerset zone.
This dungeon has 7 bosses: 3 main bosses and 4 secret bosses and a lot of trashmob packs. (Trashmob = Enemies that can add to the difficulty and liveliness of a dungeon/trial)
Story: On an oft overlooked little islet among the Summerset Isles, big trouble is brewing. Help the cagey Captain Kaleen lead a daring rescue of one of her former crew from the dissidents of the Ascendant Order and recover what they stole.
If you have more questions, you can also ask someone in our community partner discord about the Coral Aerie Dungeon Guide for ESO!
Table of Contents:
- Sets & Rewards
- Trashmobs
- Boss Fights
- Secret Bosses
- Skipping
- Full Run of Coral Aerie (Video)
Sets and Rewards in the Coral Aerie Dungeon in ESO
You can find 3 different sets and one monster set in the Coral Aerie Dungeon in ESO (Elder Scrolls Online).
- Light: Maligalig’s Maelstrom Set
- Medium: Gryphon’s Reprisal Set
- Heavy: Glacial Guardian Set
- Monster Set: Kargaeda Monster Set (Veteran only)
Other rewards that you get in the dungeon are:
- Head Marking: Abyssal Embrace Face Markings – Complete the Ascending Tide Explorer Achievement
- Memento: Maormer Ocean Pearl – Complete the Seafaring Sleuth Achievement
- Dye: Drowned Cobalt – Complete the Ascending Tide Delver Achievement
- Memento: Guardian’s Frozen Shard – Complete the Coral Aerie Conqueror Achievement
- Title: Gryphon Handler – Complete the Superior Pedigree Achievement
- Title: Aerie Ascender – Complete the Tentacless Triumph Achievement
- Title: Coral Caretaker – Complete the Land, Air, and Sea Supremacy Achievement
Trashmonsters in Coral Aerie
There are plenty of trash packs in coral aerie but most of them aren’t dangerous. The only trash pack that is noteworthy is the one with the gryphons. Eventually you will see a gryphon that you can attack. Once you attack the gryphon several others will spawn and attack you, they hit hard and the tank has to taunt them as fast as possible.
List of all Bosses in the Coral Aerie Dungeon ESO
Below you can find a list of all the bosses in the Coral Aerie dungeon in ESO. You can also see how much health each boss has and what adds it will spawn.
| Boss | Health | Adds |
|---|---|---|
| Magligalig | 9’022’496/ 9’022’496 HM | Yaghra Strider, Ripple of Magligalig |
| Sarydil | 4’089’973/ 11’193’612 HM | Ascendant Archer, Pursuer, Cryomancer, Bulwark, |
| Varallion (Endboss) | 7’518’747/ 14’661’558 HM | Gryphons |
| Sword Guardian (Secret Boss 1) | 2’869’154 | None |
| Staff Guardian (Secret Boss 2) | 2’869’154 | None |
| Shield Guardian (Secret Boss 3) | 2’869’154 | None |
| Z’Baza (Secret Boss 4) | 6’014’998 | Tendrils |
Bosses in the Coral Aerie Dungeon in ESO
You can find a total of 7 bosses in the Coral Aerie Dungeon. There are 3 main bosses with each having a hardmode and there are 4 secret bosses that. The first three secret bosses will give you buffs, the last secret boss fight happens after you defeat the main endboss.
- Sword Covenant buff from the Sword Guardian secret boss:
- Weapon and Spell Critical increased by 10%
- Staff Covenant buff from the Staff Guardian secret boss
- Max Magicka and Stamina increased by 10%
- Shield Covenant buff from the Shield Guardian secret boss:
- Max Health increased by 10%
Boss 1 Magligalig
Magligalig is the first boss in the Coral Aerie Dungeon in ESO (Elder Scrolls Online). Small mobs will spawn throughout the fight and explode, make sure to kill them asap. At 70% and 35% the whole room will be filled with water and you have to use the synergy button to get to the upper area where you have to kill monsters. Make sure to coordinate with your friends on which one you want to jump first. While you are upstairs you will also get constant damage, make sure you have enough healing power.
Stomp: From time to time she will stomp her butt on the ground and a pink cloud will surround her and escape in all directions. This will call forth her Yaghra Larva.
Barbed Lance: This is the heavy attack of the boss. The boss channels his two arms and stabs them into you. You can block but preferably dodge roll the attack.
Yaghra Larva: These larvae will attack the player with the mark over the head. They will run up to them and explode, which is called Toxic Burst. Be careful and dodge roll out of this when they have run over to you.
Storm Cell: This spawns on one player, which will cause a lot of damage to all players standing too close. Storm Cells can be dispersed by moving the small, player-targeted storm inside the large, roaming storm. That way you can avoid taking too much damage and eventually killing other players by too heavy movement.
Surging Waters: At around 70% and 35% Maligalig will cast a spell to make the arena run over with water and it will toss and turn you around. You will be able to interact with fontana’s that will bring you onto a platform where a couple of enemies are waiting. Before these aren’t killed, you can’t continue in the bossfight.
Ripple of Maligalig: These need to be killed in order to continue killing the boss. There will be a couple of random mobs on the platform as well which won’t have #1 priority, but can be easily killed on the side and will most likely die during AOE. The Ripples don’t need to be tanked, as they are focused on casting the surge. When the adds are left alone, they will die as soon as the Ripple dies, which in turn means the tank can also just tank them away from the group.
Hardmode Maligalig
Hardmode adds a few new mechanics.
Building Static
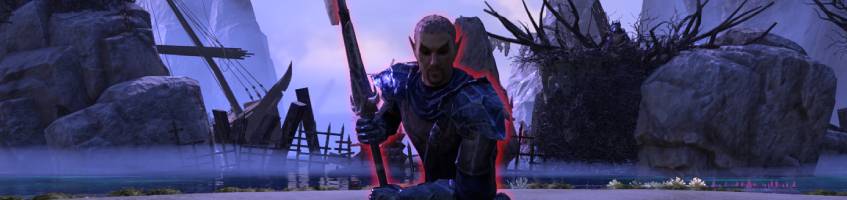
Boss 2 – Sarydil
Sarydil is the second boss in the Coral Aerie dungeon in ESO. This boss is quite difficult and she will also spawn plenty of monsters during the fight.
Assault: This is an ability which will teleport her to you and is usually followed by Brand, which is an intense Heavy Attack and is combined with a fire DoT. In order to avoid this, the one holding aggro (ideally the tank) should not be standing away too far, or should at least be prepared that this attack will be incoming.
Blast Powder: During the fight, Sarydil will spread firepools on the ground, which she will explode after a while. These deal a lot of damage and should not have any impact on the player. Standing in them is just generally a bad idea.
Adds: During the fight, at around 70%, Sarydil will go back up from where she joined the fight, and her archers will focus on a random player, as does she. There will also be a couple of archers joining in the arena. At around 35% there will even be a bigger add joining the fight, making the tank quite busy.
Trap Explosion: At the end of her phase of going upward, she will have the traps explode that she threw across the arena. Be sure to find a safe spot, otherwise you will die.
Pinpoint: This is an ability which will focus all archers on you that now have jumped down, meaning you get randomly targeted by all archers at once. This deals a lot of damage and can be stopped by interrupting the shadowy assassins. Otherwise they will continue until the target is dead.
Target Mark: During the fight a random player will receive a target mark. This will make the player drop traps in a short interval of time. By walking backwards you can drop them slowly along the sides of the wall or wherever you deem fit where they don’t interfere with the others.
Hardmode Sarydil
Endboss Varallion
Varallion is the endboss of the Coral Aerie dungeon in ESO. Two gryphons will spawn throughout the fight that deal a lot of damage and can be problematic for the tank. Make sure to kill them as fast as possible one they spawn.
Obliterate: This is the bosses’ Heavy Attack, but it’s not that powerful, meaning it doesn’t deal a lot of damage. Blocking this should be do-able by any player, not just the tank, and they will still be able to survive.
Sea Orb: From time to time, the boss will spawn a Crashing Wave which will randomly sweep across the island, dealing a lot of damage.
Mental Wound: This is a DoT which the boss will cast on the players and which can only be healed. It deals a relatively low amount of damage, but should be taken into consideration when dealing with the other mechanics of this boss.
Gryphons
Bleeding: The gryphons spawning will target the players with a bleeding effect, which is why they should be tanked immediately by the tank, and killed as soon as possible.
Lightning Storm: Iliata, one of the gryphons, can cast down Lightning Storm on the group. This will deal a moderate amount of damage, which is why it is important to relocate the boss and his gryphon outside of the static field that the gryphon will place once Iliata has entered the arena.
Tornado: Mafremare, the last gryphon, is able to summon two tornadoes. These can interrupt the fight extremely, which is why it is important to kill the gryphon as soon as possible. Players should take care of not stepping into these tornadoes.
Hardmode Varallion
In the Hardmode fight of Varallion, the waves will come from any side around the circle, and will overlap like a T. Also, the gryphons will overlap, so it’s important that the tank will be able to hold the boss plus the gryphons.
Tether: Another mechanic is that two players will be tethered during the fight. This bond can not be broken, and the two players connected should stay as closely together as possible as this will cause a lot of damage over time and that way it’s easier to heal them.
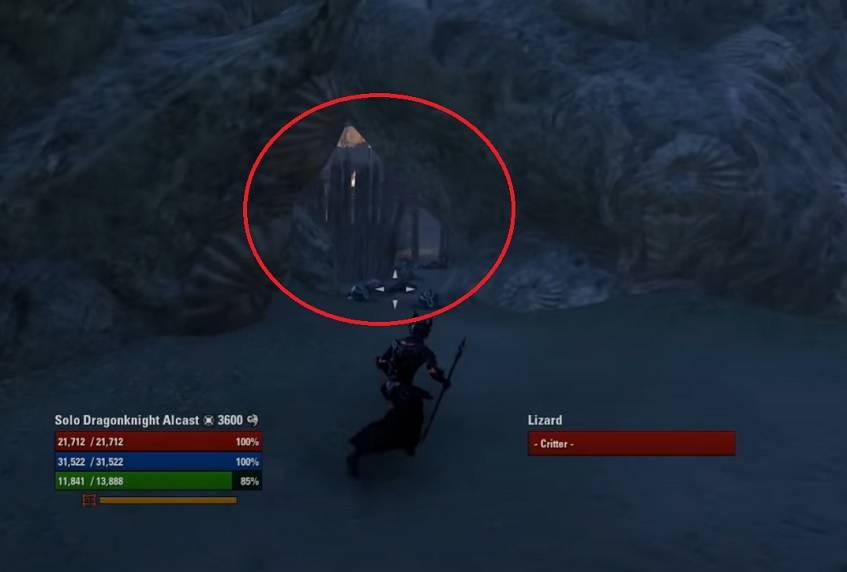
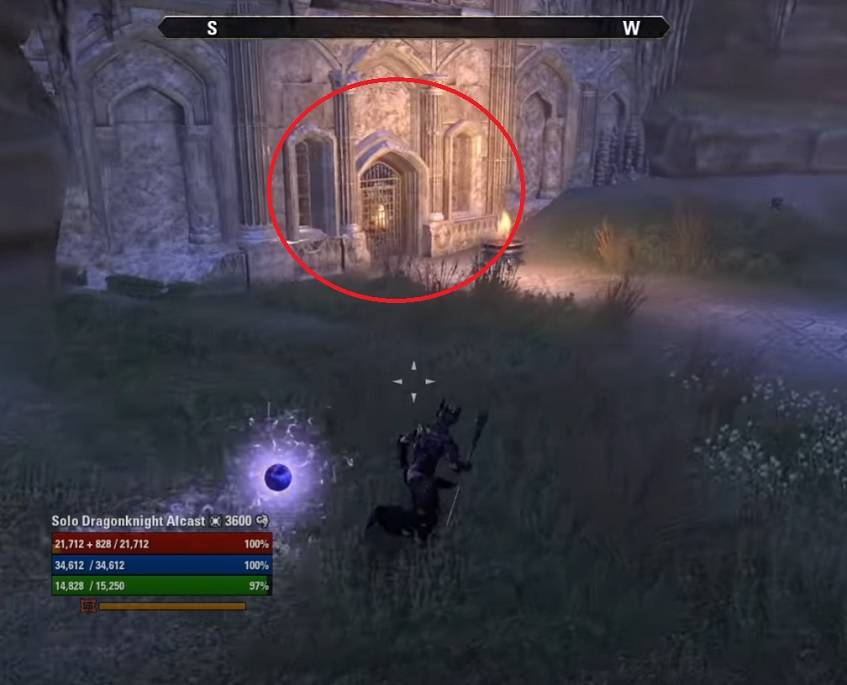
Secret Boss 1 Sword Guardian
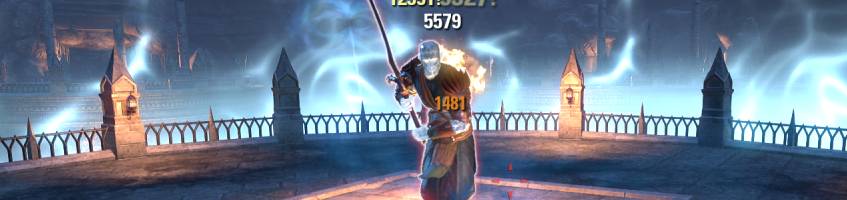
The Sword Guardian is the first secret boss that you can encounter in the Coral Aerie dungeon. You get to the boss by entering a secret passage shown in the video here.
The boss doesn’t have many attacks. Make sure to avoid the AoE damage and don’t stack the shock AoE debuff he places on you. The channeled attacks he does with his sword hit like a truck, the tank can either block them or preferably dodge them.
- Sword Covenant buff from the Sword Guardian secret boss:
- Weapon and Spell Critical increased by 10%
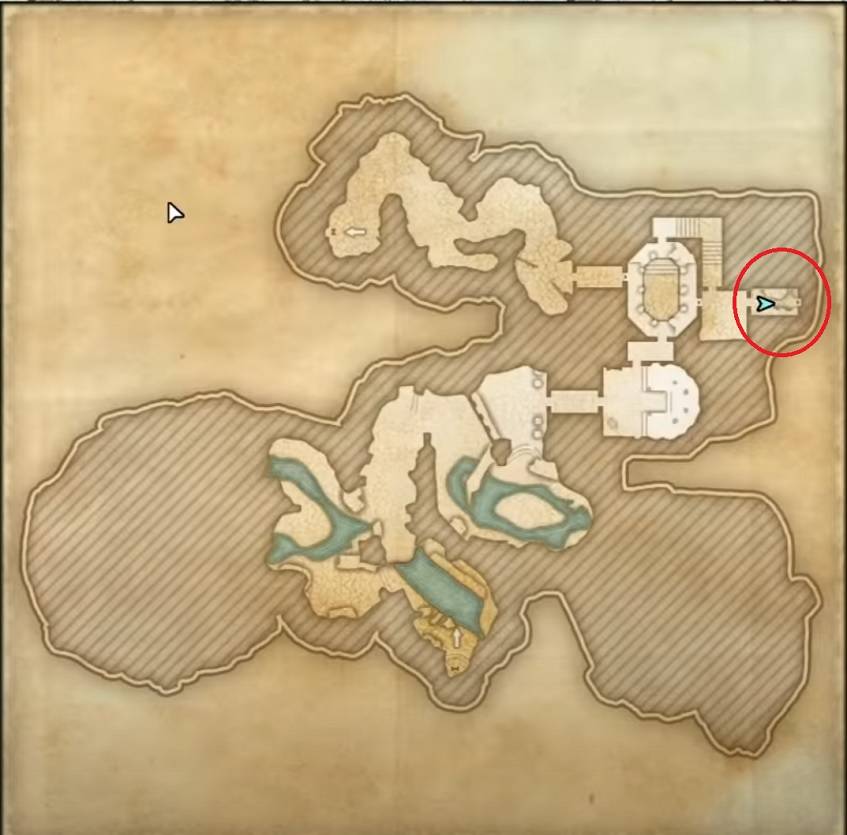
Secret Boss 2 Staff Guardian
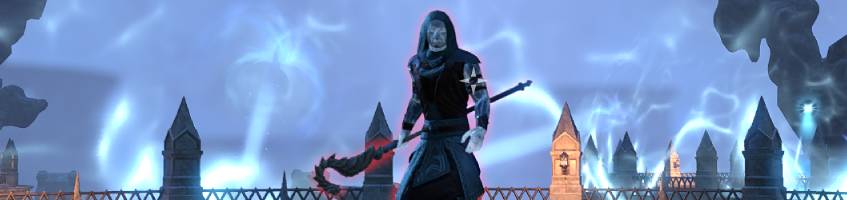
The Staff Guardian is the second secret boss in the Coral Aerie dungeon in ESO. after clearing the room you have to go to the left side like shown here in the video.
The boss places big AoEs on the ground but they are easy to avoid. The light attacks hit quite hard, the tank has to make sure to block them. He will also apply a DoT on you, which deals decent damage.
- Staff Covenant buff from the Staff Guardian secret boss
- Max Magicka and Stamina increased by 10%
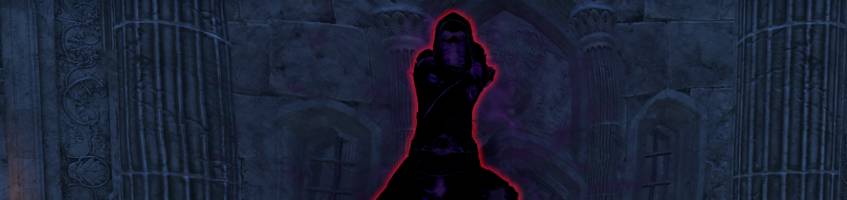
Secret Boss 3 Shield Guardian
The Shield Guardian is the third secret boss in the Coral Aerie dungeon in ESO. After the fight with the Gryphons you have to go into a room where the door is locked (Master lock) shown in the video here.
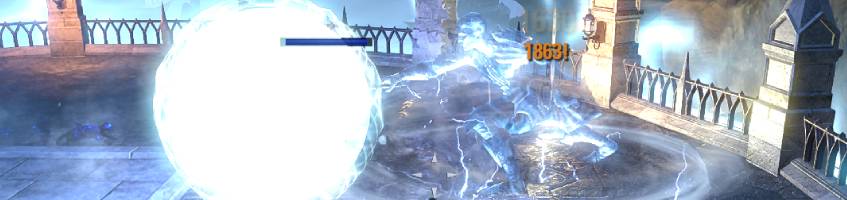
His light attacks deal insane damage, the tank has to be careful and should block. He doesn’t have much other attacks except at 65% and 25% he will turn into a snowball and you have to kill the three ice projections of his before you can damage him again.
- Shield Covenant buff from the Shield Guardian secret boss:
- Max Health increased by 10%
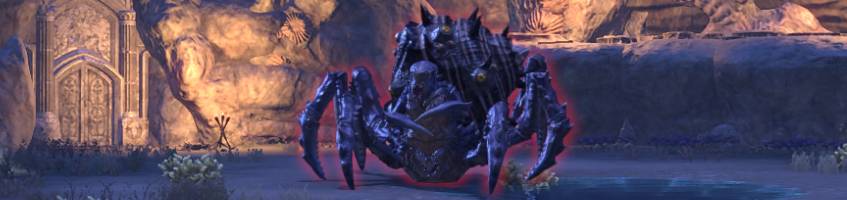
Secret Boss 4 – Z’Baza
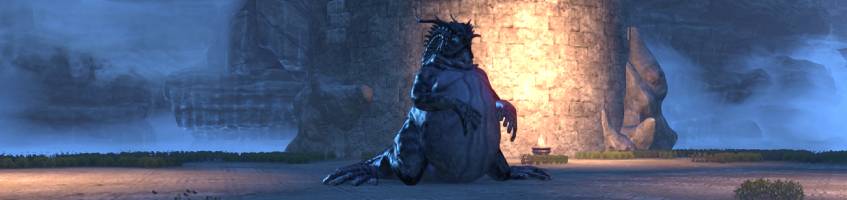
Z’Baza is the fourth secret boss in the Coral Aerie dungeon in ESO (Elder Scrolls Online). You will have to fight the sload after you defeated the main endboss Varallion. Before you can encounter Z’Baza you need to have killed all the other three secret bosses.
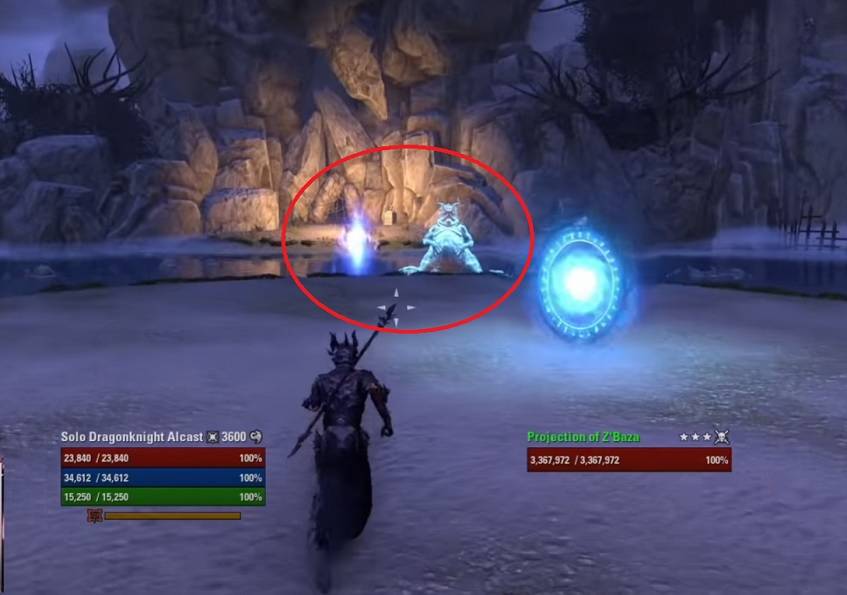
Z’baza teleports around a lot, you can also use the waterhole to go after her if the sload teleported far way. This is especially helpful for the tank. There will be plenty of AoEs but they are easy to avoid. The tank has to make sure to face the boss away of the group due to his laser beam attack.
Tendrils will spawn throughout the fight that cast different attacks, it is recommended to kill them as fast as possible.
Skipping in Coral Aerie
There are no known skipping tactics in the Coral Aerie Dungeon at the moment.
Video Gameplay Coral Aerie
- 05:27 Secret Boss 1
- 07:29 Main Boss 1 Magligalig
- 15:02 Secret Boss 2
- 19:01 Main Boss 2 Sarydil
- 25:21 Secret Boss 3
- 30:12 Endboss Varallion
- 34:23 Secret Endboss
Video of a Solo Run in Coral Aerie
Related Topics: