

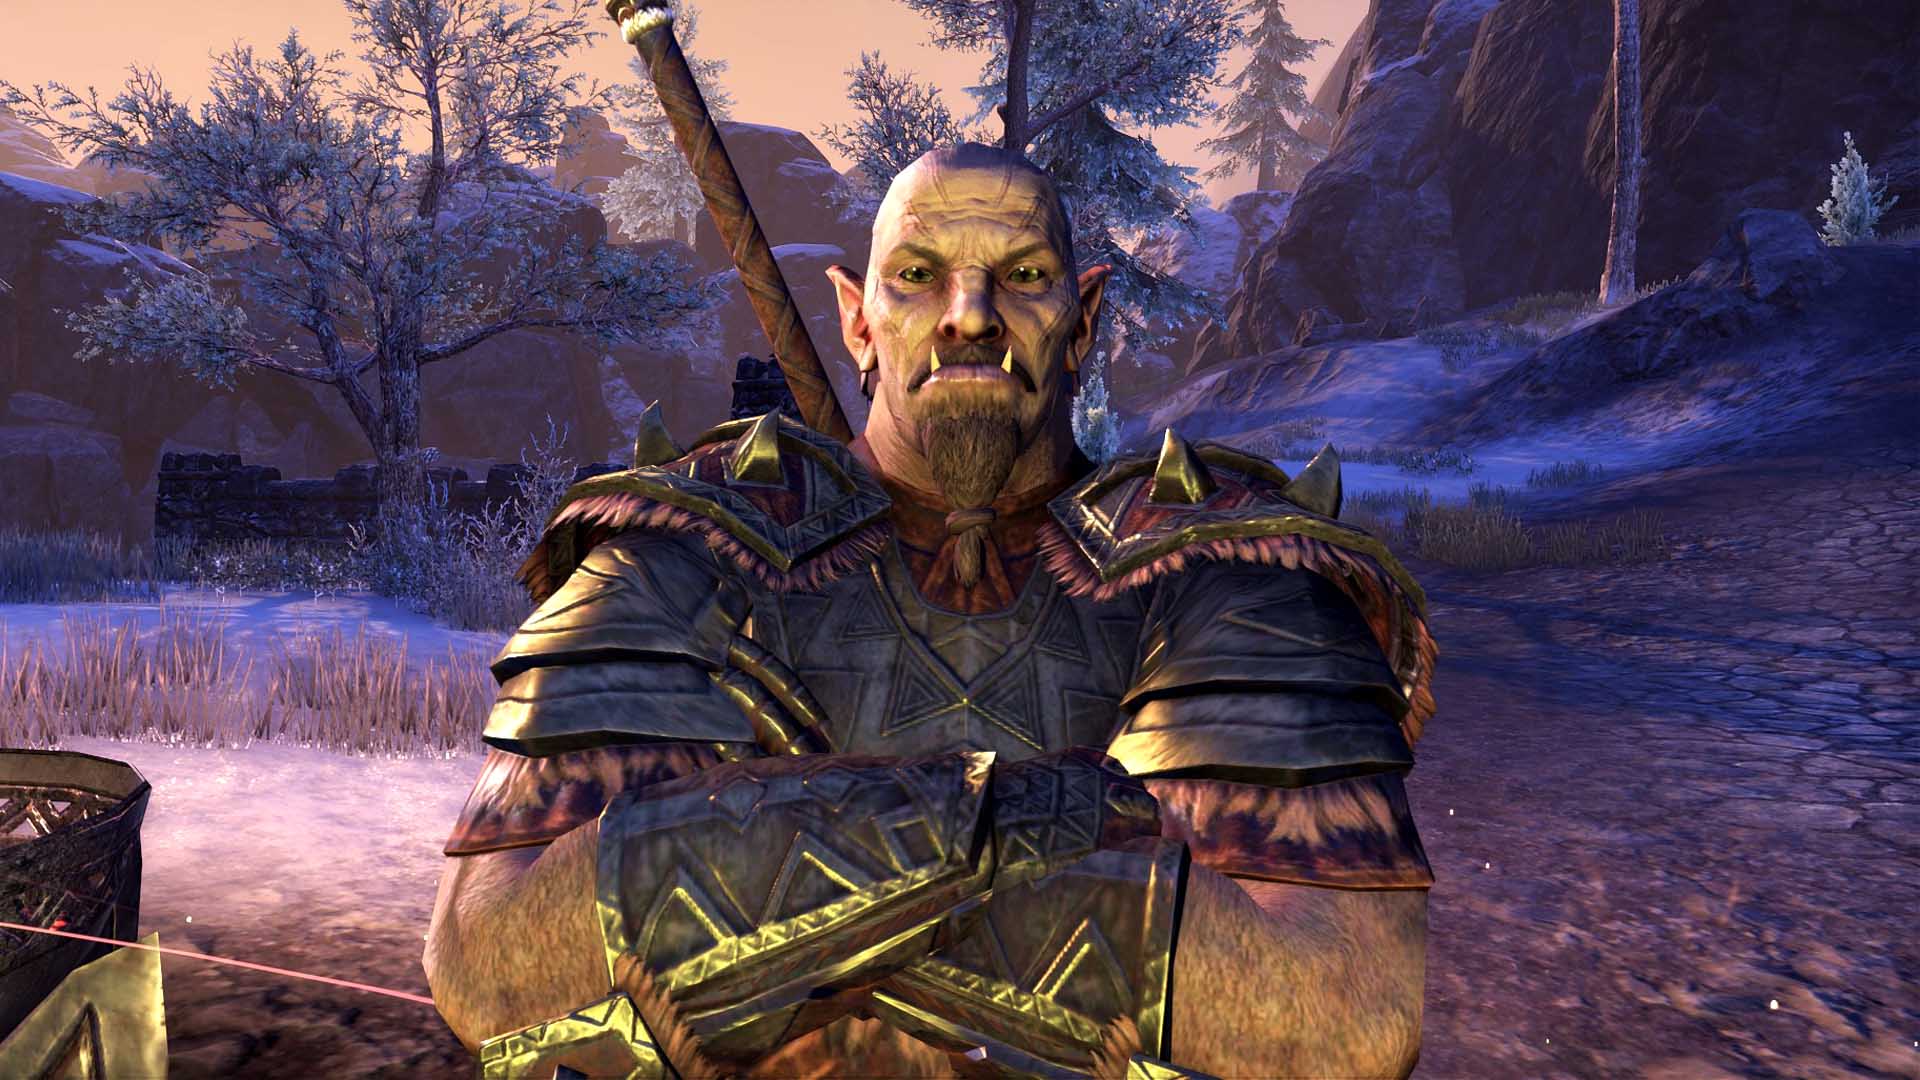
Welcome to the Oathsworn Pit Dungeon Guide for both Veteran and Veteran Hard mode in The Elder Scrolls Online (ESO). Oathsworn Pit is located in the northern part of The Reach.
This dungeon has 6 bosses: 3 main bosses with their own Hard Modes, 3 secret-bosses and a lot of trashmob packs. (Trashmob = Enemies that can add to the difficulty and liveliness of a dungeon/trial)
If you have more questions, you can also ask someone in our community partner discord about this Oathsworn Pit Dungeon Guide!
The Story in Oathsworn Pit Dungeon for ESO
A training ground for Malacath’s most devoted followers, the Oathsworn Pit has recently been overrun by a mysterious new group of Wood Elves. The God of Curses demands retribution for his fallen warriors, and you and your party have been chosen to act in his name.
Table of Contents:
- Sets & Rewards
- Trashmobs
- Maps
- Special Buffs and Totem Locations
- Boss Fights
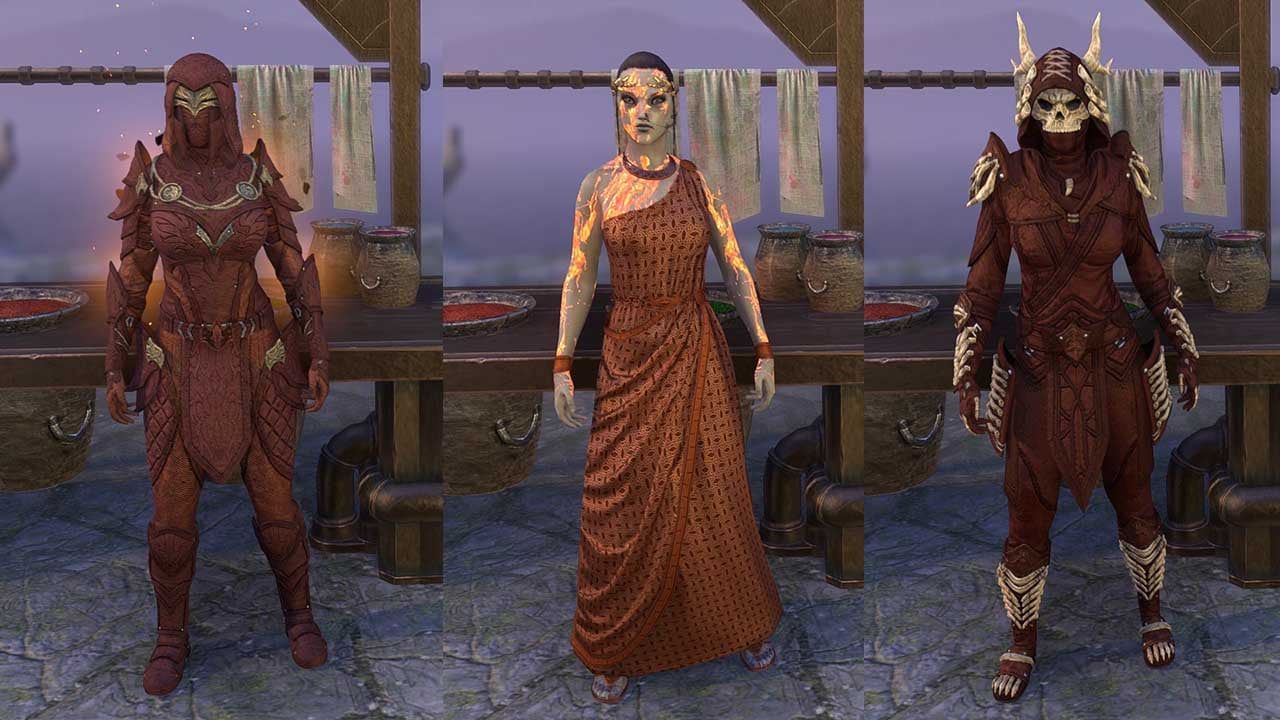
Sets in Oathsworn Pit
3 different sets drop in the Oathsworn Pit Dungeon in ESO.
- Light: Cinders of Anthelmir Set
- Medium: Sluthrug’s Hunger Set
- Heavy: Black-Glove Grounding Set
- Monster Set: Anthelmir’s Construct set (Veteran only)
Rewards in Oathsworn Pit
Dye: Artifact-Hunter Amber (Requires Retribution Takes Time achievement)
Skin: Bloodmarks of Malacath (Requires Scions of Ithelia Delver achievement)
Memento: Malacath Helm Haunt (Requires Oathsworn Pit Conqueror achievement)
Trophy: Aradros awarded when you complete Oathsworn Pit on Normal mode.
Bust: Aradros awarded when you complete Oathsworn Pit on Veteran mode.

Titles
- The Vengeful (Requires Oathsworn Pit Champion achievement)
- Oathsworn (Requires Lighting the Embers achievement)
- Pitmaster (Requires Scorched but Surviving achievement)
Trashmobs in Oathsworn Pit Dungeon
Most trash doesn’t hit hard, but there are a lot of ranged archers and the monsters move a lot so make sure to slot a chaining ability. More dangerous monsters are mentioned below.
Lurcher
Does a disintegration beam to the tank that increases in damage, the tank needs to block it. It is also AOE so do not stand close to the tank.

Cindermoth
Spawns between first and second boss. They will target a random player. Once they reach the player they will detonate at that location. You can kill them or move out of the explosion.

Extra: The bears skins are random so you may even see the rare panda bear!
Bosses, Treasure Chests & Heavy Sacks on the Map
Oathsworn Pit Bosses
Below you can find a list of all the bosses in Oathsworn Pit Dungeon in ESO. You can also see how much health each boss has in Veteran and Veteran Hard Modes.
| Boss | Health | Adds |
|---|---|---|
| Packmaster Rethelros & Malthil | 3,518,777 / 5,278,166 each | Totems (259,739/324,674) |
| Anthelmir’s Construct | 5,413,503 / 10,827,006 | Anthelmir (2,706,752/5,413,504), Cindermoth (61,514/123,034) |
| Aradros the Awakened (Endboss) | 7,954,593 / 17,897,834 | Faenalir ( 1,954,875/2,932,313), Maerolor (1,520,154/2,280,231), Nilborwen (1,520,154/2,280,231) |
| Sluthrug the Bloodied (Secret Boss 1) | 5,413,503 | Blood (61,517) |
| Bolg of Wicked Barbs (Secret Boss 2) | 5,413,503 | Spectral Archers (80,382HP) and Spirit of Conquest ( 150,375) |
| Grubduthag Many-Fates (Secret Boss 3) | 5,413,503 | Fire Atronachs |
Special Buffs and Totem Locations
Each of the secret bosses gives your character a permanent buff for the rest of the dungeon and an additional one minute effect when you activate their totems. Only one additional effect can be active at a time on a player.
Secret Boss 1 – Sluthrug the Bloodied
- Blooded Vitality Buff: Increases healing done by 10% and reduces damage taken by 10%
- Totem of Blood activation: Maximum Health Increased by 50%. When you receive damage, enemies within 5 meters of you struck by Bloody Retaliation for 20% of your Max Health in Physical damage once per 1 second. You also receive a stack of Totemic Coagulation, increasing damage done by Bloody Retaliation by 10% for 10 seconds for each stack of Totemic Coagulation.
Secret Boss 2 – Bolg of Wicked Barb
- Conqueror’s Vim Buff: Increases magicka and stamina recovery by 30%
- Totem of Conquest activation: Restores 16 ultimate to you every 2 seconds. Restores 8 ultimate to other players within 5 meters of you every 2 seconds
Secret Boss 3 – Grubduthag Many-Fates
- Warriors Visage Buff: Increases weapon and spell damage by 10%
- Totem of War activation: Each time you use a Light, Medium, or Heavy attack, damage your target with Warrior’s Wrath for 6178 Flame Damage. Enemies struck by this attack receive a stack of War Weary, increasing damage received from Warrior’s Wrath by 10% for 5 seconds for each stack of War Weary on your target.


Bosses
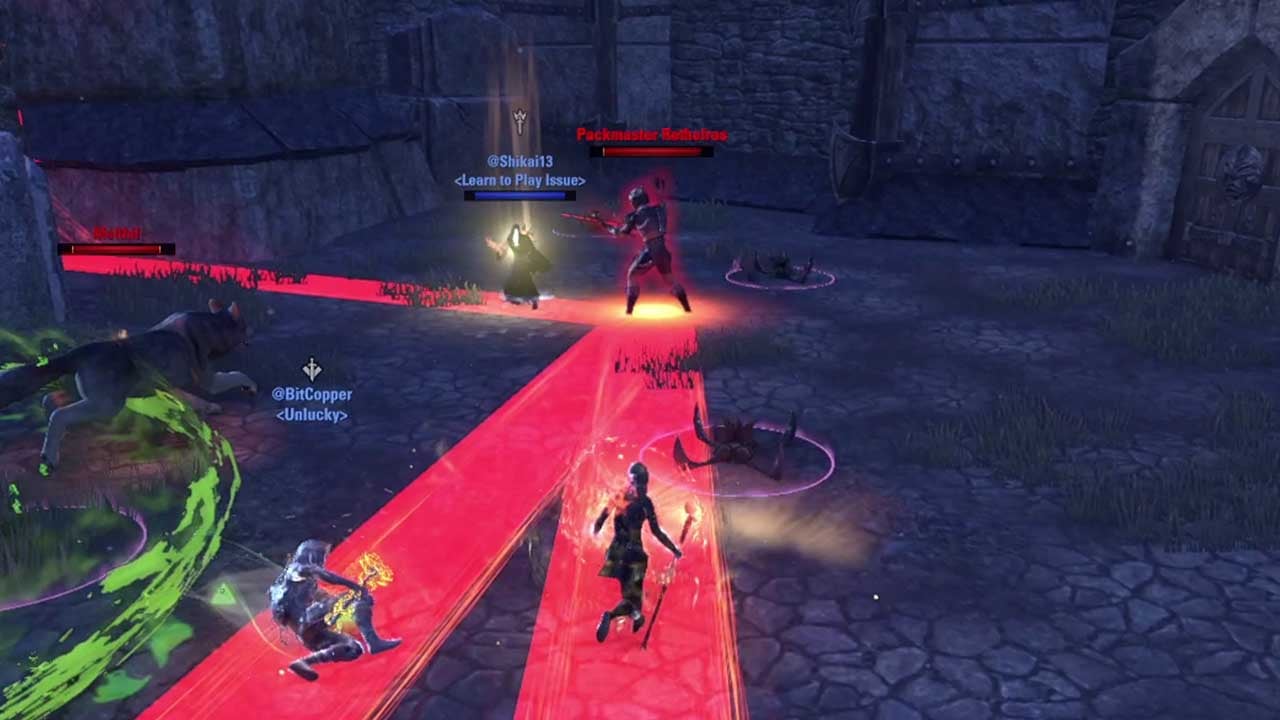
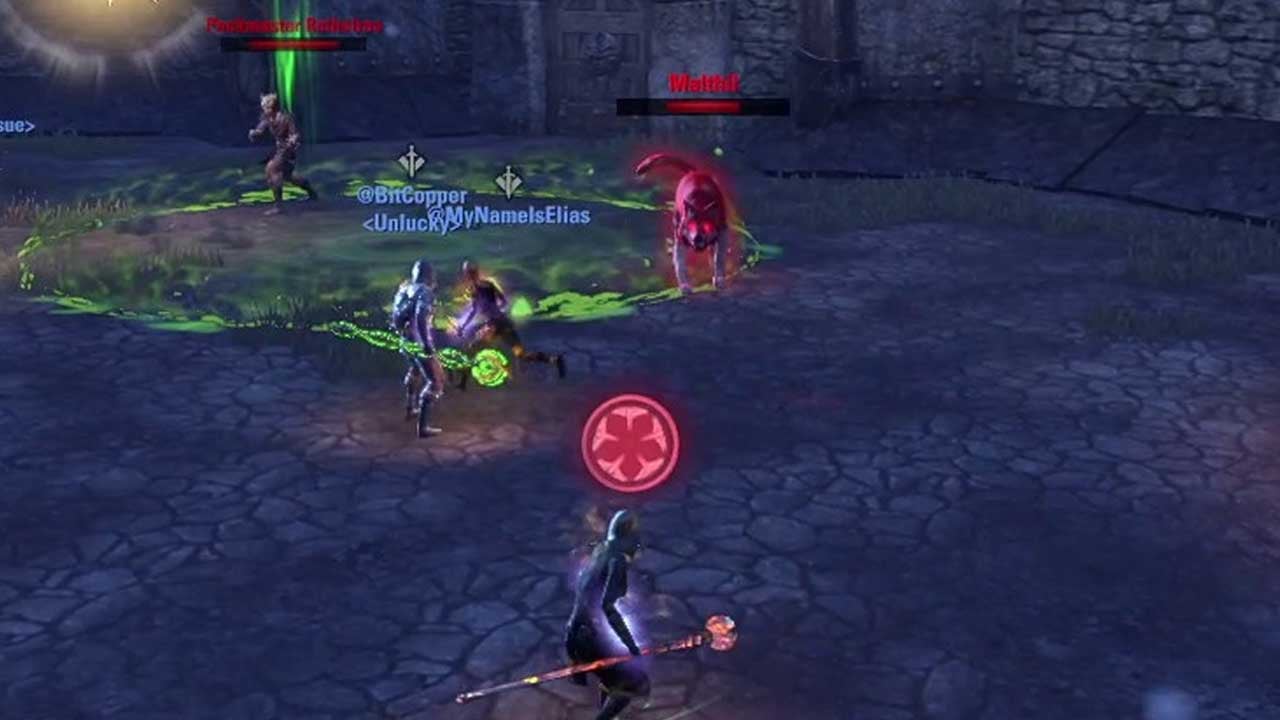
Boss 1 – Packmaster Rethelros & Malthil
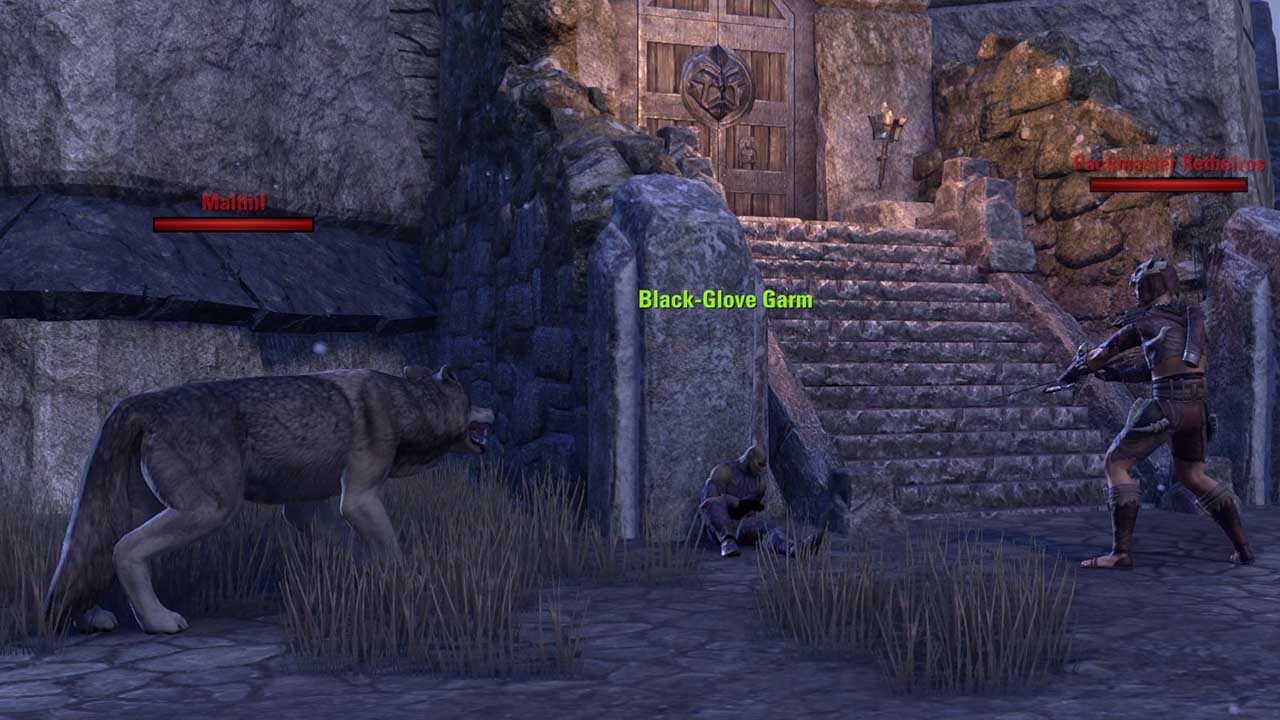
You will fight Packmaster Rethelros and his wolf Malthil in the same fight, but you can not stack them as they will enrage each other. Packmaster Rethelros is ranged so you can tank Malthil further away.
Tips
- Tank the wolf, Malthil further from the boss
- Avoid all ground AOEs
- Block Cinder Shot and move away from the spot quickly
- Kill Protective Totems as fast as possible
- Run away when Malthil chases
Enrage: Bosses will enrage and do increased damage if they’re too close to each other.

Directed Volley: Boss shoots AOE areas under random players and they need to be kited away. Avoid staying on them as they are extremely deadly.
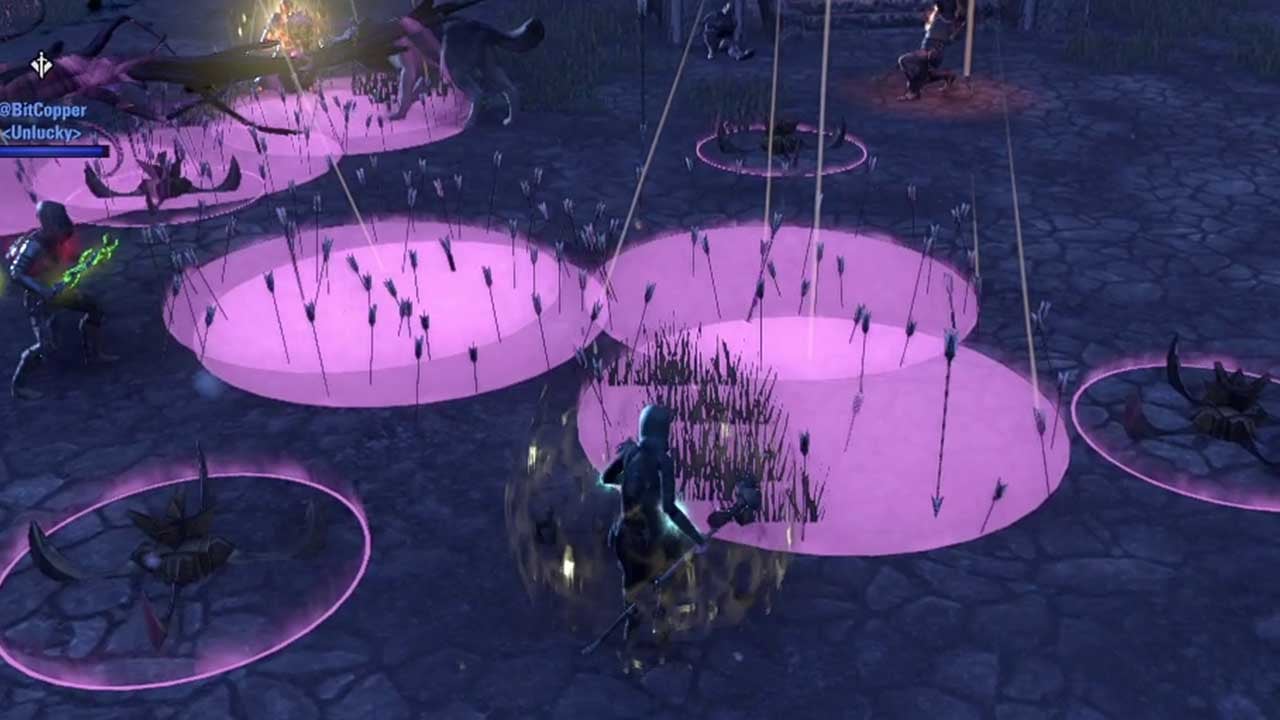
Bear Trap: Boss throws small traps around and if you step on them, the traps will root you for a long time and almost guarantees your death.

Protective Totem: Boss summons a 259,739 health totem that will make him and Malthil immune to damage. Always kill the totem as fast as possible.
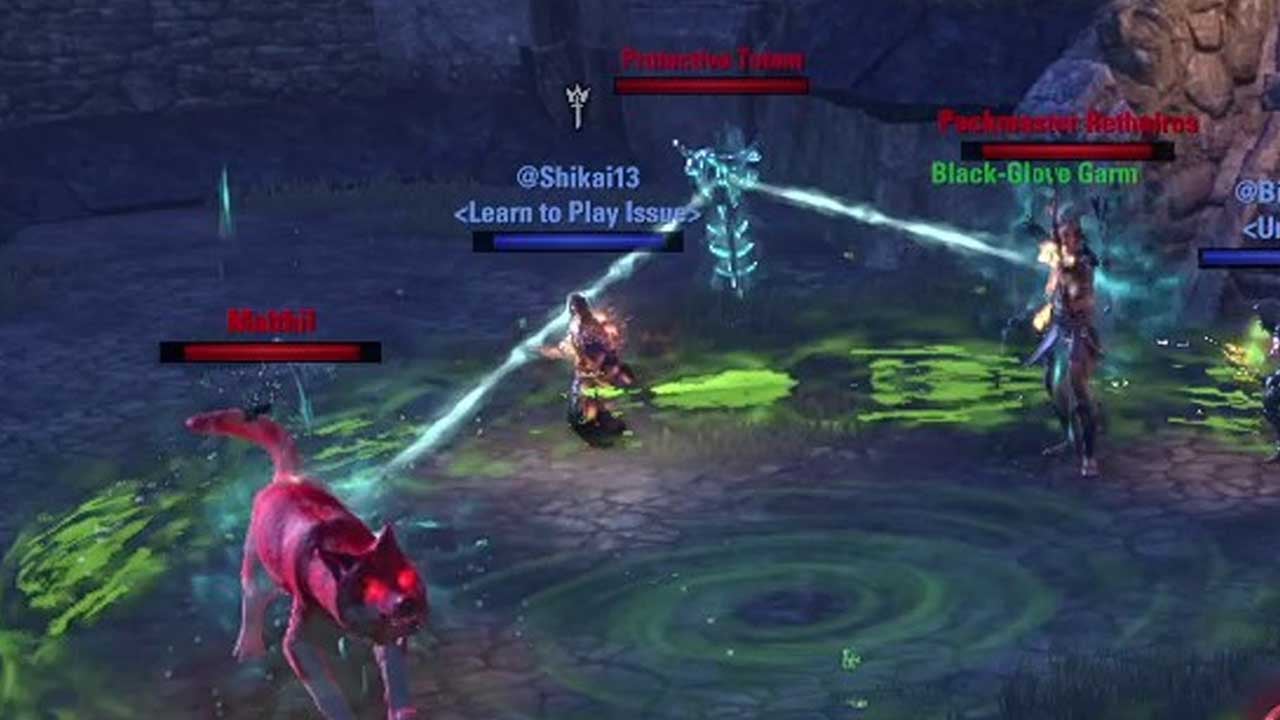
Cinder Shot: Boss creates a red fiery line between him and three players. Do not stack with others and be sure to block when he shoots. Move away quickly as the shot leaves a small Bon Fire under each player.
Malthil chasing: Malthil will lose aggro at times and will go after the DDs or healer.
Hard mode
Mechanics are the same, they just target more players. Boss has more health and does a lot more damage. In Veteran mode both bosses have 3,518,777 health and in Veteran Hard Mode they have 5,278,166 health each.
Protective Totem: Now has 324,674 health
Cinder Shot: Now targets all four players
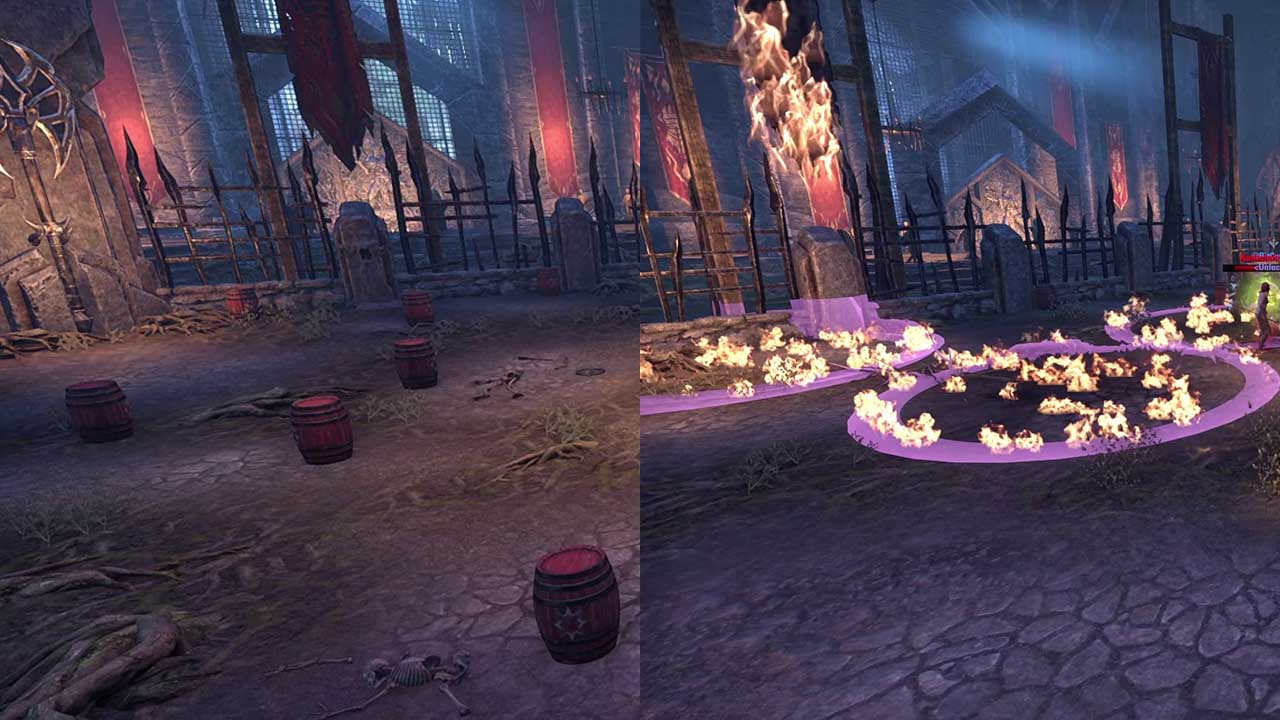
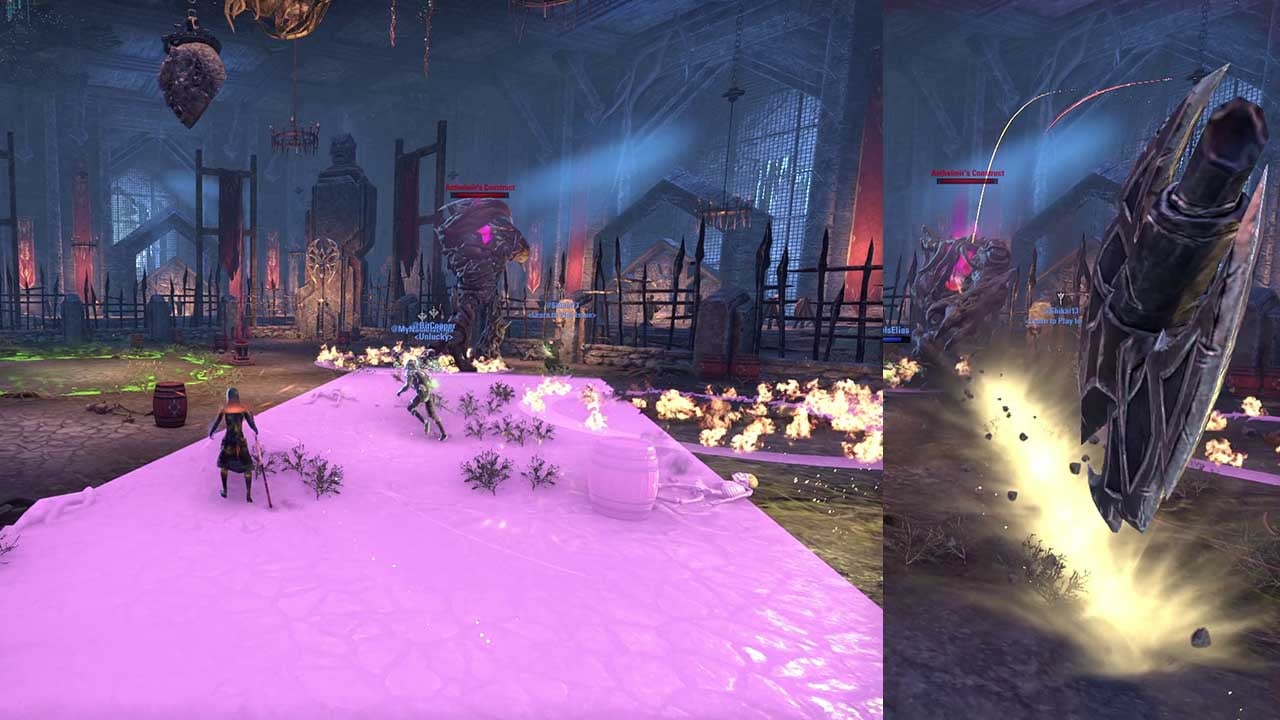
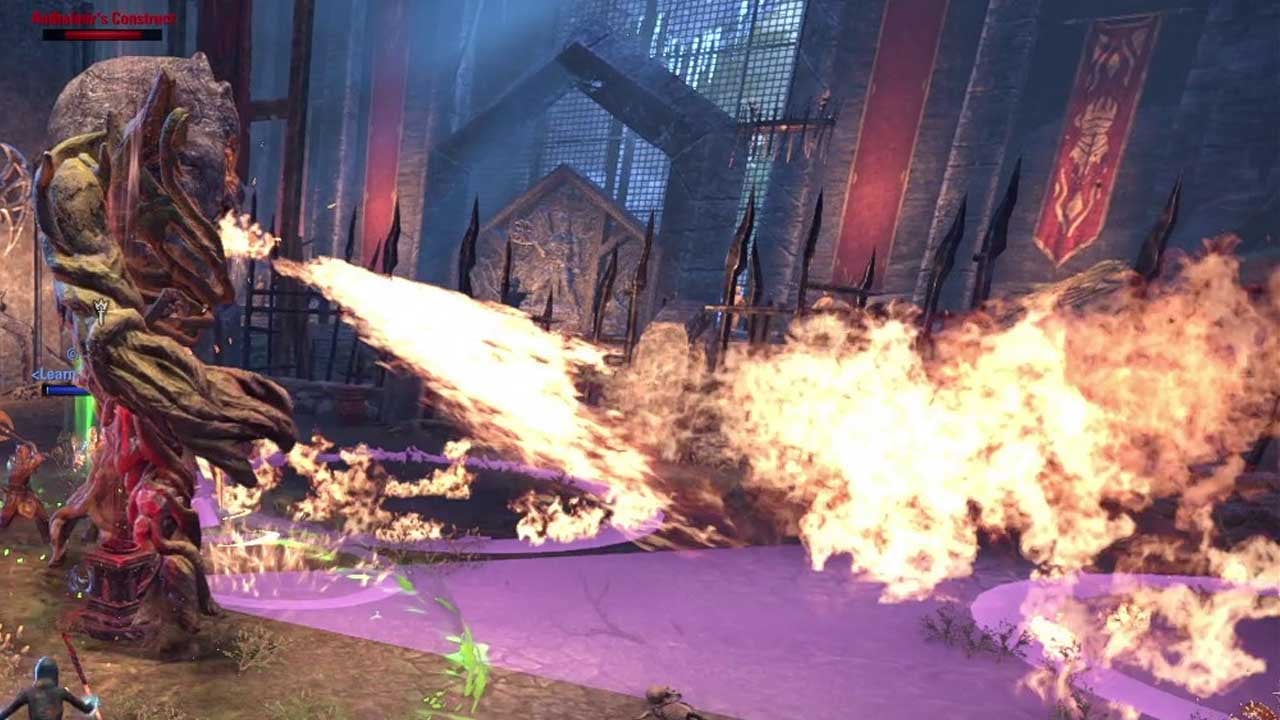
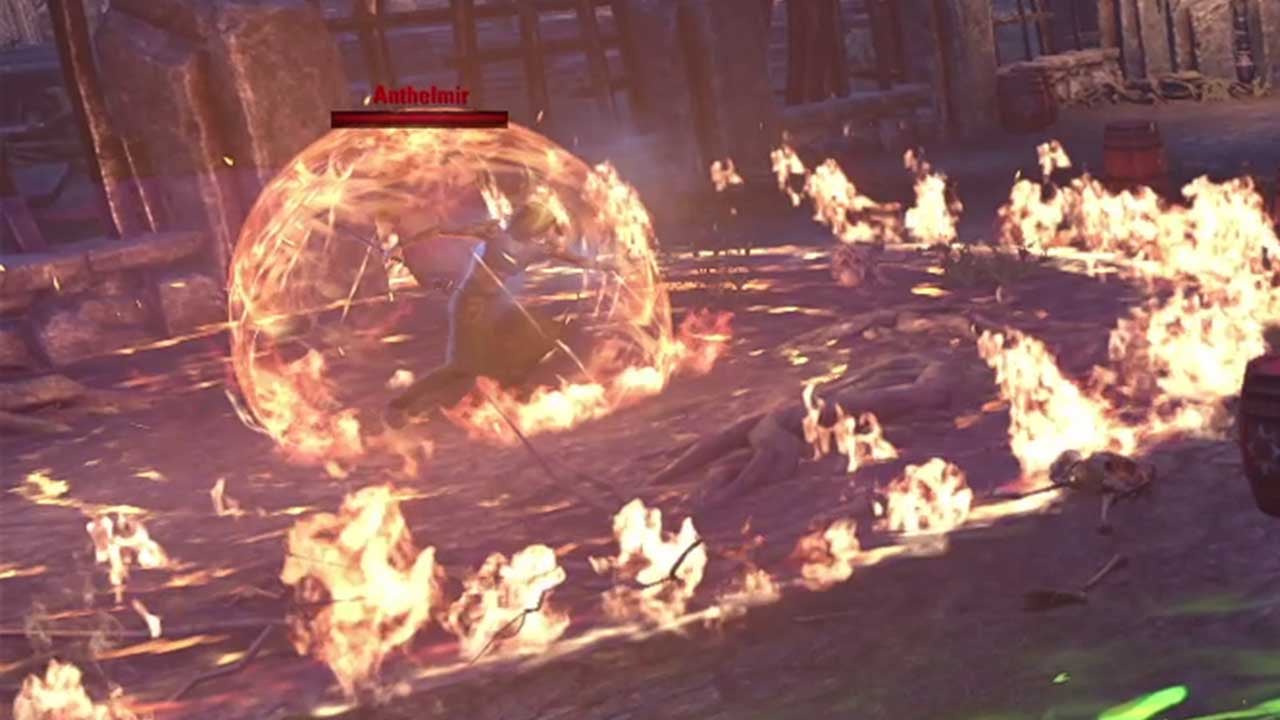
Boss 2 – Anthelmir’s Construct

You will fight Anthelmir’s Construct and Anthelmir in the same fight, but when the Construct gets to 70% health, the bosses will merge and you only have to fight one boss till the end.
Tips
- Keep the boss in the middle and make sure you’re not between the boss and an axe. Axes are in the corners of the arena and wherever he throws them.
- You can ignore Anthelmir and burn the Construct. Be sure to destroy Anthelmirs Heat Blast shield if you can not burn the construct to 70%
- Avoid ground AOEs and detonating Cindermoths on explosive barrels.
Cindermoth: Cindermoths with 61,514 healthwill spawn around the arena and target a player. Once they reach a player they will detonate at that location. I recommend killing them as if you’re next to a barrel, the moths will detonate them as well.

Explosive Barrels: The arena has barrels scattered around that will explode if an enemy fire touches them. Explosion will leave a fire AOE on the ground that will stay until the end of the fight.
Retrieve Axe: Anthelmir’s Construct will extend its arm to retrieve an axe from one of the corners. Keep the boss in the middle and make sure you’re not between the boss and an axe. This skill does a lot of damage.

Hurl Axe: Anthelmir’s Construct will target a random player and throw the axe he just picked up. Dodge roll as soon as the boss turn towards you and you see the red path appear. The axe hits really hard.
Angry Inferno: Anthelmir’s Construct will shoot fire in front of it in a cone shape. It can also hit other players if the boss turns to retrieve or throw an axe while the ability is ongoing.
Heat Blast: Anthelmir will teleport to a random location and create a 132,017 health Heat Blast shield for himself. Anthelmir will keep casting Blasted Shards at random players until the Heat Blast shield is destroyed or until Anthelmir’s Construct reaches 70% and they merge. You can block or dodge roll the shards.
Hardmode
All mechanics are the same, they just hit harder. In Veteran mode Anthelmir’s Construct has 5,413,503 health and in Veteran Hard Mode it has 10,827,006 health.
Cindermoth: Have 123,034 health
Heat Blast: Has 269,141 health
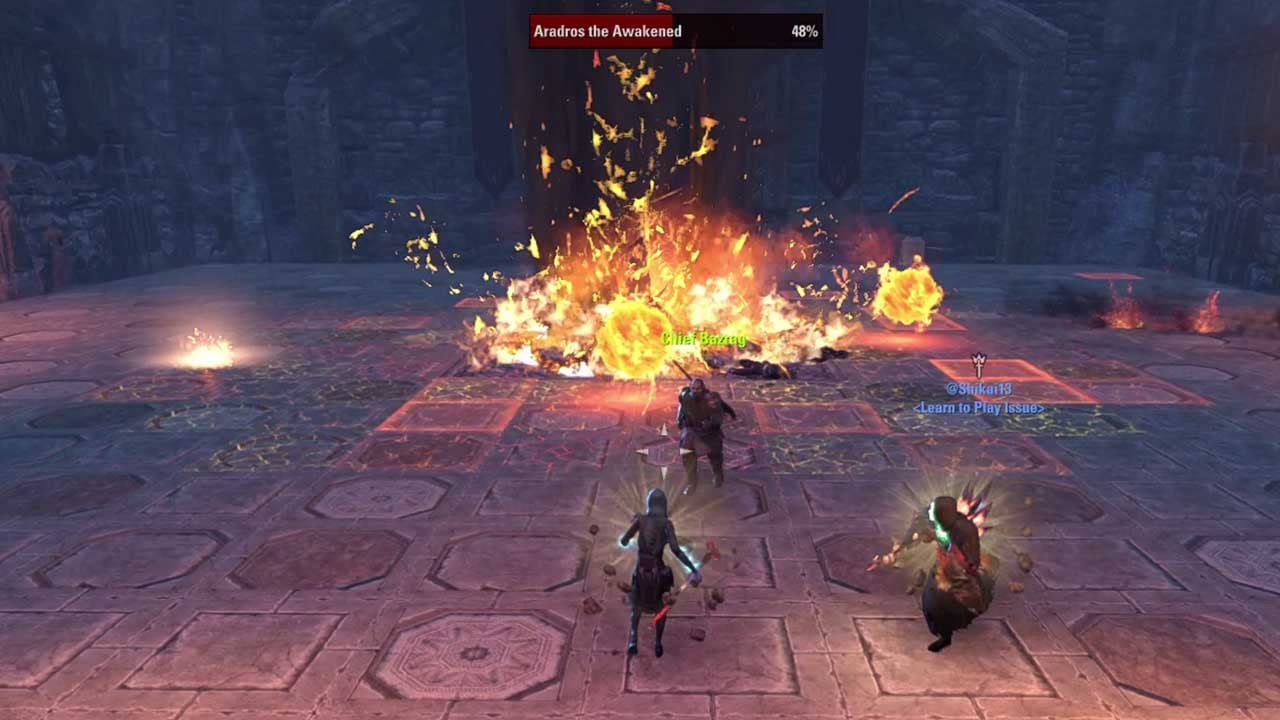
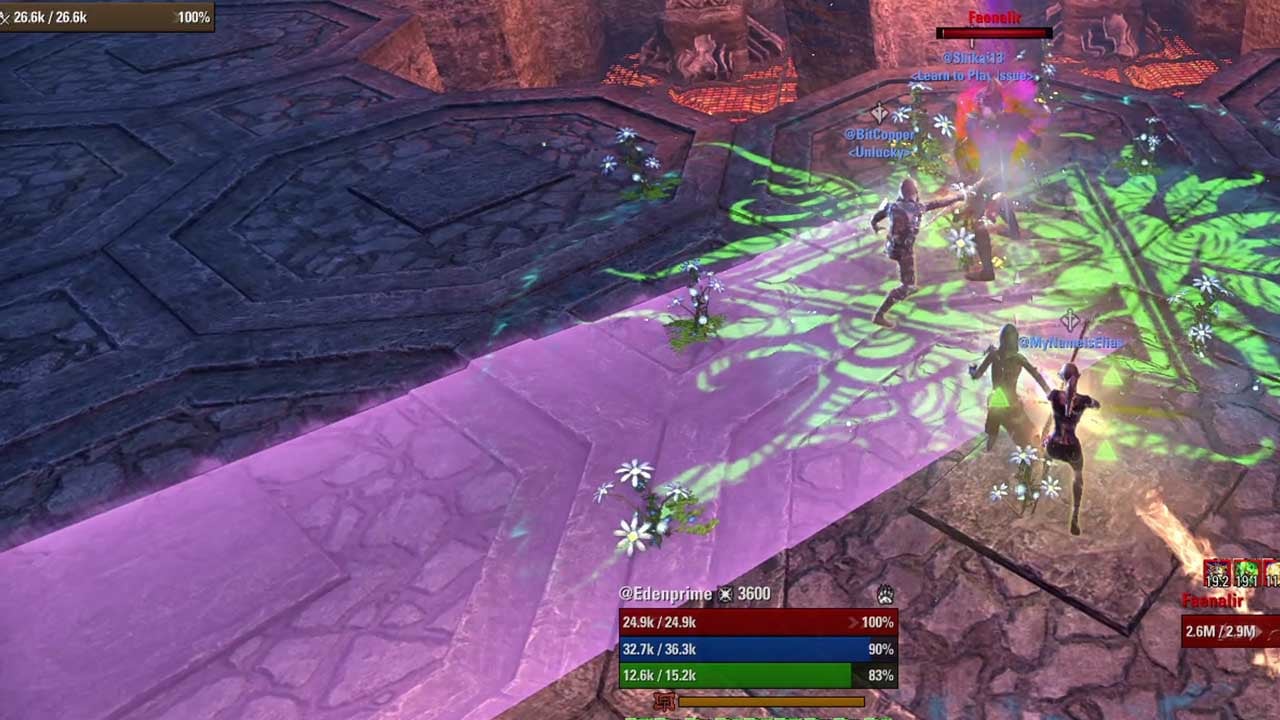
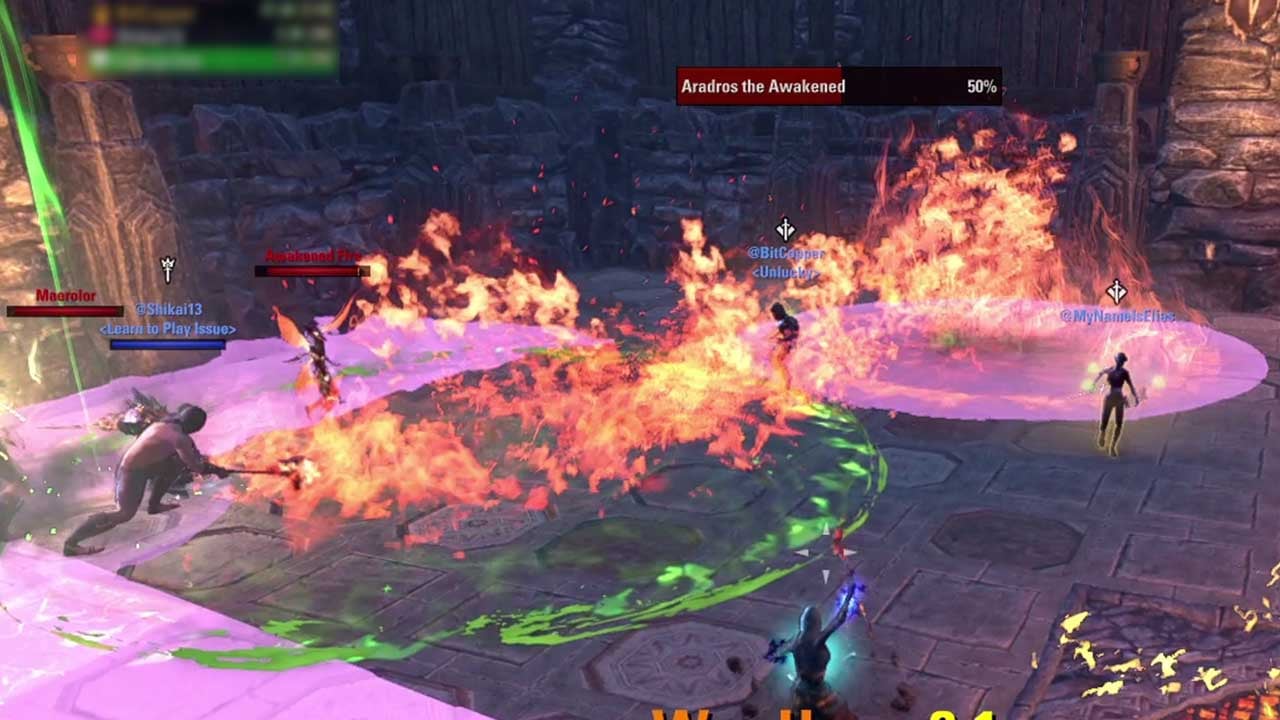
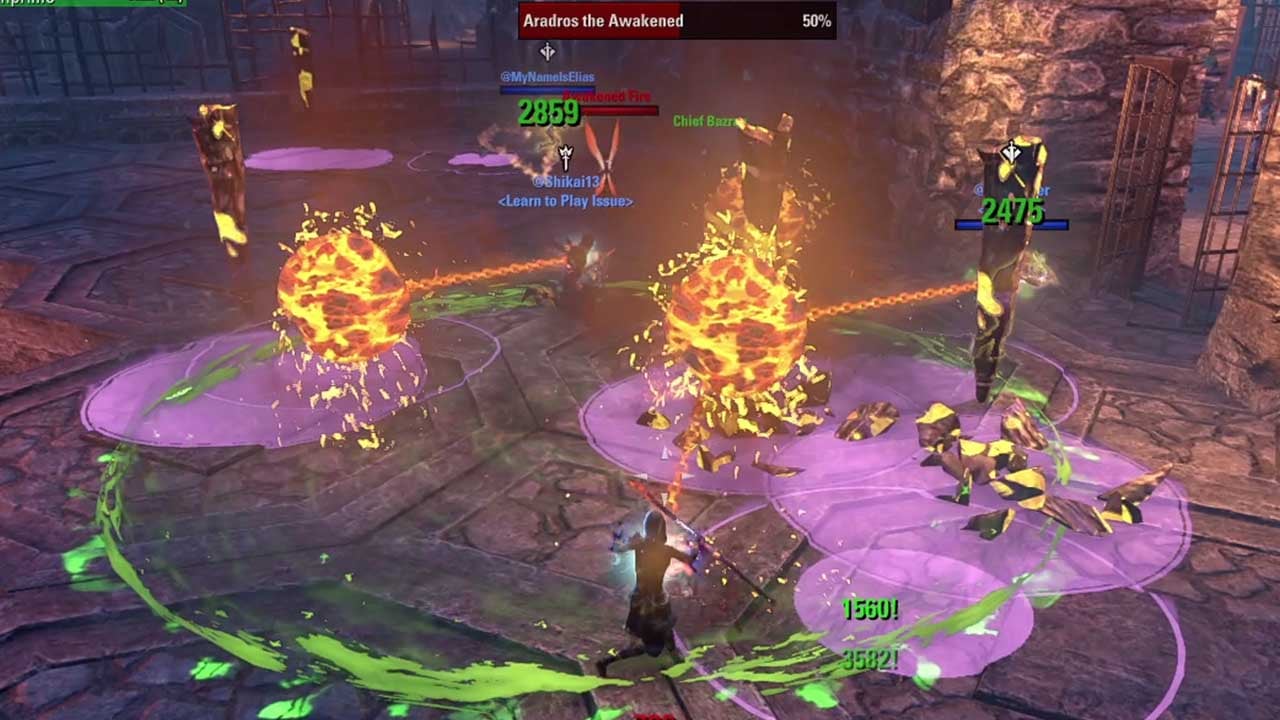
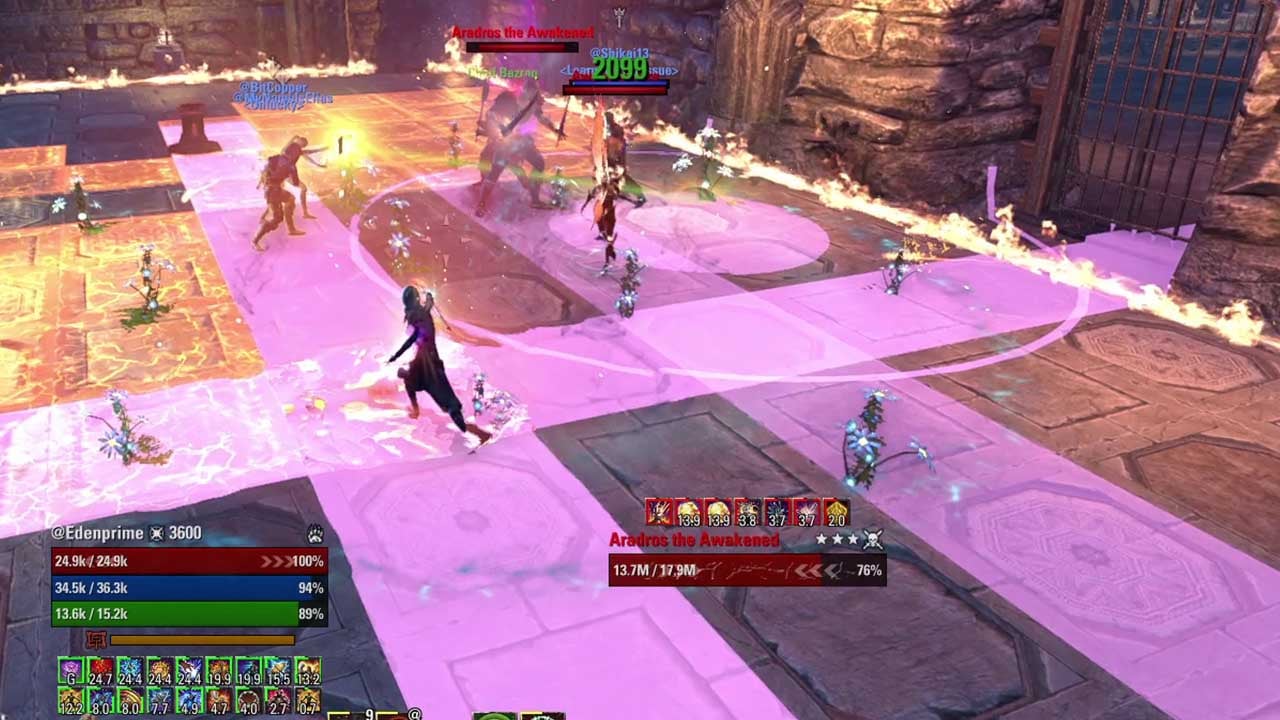
Boss 3 – Aradros the Awakened (End Boss)
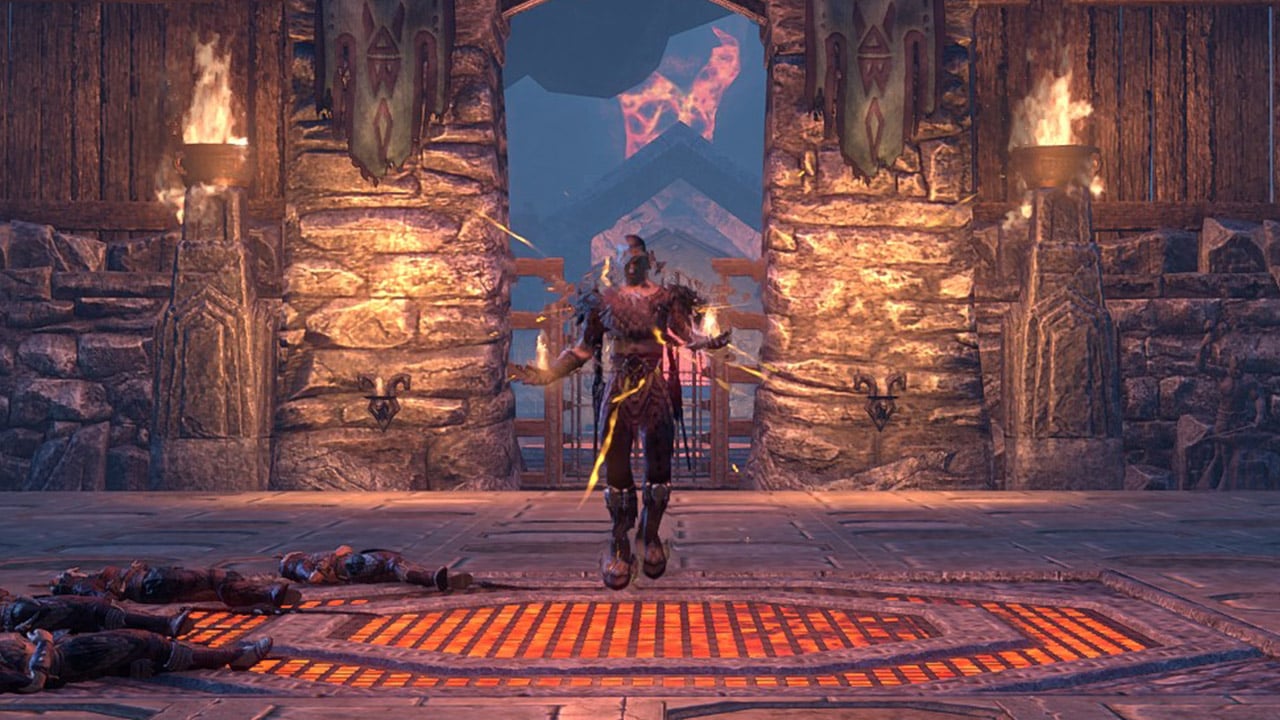
The last boss does a lot of fire damage, mechanics, and you will also fight his side bosses. At 50% the boss will ignite the whole floor and open the side boss doors. I recommend you go to the middle room. You will fight one side boss (Normal), two side bosses (Veteran), or three side bosses (Hard Mode) at the same time before you’re able to fight the main boss again. No new mechanics are introduced after the side bosses are killed. Hardest part of the fight is fighting multiple side bosses at the same time.
Tips
- Start tanking Aradros the Awakened in a corner and go clockwise and anticlockwise until he’s 50%
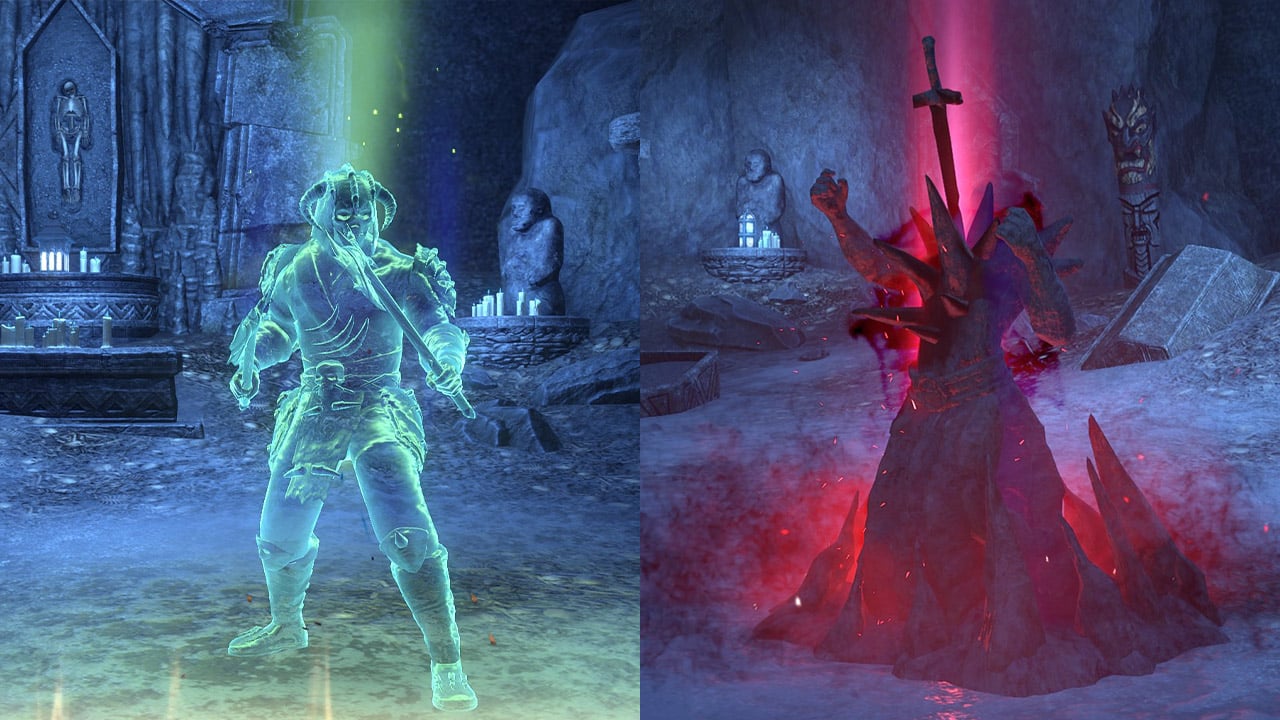
- In the middle room you can create your own Iron Atronach helper by taking the fire in the rooms furnaces and bringing them to the unfinished Atronach in the middle.
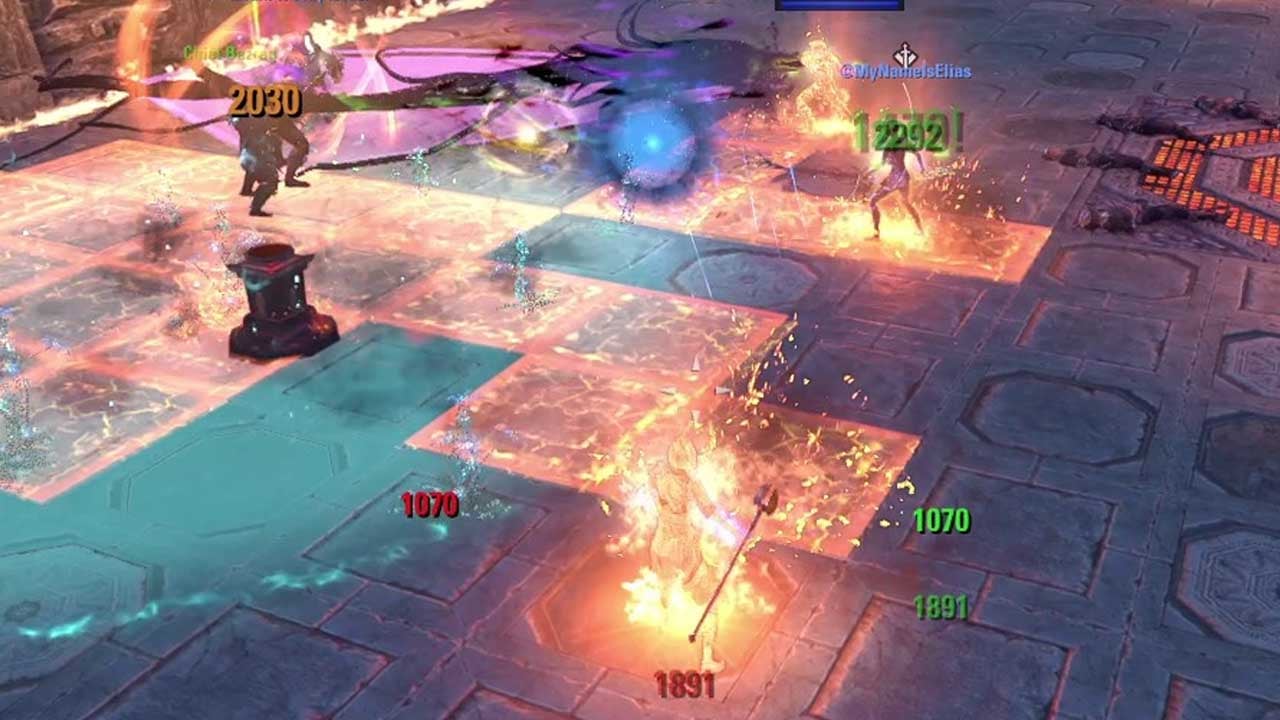
Emblazoned Strike: The boss will start charging an AOE attack which he will slam on the ground and ignite the tiles he hits.
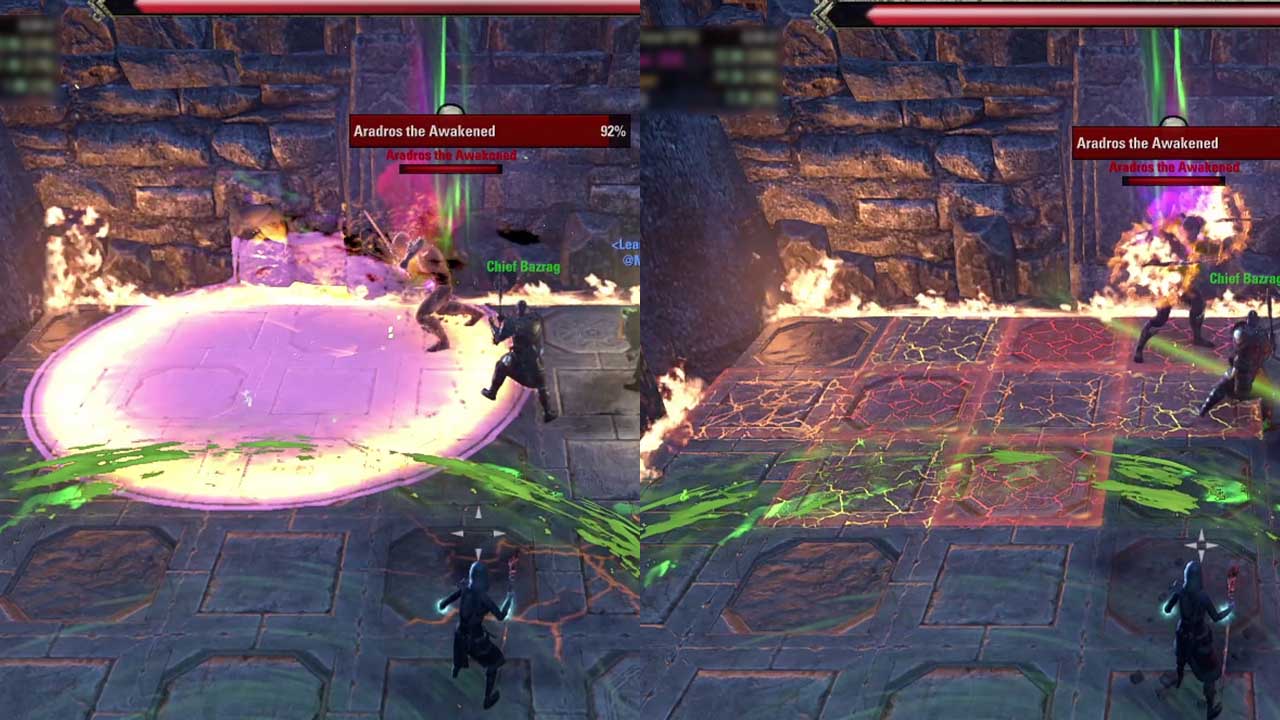
Wildfire: Right after the slam two random players get this fire DoT on you which ignites the tiles under them. Keep moving tile by tile and avoid other players. Picture below is from Hard Mode.
Twin Fires: Boss does a cone fire attack at the tank that they need to block.

Molten Tile: You can dodge through ignited tiles, but avoid standing in them.
Firestep: Boss will teleport to the tank if the tank moves far away.
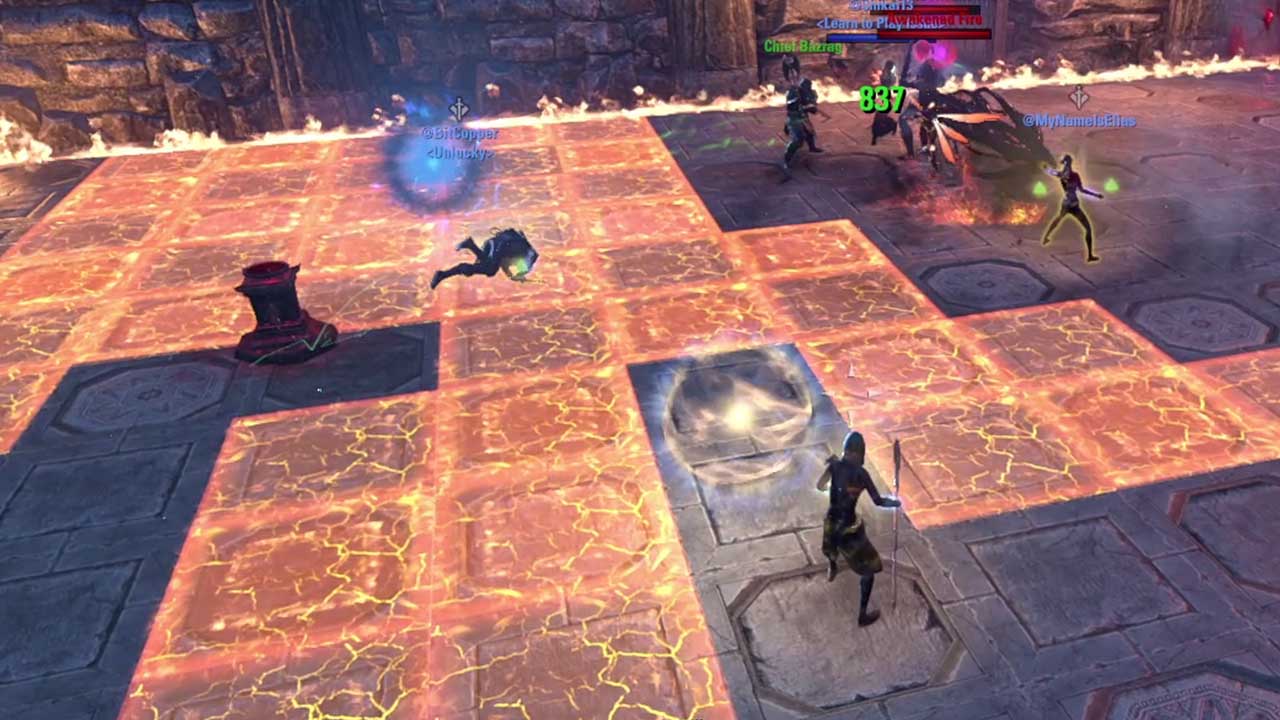
Meteor Call: Boss summons small eruptions that are telegraphed as red plus (+) signs on the tiles before they erupt. You have to remember which tiles are safe and which are not as there will be no red AOE when the meteors explode.
Brimstone: Occasionally, the boss will start the furnace which makes random tiles around the room to ignite.

Furnace: At 50% health Boss will ignite the furnace which ignites all the tiles. You need to move to the side boss room.
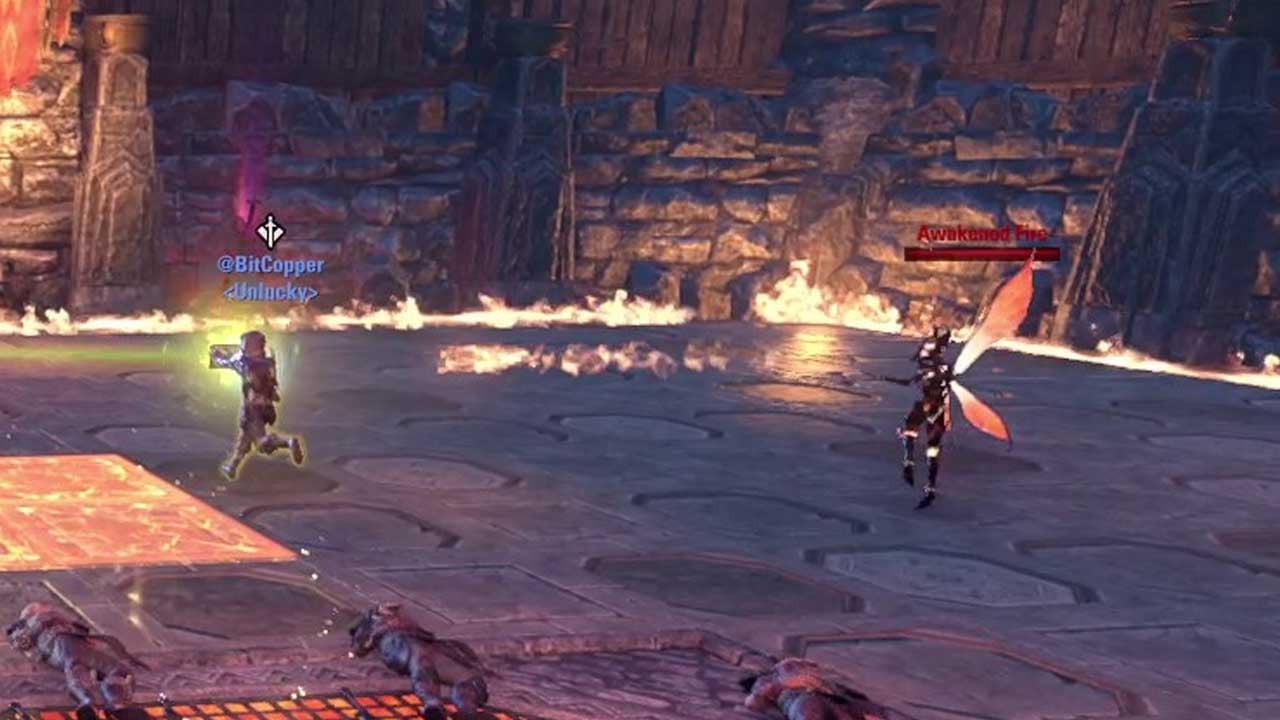
Awakened Fire: Fire Nixads will throw fire flares at random players. Tank should chain them to the boss so they get killed by AOE.
Faenalir
Veteran health 1,954,875. Veteran Hard mode health 2,932,313
Similar to Hel Ra’s last boss Ra Kotu.
Shield Throw: Block or dodge when he throws the shield and when it returns.
Vicious Strikes: An AOE cone attack directed at the tank. Make sure to stand behind the boss as there is no red telegraph for this.
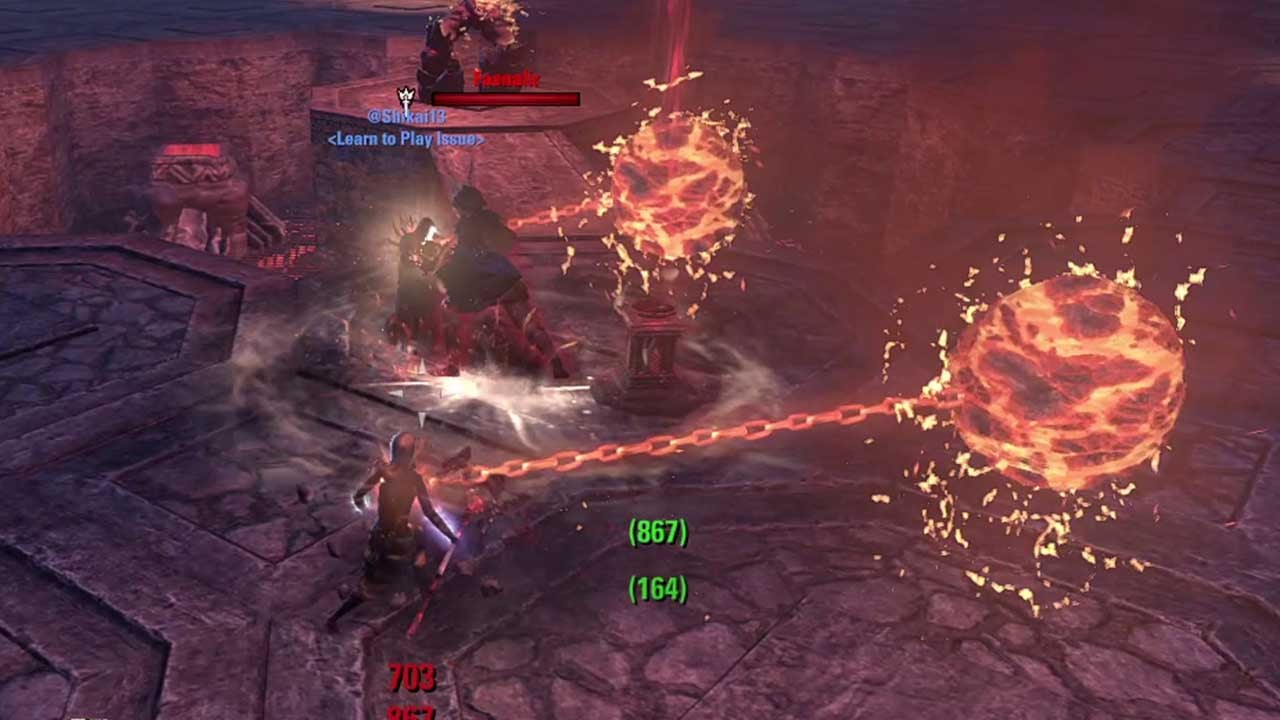
Molten pillar: Two magma blobs are summoned which creates a chain between it and the player. The pillar explodes if the player moves too far away from their own pillar.
Stalactite: Will drop from the ceiling under each player and you need to keep moving to avoid them.
Nilborwen
Veteran health 1,520,154. Veteran Hard mode health 2,280,231
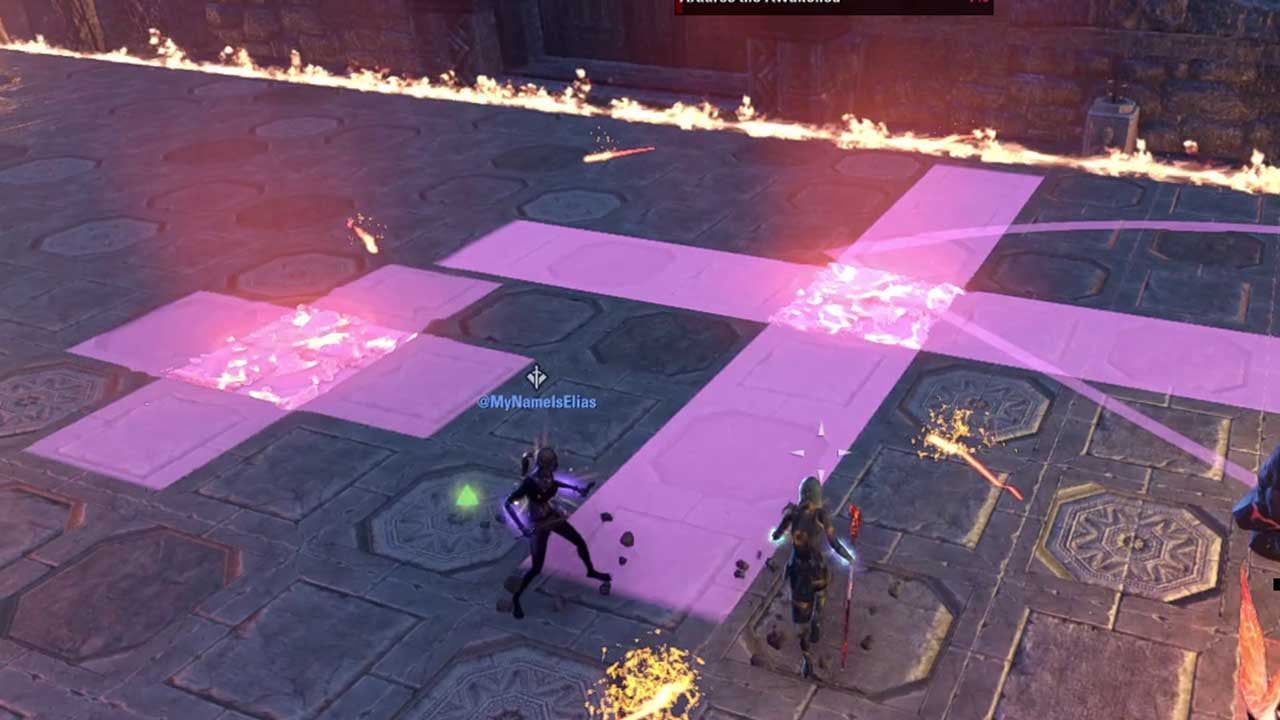
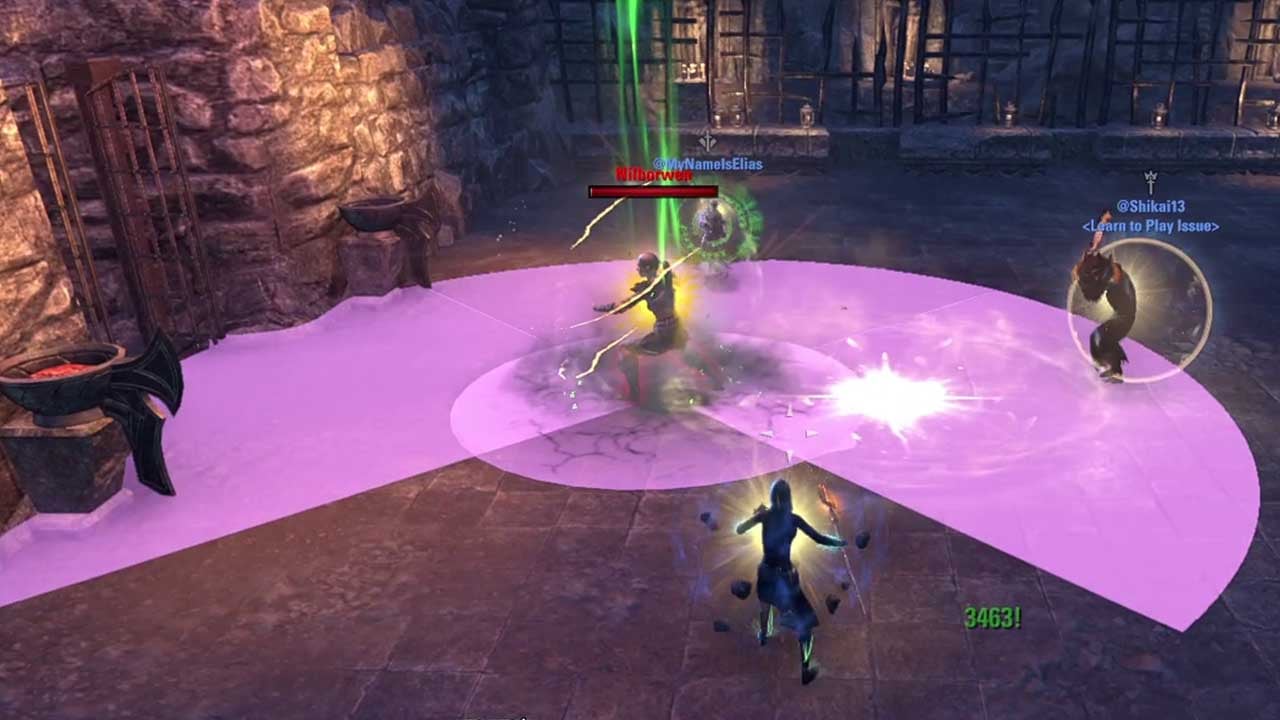
Elemental Cross: A large round AOE which has a “safe slice” for the tank to stand in.
Maerolor
Veteran health 1,520,154. Veteran Hard mode health 2,280,231
Incineration: A large round fire AOE that does a lot of damage, but a good tank can stand inside it. DDs and healer should avoid standing in it.

Fire Wave: A fire AOE that moves in a direct line in front of the boss where he slams down his hammer.
Fire slice: A conal AOE in front of the boss that can and should be interrupted. He will cast it as soon as he sees players.

Rupture Earth: Large magmatic AOE on the ground.
Stone Atronach
Ground Pound: Stalactites fall from the sky at random locations, keep moving out of them.
Hard Mode
All mechanics are the same, but bigger and hit harder. In Veteran mode Aradros the Awakened has 7,954,593 health and in Veteran Hard Mode he has 17,897,834 health.
Emblazoned Strike: Tank should plan ahead where the boss will slam on the ground as it’s bigger and the ignited tiles stay until until Aradros the Awakened ports away at 50% or dies.

Wildfire: All players except the tank get this.
Meteor Call: The red lines go much further than in Veteran Mode.
Molten pillar: All players get their own magma blob and chain.

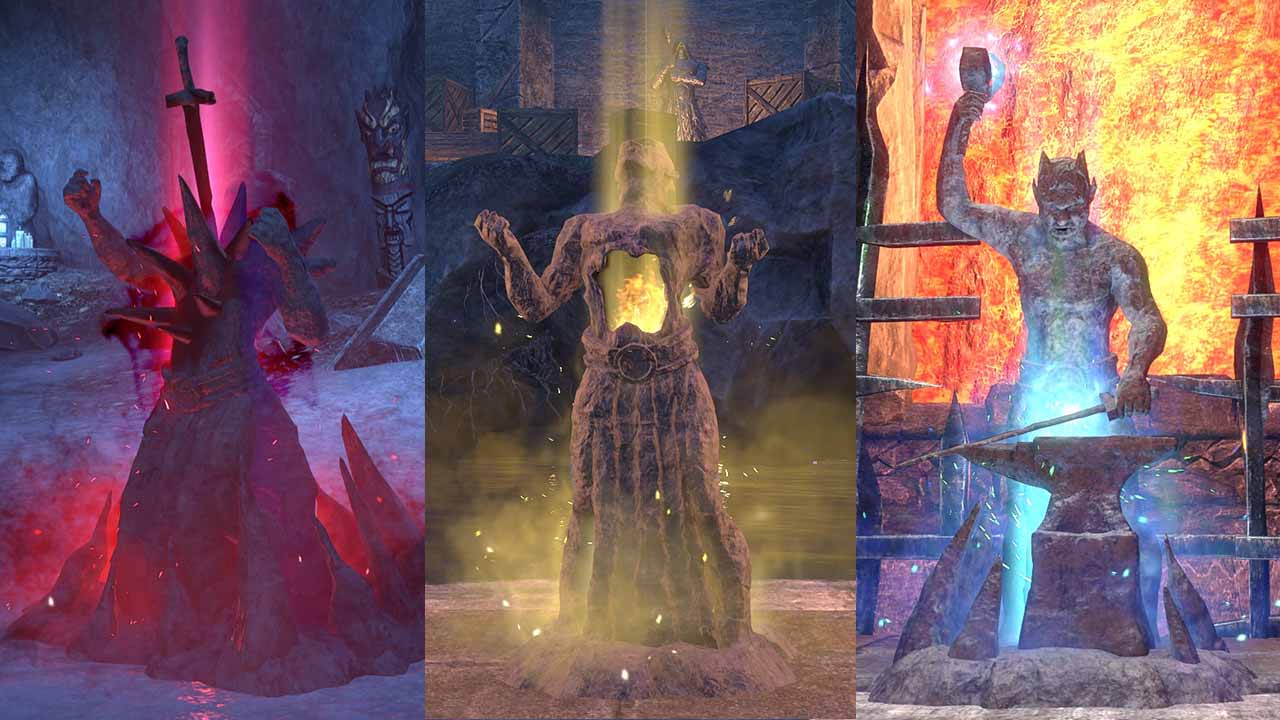
Secret Boss 1 – Sluthrug the Bloodied
After traveling down, you summon the boss by activating the Totem of Blood. Boss doesn’t do anything special, it just has a lot of AOE.
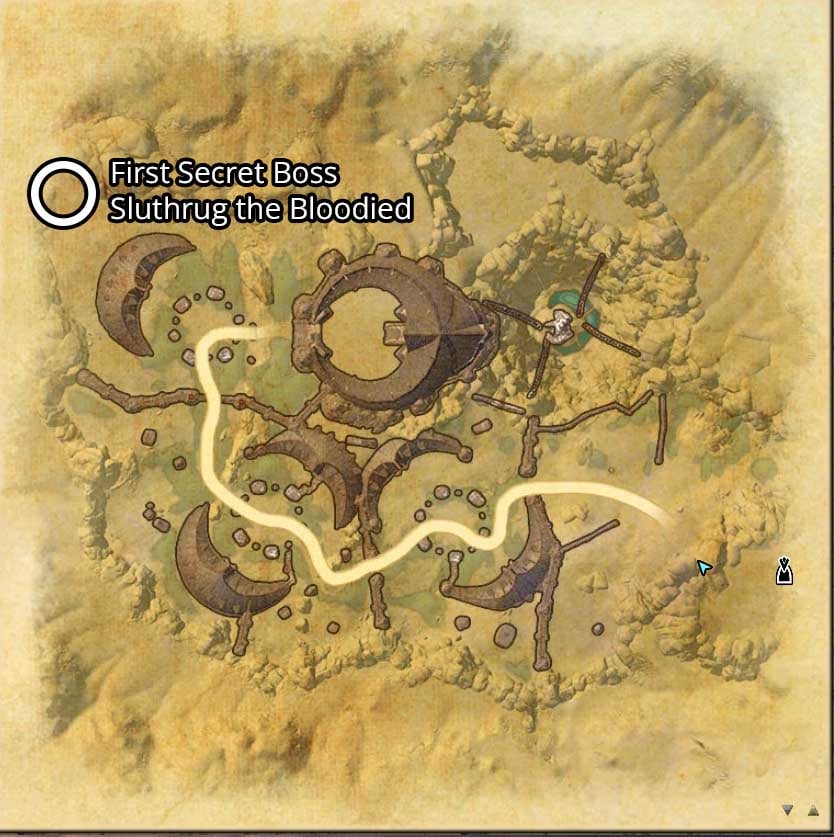
Field of Blades: Ice spikes on the ground, avoid standing in them
Blood: Adds that should die without taunting them
Blooded Vitality Buff: Increases healing done by 10% and reduces damage taken by 10%
Totem of Blood activation: Maximum Health Increased by 50%. When you receive damage, enemies within 5 meters of you are struck by Bloody Retaliation for 20% of your Max Health in Physical damage once per 1 second. You also receive a stack of Totemic Coagulation, increasing damage done by Bloody Retaliation by 10% for 10 seconds for each stack of Totemic Coagulation.
Secret Boss 2 – Bolg of Wicked Barbs
You need to set fire to two braziers to open a door. You summon the boss by activating the Totem of Conquest. Boss summons two types of adds, but doesn’t do much by itself.
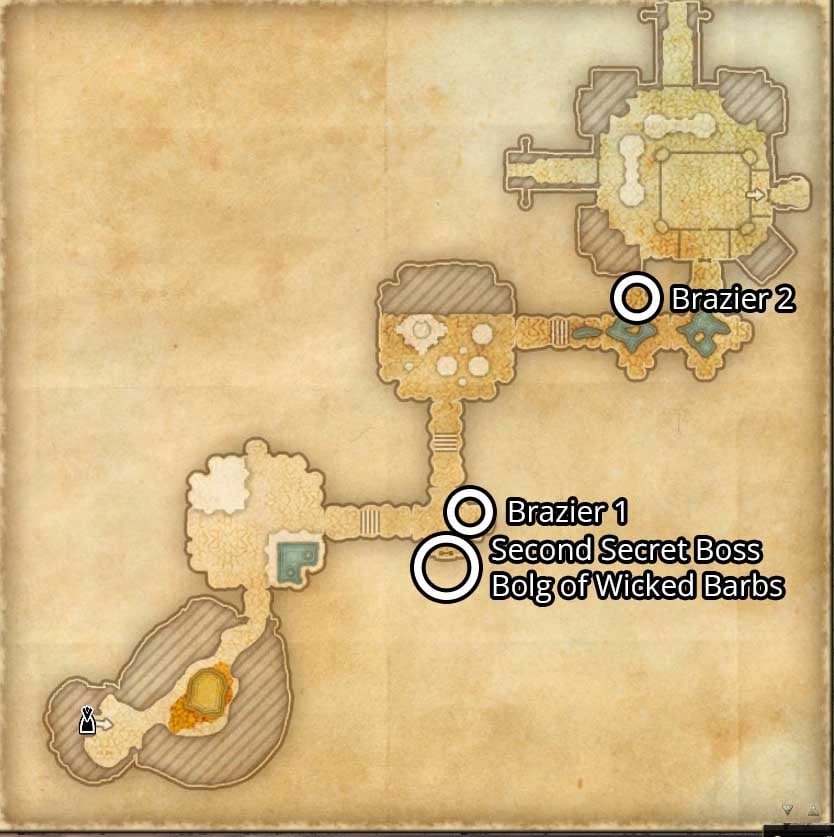
Barbed Rain: Boss shoots random red AOE’s on the ground, avoid standing in them
Spirit of Conquest: Boss summons 4 ghosts (Veteran mode) which need to be killed with AOE or by lighting a brazier that has a red circle above it. Once the Spirit reaches a brazier it will heal the boss or if you lit the brazier it will instantly die.
Spectral Archer: Chain these to the boss or kill them separately as their arrowstorm does moderate damage and can overwhelm the fight easily
Conqueror’s Vim Buff: Increases magicka and stamina recovery by 30%
Totem of Conquest activation: Restores 16 ultimate to you every 2 seconds. Restores 8 ultimate to other players within 5 meters of you every 2 seconds
Secret Boss 3 – Grubduthag Many-Fates
Follow the patch to the boss and you’ll find a Totem of War in front of a furnace. The room has small forges with fires which you can use to summon friendly cold flame atronachs or the boss will summons enemy atronachs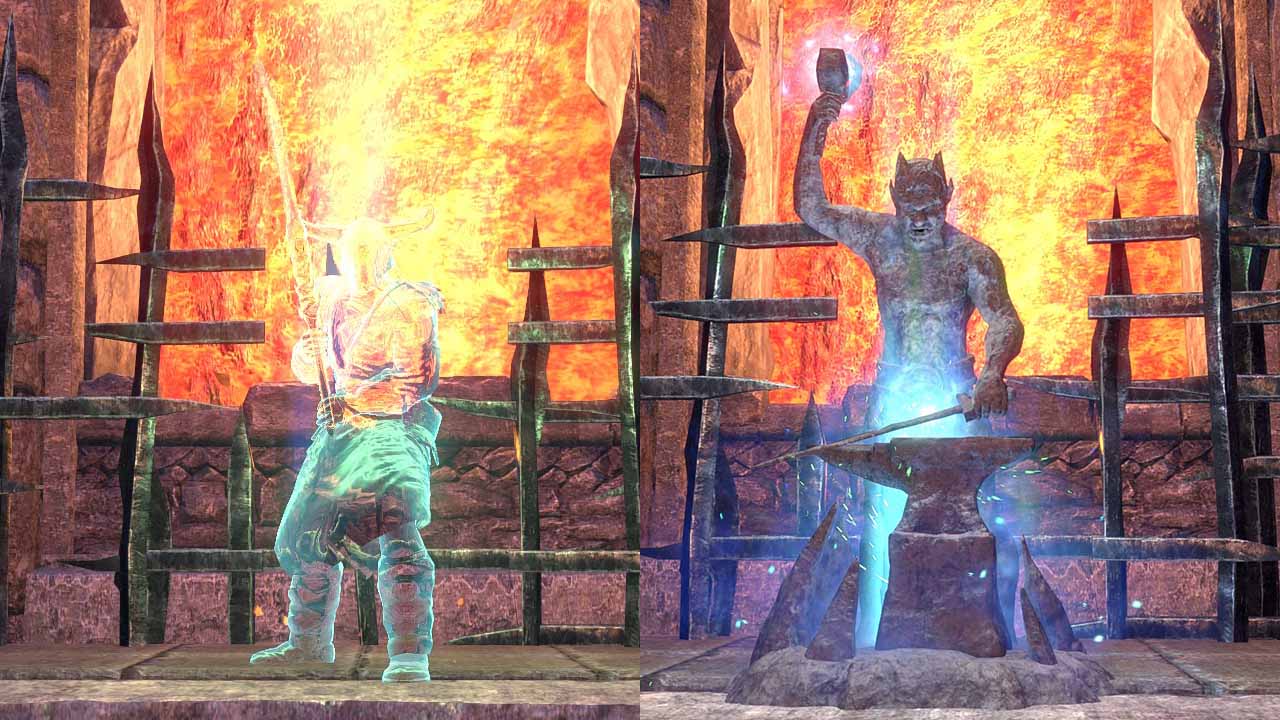
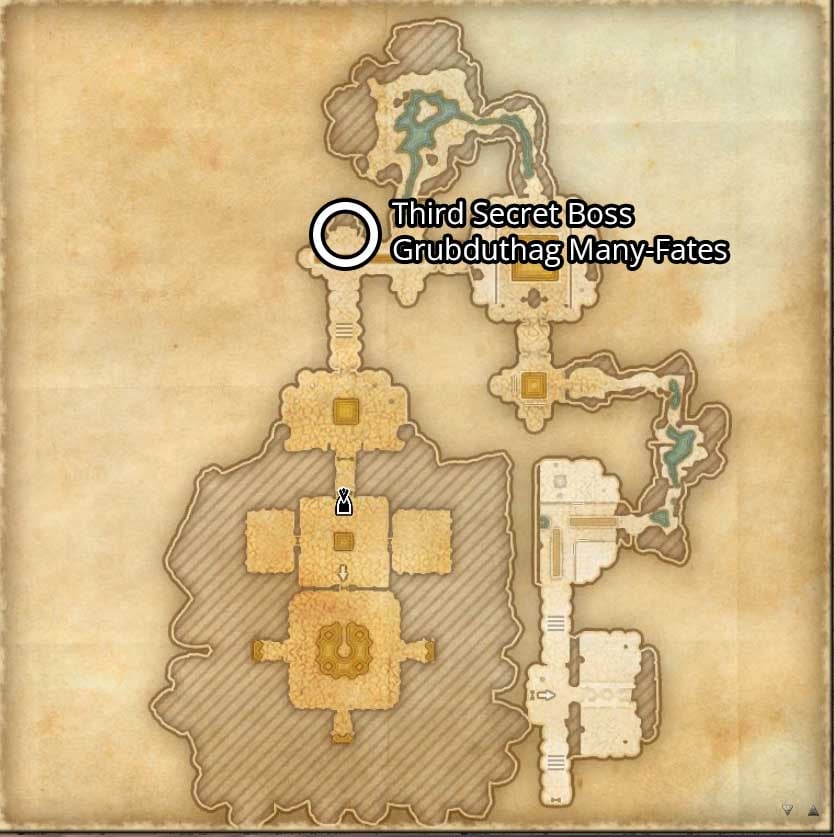
Heavy Attack: Tank needs to block this as it hits quite hard.
Meteor: AOE around each players feet which you should block, otherwise it will stun you.
Warriors Visage Buff: Increases weapon and spell damage by 10%
Totem of War activation: Each time you use a Light, Medium, or Heavy attack, damage your target with Warrior’s Wrath for 6178 Flame Damage. Enemies struck by this attack receive a stack of War Weary, increasing damage received from Warrior’s Wrath by 10% for 5 seconds for each stack of War Weary on your target.
Thank you to the PC EU guild Unlucky and the players MyNameIsElias, BitCopper and Shikai for taking me through the dungeons and explaining the mechanics!
Related Content: