

Welcome to the Exiled Redoubt Dungeon Guide for both Veteran and Veteran Hard Mode in ESO (The Elder Scrolls Online). Exiled Redoubt on normal mode has the same mechanics that just deal less damage and sometimes can be ignored. Exiled Redoubt is located in the eastern part of West Weald.
This dungeon has 6 bosses: 3 main bosses with each having their own Hard Mode, 3 secret mini-bosses and a lot of trashmob packs. Secret bosses are listed in the order they appear when you go through the dungeon so you won’t miss them! Each secret boss gives your character a permanent buff that will help you clear the dungeon.
If you have more questions, you can also ask someone in our community partner discord about this Exiled Redoubt Dungeon Guide!
The Story in Exiled Redoubt
In the wake of a great tragedy, the nobles of Albus house devoted themselves to bloody revenge. Journey deep into an underground West Weald stronghold with Lucilla Caprenia to put an end to the Albuses’ crusade.
Table of Contents:
- Sets & Rewards in Exiled Redoubt
- Trashmobs
- Boss Fights
- Boss 1 – Guard Captain Paratius (secret mini-boss)
- Boss 2 – Executioner Jerensi
- Boss 3 – Docent Domitius (secret mini-boss)
- Boss 4 – Prime Sorcerer Vandorallen
- Boss 5 – Eliana Albus (secret mini-boss)
- Boss 6 – Squall of Retribution (Endboss)
Thank you to the PC EU guild Unlucky and the players isiiimode, Kwiebe-Kwibus and MyNameIsElias for taking me through the dungeons and explaining the mechanics!
Sets in Exiled Redoubt
3 different sets drop in Exiled Redoubt.
- Light: Vandorallen’s Resonance
- Medium: Jerensi’s Bladestorm
- Heavy: Lucilla’s Windshield
- Monster Set: Squall of Retribution (Veteran only)
Rewards in Exiled Redoubt
- Dye: Exiled Goldenrod (Fallen Banners Scout achievement)
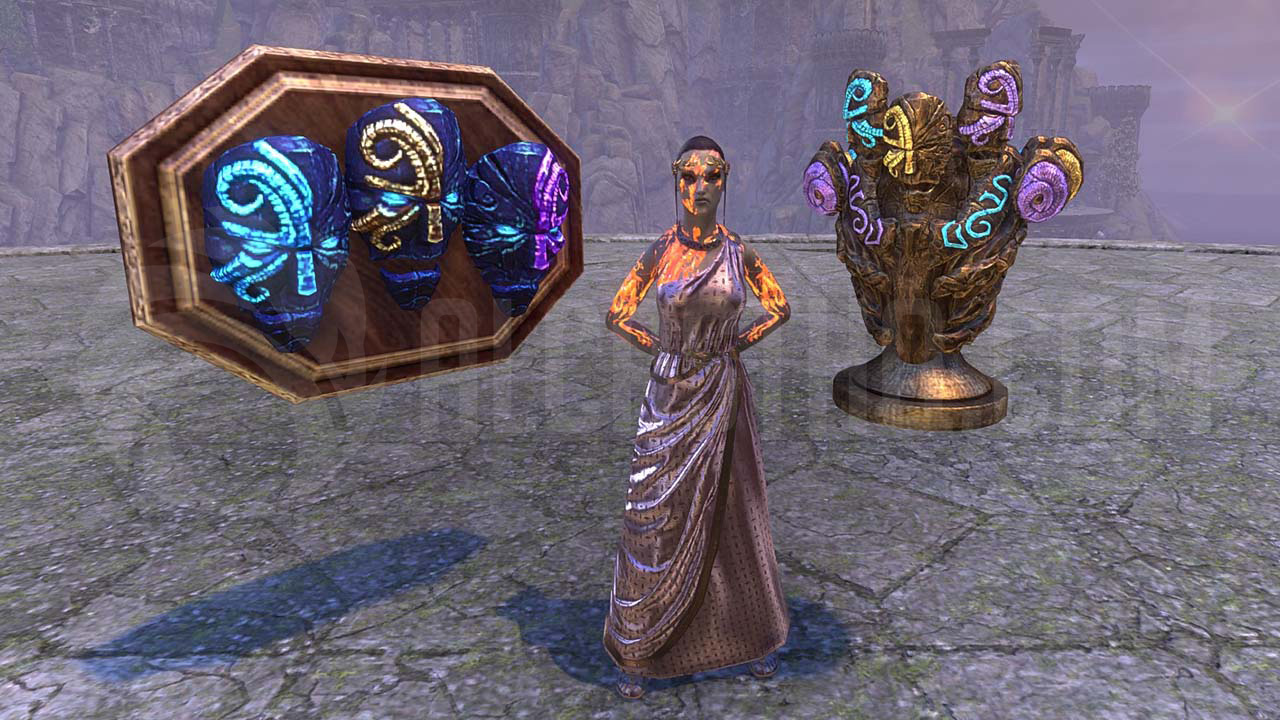
- Skin: Tactician’s Gold Lattice (Fallen Banners Delver Achievement)
- Memento: Haunted Mirror of Introspection(Exiled Redoubt Conqueror Achievement)
- Skill Style: Wall of Elements, Verdant Green (Exiled Redoubt Challenger Achievement)
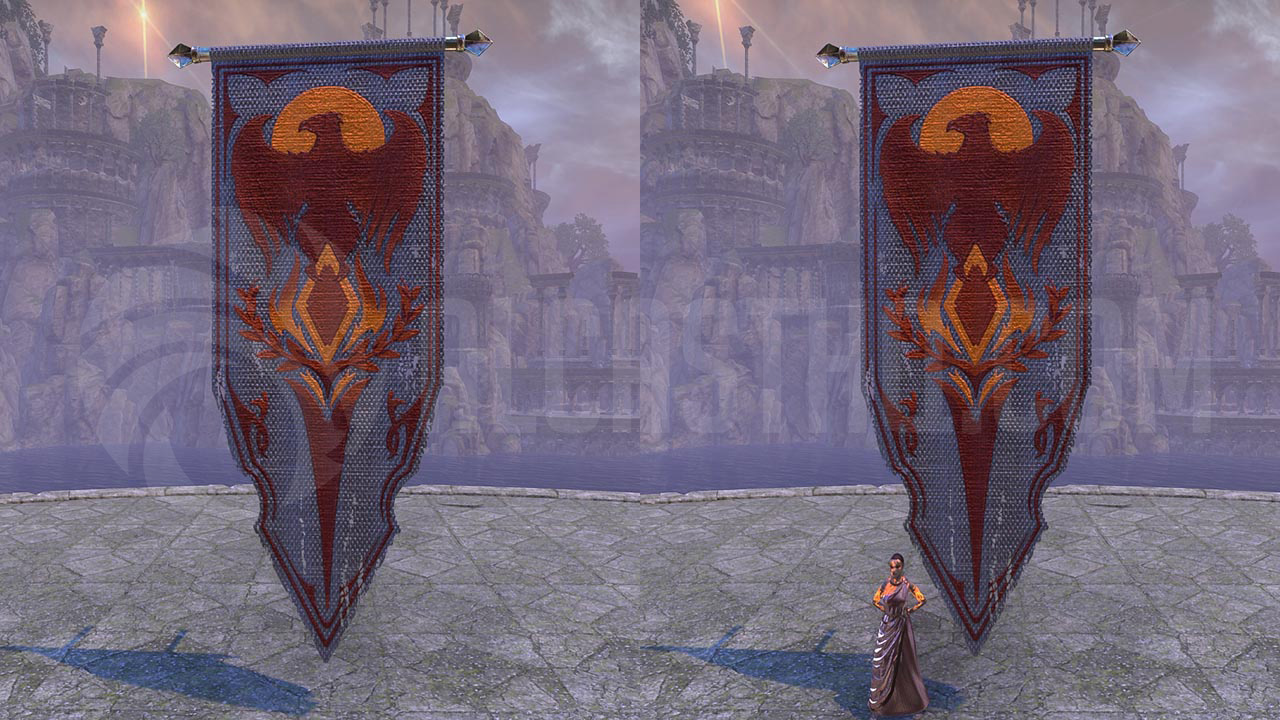
- Furnishing: Exiled Redoubt Banner can be bought from Undaunted Quartermaster for 50,000 Gold after completing the Exiled Redoubt Vanquisher achievement
- Title: Peacemaker (Squall Silencer Achievement)
- Title: The Just (Revenge Breaker Achievement)
- Title: Master Exorcist (Exiled Redoubt Champion Achievement)
- Trophy: Squall of Retribution (complete on normal mode) and Bust: Squall of Retribution (complete on Veteran Mode)
-

- ESO Exiled Goldenrod Dye

-
- Tactician’s Gold Lattice Skin

-
- ESO Haunted Mirror of Introspection

-
- ESO Wall of Elements, Verdant Green Skill Style

-
- ESO Exiled Redoubt Banner Furnishing
-
- ESO Squall of Retribution bust and trophy
Trashmonsters in Exiled Redoubt
Exiled Redoubt dungeon does not have any new or notable trash monsters that you should specifically avoid. The trash consists mostly of smaller adds like hoarvors, mudcrabs and Albus Knights, Archers and Torturers. The bigger adds you find are trolls and ice, fire and storm type Atronachs. Atronachs are found before the last boss and showcases their mechanics that will appear on Squall of Retribution (explained on the section about Squall of Retribution).
As usual, your tank should slot a chaining ability and pull archers to the group.
(Trashmob = Enemies that can add to the difficulty and liveliness of a dungeon/trial)
Exiled Redoubt Bosses
Below, you can find a list of all the bosses in Exiled Redoubt. You can also see how much health each boss has.
| Boss | Health |
|---|---|
| Guard Captain Paratius (secret boss) | 5,413,503 |
| Executioner Jerensi | 5,954,854 / 8,932,282 Hard Mode |
| Docent Domitius (secret boss) | 5,413,503 |
| Prime Sorcerer Vandorallen | 7,200,895 / 12,601,566 Hard Mode |
| Eliana Albus (secret boss) | 5,413,503 |
| Squall of Retribution (Endboss) | 10,263,990 / 15,395,986 Hard Mode |
Bosses in ESO Exiled Redoubt Dungeon
Boss 1 – Guard Captain Paratius (Secret mini-boss)
ESO Guard Captain Paratius, Exiled Redoubt boss
Guard Captain Paratius in ESO is the first secret boss you will encounter unless you decide to skip him. He is considered to be a “mini-boss” as he has no hard mode in addition to being completely skippable. He only has two immune phases that you have to deal with, otherwise the fight is quite straightforward.
After defeating Guard Captain Paratius, his buff “Bodyguard’s Protection” is applied to your character for the whole duration of the Exiled Redoubt dungeon.
Bodyguard’s Protection: Guard Captain Paratius saves you from death once every 10 minutes.
Exiled Redoubt Secret Boss buffs

Guard Captain Paratius Abilities
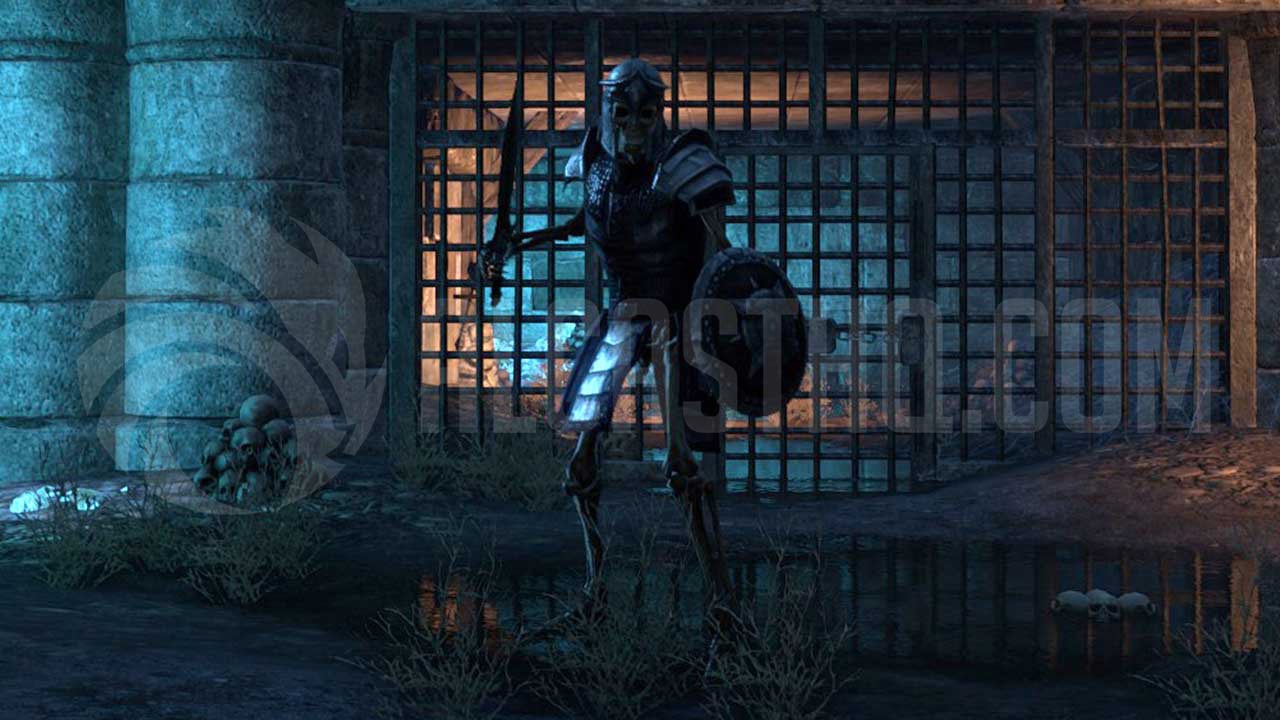
Skeletal Protector: These protector adds will spawn at 50% and 30% making the boss immune to damage. At 50% two skeletal protectors spawn and at 30% 3 skeletal protectors spawn. Kill the protectors to continue the fight.
Shield Charge: Boss will charge at players that stand far away from him, so be sure to stand close to him even if you are a ranged character.
Shield Throw: Boss throws the shield at a random player. We recommend you walk away from the telegraphed AOE or dodge roll, as the shield does damage twice: once when thrown and a second time when when it returns. You can also block the shield throw.
Skeletal Archers & Sorcerers: These small adds spawn throughout the fight, pull them to the boss so they die to AOE instead of having to focus them. These small adds do very little damage.
-
- ESO Exiled Redoubt Secret Bosses on map

-
- ESO Guard Captain Paratius Skeletal Protector and Shield Throw
-
- ESO Guard Captain Paratius Shield Charge

-
- ESO Guard Captain Paratius Skeletal Archers & Sorcerers

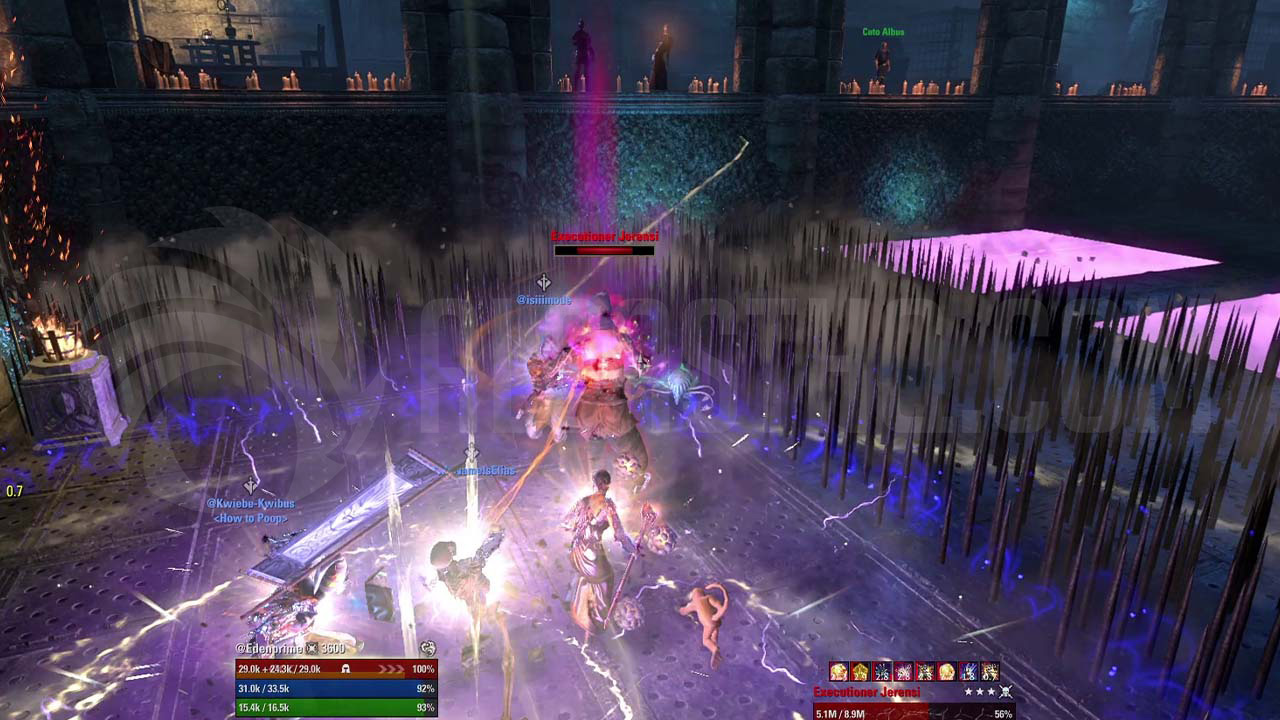
Boss 2 – Executioner Jerensi
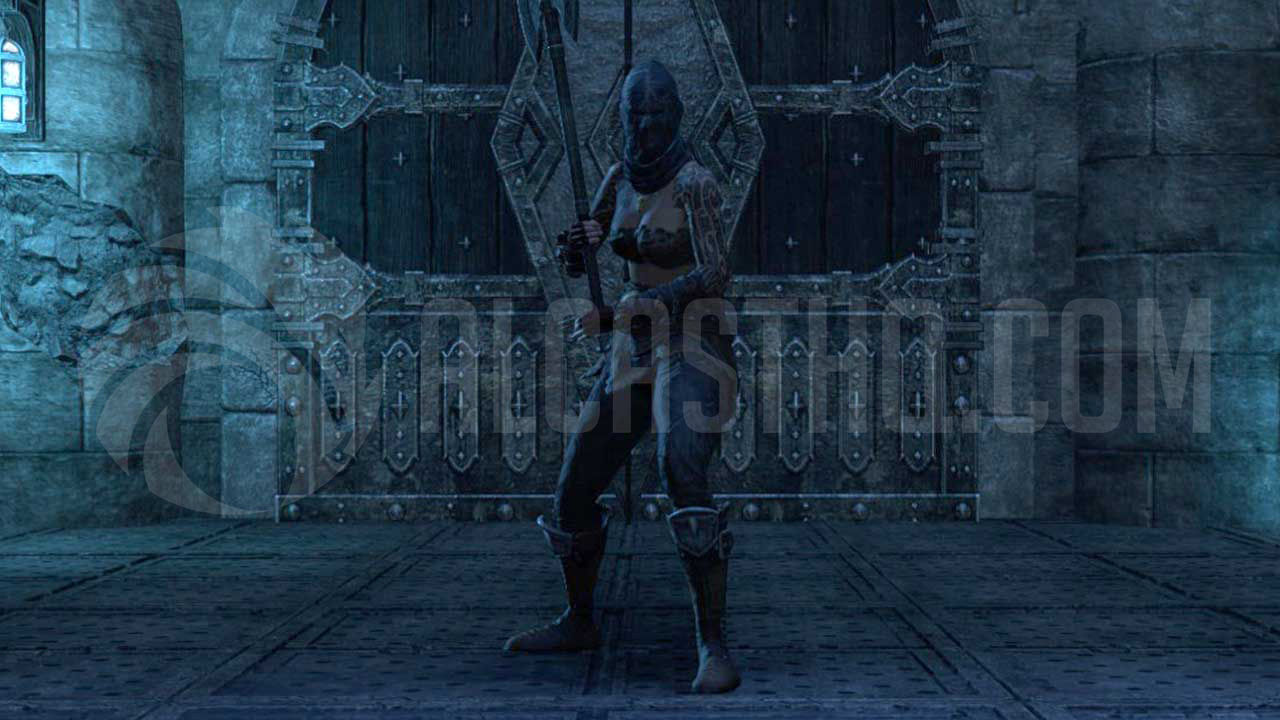
ESO Executioner Jerensi, Exiled Redoubt boss
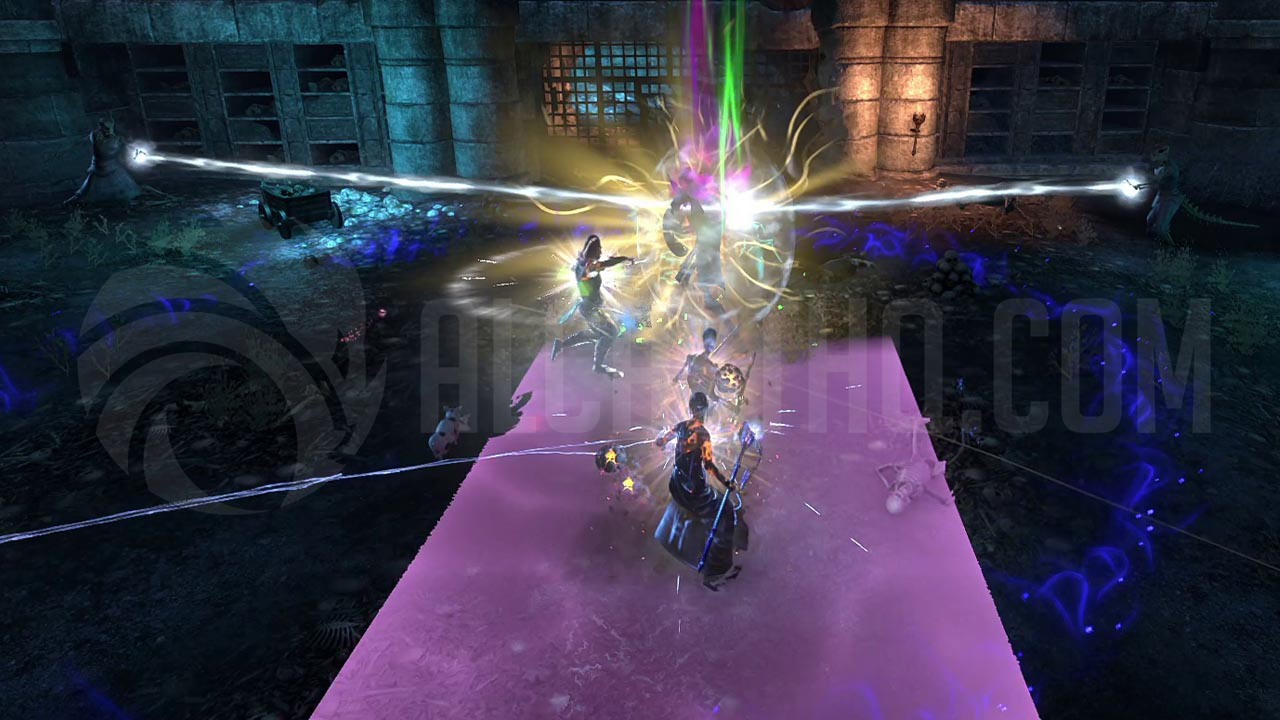
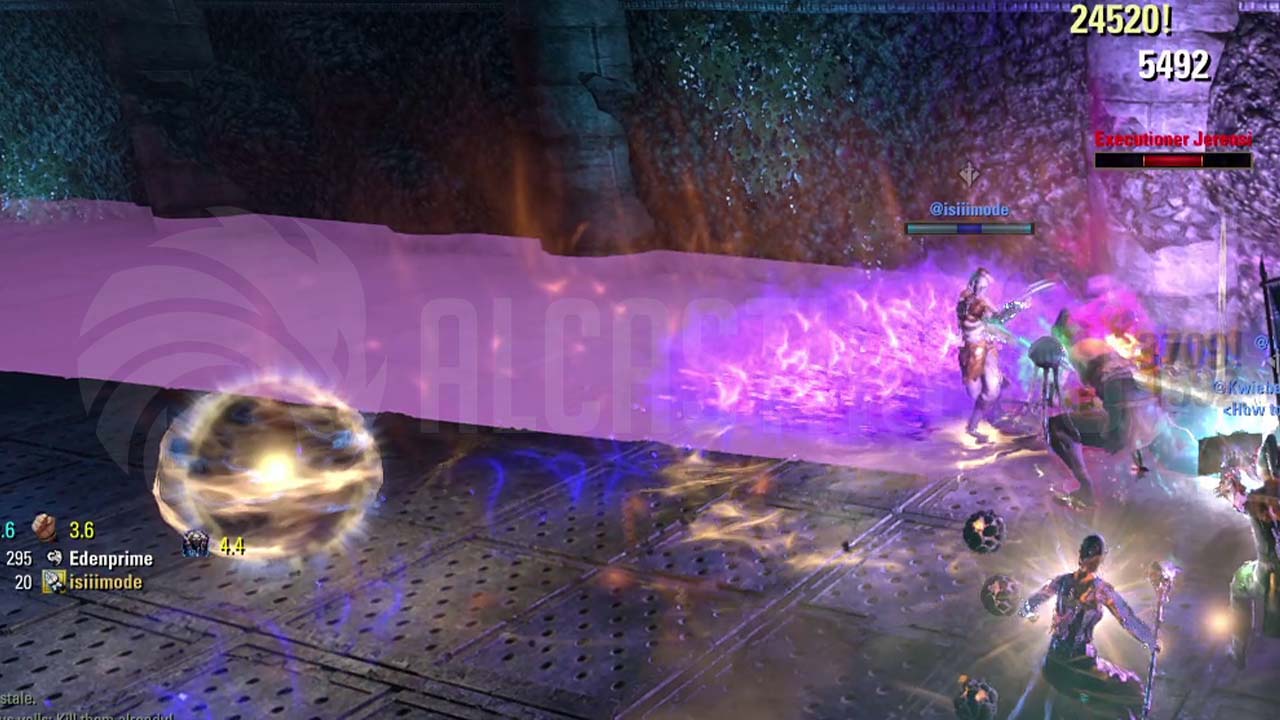
Executioner Jerensi in ESO is the first main boss you encounter. On Veteran Mode she has a Hard Mode banner you can activate the make the fight harder. The first thing you’ll notice is that her whole room is made of Spike Traps signifying that everyone will have to move around the room quite a bit. It’s always best if you follow the boss as the area she goes to will be the safest.
Short explanation for Executioner Jerensi’s fight
Executioner Jerensis fight has immune phases and seems to always cast couple of her attacks in the same order:
- 80% Executioner Jerensi charges away, activating spike traps, creating a Death Knell AOE under her and spawning two adds (Jailer and Torturer). Spike traps will be active on one part of the area, in addition to random smaller Spike Traps appearing. The boss will remain immune until the adds are killed. You should follow her and prioritize killing the adds.
- After the adds have died, she casts her Execute ability (yellow circle) and jumps on to the targeted player. Everyone should stack inside the yellow circle AOE to divide the damage.
- She repeats the phases, only difference being the amount of adds that spawn:
- 50% Jailer and 2 x Torturer.
- 30% 2 x Jailer and 2 x Torturer.
- No new mechanics are introduced after 30%
Executioner Jerensi Abilities in Hard Mode
Laceration: Boss charges an axe attack and swings it in front of her in a cone shape towards the tank. Laceration does not do much damage when blocked.
Shadow Cleave: Boss hits the ground with her axe towards the tank creating a “lane” shape that does a lot of damage. Tank should block or avoid this AOE completely.
Death Knell: The boss will cast Death Knell that does damage to everyone in addition to casting a damage over time “Condemn” and charge away. You can purge the Condemn Dot.
Swirling Darkblades: The Swirling Darkblades AOE expands from the center towards the edges and once its fully expanded will drop on the players location and stay on the ground for a short while. She also creates Swirling Darkblades under herself after charging away.
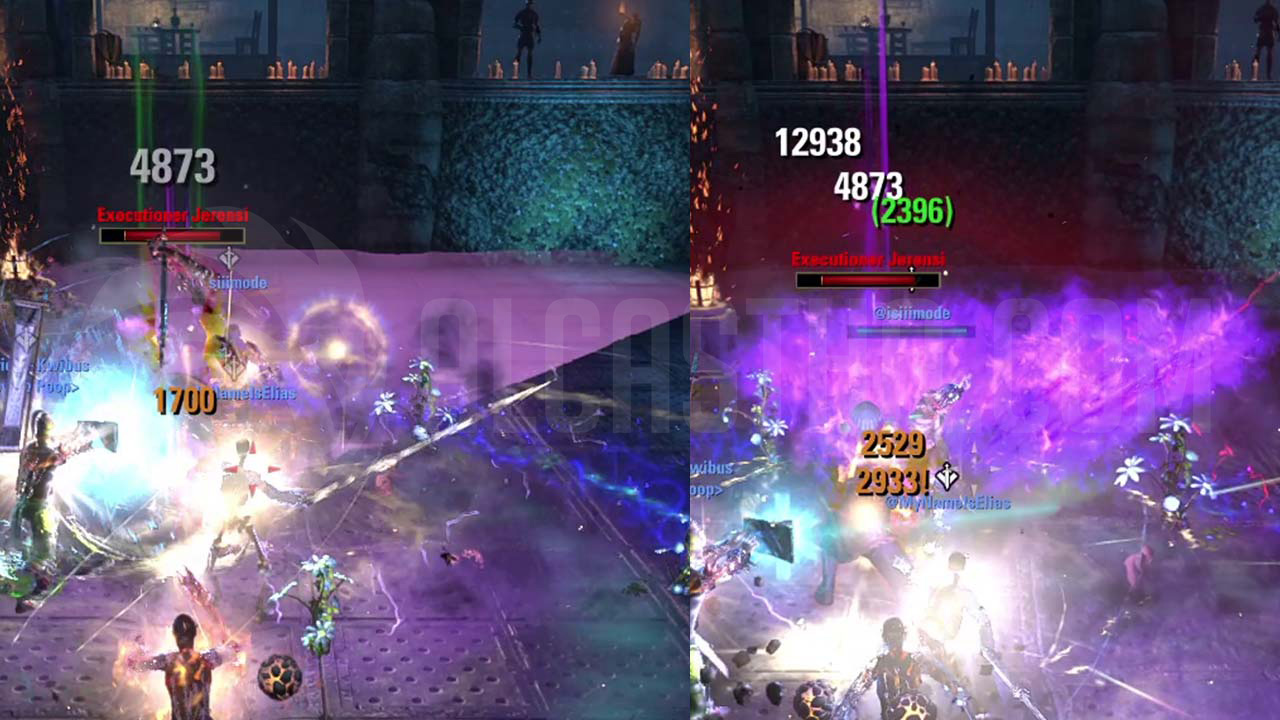
Execute: Boss casts a yellow circle AOE on a player and jumps to them dealing damage to everyone standing inside it. To avoid deaths, everyone should stand inside the yellow circle so her Execute jump damage gets divided between all the players.
Adds and Environment
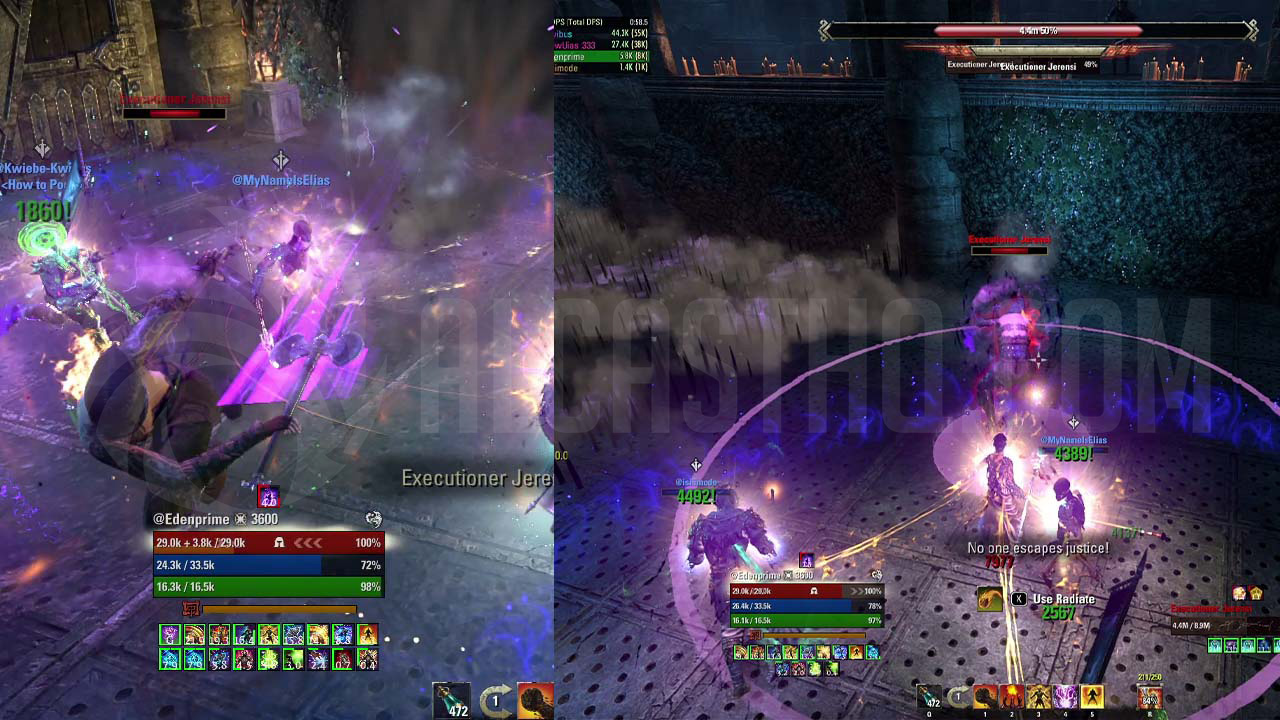
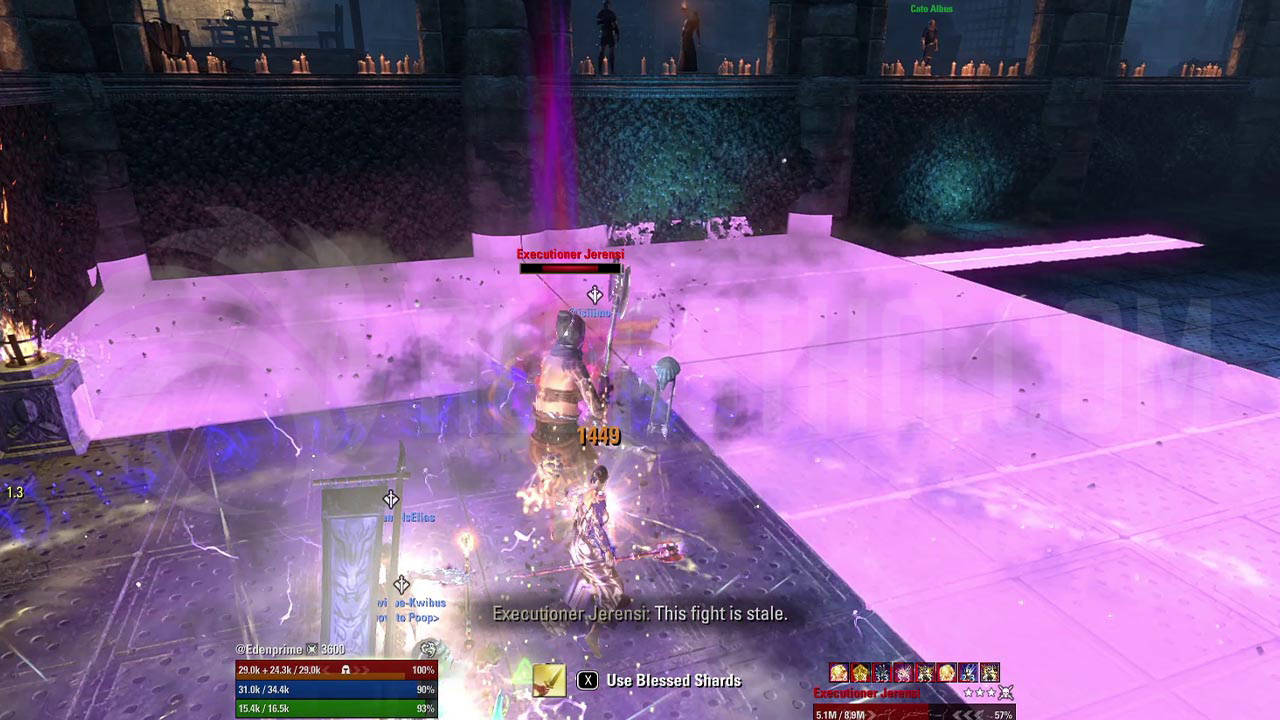
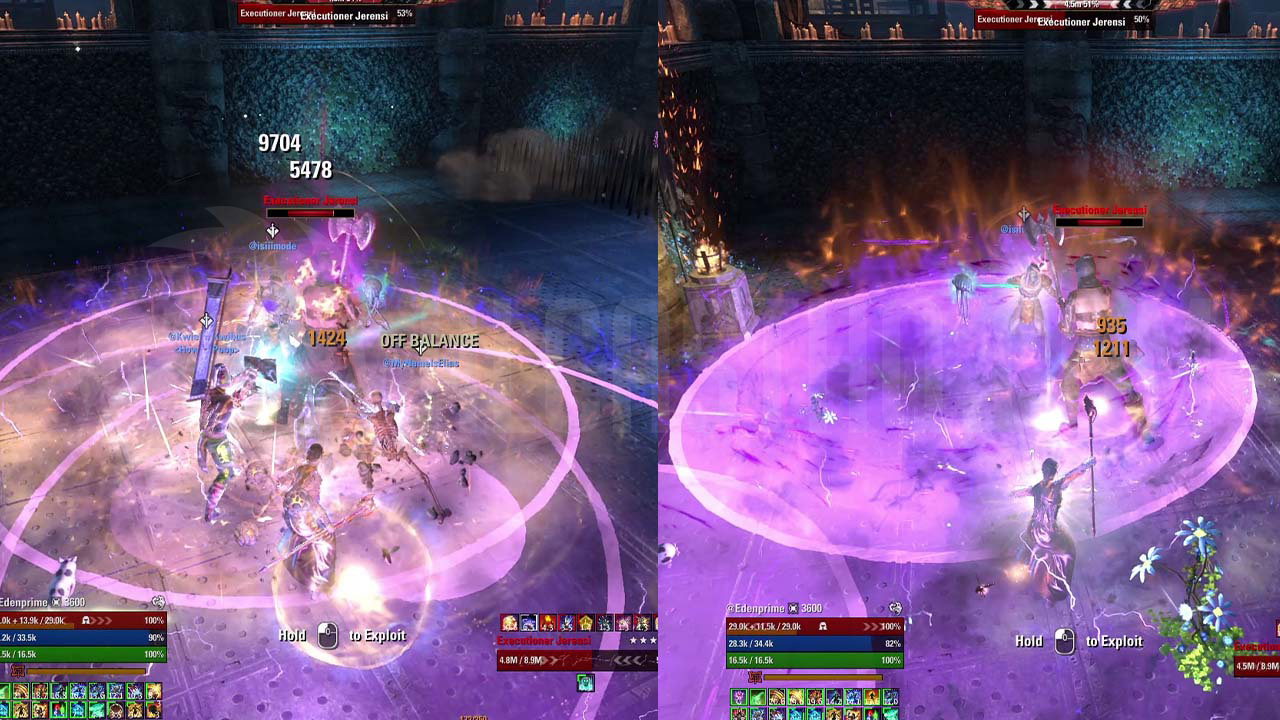
Spike Trap: Executioner Jerensi will activate her traps at random times and also at certain percentages. She will always charge away from the tank and cast Spike Traps at 75%, 50% and 30%. Traps will leave a damage over time bleed on players so it’s best to avoid them or dodge roll once.
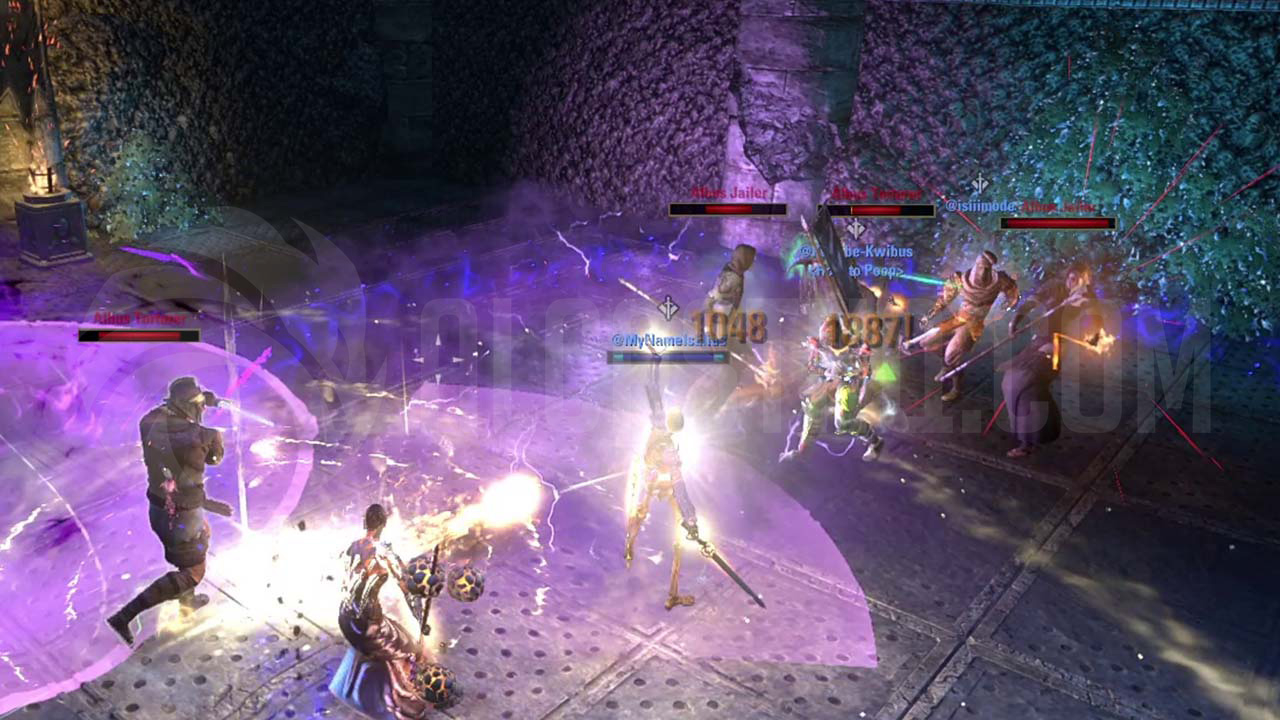
Adds: Albus Torturer and Albus Jailer: Always prioritize the adds as the boss is immune while they’re alive. Adds spawn and the boss becomes immune at 75% (two adds), at 50% (three adds) and at 30% (four adds). You should avoid the frontal cone attacks from Torturers and interrupt Albus Jailers.
-
- Charging away for Spike Trap
-
- Spike Trap telegraphed
-
- Spike Trap activated
-
- Swirling Dark Blades
-
- Execute

-
- s Albus Torturer and Albus Jailer
-
- Laceration
-
- Shadow Cleave
Boss 3 – Docent Domitius (Secret mini-boss)
ESO Docent Domitius, Exiled Redoubt boss
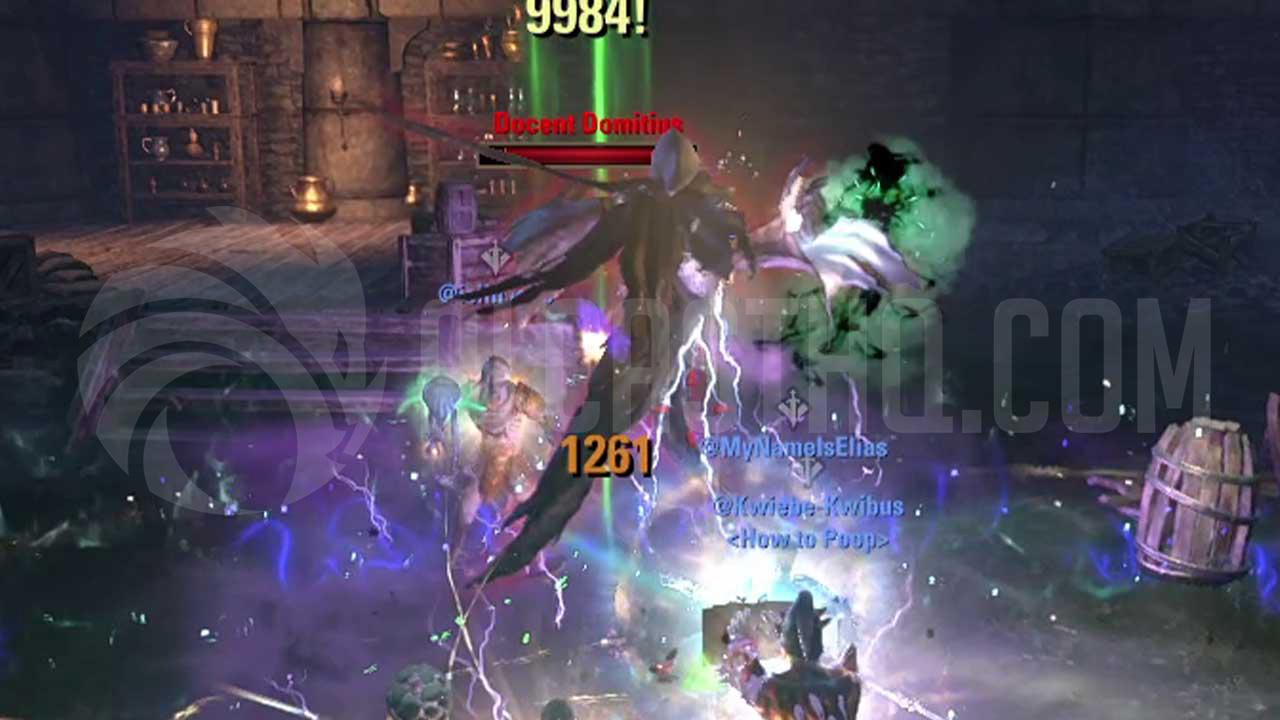
The Second Secret Boss you can encounter is a ghost called Docent Domitius. The same as with other mini-bosses, he does not have many dangerous mechanics apart from a dark AOE on the ground. You summon him by investigating the correct animated object, which for us was a urn with two handles.
After defeating Docent Domitius, his buff “Possessed Objects” is applied to your character for the whole duration of the Exiled Redoubt dungeon.
Possessed Objects: Blessed by Docent Domitus’s teachings, your bash now creates a haunted object. Enemies hit by this object will be damaged, stunned, and knocked down.
Exiled Redoubt Secret Boss buffs
Docent Domitius Abilities
Soul Shatter: Docent Domitius casts a medium sized dark AOE at the tanks location. The AOE’s damage tick increases each time eventually one shotting even a tank, so be sure not to stand in it.
Animate Thrown Objects: Boss spawns flying haunted objects that target players and is indicated by a red circle above the players head. If you get hit by a flyign haunted object it will damage, stun and knock you down, but does little damage. Haunted objects occasionally apply a small bleed, which also does very little damage.
Ice Bolt: Basic single target attack to tank that does not do much damage.
Skeletons: Occasionally skeletons will spawn, but you can just ignore these little adds.
-
- ESO Exiled Redoubt Secret Bosses on map
-
- ESO Docent Domitius Soul Shatter
-
- ESO Docent Domitius Soul Animate Thrown Objects
-
- ESO Docent Domitius Skeletons

Boss 4 – Prime Sorcerer Vandorallen
ESO Prime Sorcerer Vandorallen, Exiled Redoubt boss
Prime Sorcerer Vandorallen is the second main boss in Exiled Redoubt. On Veteran Mode he has a Hard Mode banner you can activate the make the fight harder.
Currently the fight mechanics are explained for Veteran Hard Mode, but a distinction for Veteran Mode will be added at a later date.
Short explanation for Prime Sorcerer Vandorallen fight in Hard Mode
- 90% Iron Charge and summon Iron Atronach Spiders
- 70% Iron Charge and summon Iron Atronach Spiders
- 50% Iron Charge and summon Iron Atronach Spiders
- 30% Iron Charge and summon Iron Atronach Spiders
Prime Sorcerer Vandorallen Abilities in Hard Mode
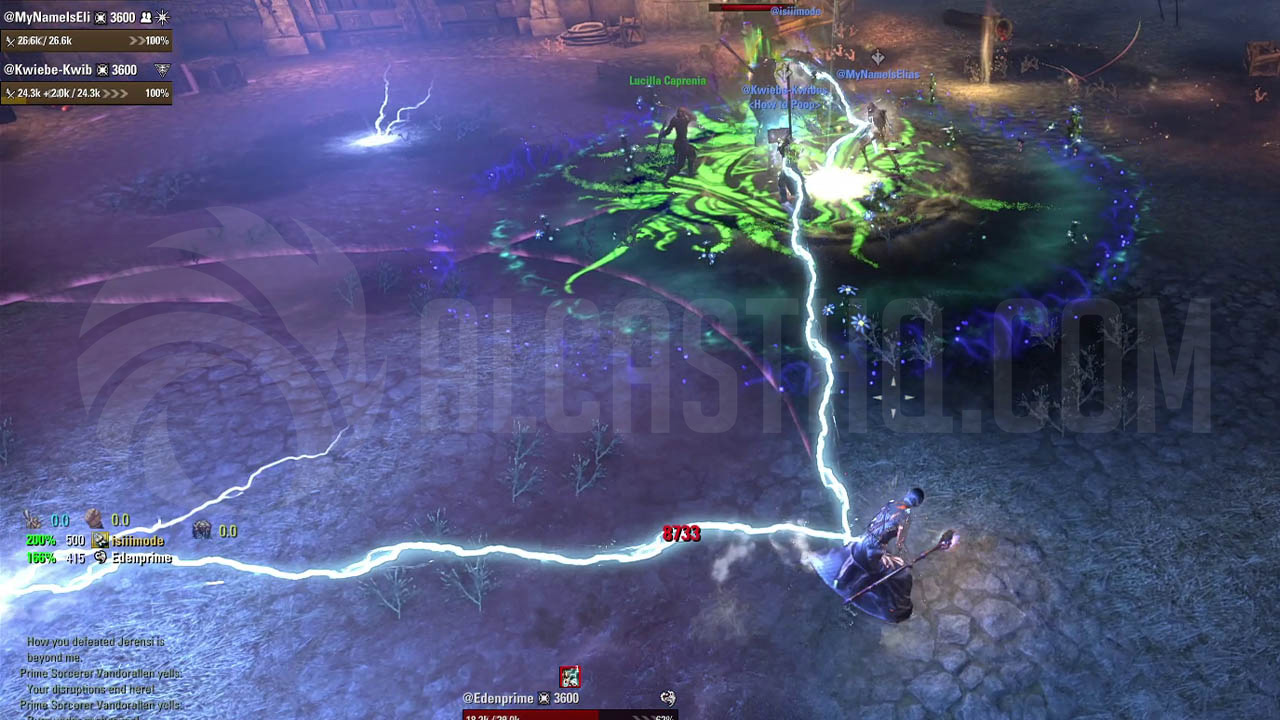
Storm Bolt: Prime Sorcerer Vandorallen throws a lightning “javelin” at the furthest player which leaves a huge lightning AOE at impact.
Chain Lightning: If you touch the Storm Bolt AOE, the Storm Bolt imitates a chain lightning that hits all players.
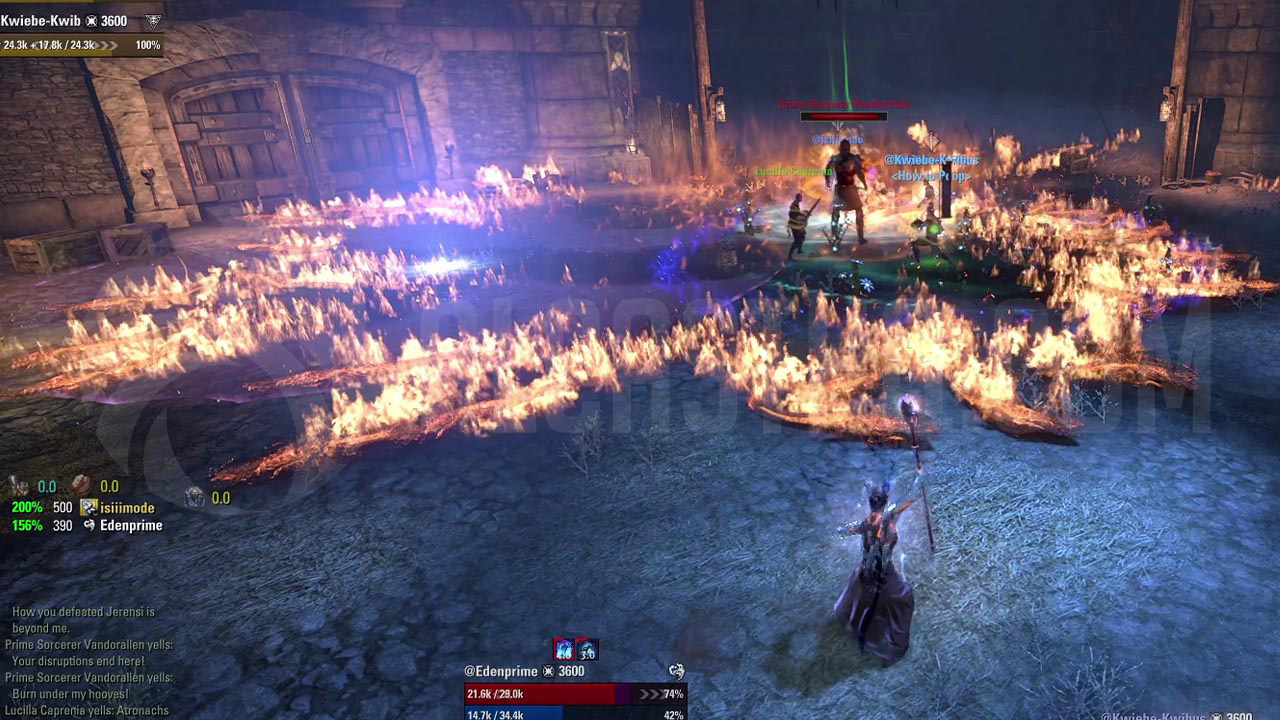
Iron Charge: Boss summons Iron Atronach Spiders, becomes immune and mounts a flaming horse. He charges around the room leaving fire AOE’s on the ground.
Blackspine Curse: After the boss dismounts from the Iron Charge, he will cast a Blackspine Curse at a player which adds a very high hitting damage over time.
Racing Flames: Fire salamanders will come from the boss in all directions dealing moderate damage. You can either try to avoid them or overheal the damage ticks.
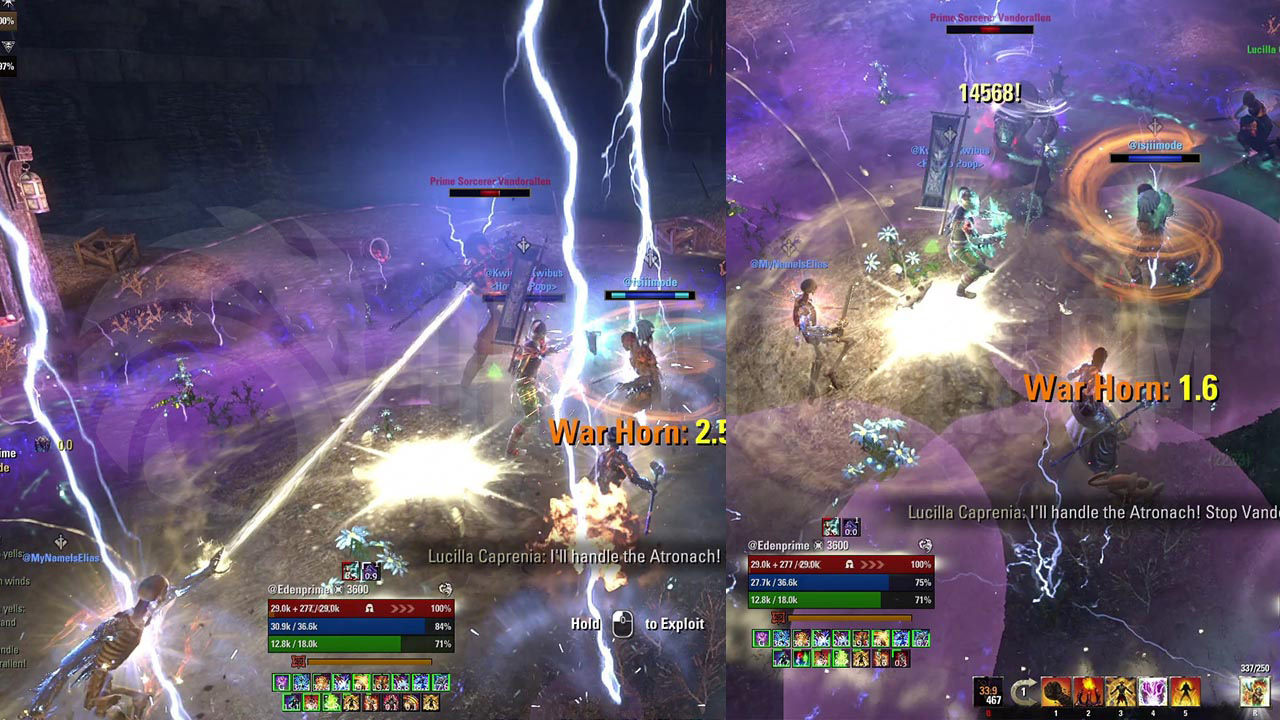
Lightning Rod Slam: Boss charges up a heavy attack and slams the tank also spawning small “attracted lightning” AOEs under all players. Attracted lightning AOE stays in place, so move away from it as soon as possible.
Adds and Environment
Adds: Iron Atronach Spider: While the boss is charging around on his horse, more Iron Atronach Spiders will spawn. The Friendly NPC Lucilla Caprenia will cast a Frozen Dome that will slow down the spiders and make them take more damage. Always bring the Spiders to the Frozen Dome.
Adds: Simulacrum: These adds will only spawn when the boss is below 40% health. The Simulacrums will stay in place and keep casting a firestorm, which shoots out increasing damage firebolts at players. The firebolt damage can be blocked or dodged, but will eventually kill players, so always kill Simulacrums as soon as possible. Each of them only has 94k health.
Coruscating Orb: Coruscating Orbs have a lightning AOE that follows them dealing “Coruscating Arc” damage to the player standing inside it. You can run away from the Coruscating Orb and have another player “catch” it by stepping inside the AOE and get zapped by the arc once. It is recommended your healer or other ranged character takes these and moves them slightly away from the boss, so you don’t need to move the boss.
-
- ESO Prime Sorcerer Vandorallen Storm Bolt

-
- ESO Prime Sorcerer Vandorallen Chain Lightning
-
- ESO Prime Sorcerer Vandorallen Iron Charge

-
- ESO Prime Sorcerer Vandorallen Adds Iron Atronach Spider

-
- ESO Prime Sorcerer Vandorallen Blackspine Curse

-
- ESO Prime Sorcerer Vandorallen Racing Flames
-
- ESO Prime Sorcerer Vandorallen Lightning Rod Slam
-
- ESO Prime Sorcerer Vandorallen Coruscating Orb
-
- ESO Prime Sorcerer Vandorallen Simulacrum

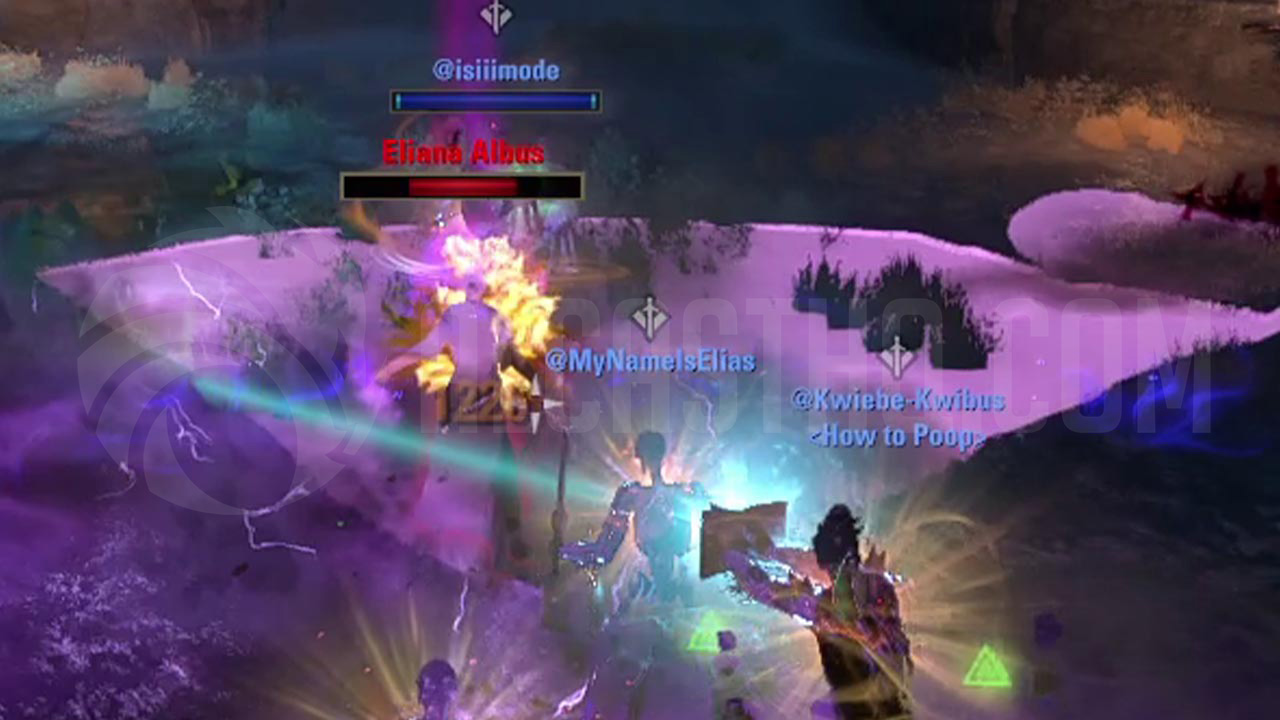
Boss 5 – Eliana Albus (Secret mini-boss)

ESO Eliana Albus is the third secret boss in Exiled Redoubt, if you choose to fight her. She has dark shadowy type skills that many of deal moderate to high damage on veteran mode.
After defeating Eliana Albus, her buff “Mother’s Rage” is applied to your character for the whole duration of the Exiled Redoubt dungeon.
Mother’s Rage: Eliana Albus’s rage lives on in you. Every minute, your damage is increased by 25% for 10 seconds.
Exiled Redoubt Secret Boss buffs
Eliana Albus Abilities
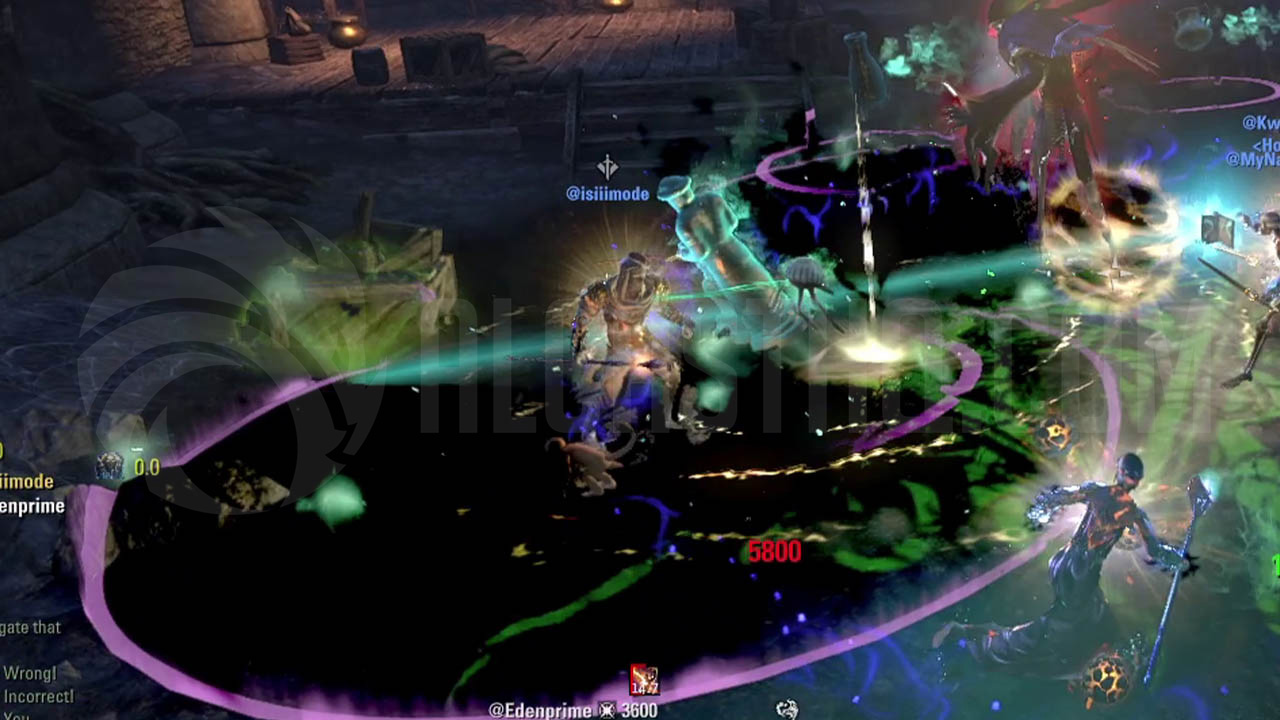
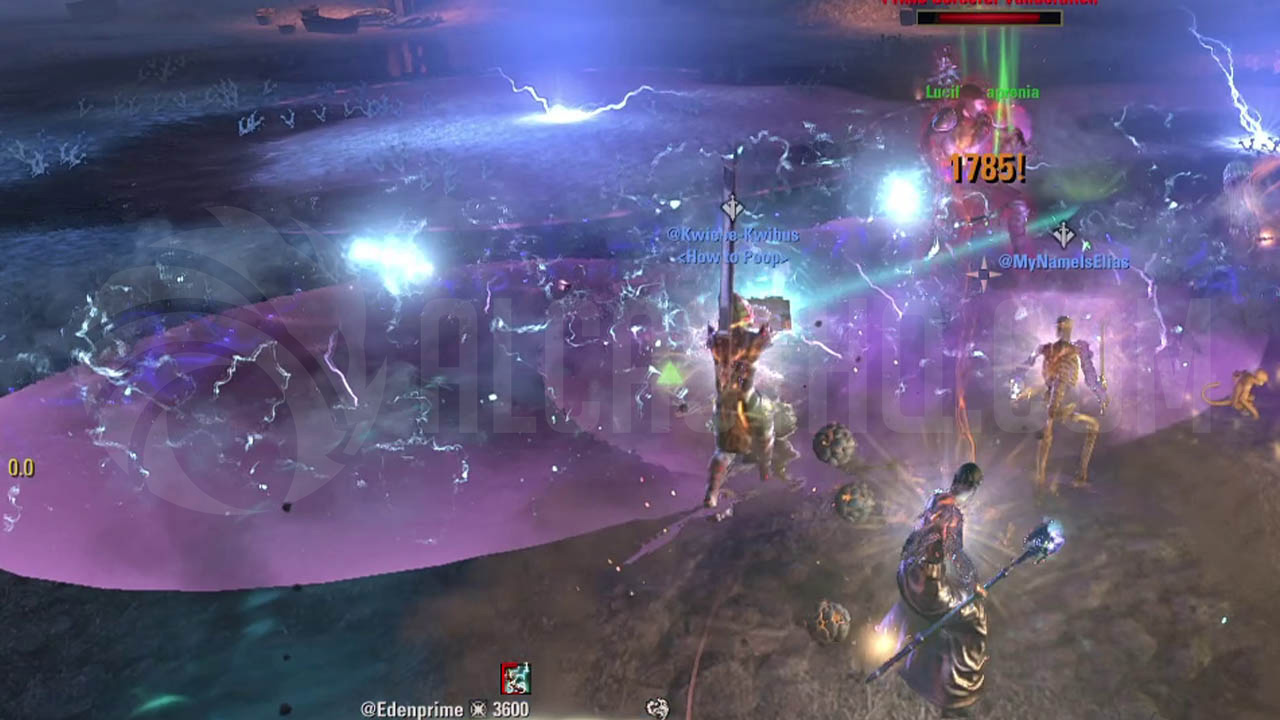
Pool of Grief: Eliana leaves a dark AOE on the ground that does high damage, so you should move away from it as fast as possible.
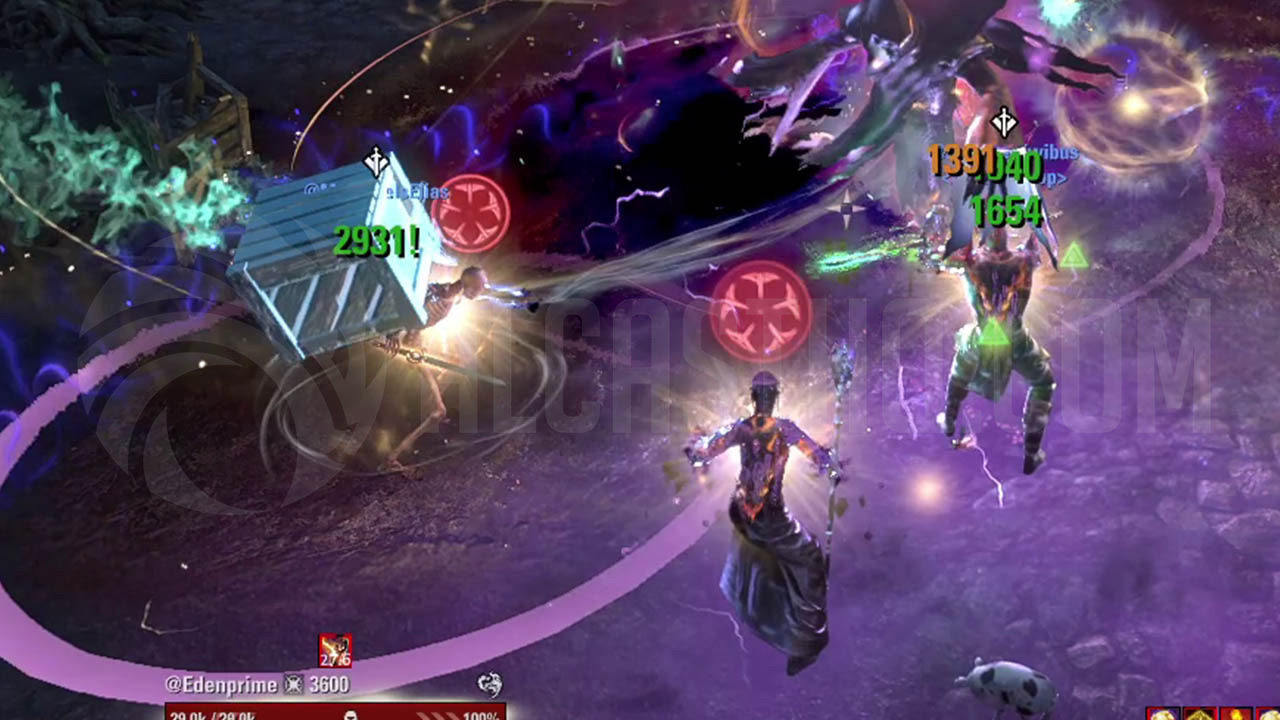
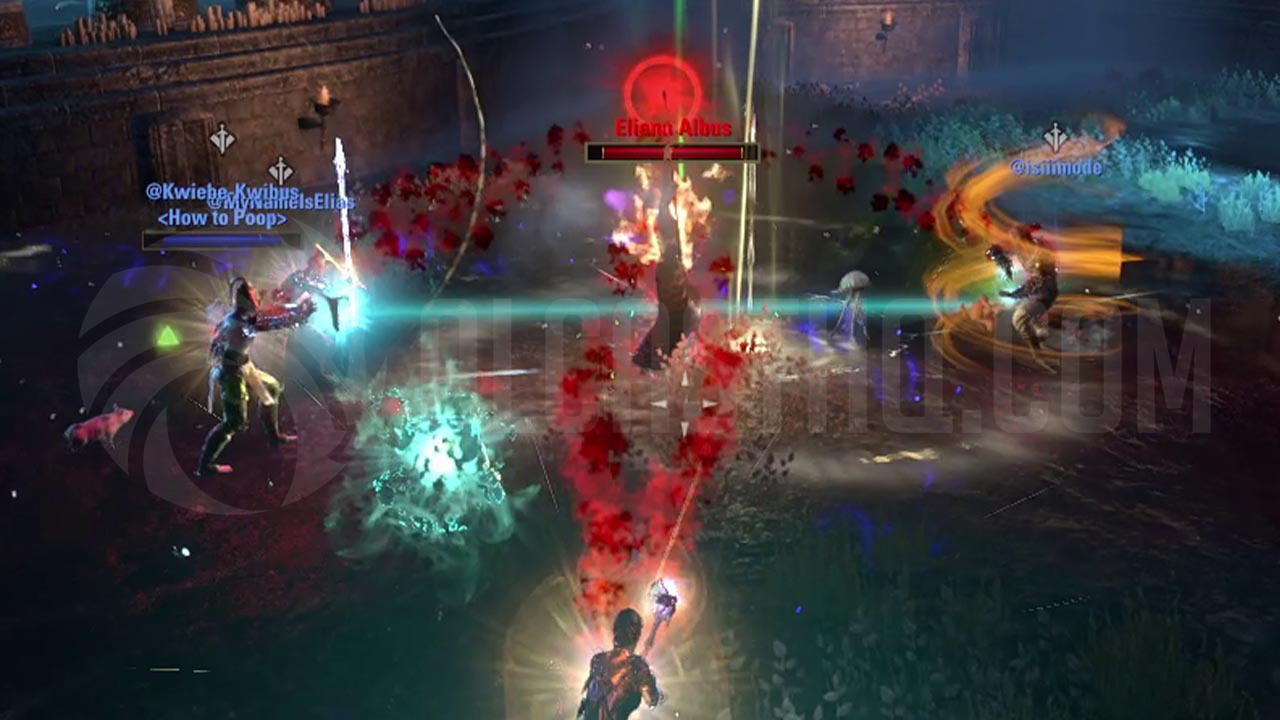
Overwhelming Sorrow: Eliana Albus raises her staff and starts shooting red Overwhelming Sorrow bolts at all players every second. The attack lasts eight seconds and can not be interrupted. Try to block, dodge or shield most of the damage to make your healers life a bit easier.
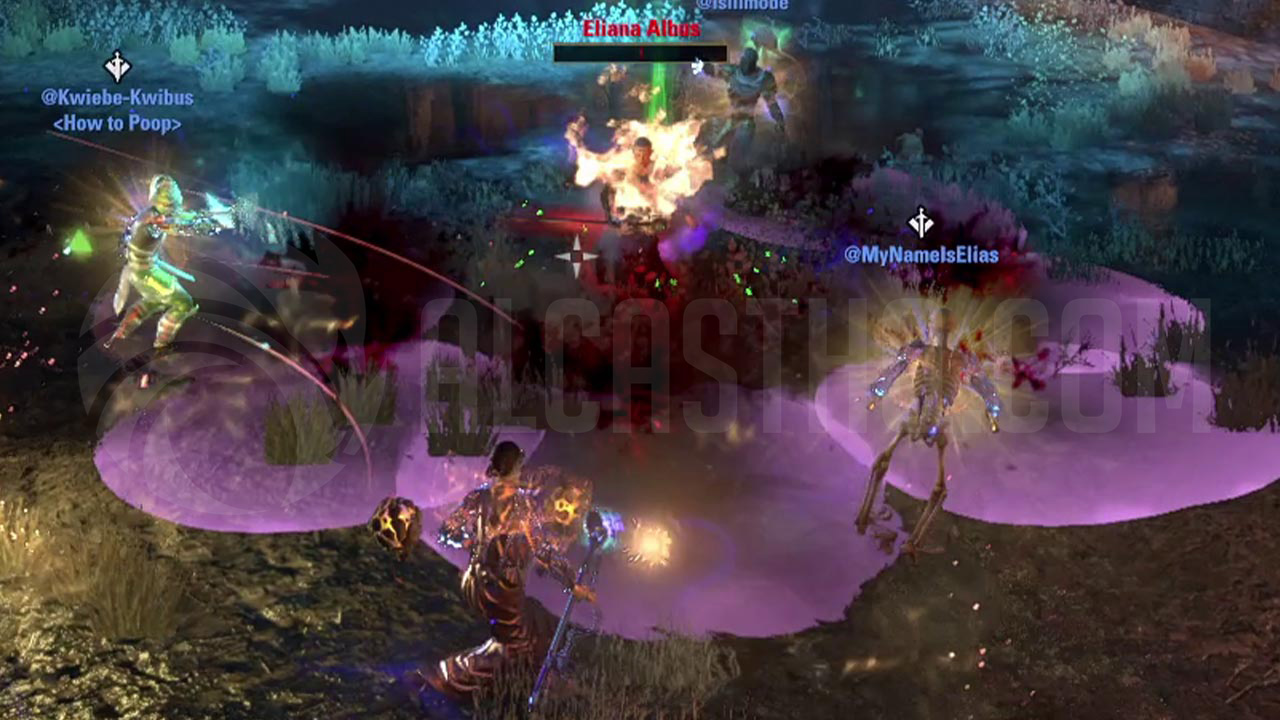
Vicious Denial: Eliana casts small dark red AOE pools that move further away from her and bounce off the walls. Try to avoid the Vicious Denial AOE’s as they deal moderate damage and leave a “Depressive Snare” on you.
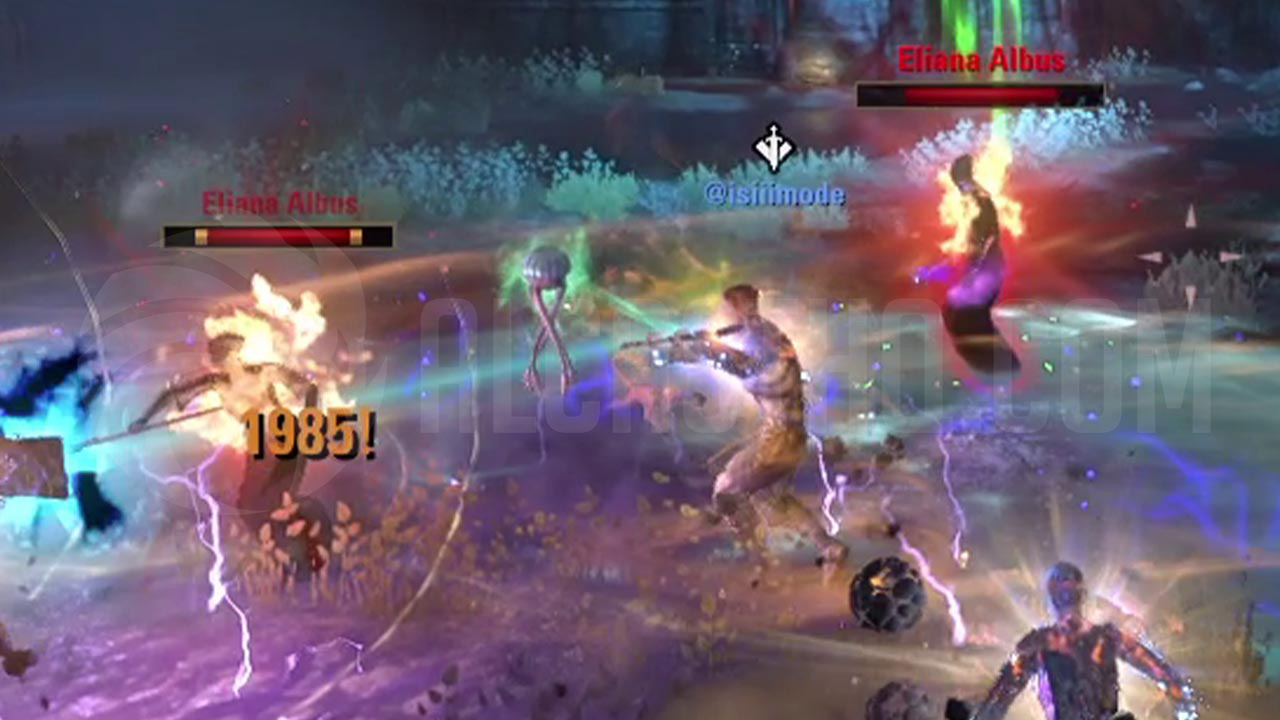
Shadowy Duplicate: During the fight, boss teleports a bit further away leaving a Shadowy Duplicate behind that you should kill fast. The Duplicate has 338k health.
Echoing Pain: Eliana charges an Echoing Pain shout and creates a conal AOE that follows the tank. Tank should stay still and other party members should stand behind Eliana.
-
- ESO Exiled Redoubt Secret Bosses on map
-
- ESO Eliana Albus Pool of Grief

-
- ESO Eliana Albus Overwhelming Sorrow
-
- ESO Eliana Albus Vicious Denial
-
- ESO Eliana Albus Shadowy Duplicate
-
- ESO Eliana Albus Echoing Pain
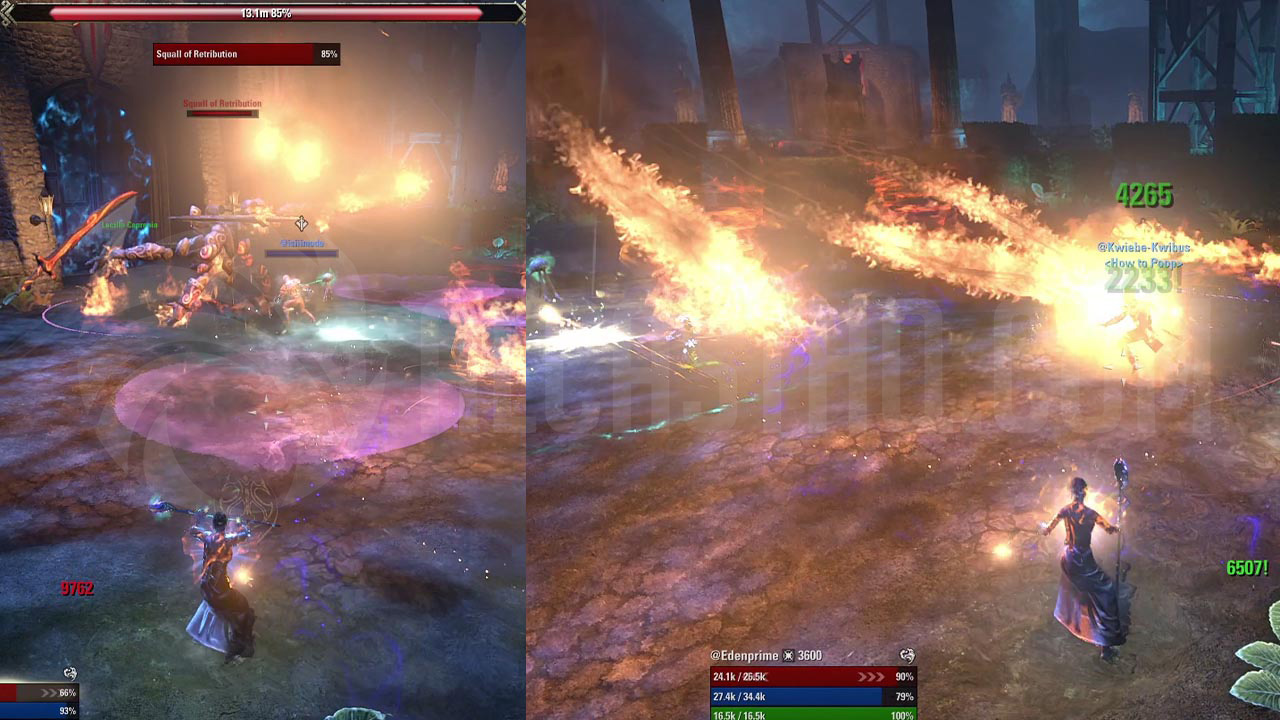
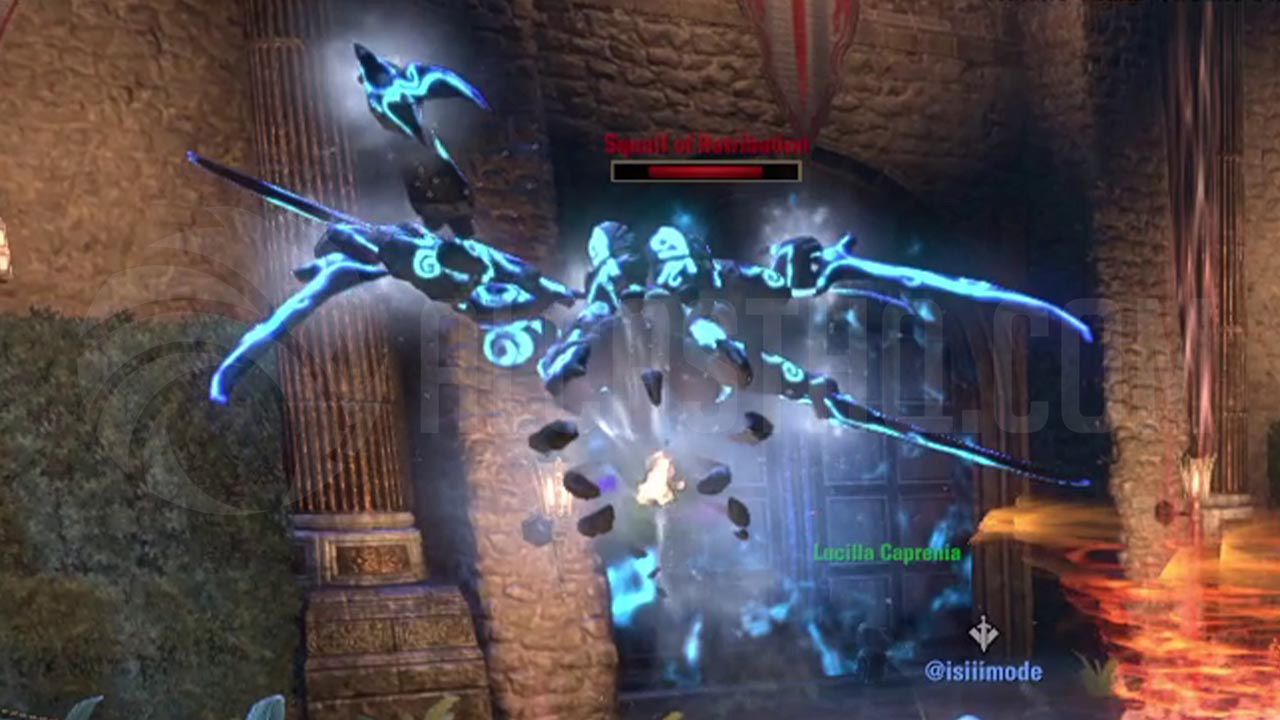
Boss 6 – Squall of Retribution, Exiled Redoubt Endboss

Squall of Retribution is the final boss in Exiled Redoubt. On Veteran Mode it has a Hard Mode banner you can activate the make the fight harder. The Squall of Retribution fight has multiple phases with different elemental atronachs and their own mechanics. Damage dealers should take their dps goggles off as trying to burn the boss without doing its elemental mechanics, will most likely result in death.
Currently the fight mechanics are explained for Veteran Hard Mode, but a distinction for Veteran Mode will be added at a later date.
Squall of Retribution mechanics present in all phases in Hard Mode
In addition to Squall of Retributions normal attacks, many of the elemental attacks listed below in the phases will continue until the boss dies.
Six Sword Assault: Squall of Retribution holds his swords close to him and throws all six swords. The six swords go out and come back and are indicated with a red AOE under them. Four of the swords have a larger AOE and two of them have a smaller AOE. You can keep the boss still and see the safe spots to stand in, or block the Six Sword Assault.
Vortex: Boss spins in place creating a AOE around him that deals increasing damage. Your tank can stay on the edge of it and block all the damage.
Swipe: Squall of Retributions basic light attack directed at the tank.
Coordinated Slash: Squall of Retributions heavy attack directed at the tank that also applies the rattled and hindered debuffs when blocked. If you try to dodge the attack, the boss will enrage and deal 30% extra damage for six seconds.
- Hindered is a healing absorption debuff which can not be cleansed meaning the tank needs to be healed for the debuff to be removed.
- Rattled reduces damage done by 70% and increases damage taken by 40% (it can not be cleansed).
- Seethe: Overwhelmed by anger from a missed attack. For 6 seconds damage done by the enemy increased by 30%
-
- ESO Squall of Retribution Six Sword Assault

-
- ESO Squall of Retribution Vortex

-
- ESO Squall of Retribution Coordinated Slash

95% Fire Phase (First Phase)
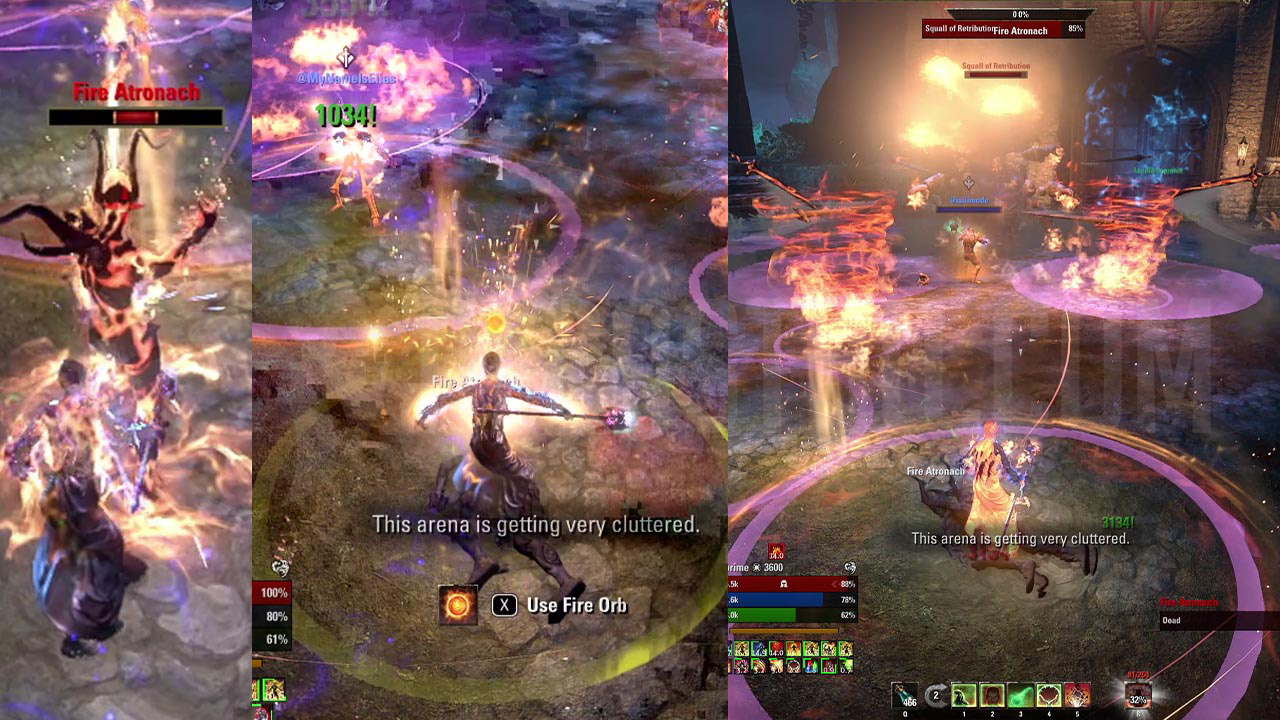
At 95% Squall of Retribution starts glowing orange signifying the start of the fire phase. He will spawn Fire Atronachs and continue using his regular attacks also gaining additional fire mechanics. Fire Atronachs and the Fire Orbs that they drop are the most important parts of this phase.
Fire Atronach: Fire Atronachs spawn when Squall of Retributions health reaches 95%, 90%, 80% and 70%. Killing a Fire Atronach spawns a Fire Orb on its location that a player needs to pick up by using the synergy button. You can push the boss and get all four Fire Atronachs at the same time, or damage the boss slower and deal with one Atronach at a time.
Fire Orb: Pickup the Fire Orb immediately. If you do not pickup the Fire Orb quickly, it will start shooting fire at all players at an increasing rate and damage. Picking up the Fire Orb creates a medium sized fire AOE around the person who picked it up and applies a 15 second damage over time effect called “Ignited” to them. We recommend you only kill the amount of atronachs your healer can deal with and only continue after the Ignited dot has expired.
Vortex – Hot Foot: During the Fire Phase, Vortex will also shoot out small fire balls at players creating fire AOE’s under them. The AOEs stay in place, but deal increasing Hot Foot damage to players standing inside them so be sure to move away.
Six Sword Assault – Engulfing Flame: When Squall of Retribution casts his Six Sword Assault during the fire phase, it also shoots out Fireballs at three players dealing moderate to high damage.
Fire Storm: Small Fire Storm vortexes spawn in twos during the fire phase. The Fire Storms will will circle on the same path, so you can stand in the middle of them or outside of them to avoid the damage. Fire Storms do not despawn and will continue for the rest of the fight.
-
- ESO Squall of Retribution Fire Phase

-
- ESO Squall of Retribution Fire Atronach and Fire Orb
-
- ESO Squall of Retribution Vortex – Hot Foot

-
- ESO Squall of Retribution Six Sword Assault – Engulfing Flame
-
- ESO Squall of Retribution Fire Storm

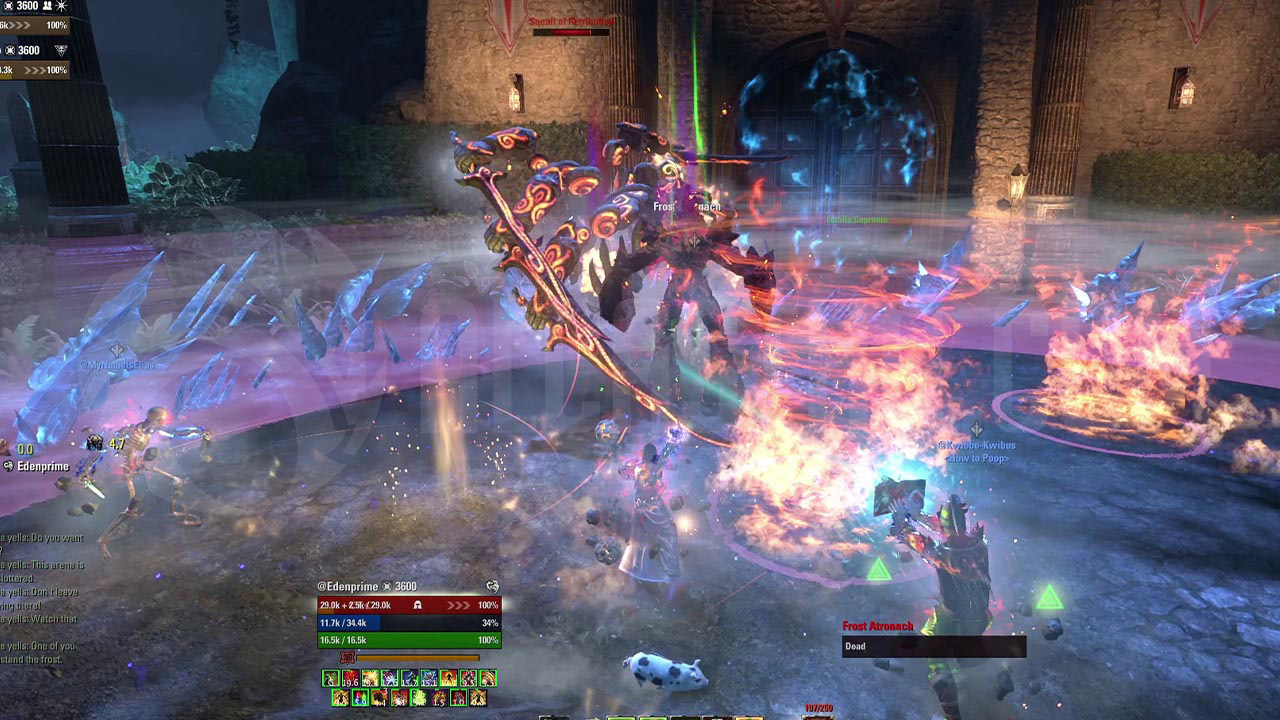
65% Frost Phase (Second Phase)
At 65% Squall of Retribution switches to an icy blue glow, so you’ll know that the frost phase has started. In this phase he will spawn Frost Atronachs and get some additional frost mechanics to his basic attacks. As with the fire phase, the Frost Atronachs and the orbs they drop are the most important part of the fight.
Note that you should always wait for the Fire Orb dots to disappear before pushing to this frost phase as the Fire AOE around a player will make the Frost AOE explode if they AOE’s touch. If you’re familiar with the Dreadsail Reefs first boss dome mechanic, this is basically the same one.
Frost Atronach: Frost Atronachs spawn when Squall of Retributions health reaches 65%, 55%, 50% and 45%.
Frost Orb: Pickup the Frost Orb immediately. If you do not pickup the Frost Orb quickly, it will start shooting frost bolts at all players at an increasing rate and damage. Picking up the Frost Orb applies a 15 second damage over time effect called “Freezing death“. We recommend you only kill the amount of atronachs your healer can deal with and only continue after the dot has expired.
Frozen Ground: At 55%, 35% and 5% boss health edges of the round arena will become frozen, making your fighting area smaller. Frozen Ground disappears after a while.
-
- ESO Squall of Retribution Frost Phase
-
- ESO Squall of Retribution Frost Atronach and Frost Orb (not picked up in this screenshot)

-
- ESO Squall of Retribution Frozen Ground
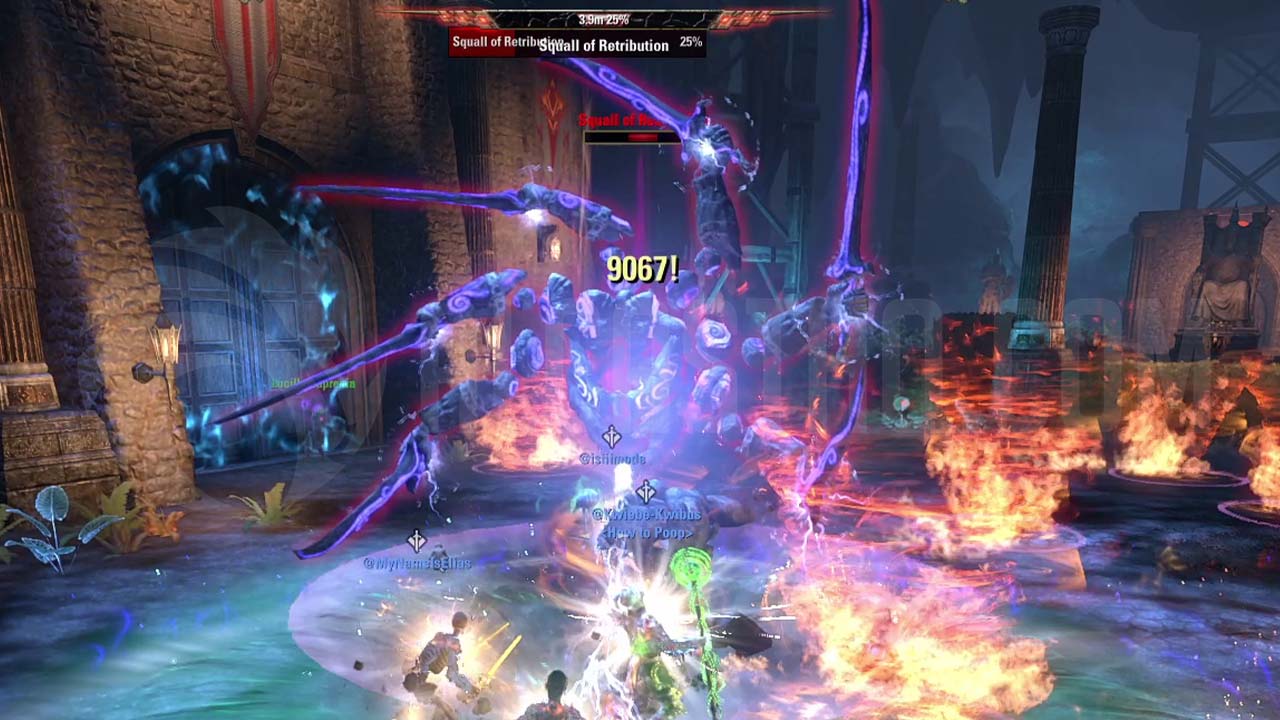
30% Storm Phase (Third and final Phase)
At 30% Squall of Retribution hands start sparkling and he turns a slightly purple, meaning the storm phase has started. In this phase he will spawn Storm Atronachs and get some additional storm mechanics to his basic attacks. As with the two previous phases, the Storm Atronachs and the orbs they drop are the most important part of the fight.
Boss skills
Vortex – Shocking Beam: During the Storm Phase, Vortex will create small Shocking Beam AOEs under players that quickly explode, deal some damage and disappear. We recommend blocking the damage.
Six Sword Assault – Shocking Discharge: In addition to the basic Six Sword Assault, Squall of Retribution will create a very large Shocking Discharge AOE under himself that explodes when he throws his swords. Tank can stay and block, but others should move away from it.
Thunderstrike: Squall of Retribution calls down lightning on all players that can not be avoided but can be mitigated. You can help your healer by not standing on other players, staying still, blocking and even shielding if you have an ability slotted for it. Thunderstrike is similar to Earthen Root Enclaves last boss’s hard hitting lightning ability.
Atronach and Orb
Storm Atronach: Storm Atronachs spawn when Squall of Retributions health reaches 30%, 25%, 15% and 5%. Storm Atronachs will occasionally cast “Impeding Storm” that you can interrupt. They will always cast a very small dot called Storm Bound on a random player which shows up as a small red circle under the player feet.
Shock Orb: Pickup the Shock Orb immediately. If you do not pickup the Shock Orb quickly, it will start Storm bolts at all players at an increasing rate and damage. Picking up the Shock Orb applies a 15 second damage over time effect called “Storm” to them. We recommend you only kill the amount of atronachs your healer can deal with and only continue after the dot has expired.
-
- ESO Squall of Retribution storm phase
-
- ESO Squall of Retribution Storm Atronach and Shock Orb

-
- ESO Squall of Retribution Vortex – Shocking Beam

-
- ESO Squall of Retribution Six Sword Assault – Shocking Discharge

-
- ESO Squall of Retribution Thunderstrike

Related Topics: