

Welcome to the ESO Darkshade Caverns 1 Guide for both Normal and Veteran mode. The Darkshade Caverns 1 dungeon is located in Deshaan, in the Ebonheart Pact, one of the major factions in The Elder Scrolls Online.
This dungeon has 6 bosses: 3 main bosses, 3 mini-boss encounters and trashmob packs. (Trashmob = Enemies that can add to the difficulty and liveliness of a dungeon/trial and are fillers in-between bosses)
If you have more questions, you can also ask someone in our community partner discord about this Darkshade Caverns 1 Dungeon Guide!
The Story in Darkshade Caverns 1
The most famous Kwama mine is harboring a secret. Will you be able to find out what’s going on there?
Table of Contents:
- Sets
- Trashmobs
- Maps
- Boss Fights
- Hardmode
- Full Run Darkshade Caverns 1 (Video)
Sets in Darkshade Caverns 1
3 different sets drop in Darkshade Caverns 1, plus a Monster Set
- Light: Netch’s Touch
- Medium: Strength of the Automaton
- Heavy: Armor of Truth
- Monster Set: Sentinel of Rkugamz (Veteran only)
Trashmonsters in Darkshade Caverns 1
- Pit Thugs, Taskmasters, Alits, Kwama, Netch, Dwemer constructs: Something you need to look out for here are Heavy Attacks from adds and the charges from Kwamas, otherwise it’s pretty much generic Trashmob with some healers.
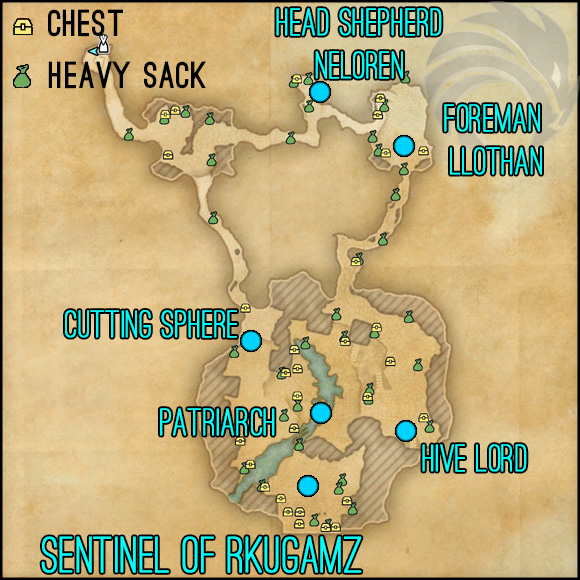
Boss Map & Treasure Chests
Bosses, Heavy Sacks and Treasure Chest location.
(click to enlarge)
Darkshade Caverns 1 Bosses
| Boss | Health | Adds |
| Head Shepherd Neloren | 831,163 | Two Healers |
| Foreman Llothan | 2,460,134 | Will summon Kwama |
| The Hive Lord | 2,460,134 | Will spawn three Kwama |
| Cavern Patriarch | 1,745,443 | None |
| Cutting Sphere | 1,371,419 | Four Dwemer Constructs |
| Sentinel of Rkugamz (Endboss) | 4,992,448/ 6,240,560 | Summons Healing Dwemer Spiders |
Bosses
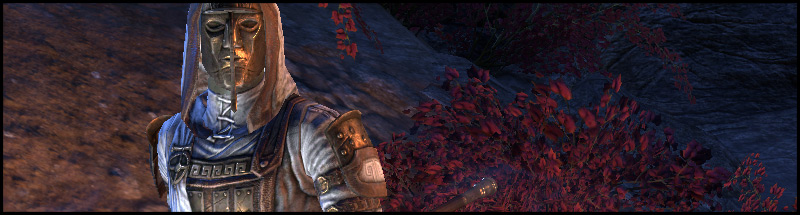
Head Shepherd Neloren

This is the first boss encounter that you face shortly after entering Darkshade Caverns 1. Unfortunately, she is a very generic boss, meaning that she only has two abilities mainly.
Heal: Her most annoying ability for low damage groups will be her healing. She does this a lot, so make sure to interrupt her, otherwise she will heal back up!
Heat Wave: Sometimes the boss will send out a trail of fire, which you can easily avoid by stepping aside. It can also be bashed and completely avoided.
Charged Fire: From time to time, the boss will lift her staff into the air and cast fireballs that will then explode on the ground. Try to avoid these and especially standing in them, as they will cause a large amount of damage.
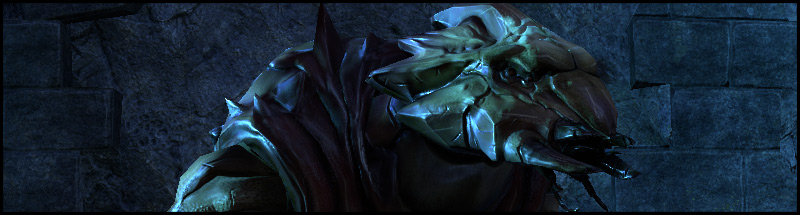
Foreman Llothan
The foreman of this mine, Llothan, is a bit angry we invaded the mine. He is very stationary and a ranged caster, so that makes it hard to position him. Best is to tank him where he stands and then where he runs to.
Extracted Poison: Throwing a bottle of poison at a player, this causes a lot of damage if the player ignores it and continues standing in it. Even as a tank you should be stepping out of it, unless you know you can survive it.
Diversion: This skill usually happens directly after the boss has thrown down a vial of poison. If you are standing too close to him for a large amount of time, he will cause an explosion that will stun you and cause a moderate amount of damage, and starts running off to a different spot. He will repeat it until he dies.
Kwama Summon: Respectively at 75%, 50% and 25% health the boss will spawn a couple of Kwama to help him fight you. Bring these down as quick as possible, so that you don’t get overwhelmed by them. An effective tactic is here to drop AoE Ultimates if you find it hard to kill them.
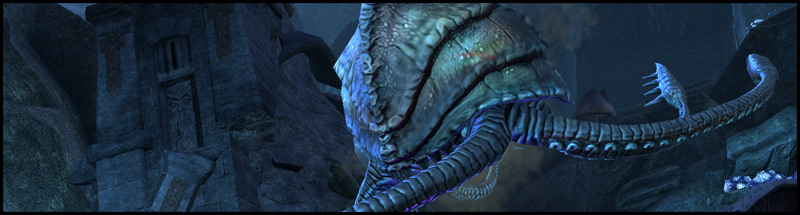
The Hive Lord
This boss is a giant Kwama and he seems to be very strong as you can see multiple spider construct surrounding him. A good advise here is not to panic during a few of his attacks, but to keep calm and blocking.
Overhead Smash: This is a conal attack and can cause a lot of damage, which is why you should turn the boss away from the group and everyone else should be standing behind the boss. Be also sure to block this attack, as this can stagger you.
Leap: This is a leap at a random player that is too far away, causing them to get stunned. Best is to stand closer to the boss so that he can’t leap. Keeping the boss relatively stationary is very important in this fight.
Summon Scribs: A pool will form on a random location, usually on a player, and will cause a stun if the player or players remain standing in it. From this pool three Kwama will spawn which need to be killed, but are usually easily killed by any AoE that is on the boss. Just remember to stand close to the boss and don’t run around with the adds.
Ground Pound: This is a really large AoE from which there is no escape – unless you bash the Hive Lord. If no one bashes him, he will continue doing his pounding of the ground, causing a large amount of damage to the group.
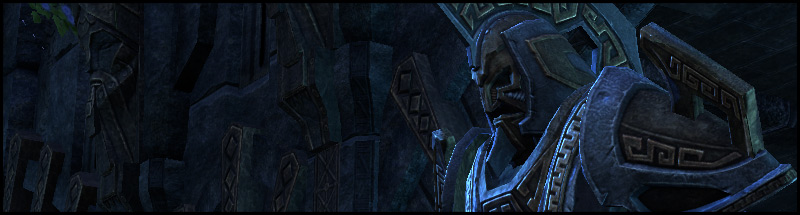
Cavern Patriarch
Even though he looks very big and scary, there is not really much dangerous about this boss.
Slap: This is a very basic Heavy Attack. Ideally, the tank should be getting this. If you don’t block it, it will throw you to the ground and you will be immobilized.
Poison Cloud: In random intervals a poison cloud will appear, usually beneath the boss. Since this is a really huge cloud it’s very advisable to reposition the boss, so that not only the tank, but also any melee damage dealers can reach the boss easily again. Otherwise move out of it, as it will deal a very large amount of damage!
Cutting Sphere
A side boss, this sphere is oftentimes found after killing the endboss, because you need to return to this part if you want to hand in the quest. If you are afraid your group will disband after the Endboss and you haven’t killed it yet, ask them to do it on the way, as it’s really not hard to do.
Steamwall: This is a the bosses Heavy Attack and can deal a lot of damage, if it isn’t blocked. Ideally the tank will have to face this ability, but be aware that you might have to block this, too. If not blocked, it will also cause the player to get knocked over and immobilized.
Groundquake: Jumping up in to the air, the boss will slam into the ground, causing a moderate amount of damage in an area around itself. If you are the tank you can usually survive this by blocking, otherwise all other players should move away from the boss.
Blade Storm: Spinning around itself, the sphere will go into a frenzy mode. This has to be blocked and everyone else that is not a tank should step away from the boss as this causes a ton of damage.
Energy Blast: Especially in the beginning, when no one is at the boss yet, it will emit a small energy blast, causing a moderate amount of damage whoever hits it. Can hit multiple targets at once.
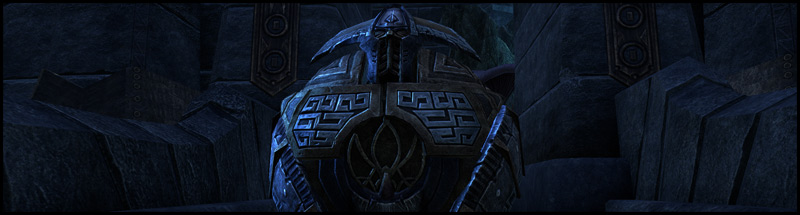
Sentinel of Rkugamz
Being of a giant stature, this boss can look intimidating. There’s many mechanics to this boss to which you can die to, plus you should be aware that this boss also has a healing mechanic, even if somewhat passive. This bosses phases are indicated by him changing color and can turn from blue, to red, and green.
Green Phase:
- Smash: This is a normal attack, but can hit everyone in front of the boss in a conal attack, so as with most bosses it is very important for no one to stand in front of the boss except for the tank. It deals a moderate amount of damage, so be sure not to spin the boss, if you are affected by it!
- Summon Spider: In the green phase, the boss will summon Centurion Spiders that will find a random place in the room and spawn a healing sphere. If the boss stands in it, it will heal itself up again. Make sure that the boss never goes into one of these and if you aren’t fast at killing the boss, consider killing the spheres if it gets too crowded, especially in the mid section of the room.
- Decapitation: Ideally, this should land on the tank, as it deals a really high amount of damage. You can mitigate the damage by blocking and through blocking you also won’t be affected by the knockback this Heavy Attack would cause otherwise.
Red Phase:
- Cyclone: This can be a very nasty ability, if the player doesn’t react fast enough. The boss will target one random player and will start spinning around while chasing this player. The boss won’t be at normal running speed, but if you aren’t sure about the distance, don’t turn around and try to damage him as this will kill you in a few seconds. Just kite him around the room and avoid an Centurion Spiders.
Blue Phase:
- Lightning Barrage: This ability will make the boss extremely stationary, but it will also make it harder for anyone to attack him. The boss will start summoning lightning from his hammer hand, making it land on any player, not just on one target. Make sure to avoid getting hit by those and standing in them, as they will cause a lot of damage!
Hardmode Sentinel of Rkugamz
Increased Health & Damage: Hardmode doesn’t have more mechanics, but it does more damage, and his health is increased quite a bit!
Skipping
You can skip by leaving out two bosses, namely the Hive Lord and the Cutting Sphere. To skip the Hive Lord you can jump down as soon as the room opens up into a large cave towards the Netches, and to skip the Cutting Sphere you just don’t turn right on the Netch boss.
Video Gameplay
- 1st Boss: Head Shepherd Neloren – 2:14
- 2nd Boss: Foreman Llothan – 3:32
- 3rd Boss: The Hive Lord – 5:30
- 4th Boss: Cavern Patriarch – 6:23
- 5th Boss: Cutting Sphere – 7:14
- Endboss: Sentinel of Rkugamz – 8:18
Related Topics:
Magicka DPS Sets
Stamina DPS Sets
Beginner Tanking Guide
ESO Item Sets
Undaunted Beginner Guide
Animation Cancelling Beginner Guide