


Welcome to the Banished Cells 2 Dungeon Guide for both Normal and Veteran mode. The Banished Cells 2 dungeon is located in Auridon, in the Aldmeri Dominion, one of the major factions in The Elder Scrolls Online.
This dungeon has 6 bosses: 3 main bosses, 3 mini-boss encounters and trashmob packs. (Trashmob = Enemies that can add to the difficulty and liveliness of a dungeon/trial and are fillers in-between bosses)
If you have more questions, you can also ask someone in our community partner discord about this Banished Cells 2 Dungeon Guide!
The Story
Having escaped once more, High Kinlord Rilis has overthrown the keepers and taking over the Banished Cells. Help Keeper Cirion to defeat him once more… and this time forever!
Table of Contents:
- Sets
- Trashmobs
- Maps
- Boss Fights
- Hardmode
- Full Run Banished Cells 2 (Video)
Sets in Banished Cells 2
3 different sets drop in Banished Cells 2, plus a Monster Set
- Light: Sanctuary
- Medium: Jailbreaker
- Heavy: Tormentor
- Monster Set: Maw of the Infernal (Veteran only)
Trashmonsters in Banished Cells 2
- Skeletons, Dremora, Xivilai and Banekin: Generic Trashmob, but the ice mages can cause quite some damage and should be taken down asap.
- Clannfear: These are more than just your average clannfear. Stand closely together, so that it won’t charge and keep an eye out for the tail swing!
- Flame Atronachs: Relatively short-lived, the flame atronachs might not have a lot of HP, but they can deal a lot of damage with their fire and combustion at the end of their lifetime.
Boss Map & Treasure Chests
Bosses, Heavy Sacks and Treasure Chest location.
(click to enlarge)

| Boss | Health | Adds |
| Keeper Areldur | 2,677,221 | Two Flame Atronachs |
| Maw of the Infernal | 5,702,217 | None |
| Keeper Voranil | 2,677,221 | Two Daedra |
| Keeper Imiril | 3,007,499 | Summoned adds |
| Sister Vera and Sihna | 1,870,117 each | None |
| High Kinlord Rilis (Endboss) | 5,702,217 | Summoned Daedroths |
Bosses in Banished Cells 2
Keeper Areldur
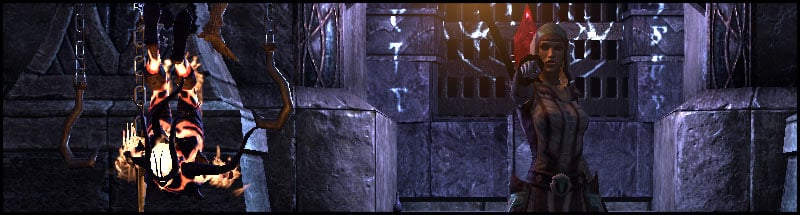
This is the first corrupted Keeper you will encounter and she is a Mini Boss, which is reflected in her health. She does have two flame atronachs accompanying her which can deal quite a lot of flame damage. So taking them down first is very advisable.
Adds: The two flame atronachs don’t have a lot of health, but they can cause a lot of damage if kept unattended. Also, with all flame atronachs, don’t stand close to them when they die, as they will combust and cause a lot of damage!
Heat Wave: This is an ability which she will visibly cast by lifting her staff into the air and releasing flames that will continue burning on the ground. Please don’t stand in them, as they will cause a lot of damage!
Fire Rune: This is a channeled attack. From her, flames will emit in various spikes. If you don’t avoid these, they may very well kill you as they cause a lot of damage. You can move a bit back, which makes it a bit easier to avoid these.
Maw of the Infernal
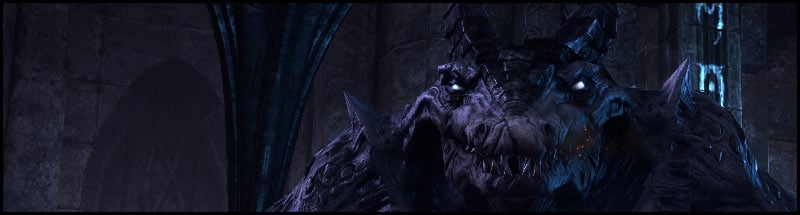
This boss has a very unique mechanic which most of the players aren’t aware of. If the tank especially knows about this mechanic, this fight will be a lot faster! Let me explain the bosses mechanics first though, before I tell you about this neat little trick.
Flame Breath: Casting this in a cone, this giant daedroth will randomly spew this on a player. Best is to move out of the damage AoE, so that you don’t die, as it causes a lot of damage and can mean certain death for most players!
Immolating Bite: This is a very nasty ability, as the boss will start to bite the tank (or whoever has agro) and stun them. This attack will leave a pool of fire on the one it was being used on and it won’t go away until the fight has ended. There’s a couple of strategies here, mainly kiting the boss through the room, if you don’t have a healer or don’t feel confident as a tank to withstand this attack until the end (because of low DPS for example), or to tank it in one spot. Right after the bite the boss does another attack which must be blocked, otherwise it will deal quite a lot of damage.
Fire Trap: Now on to the fun part and a trick that makes this fight go a lot faster. Because initially, the boss has a huge amount of health! At the beginning of the room you will have noticed the fire trap at the entrance. This is not actually meant to keep you from entering, but for the daedroth to die quicker! If the tank pulls the boss directly over it, every time the fire will rise, the daedroth takes a huge hit and you will see his health starting to melt!
Keeper Voranil
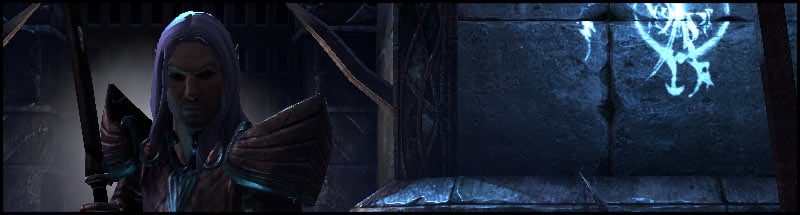
This keeper also comes with two adds, which should be focused immediately or killed in damage AoE, otherwise this fight cane become very nasty.
Heavy Attack: Like many bosses, Keeper Voranil has a Heavy Attack as one of his most annoying attacks. This can do a lot of damage if you don’t block it. And be ready to block early! If you don’t block it will cause a moderate amount of damage and knock you down.
Spin: Raising his weapon over his head, the boss will spin it in a circle. It’s easily avoidable by stepping back and waiting for him to finish with his attack.
Keeper Imiril

This boss is not quite as easy as the ones before, as many mechanics come together in this fight. As with all fights, don’t panic and watch what is happening, and never run around a room if it isn’t necessary. Having adds on you doesn’t make it necessary for you to run around headlessly. Just stay calm and either wait for the tank to taunt the adds off of you, or go to where the tank will be.
Energy Orbs: Directly from the start you will be seeing these large, blue, energetic orbs. These will hop through the room, targeting the players and cause quite a lot of damage if you stand in them. The boss will also disappear into these randomly, spawning a series of adds. If you don’t have your Ultimate ready at the start, try waiting with it until she comes out again.
Summon Adds: This boss has three add waves:
- Banekin: A couple of banekin will appear while she is gone. They are very low in health, so the shouldn’t be too hard to kill in damage AoE.
- Twilights: When the boss vanishes for the second time, a couple of twilights will appear. This have already some more health and should be killed before the boss reappears, otherwise you will have to deal with both.
- Clannfears: The clannfears are surely the most annoying of these, but it will only be three. These are the hardest to kill. They do all attacks normal clannfears do, too, which means they will jump and stun players that are too far away and have a tail swipe for those standing too close. If you are unsure if you can kill them swiftly, you can drop your Ultimate in this phase. After this is over and the boss hasn’t been killed after reappearing after this phase, the waves will start all over again.
Sister Vera & Sister Sihna
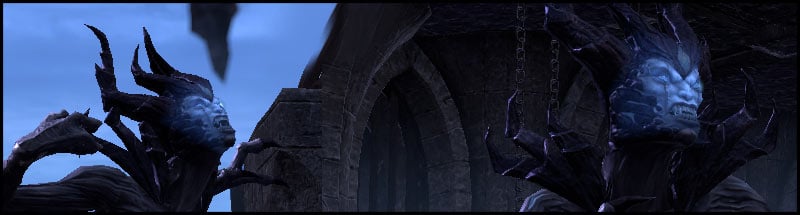
These are two Harvesters that can be very tricky to handle if the tank doesn’t know about LoS (Line of Sight) pulls. Since they are relatively stationary casters, they will not move together and make it harder for a group to damage simultaneously.
Positioning: Both tanking them where they stand and bringing them together to be damaged at the same time have their advantages, but for most people bringing them together outweighs the advantages of tanking them separately. In order for them to be brought together the tank has to LoS them. LoS stands for Line of Sight and means that the tank will stand behind an object that will block an enemies attack, so that the enemy will run into melee distance of the tank, or at least until the enemy can attack the tank again.
This can be done by taunting both sisters and then running behind any of the pillars to either the left or the right side. This should align them perfectly next to each other, so that all the damage of AoEs and Ultimates damages them both.
Feasts: One of the most annoying abilities, one of the sisters will be able to summon little orbs. These will heal up the Harvester, so that the damage dealers need to take care of these.
Black Winter: This is a conal front AoE that hits everyone in front of the boss, which is why the group should stand behind the bosses. It deals a lot of magical damage, but can be interrupted and blocked.
Shield: One of the bosses will receive a damage shield and will still receive a very slight amount of damage, but it’s very advisable to attack the other Harvester in the meantime. If the tank has pulled both in, the other Daedra will receive some damage through the damage dealer’s AoE abilities. Since they change every once in a while, be sure to change your target, too.
High Kinlord Rilis

Here we are again, meeting High Kinlord Rilis once more. This time he has upped his game and is quite a bit more annoying than in the Banished Cells 1.
Teleport: Since the boss will no longer attack in melee range, but is now a caster instead, Rilis will teleport every once in a while. This makes it a nightmare for both the tank and the damage dealers, as they will have to chase after him and recast their damage AoEs.
Rune Spheres: This ability will let one random player fly high into the air, taking them out of the combat and then letting them fall to the ground again. This won’t kill the player, but it will leave a colored mark on them in either red, or blue. It is a curse which has to be dispelled, otherwise it will cause a lot of damage and also slows the player down.
To each side of the room there are rune portals in the respective colors. So if you have red, you go to the red portal and if you have blue, you go to the blue portal. This will lift the curse and you can continue playing normally. If you don’t do this and you rise up a second time into the air, this time with the other color, you are pretty much dead.
Daedroth: Instead of feasts like in the first fight against him, Daedroth will now appear until the boss is dead. The tank has to tank them, otherwise they will tear the group apart. They will also be stomping the ground, sending out waves that will make a player fall over and get stunned. The tank should face them away from the group, so that only he is affected by their flame breath.
Blue Flames: The boss will place giant blue flames randomly, but usually wherethe players have been standing, from which you definitely have to move out of, otherwise you die. This is especially annoying if a daedroth is still alive and casting the stomp at the same time.
Feasts: This time the boss will spawn two feasts. They will not empower him like in Banished Cells I, but instead heal him for a large amount. Be sure to kill those before they reach him!
Hardmode High Kinlord Rilis
Increased Health & Damage: Hardmode doesn’t have more mechanics, but it does a lot more damage, and the health is increased quite a bit! In order to trigger the Hardmode, you have to kill the boss with 3 Daedroth still alive. For this tactic, the tank usually takes the daedroth aside so that the damage dealers can’t hurt them with their skills. The boss is range taunted at all times because even Rilis’ light attacks will do a lot of damage to anyone that is not the tank.
If your group’s dps is still too low or you can’t handle multiple daedroths at the same time as tank, you can start collecting daedroth towards the end of the fight. Let the damage dealers first bring down the boss to around 25% and then start getting the three daedroth.
Skipping
There are no skips.
Video Gameplay
- 1st Boss: Keeper Areldur – 1:38
- 2nd Boss: Maw of the Infernal – 2:45
- 3rd Boss: Keeper Voranil – 5:00
- 4th Boss: Keeper Imiril – 6:55
- 5th Boss: Sister Vera & Sister Sihna – 9:00
- Endboss: High Kinlord Rilis – 11:14
Related Topics:
Magicka DPS Sets
Stamina DPS Sets
Beginner Tanking Guide
ESO Item Sets
Undaunted Beginner Guide
Animation Cancelling Beginner Guide