

Welcome to the ESO Bal Sunnar Dungeon Guide for both Normal and Veteran mode. Bal Sunnar is located in the Stonefalls zone in ESO. You can view the Entrance her on the Stonefalls Map for Ball Sunnar.
This dungeon has 4 bosses: 3 main bosses, 1 mini-bosses and a lot of trashmob packs. (Trashmob = Enemies that can add to the difficulty and liveliness of a dungeon/trial)
If you have more questions, you can also ask someone in our community partner discord about this Bal Sunnar Dungeon Guide!
The Story in Bal Sunnar
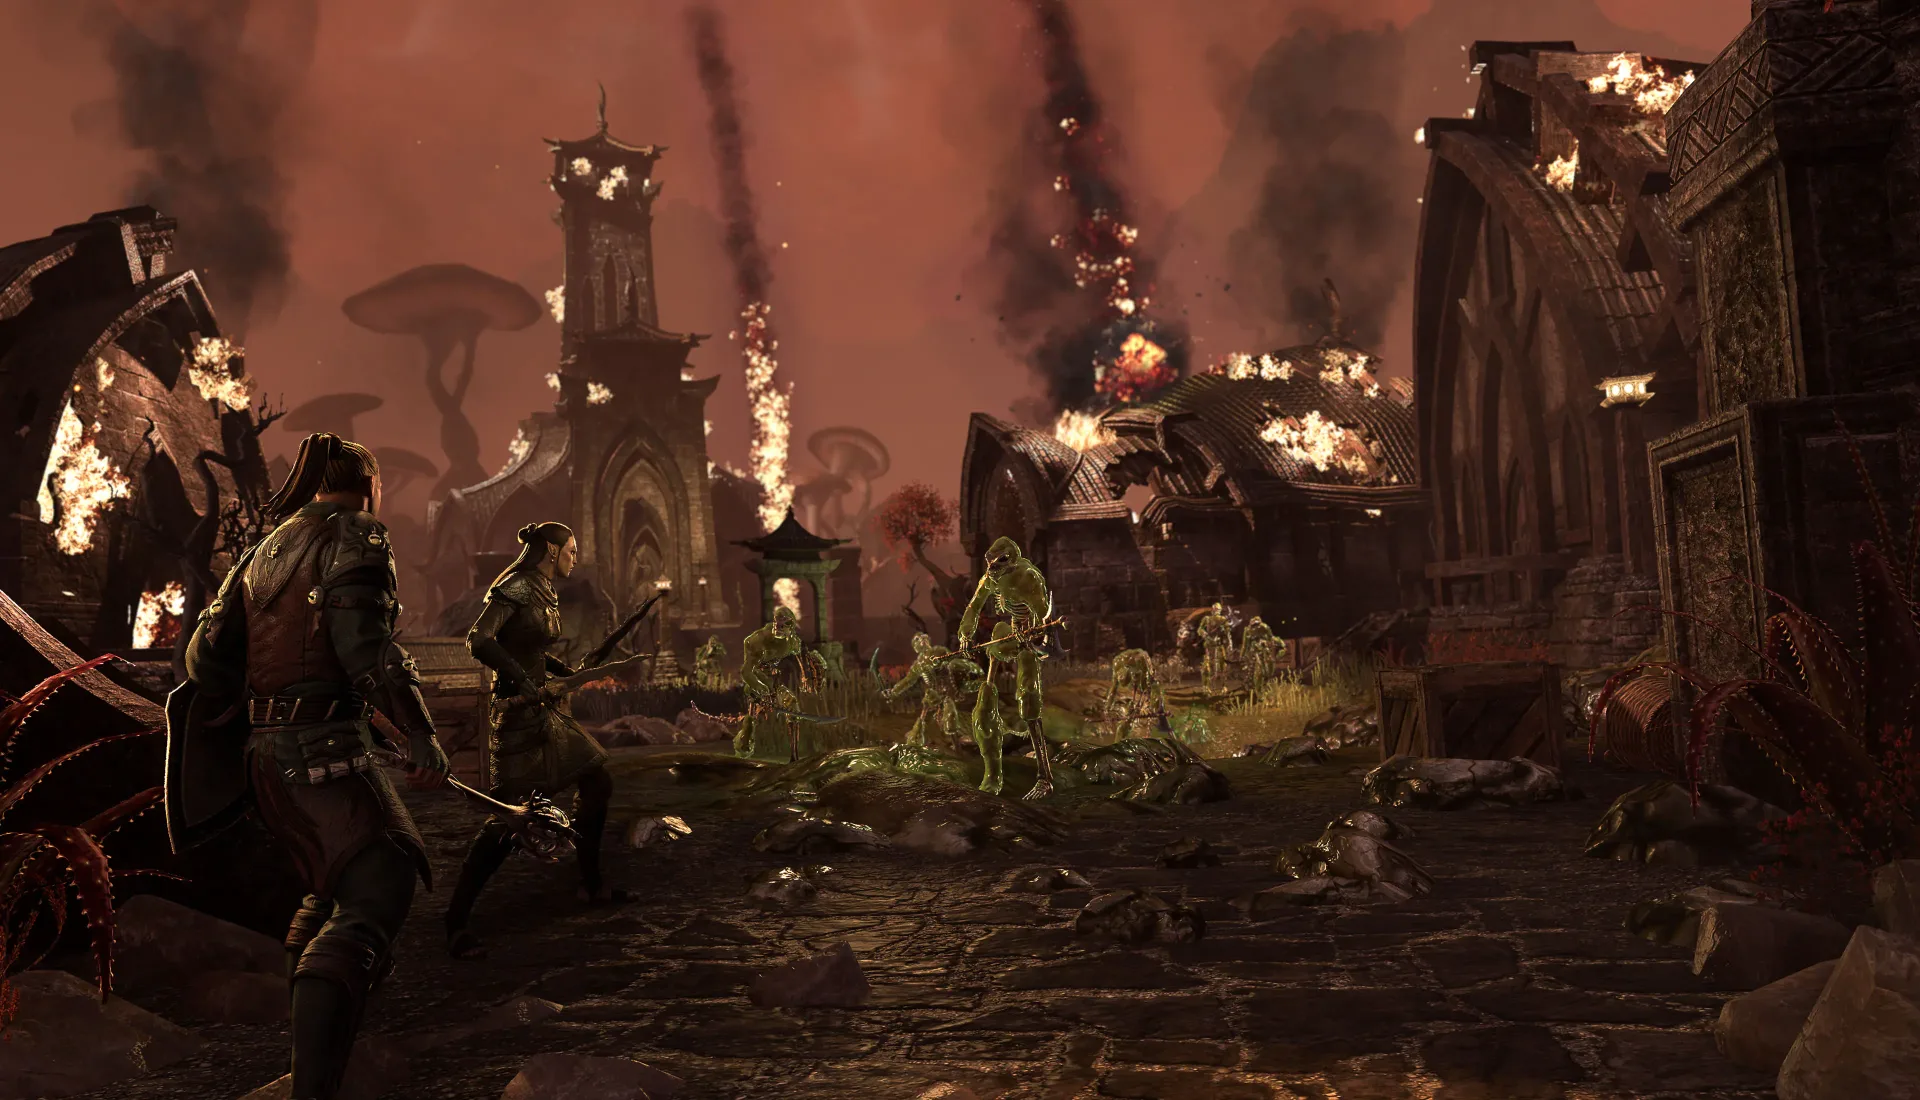
Temporal magics emanate from the mysterious township of Bal Sunnar, and the Psijic Order needs help investigating and containing this strange power. The township of Bal Sunnar and its Telvanni masters have remained hidden in the mountains for centuries, but why does this mysterious location now emanate temporal magic? The Psijic Order needs your help to hunt down the source of this phenomenon through the past, present, and future!
Table of Contents:
- Sets & Rewards in Bal Sunnar
- Trashmobs in Bal Sunnar
- Maps
- Boss Fights in Bal Sunnar Dungeon
Sets in Bal Sunnar Dungeon ESO
Three different sets drop in the Bal Sunnar dungeon.
- Light: Ritemaster’s Bond Set
- Medium: Nix Hound’s Howl Set
- Heavy: Telvanni Enforcer Set
- Monster Set: Roksa the Warped Monster Set (Veteran only)
The Taskmaster’s Banner skin can be obtained by finishing Bal Sunnar on veteran difficulty.
Trashmonsters in the Bal Sunnar Dungeon in ESO
Below is a list of the notable trash enemies found in Bal Sunnar, along with dangerous attacks and/or mechanics that they possess, and how to deal with them.
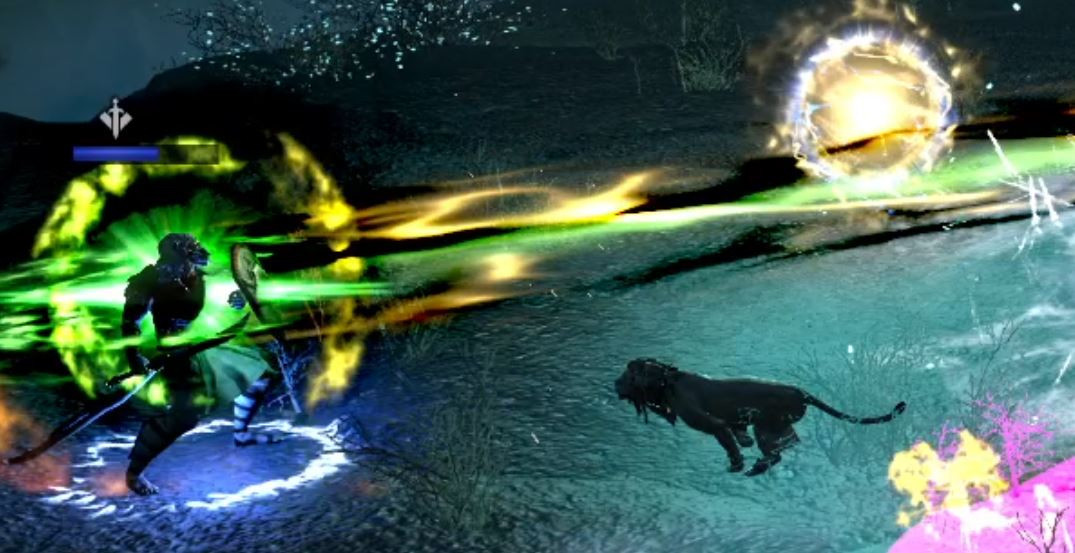
Argonian Behemoth
Argonian Behemoths are large reptile enemies who should always be taunted by the tank, as they can hit quite hard. They have a lot of health compared to most other trash enemies in the dungeon. They will periodically stomp on the ground dealing AOE damage – you can see this AOE on the ground expanding from their feet a few seconds beforehand, so you should back away to avoid this.
Telvanni Mobs
There are a few different types of Telvanni mobs in the dungeon, they normally hang around in small groups and are sometimes accompanied by one or two larger enemies. Some of these are melee focused while others are mages who will cast AOE and cleave spells at players. The tank should try to taunt as many as possible and keep them stacked up so that the DPS players can easily deal with them.
Nix-Ox
These are large enemies who will charge into melee and should be taunted by the tank. They can spawn green orbs that damage group members. The orbs should be interrupted or destroyed.
Peryite’s Vessel
These are small undead enemies who can be found in packs in the latter parts of the dungeon. The tank should aim to keep them under control so the DPS players can easily deal with them.
Bal Sunnar Dungeon Map for ESO
Please visit the Bal Sunnar ESO Map to get a detailed look at the whole dungeon area.
Bal Sunnar Bosses
Below you can find a list of all the bosses in Bal Sunnar. You can also see how much health each boss has.
| Boss | Health | Adds |
|---|---|---|
| Kovan Giryon | 4,4 million | – |
| Roksa the Warped | 5,2 million | – |
| Matriarch Lladi Telvanni (Endboss) | 6,8 million | Spiders |
Bosses in Bal Sunnar Dungeon
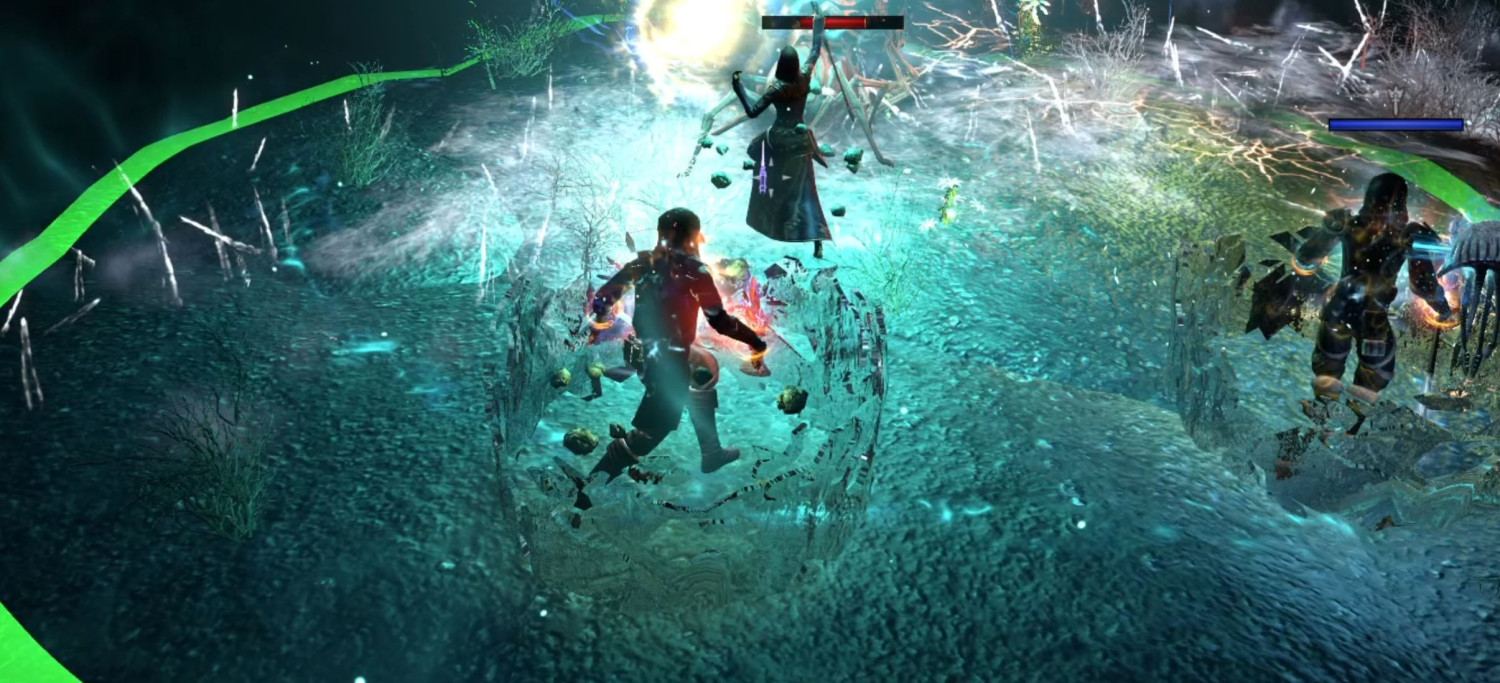
Boss 1 Kovan Giryon
The boss doesn’t have too many mechanics, but there are a few things that you need to keep an eye on.
Teleport Mechanic
Kovan Giryon will periodically teleport around the room. When he does this, he will go to the edge of the room and create a large rectangular AOE field in front of him, that will cross the entire width of the room. He’ll then port to another location and do it again, before the fight resumes normally. You should make sure to avoid these AOEs.
Shadow Phase
At 65%, 45% and 20% health remaining, the boss will go to the middle of the room and enter a shadow phase, where he cannot be damaged. Some adds will spawn during this phase, which the tank should taunt and stack.
Poison Blast
The boss will periodically explode a poison AOE around him. This is just a normal boss-centered AOE that is very common with ESO bosses – you get a couple of seconds warning to get out of the area before the explosion happens.
Kovan Giryon Hardmode Mechanics
On Hardmode, Kovan Giryon will have 8.2 million health. The execute phase is a bit harder in Hardmode, as there will be shadow versions of Kovan around the edges of the room casting the same AOEs that we talked about in the Teleport Mechanic section above.
There’s also one extra mechanic that you have to deal with in Hardmode.
Poison Phase
The boss will periodically cast poison on all group members. This is a small AOE that follows you around and can’t be purged. Because it’s an AOE, if you stand on someone else during the poison phase you will both take double damage.
The DoT from the poison hits quite hard, so the group should ideally “soft stack”, which means standing fairly close to one another without being so close that you overlap the poison AOEs on top of each other. This allows everyone to be healed effectively.
Boss 2 Roksa the Warped
Roksa the Warped has a couple of dangerous mechanics that you need to be familiar with to succeed in this boss fight.
Darklight Orbs
Every so often, Roksa will spawn darklight orbs at the edge of the room, which will tether to a player. The orbs need to be destroyed within a few seconds, or else the tethered player is killed. You can destroy the orbs by attacking them, but it’s more efficient to interrupt them with a skill like Crushing Shock. As soon as their tether is interrupted, the orbs will self-destruct, saving you the trouble of damaging them.
Darkness Phase
At 70% and 40% health remaining, the boss will plunge the room into darkness. There will be two light areas which players should stand in. Staying in the darkness for too long will cause you to die. During this phase there will also be some adds that you need to kill.
At the beginning of this phase, one of the light areas is centred on the boss, while another one is cast by a friendly NPC. The boss throws persisting AOEs on the ground near players after a couple of seconds, which can block you from standing on one of the safe areas, so it’s best to go in the light zone next to the boss at first, wait for it to throw the hostile AOEs, then quickly run to the other light zone (the boss will move away shortly after it throws the bombs, taking its light with it).
Tank Beam
After the Darkness phase ends, the boss will shoot the tank with a beam that lasts for about 10 seconds. There’s no way to interrupt this, the tank needs to mitigate the damage as best as they can while the healer focuses healing on them. After this finishes, the boss will return to the main fight area and you can resume as normal.
Roksa the Warped Hardmode Mechanics
On hardmode, Roksa has 12.9 million health.
Apart from that, the fight is mostly quite similar, but enemy attacks will do more damage and the increased health obviously means that the fight will take longer.
One thing that’s important for the tank and healer to be aware of is that the tank will be hit by three beams at a time instead of just one in hardmode, considerably increasing the damage that they take.
Boss 3 Endboss Matriarch Lladi Telvanni
Matriarch Lladi Telvanni has the following mechanics that you need to watch out for:
Vomit Cone
She will often target the tank with a very wide and very long vomit attack cone. This will follow the tank around so they should face away from the group and stay as still as possible when this is happening. Ideally the tank should stay fairly close to the edge of the arena with their back to the wall, giving the rest of the group as much space as possible to move around.
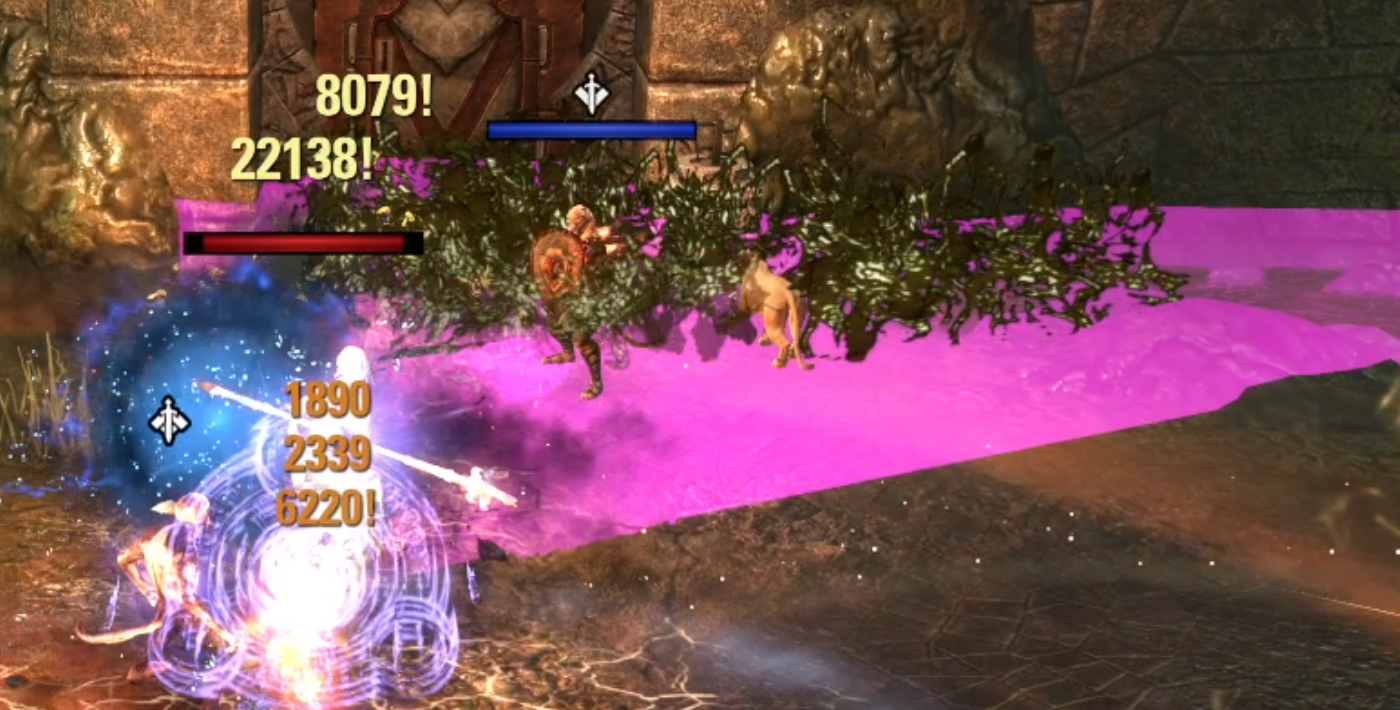
Poison Storm
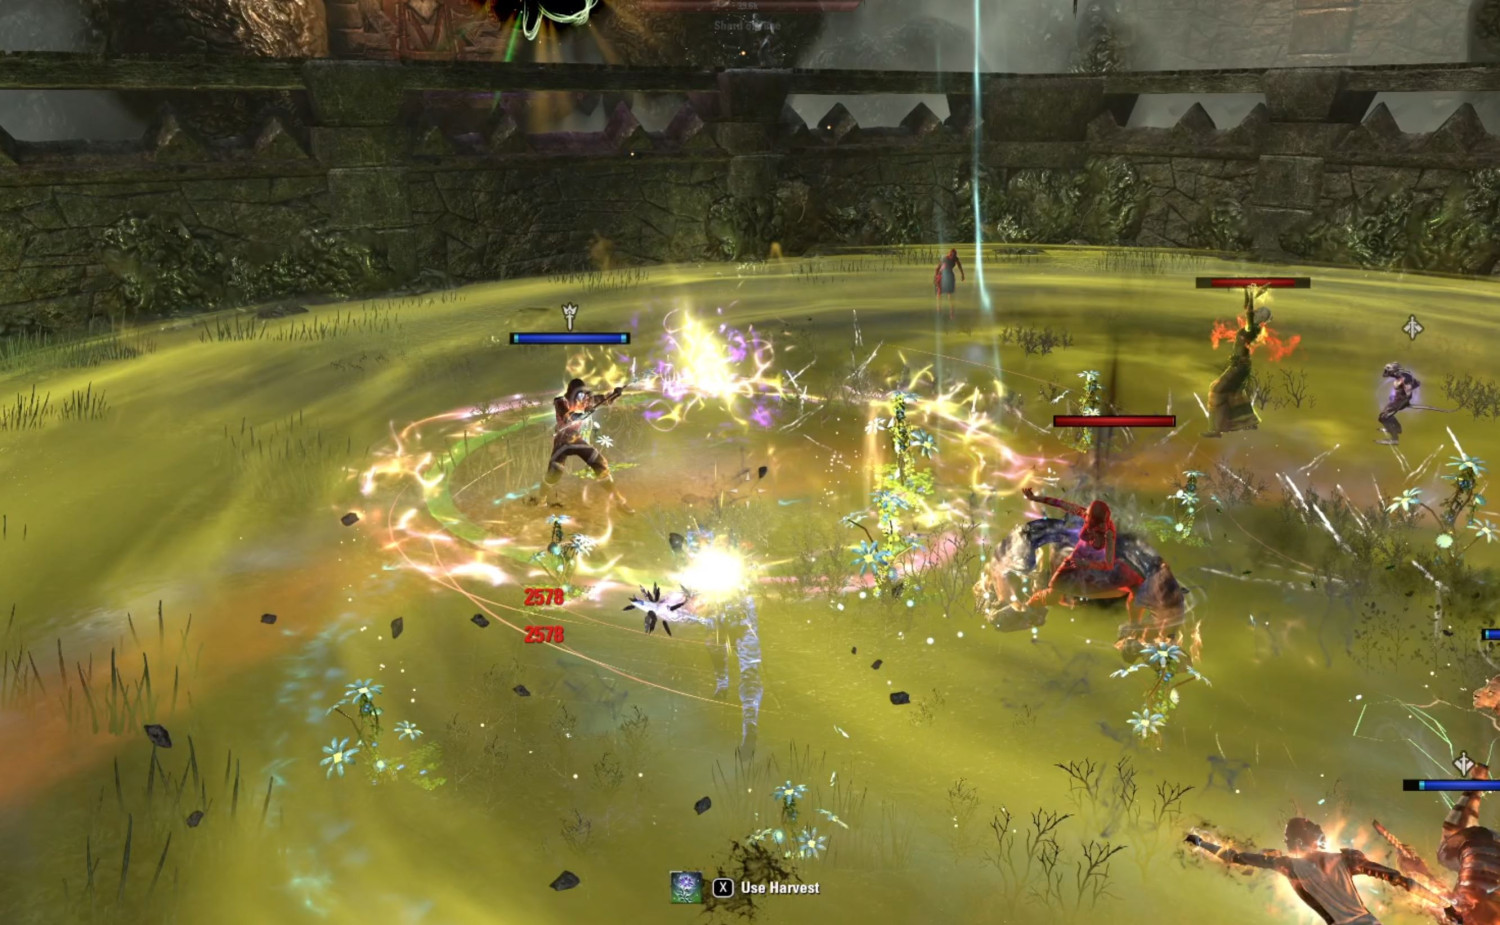
At 70% and 35%, the boss will fill the room with a huge poison AOE that deals damage to everyone. You’ll need to heal through this for a few seconds, after which a synergy will appear that gets rid of the poison and stops time, stunning the adds for a few seconds. The adds take more damage when this is active, so you may find it useful to save your ultimates and drop them on the adds after using the synergy.
These are green blobs that look the same as the Voriplasm adds found in some other dungeons and locales in ESO. The tank should taunt these, and ideally, they should die in cleave damage from the DDs. However if your AOE damage is quite low then you might want to focus them down to make sure that they aren’t too much of a resource drain for the tank.
Peryite’s Glory
These are green blobs that look the same as the Voriplasm adds found in some other dungeons and locales in ESO. The tank should taunt these, and ideally, they should die in cleave damage from the DDs. However if your AOE damage is quite low then you might want to focus them down to make sure that they aren’t too much of a resource drain for the tank.
Matriarch Lladi Telvanni Hardmode Mechanics
Boss health: 10.1 million health.
On hardmode, the adds that spawn during the Poison Storm phase will be invulnerable to damage unless they are currently stunned by the time stop synergy, rather than just getting damage resistance. This makes it more important to kill the adds quickly, saving ultimates if necessary.
There’s also one more mechanic that is activated in Hardmode:
Skeevers
On Hardmode, the boss will sometimes spawn a Skeever. The Skeever will be locked on to attack a specific player, indicated by a red rune floating above that player. If the Skeever reaches the player, they will be hit with a nasty debuff.
If you’re targeted by the Skeever, you can try to kite away from it to buy more time for the DPS players to kill it. The tank can also help you out by utilizing Crowd Control abilities like Unrelenting Grip and Choking Talons (taunts won’t work).
Secret 1 Totems
If you turn left after clearing the first few trash packs in the dungeon (before crossing the bridge that leads to the first boss), you will find a room with a puzzle in the middle and cages around the edges of the room. If you solve the puzzle you will earn a buff for the whole team, to help you in the remaining part of the dungeon.

The puzzle consists of a large totem in the middle of the room and three smaller ones on the edge of the room, along with four levers. The levers will rotate different blocks on the large central totem. The goal is to match up the symbols on the large totem with the symbols on the smaller ones.
The Bal Sunnar Totem Puzzle in ESO has three variations which can be seen below. You can tell which puzzle you are facing by checking the left most totems.
-

- Totem Puzzle 1

-
- Totem Puzzle 2

-
- Totem Puzzle 3

When you solve the puzzle, the cages will be unlocked allowing the prisoners to escape. You and your group members will get a buff called Strength of the Ancestors, which gives 300 weapon and spell damage for the remainder of the dungeon.
Secret 2 Urvel Drath
Instead of going straight to the second boss fight with Roksa the Warped, turn left and go into the small cave to the side. At the end of this cave there is a door that leads to a small arena. This arena contains a secret boss fight, which you can complete to earn another buff.
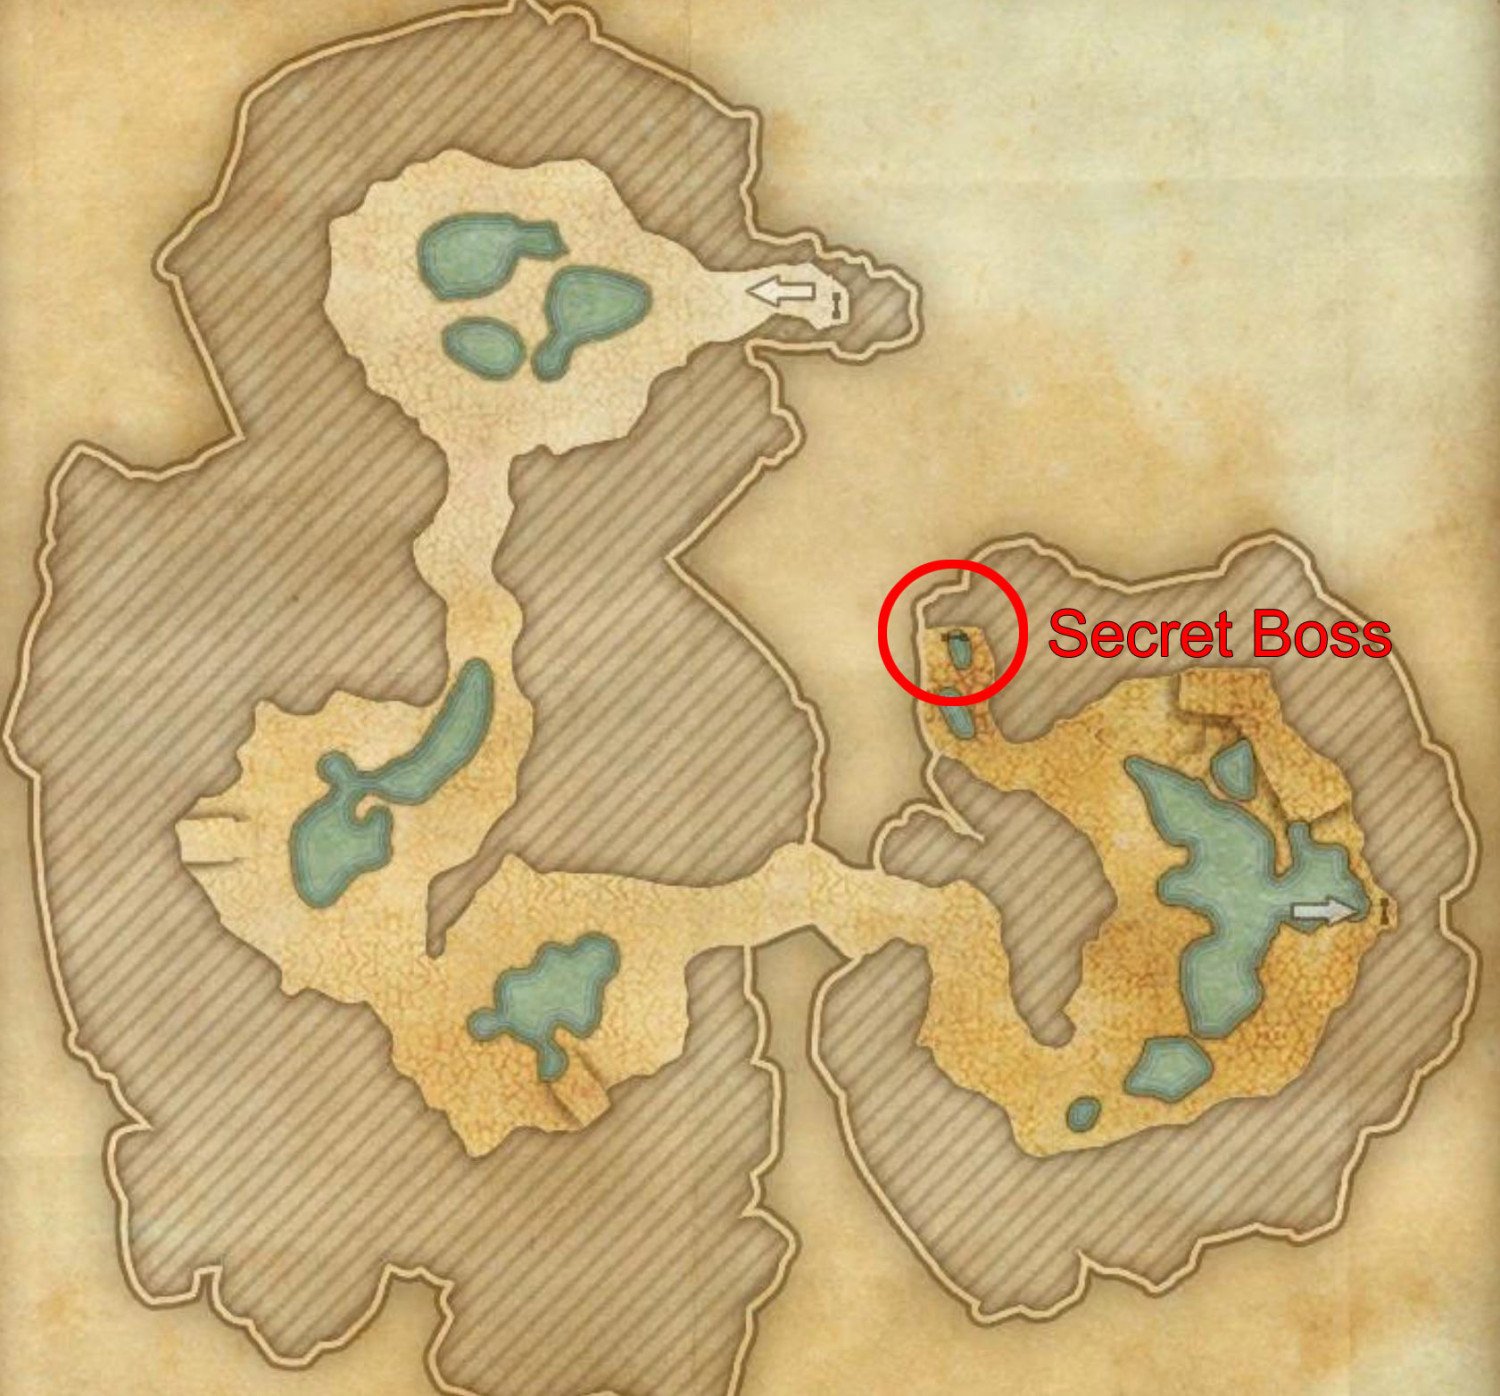
After defeating Urvel Drath, you and your team will get a buff called Ancestral Vitality, which increases your Magicka and Stamina Recovery by 30%.
Urvel Drath Secret Boss Mechanics
Urvel Drath has 4.1 million health. Since this is a secret boss there is no hardmode available for this fight.
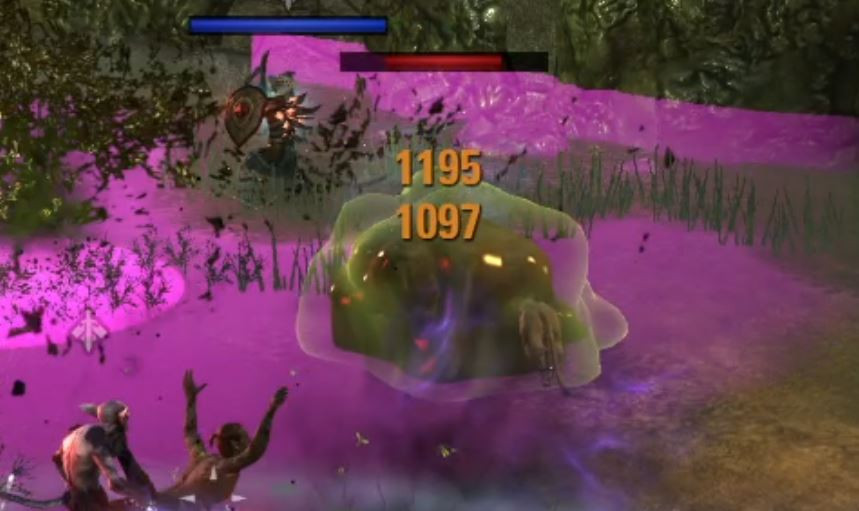
Beexilko
Urvel Drath is accompanied by a captive Argonian Behemoth called Beexilko. This add will start the fight at low health but will gradually regenerate until he is strong enough to break free. He will then attack Urvel Drath and stun him for a few seconds, helping you out. Urven then hits Beexilko with a lightning spell which will put him back to his original stunned state.
Lava Pillars
Urvel Drath will periodically spawn lava pillars which spread outwards and stay in place for a few seconds. These normally aren’t too much of a threat, just move away from them quickly and don’t linger too close to them.
Seeking Flame
Seeking Flame is the only mechanic on this boss that might cause you a bit of trouble if you’re new to the dungeon or have a lapse in concentration. During the fight you should watch out for a red rune floating above your head – if you see it then that means you’re being targeted by Seeking Flame, and a fire AOE will be following you.
These AOEs move fairly slowly, so you can kite them around while continuing to damage the boss, but try to avoid crossing paths with someone else who is also kiting. The AOEs explode as soon as they touch a player, hitting pretty hard. They’re unlikely to one-shot you but will take most of the health of a DD or healer if the damage is unmitigated.
A funny tactic we found if you don’t want to kite for the entire fight: you can instead kite the AOEs into the tank – if he’s blocking and has good resistances, then the AOEs don’t damage him much at all, but make sure the tank knows that you’re going to do this or else they might get annoyed.
Secret 3 Laser Beams
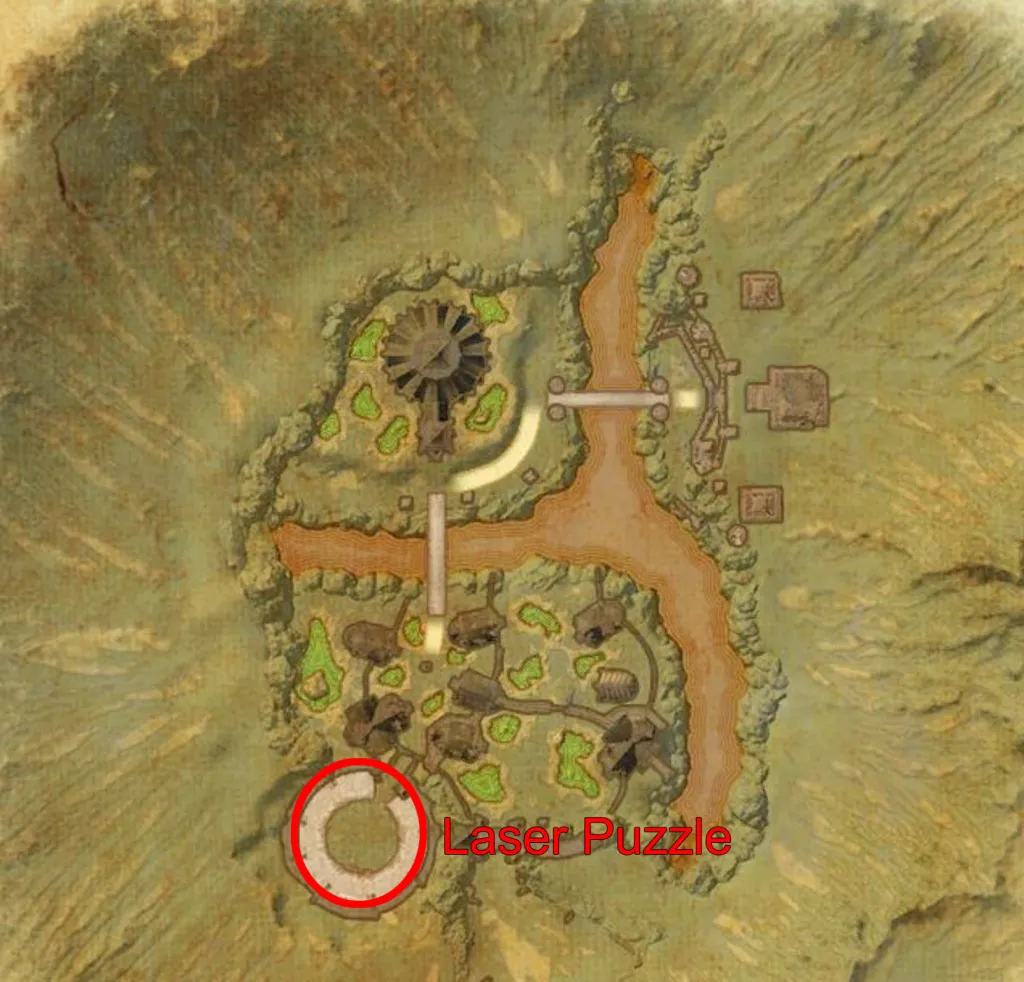
There are four laser beams around the edges of the room, and a totem pole in the middle of the room. There are also two different types of rock that block the lasers – the smaller rocks can reflect the laser, while the larger ones cannot.
The goal is to make all four lasers hit the central totem pole. You’ll need to reposition the small rocks in order to make this happen. The three different variations are shown below:
-
- Slab puzzle 1

-
- Slab puzzle 2

-
- Slab Puzzle 3

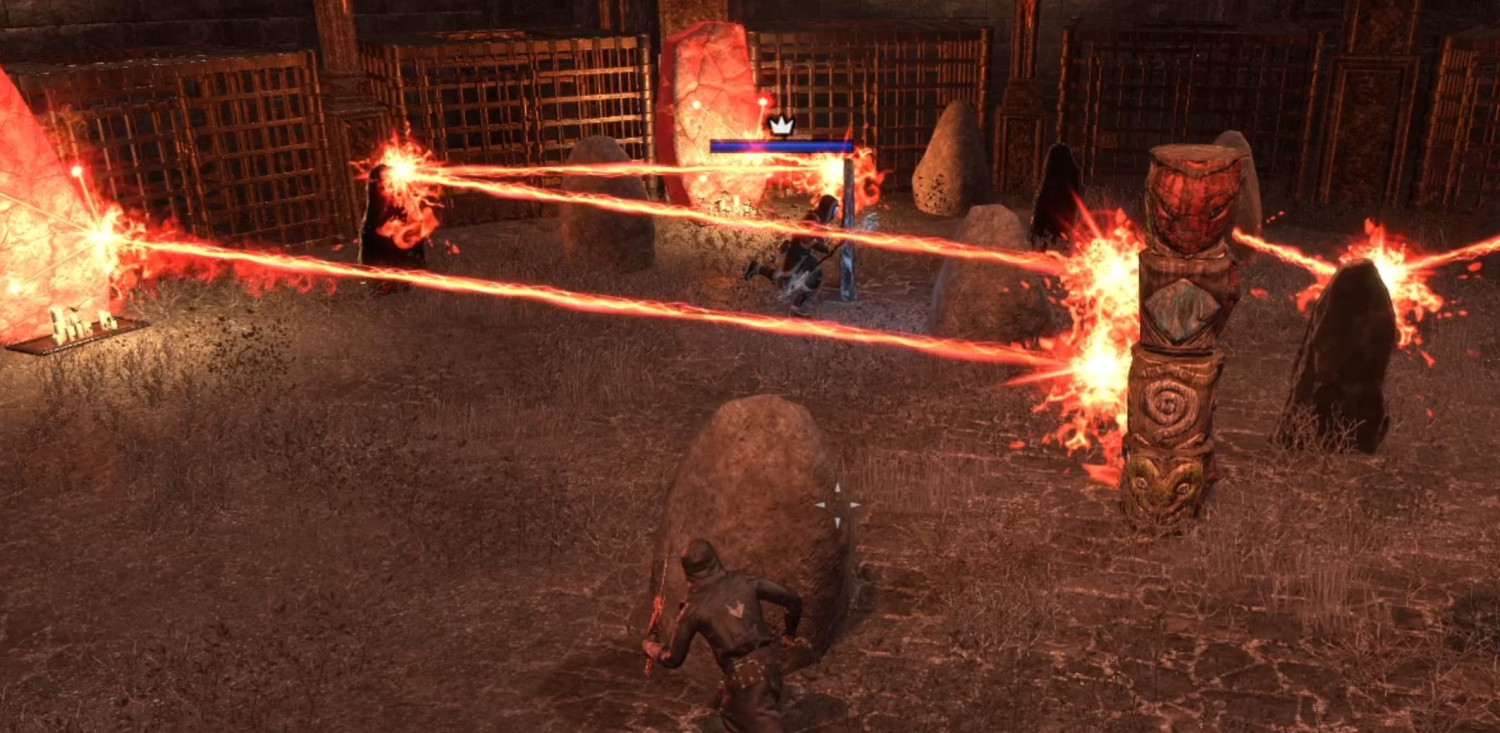
When you successfully complete the puzzle, you and your team will get a buff called Ancestral Resolve, giving you 3000 extra health and 10% damage resistance.