

Welcome to the ESO Arx Corinium Dungeon Guide for both Normal and Veteran mode. Arx Corinium is located in Shadowfen.
This dungeon has 6 bosses: 3 main bosses, 3 mini-bosses and a lot of trashmob packs. (Trashmob = Enemies that can add to the difficulty and liveliness of a dungeon/trial)
If you have more questions, you can also ask someone in our community partner discord about this Arx Corinium Dungeon Guide!
The Story in Arx Corinium
It is said that a great source of power lies in this ruins of an Imperial fort, but it is corrupted and twisted. Nereids have retaken the ruins and tried to restore the land, but were overrun by lamias.
Help the three nereids to retake these ruins!
Table of Contents:
Sets in Arx Corinium
3 different sets drop in Arx Corinium.
- Light: Lamia’s Song
- Medium: Undaunted Infiltrator
- Heavy: Medusa
- Monster Set: Sellistrix (Veteran only)
Trashmonsters in Arx Corinium
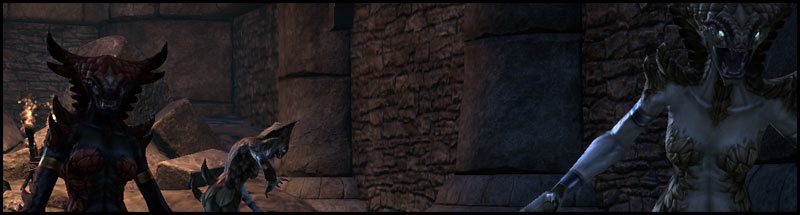
- Lamias: They make the majority of trashmob in the dungeon and range from melee to casters, some even summon a spectral resemblance. Interrupt their abilities when possible.
- Giant Snakes: These snakes have a self healing ability, which can be interrupted, as well as a cleave. The tank should face them away from the group.
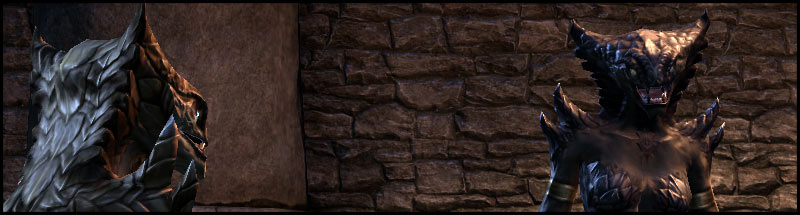
- Lurchers: Big wooden enemies that can hit quite hard! Interrupt their abilities when possible.
Bosses, Treasure Chests & Heavy Sacks on the Map

Arx Corinium Bosses
Below you can find a list of all the bosses in Arx Corinium. You can also see how much health each boss has.
| Boss | Health | Adds |
|---|---|---|
| Fanged Menace | 1,745,443 | Several Lamias |
| Ganakton the Tempest | 1,912,769 | – |
| Sliklenia the Songstress | 1,912,769 | Snake |
| Matron Ixniaa | 1,745,443 | Several Lamias |
| Ancient Lurcher | 1,745,443 | Several Lamias |
| Sellistrix the Lamia Queen (Endboss) | 4,703,728/ 5,409,287 | – |
Bosses
Fanged Menace
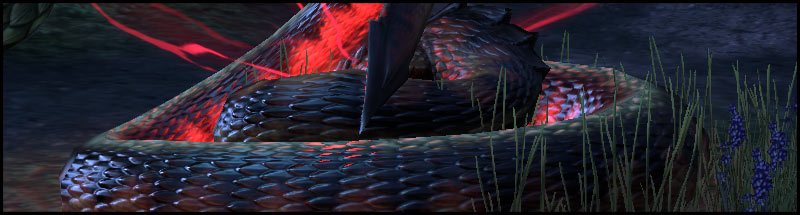
Very close to the entrance we have our first boss, a giant snake, accompanied by a bunch of Lamias.
Make sure to kill these first, as it makes it easier for everyone to concentrate on the boss afterwards.
Poison Cloud: Very soon into the fight you will see a giant damage AoE surround the boss. Do not stand in it! It will heal the boss and undo all the damage you have done so far, additionally to dealing damage to you.
Kiss of Poison: This is a Heavy Attack which should be blocked. It deals quite a lot of initial poison damage, plus adds a DoT (Damage over Time) effect.
Lash: The tank will be focused with a large frontal AoE cone attack and everyone standing inside of it will get kicked back, unless this ability is blocked. As with most bosses it’s advisable to stand behind the boss, so that cleave attacks won’t hit any other party member except for the tank!
Ganakton the Tempest

Ganakton is a large Wamasu and has some nasty lightning abilities. Fortunately, he comes without any adds, so that you can focus on him from the get-go.
Shed Lightning: This is a damage over time ability, that will deal damage throughout the fight and is not avoidable.
Lightning Spit: Turning to a player from time to time, this ability will be cast on that player. It’s a lightning whirl that will travel very quickly and deal a high amount of shock damage, plus stun the target. This can be avoided by stepping aside, when you are far enough away.
Shocking Breath: This ability will affect a large, conal area in front of the boss. It’s a shock breath that will deal quite a lot of damage over time. You can step out of it and avoid it that way.
Trapping Bolt: This will pin a player down, but they can break free from this.
Sliklenia the Songstress

This boss is a bit special, because unlike all other bosses, you are not supposed to kill her add! Her little pet snake will provide your group with a damage shield that will shield you from any damage caused by Cacophony.
Venomous Bite: This is her Heavy Attack. This deals a lot of damage and will knock the tank back if they don’t block!
Cacophony: After a while, the boss will run to a fixed location (which makes pre-positioning easier), starting to scream and causing a lot of damage over time to the entire group. You can prevent this damage by standing in a bubble that will be cast around the pet snake (which is the reason why you shouldn’t kill it). Strong groups don’t have to use the bubble, as this can be outhealed.
Matron Ixniaa
This boss will come with a few Lamias assisting her. You might find her despawning upon engaging. This is usually caused by not everyone having crossed the bridge. So make sure that everyone is on the other side of the bridge to start the fight.
Summon Lamia: After the initial adds are down, she will randomly spawn a spectral lamia which will attack someone randomly from the group. It doesn’t really deal a lot of damage, which is why you can generally ignore it.
Bolt Ballista: This attack will be very visible, as it results in two concentric circles being cast on the ground. Whoever stands in the inner circle will get stunned and receive a large amount of damage. Running out of it will prevent you from getting pinned down.
Ancient Lurcher

The lurcher is accompanied by some Lamias, which should be disposed off before you kill the boss, otherwise they can be very annoying throughout the fight, especially as the tank needs to focus on the boss.
Shove: This is like a heavy attack. It will stagger the tank, unless they block it. It also does quite a lot of damage and adds a DoT to the target.
Crushing Limbs: You will see the boss slamming his fists into the ground. If the tank doesn’t block here, they will get staggered.
Primal Fire: Channeling a green beam on a target, the boss will cause quite some damage with a DoT. This can’t be blocked or interrupted.
Erruption: During the fight, the boss will start shaking and causing AoEs on the ground, which either the tank or the group should interrupt as quickly as possible. Especially at 50% health and lower, the boss will enrage and cause these to do a lot more damage!
Sellistrix the Lamia Queen – Arx Corinium Endboss

This boss can be surprisingly hard, as many may have found out already. Or it can be surprisingly easy.
Due to her mechanics, this fight can be very unpredictable, but also predictable if you know how to circumvent these mechanics.
Positioning: This is essential, as Sellistrix has a damage shield any time she is on land, and makes it really hard for the group to kill her. To make it easier on everyone, the tank has to try and position her in the water, while the group is standing close to the boss, but behind her. If your group members don’t have too much health, they should feather out and s tand on the land, but still stand in reach of the healer. The water is charged as soon as the boss stands in it, but the damage can be healed.
Piercing Shriek: This attack makes the fight very unpredictable. Usually, the boss will target the tank with this ability, but oftentimes she also doesn’t and turns around to the group instead and focuses on another party member. She will start screaming at her target, visible by a large conal attack, and cause a ton of damage! This can and should be blocked, otherwise it can mean an early death as it does a ton of damage.
Ignore Taunt: As annoying as this is, this boss sometimes ignores the tank’s taunt. Meaning she will target anyone from the group and keep on attacking that person, until the tank can regain control of her.
Bolt Discharge: This will be one of the main attacks where the group can die very quickly, as she will make the ceiling collapse and cause a lot of damage by debris falling down on the islands. If she is standing in the water, the group will continue to get damage, but way less than standing on an island would do, so everybody should go into the water.
You can position the boss on any island, so that the group can stand safely in the water without taking damage during this ability, but she will have a shield. This can drag out the fight, but also make it easier for PUGs or inexperienced groups!
Hardmode Sellistrix the Lamia Queen
Hardmode doesn’t add any more skills, but instead buffs her HP from 4,703,728 to 5,409,287.
Skipping in Arx Corinium
There is no noteworthy skip in Arx Corinium.
Video Gameplay Arx Corinium
Related Topics:
Magicka DPS Sets
ESO Item Sets
Undaunted Beginner Guide
Animation Cancelling Beginner Guide