


Welcome to the Tyrant’s Isle Dungeon Guide for Throne & Liberty. In this guide, we will walk you through the Tyrant’s Isle Dungeon in Throne & Liberty, from start to finish.
We will include the mechanics of the bosses and mobs in this dungeon, as well as strategies, tips and tricks for beating Tyrant’s Isle. The minimum level of Tyrant’s Isle is level 50, however this is not an especially challenging dungeon once you know the basics.
Tyrant’s Isle Dungeon Guide for Throne & Liberty
We will now walk you through the Tyrant’s Isle dungeon step by step.
First Area
At the beginning of Tyrant’s Isle, you are in a fairly open green area, with mobs scattered around. Your aim is to progress through this area and find the first boss.
Head through the area, roughly in a straight line, and fend off any mobs you encounter along the way. The mobs at this stage of the dungeon are not very challenging and don’t have any special mechanics, so you shouldn’t have any real problems here.
Once you find an enemy called the Reptilian Butcher, you have found the first boss of Tyrant’s Isle.
First Boss – Reptilian Butcher
The Reptilian Butcher is a fairly simple boss fight for the most part. He only has one mechanic that you need to worry about.
Periodically, the Reptilian Butcher turns invisible and will begin lashing out at party members. You may have noticed the Coral Flowers in the area. Activating a Coral Flower that the boss is standing next to will stun him and force him to become visible again. Therefore when the invisibility phase is happening, your party’s main concern should be to activate these flowers and find the boss quickly before any problems arise.
Other than that, this is a simple boss fight and you can just deal damage as normal, repeating the mechanic as many times as needed in the process.
The boss will drop a key that allows you to proceed to the next area of Tyrant’s Isle.

Second Area
Head through the gate after the first boss, and you will find yourself in a watery cave.
Proceed through the area, freeing captured sailors and defeating mobs as you go. You will eventually come to the second boss, standing by a large gate.
Second Boss – Shaman Executioner
The Shaman Executioner is a little bit tougher than the first boss of Tyrant’s Isle. He has a couple of different mechanics you need to watch out for:
- Extra Mobs – The Shaman Executioner will regularly summon extra mobs to help him in the battle. It is recommended that you focus on taking out these mobs so you don’t get overwhelmed, unless your group is very skilled and you’re confident that you can get away with just burning the boss.
- Blinding Bola – The boss throws a bola at a random player, immobilising them. He then charges a Fury Attack, leaping at the stunned player to deal devastating damage. The player can survive this with a well-timed block.
- Burning Water – The Shaman Executioner summons a wave of boiling water, that spans the width of the chamber and will rush towards your team. You cannot sidestep this, but you can avoid the damage with a well-timed jump.
Once you have mastered these mechanics, the Shaman Executioner is an easy boss to deal with. Rinse and repeat until the fight is over.

Third Area
After proceeding through the gate, you find yourself in another cave area similar to the previous one. There are mobs in here that you can fight if you want, but it’s also possible to skip them by hugging the left wall.
When you find an enemy called the Reptilian Gladiator standing between four burning torches, you have found the next boss of Tyrant’s Isle.
Third Boss – Reptilian Gladiator
This is another easy boss. He only has basic attacks and one very simple mechanic to deal with.
During the fight, a player in the party will glow red. This player is about to be charged by the boss – anyone hit by the charge will take heavy damage. The red player should hide behind one of the torches (and other players should make sure to get out of the way, too). Luckily, this boss isn’t very smart, and will crash into the torch when trying to chase the player, stunning himself in the process.
Repeat this mechanic as many times as needed until the boss dies.

Reaching the Final Boss
After defeating the Reptilian Gladiator, a geyser begins blasting water into the air nearby. Standing on the geyser will lift you high into the air – combine this effect with your creature morph to glide over the large wooden structure blocking your path.
You will find another geyser shortly after – repeat the same process again to reach the final boss of Tyrant’s Isle.
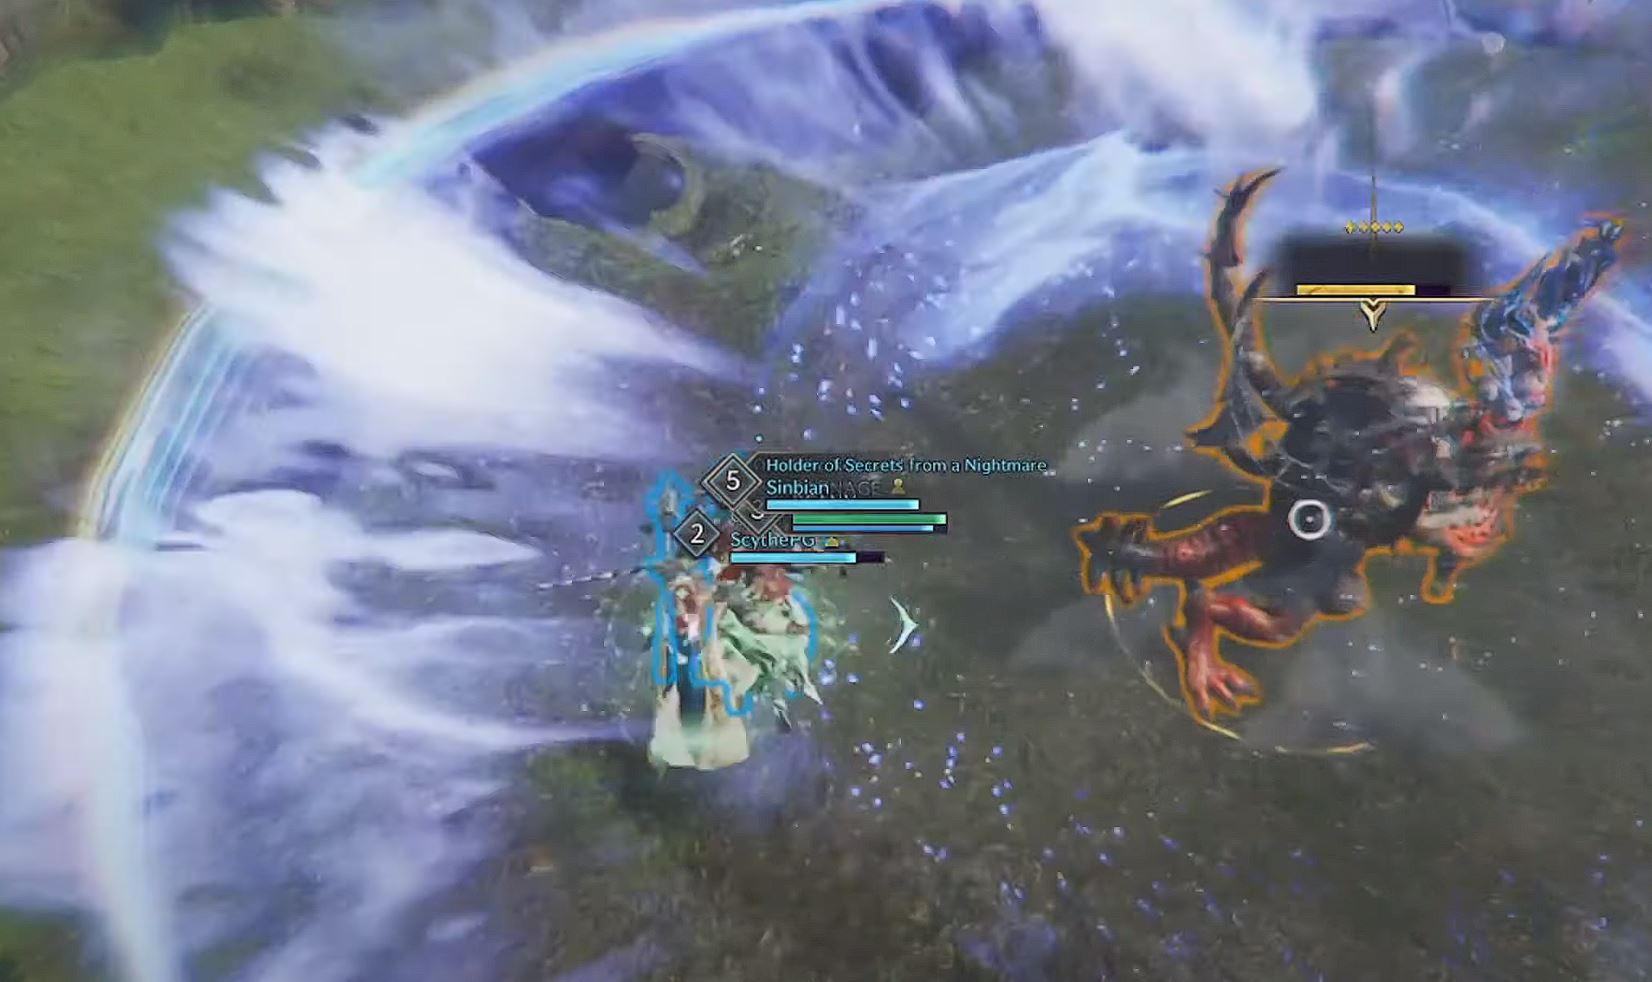
Final Boss – Toublek
Toublek is the final boss of the Tyrant’s Isle dungeon. He is a more imposing enemy than the previous three bosses, and has more mechanics you’ll need to deal with. Quick reaction times are helpful here, but by and large this is a mechanical boss fight. Once you know all the mechanics you’ll be able to do it easily.
Toublek has the following attacks and mechanics to watch out for:
- Fury Attack – Toublek unleashes a Fury Attack, dealing heavy damage. Watch out for the purple indicator and perform a perfect block to deal with this threat.
- Fireballs – Toublek sends fireballs to chase several players. You need to run away as quickly as you can when this happens (you can use your creature morph to get extra speed). These fireballs do a lot of damage so you don’t want to hang around when this is happening.
- AOE wave – The first of two wipe mechanics that Toublek has. You may have noticed that there are several geysers around the arena. Toublek will shout something out, and begin charging a powerful AOE attack that will one-shot everyone who comes into contact with it. When this happens, three geysers will also activate. Everyone needs to head to an active geyser and use it to lift themselves high into the air. You need to still be in the air when the AOE wave happens – use your creature morph to glide if you think you’ll land too soon.
- Rat Trouble – Toublek transforms everyone into a rat. All your skills will disappear, and you’ll only have one thing on your skill bar – pressing 1 allows you to dig into the ground for a moment. To return to your normal form, you need to make it to one of the flowers. The boss will sometimes unleash AOE waves similar to the last mechanic – this time you need to avoid them by digging into the ground. If you are too slow to reach a flower, Toublek will catch you and eat you, killing you instantly.
Once you have mastered these mechanics, Toublek becomes a simple boss to deal with.

If you have got to this point, then you have successfully beaten the Tyrant’s Isle!