Welcome to the Death’s Abyss Dungeon Guide for Throne and Liberty. In this guide, we will explain the Death’s Abyss Dungeon, including boss mechanics and strategies that will allow you to easily clear this content.
Death’s Abyss is a dungeon in Throne and Liberty, intended for 6-player groups. To access Death’s Abyss, your character needs to be Level 50. Completing the dungeon can yield many rewards, such as equipment, growth stones, amitoi, XP and gold.
Having a tank and a healer in your party is recommended for group content. The tank should aim to taunt and CC enemies, while the healer should heal and buff allies and debuff enemies.
Story of Death’s Abyss: Arkeum Legion sought to use the power of darkness brimming within Syleus’s Abyss and dispatched many parties, but never succeeded. This was due to the countless monsters within and the labyrinthian nature of the Abyss. When they discovered Heliber, they sought to control him, and thereby rule the Abyss, and eventually succeeded in trapping him in a stone casket. But when he broke out of his jail after many years., he had only become stronger. The sole surviving Arkeum Shadowmancer is called the spectre Karnix.
How to Enter Death’s Abyss
The easiest way to enter Death’s Abyss is to navigate to the Secret Dungeons section of the game menu. From this menu you will be able to enter Death’s Abyss, provided you are Level 50.
It is strongly recommended to bring other players with you when entering Death’s Abyss – the dungeon is designed for 6-player groups, so you might struggle with smaller party sizes.
Death’s Abyss Enemies and Mechanics
We will now talk about the various enemies and bosses in Death’s Abyss Dungeon from Throne and Liberty, and how best to defeat them.
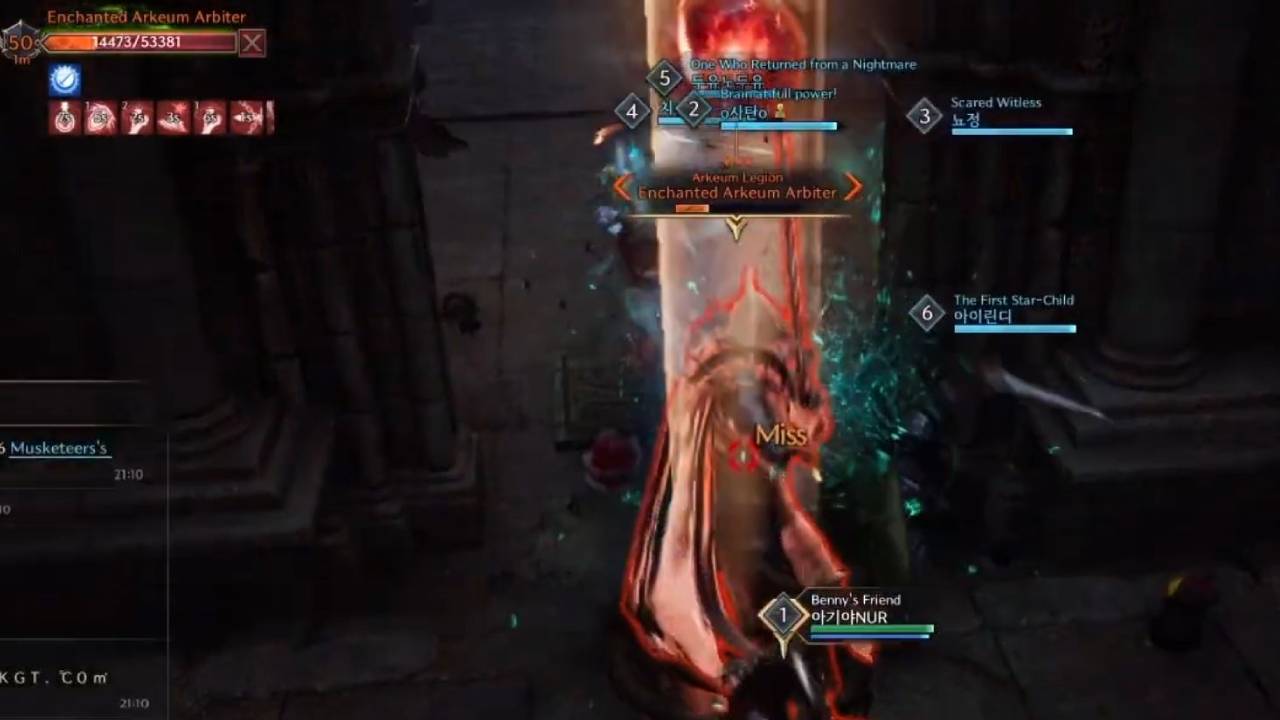
Enchanted Arkeum Arbiter
The Enchanted Arkeum Arbiter is a large mob that comes with a couple of AOE attacks that you should watch out for:
- Fire AOE – The boss charges up and then unleashes fire AOEs on the ground. Be sure to watch your feet and avoid standing in these to avoid taking needless damage.
- Fire Cleave – The boss unleashes a frontal cleave attack, damaging everyone in front of him. The player with aggro can help with this by facing the boss away from other party members so they don’t need to worry about the cleave.
- Spin Attack – The Enchanted Arkeum Arbiter can unleash a spinning attack, damaging everyone who is too close to him. Take a few steps back to avoid being caught in the affected area.
The Arkeum Arbiter can be stunned to put a stop to these abilities temporarily.
Enchanted Arkeum Healer
As its name suggests, the Enchanted Arkeum Healer can heal enemies, therefore it is a good idea to prioritize killing the healer first, otherwise, the fights will be prolonged.
The Healer can also target you with direct attacks when it is not busy healing.
There’s not much else to say about this enemy, just make sure you deal with them quickly to avoid problems.
Enchanted Arkeum Wizard
The Enchanted Arkeum Wizard will cast various AOE spells on the ground. This can potentially cause problems for your group due to area denial.
You and your allies can chain Crowd Control abilities on the Wizard to prevent them from casting.
Elite Arkeum Shadowmancer
The Elite Arkeum Shadowmancer is a tougher enemy that casts dangerous AOE spells. Try to avoid or parry these spells if you are targeted.
Elite Arkeum Riot Squad Captain
Another tough boss in Death’s Abyss Dungeon, the Elite Riot Squad Captain has a high health pool, so the fight can last for a longer time than the previous fights in the Death’s Abyss dungeon.
The Riot Squad Captain has the following abilities:
- Conal Cleave – The boss launches a conal cleave AOE at a player. It is important to quickly dodge or sidestep out of the affected area to avoid the damage.
- Ground Slam – The boss charges up his sword and then smashes the ground, dealing heavy AOE damage to players who are too close.
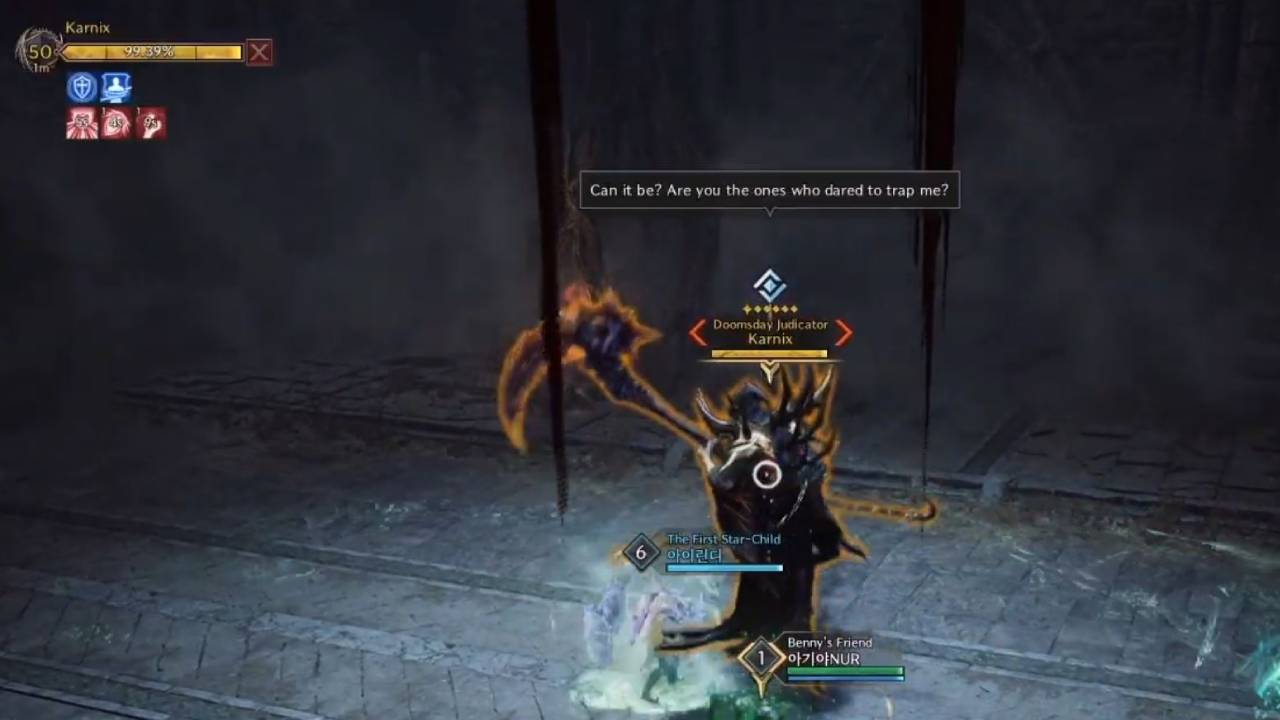
Doomsday Judicator Karnix
Doomsday Judicator Karnix is the final boss of the Death’s Abyss dungeon in Throne and Liberty. He possesses more mechanics than the previous enemies in the dungeon, so you and your party will need to have your wits about you and work as a team to prevail.
Karnix has the following mechanics:
- Scythe Stun – Karnix slams his scythe into the ground, dealing heavy AOE damage and knocking players back. The best way to deal with this ability is to run away and avoid being hit by it at all – fast reaction times and a watchful eye are important.
- Teleport Strike – Karnix teleports three times, performing a basic attack after each teleport. After the final teleport, he quickly hits a player with a harder strike, dealing significant damage. Be ready to quickly dodge this attack if it is targeted at you.
- Spinning Wave – Karnix spins briefly while charging the attack. He then unleashes a wave of electrical damage. To avoid this damage, make use of a well-timed shield skill.
- Scythe Mark – Karnix casts a spell that marks a player. He then summons scythes that will chase and strike the marked player. The marked player should run away from the scythes to avoid being hit for the duration of the spell.
- Blue Circle – Karnix marks a player with a blue circle, then performs a deadly attack with his scythe, which can hit multiple players. To survive this, players should take refuge inside the blue circle.
Due to these more complicated mechanics, a well-coordinated team will have a much easier time when fighting Karnix. Voice chat is advantageous, but if everyone in the group knows the mechanics then you can get by without it.
For defeating Karnix and clearing the Death’s Abyss dungeon, you receive a variety of rewards, including weapons, growth stones, and other consumable items. Getting growth stones is essential to improving your character in Throne & Liberty, and completing dungeons like this is a great way to collect more of them.
More Guides:


