

Welcome to The Dread Cellar Dungeon Guide for both Normal and Veteran mode. The Dread cellar is located in Blackwood and is part of the Waking Flame DLC. The Waking Flame DLC is part of the year long story “Gates Of Oblivion”.
This dungeon has 6 bosses: 3 main bosses, 3 secret bosses and a lot of trashmob packs. (Trashmob = Enemies that can add to the difficulty and liveliness of a dungeon/trial)
If you have more questions, you can also ask someone in our community partner discord about this Dread Cellar Dungeon Guide!
The Story in The Dread Cellar
Story
Table of Contents:
Sets & Rewards in The Dread Cellar
3 different sets drop in The Dread Cellar
- Light: [Scorion’s Feast]
- Medium: [Rush of Agony]
- Heavy: [Crimson Oath’s Rive]
- Monster Set: [Magma Incarnate] (Veteran only)
Rewards
Like with most dungeons, the Dread Cellar also brings along some rewards once you complete either veteran or normal mode challenges.
Body Marking: Shattered Chivalry Body Tattoo for [Red Petal Bastion Conqueror] (Veteran) and Head Marking: Shattered Chivalry Face Tattoo for [Arcane Analyst].
 Shattered Chivalry Tattoos
For defeating the last boss on Hardmode, you will earn the title “Incarnate” from [Unshaken].
Title: The Dreaded for [Battlespire’s Best].
For defeating the dungeon on Veteran mode, you will get the achievement [The Dread Cellar Conqueror] which will give you the Memento: Agonymium Stone.
Agonymium Stone Memento
You will also be able to get a new dye for this achievement [Waking Flame Delver].
You can earn the [Scorion Pyreling] non combat pet for completing the [Waking Flame Explorer] achievement.
Scorion Pyreling pet
Trashmonsters in The Dread Cellar
Trashmonsters are enemies that can add to the difficulty and liveliness of a dungeon and are fillers in-between bosses. There’s a couple of those in the Dread Cellar, which are listed here with tactics.
Waking Flame Pyromancer, Crimson Oath enemies, Scamps, Hunger, Clannfear, Boltwyrm: These are pretty generic and can usually be killed by AoE. They should be pulled in though, so that they can melt in the group’s AoE.
Armored Daedroth, Flame Colossus, Scorching Ogrim, Scorion Collector, Xivilai Ravager, Xivilai Shockslayer: These can be very dangerous to the group and should be tanked immediately, facing away from the group.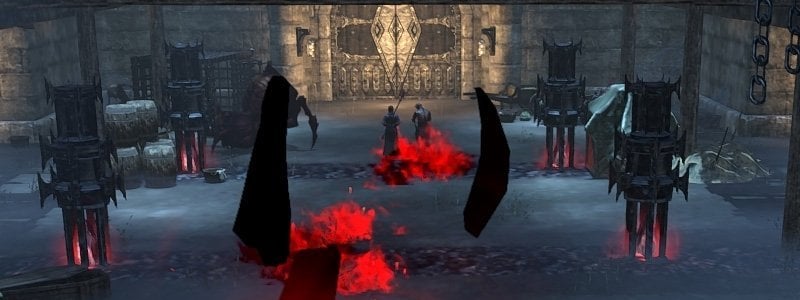
Bosses, Treasure Chests & Heavy Sacks on the Map
Below you can find the map images of the Dread Cellar dungeon in Blackwood.


The Dread Cellar Bosses
Below you can find a list of all the bosses in The Dread Cellar. You can also see how much health each boss has.
| Boss | Health | Adds |
|---|---|---|
| Scorion Broodlord | 2,525,979/8,571,372 | Lots of various adds |
| Cyronin Artellian | 2,873,301/9,324,750 | Storm Atronachs, Boltwyrm |
| Magma Incarnate | 4,125,765/15,567,056 | Scorion Collector, Scamps, Skeletal monsters |
| Secret Bosses | ||
| Purgator | 3,740,235 | Flame Atronachs |
| Undertaker | 3,890,584 | Skeletal Archers |
| Grim Warden | 4,238,933 | Twilights |
Bosses
In this section of the Dread Cellar guide for ESO we are going to take a look at the primary 3 bosses of the dungeon. Scorion Broodmother, Cyronin Artellian and the endboss Magma Incarnate.
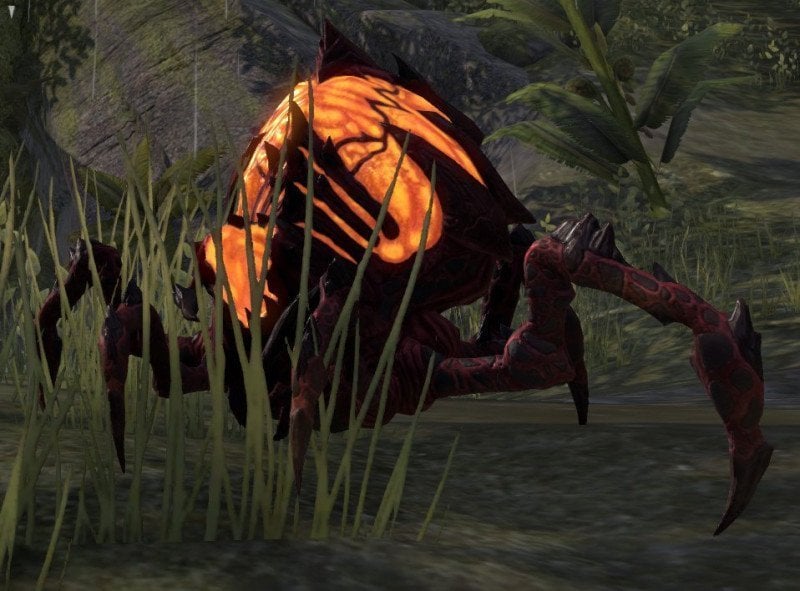
Scorion Broodlord
Adds: Every few percent a new add will spawn which should be tanked, if possible, next to the boss and be killed in the AoE or even focused down, so that it can’t wreak havoc.
Agonymium Stone: These need to be killed asap, as the broodlord will heal upon consuming these. Best is when you tank the adds next to these stones, so that they die equally. It will also shoot ghost skulls which do a lot of damage.
Excruciating Expectoration: This deals a lot of physical damage and inflicts an unavoidable DoT (Excruciating Energies) which cannot be removed.
Turmoil: This is an attack that happens in a cone and hits everybody standing in its way, which is why the tank should keep the boss facing away from the group. This deals a lot of damage if not blocked!
Torrent of Turmoil: These are small volatile clouds escaping from the broodlord which will cause a decent amount of damage.
Crush: This Heavy Attack can deal a lot of damage if not blocked. Ideally, the tank will be the only one getting this.
Pull & Explode: When the boss manages to absorb an Agonymium Stone she will pull everyone in and cause a large explosion which doesn’t only slow down everyone standing in it, but will also cause a ton of damage. Best is to dodge roll out of it as fast as possible.
Hardmode Mechanics
Upon activating Hardmode, the broodlord will cause a lot more damage and the adds will spawn way more frequently. This fight is very add heavy and there’s a specific priority in how you should handle which add. Every few percent 2 new adds will spawn, preventing you from burning the boss too quickly. All of these adds are almost equally as dangerous and should ideally be tanked by the Agonymium Stones, so that they can be burned by the DPS at the same time, either with AoEs or their Ultimates. The Xivilai Shockslayers for example must be interrupted and the Bone Atronach will constantly cast a high damage AoE with raining fire.
Cyronin Artellian
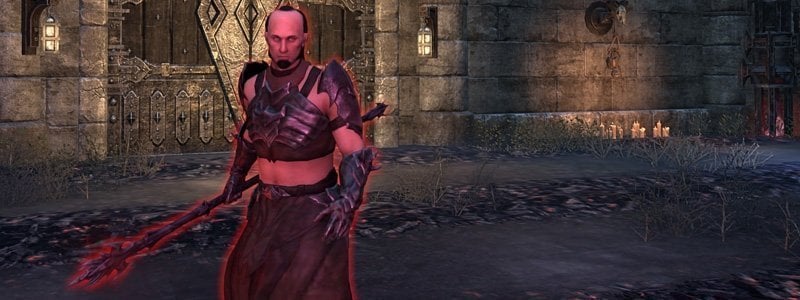
Cyronin Artellian is the second boss. He is a mage that has a lot of mechanics coming together and is generally not very melee friendly.
Storm Atronachs: These Storm Atronachs can be very disruptive to the group, especially if they cast their Heart of the Storm ability, which can causes a lot of damage. They should be taken care of immediately, otherwise the group may die. After some time, Cyronin will revive them, though, so that you will have to deal with them again.
Boltwyrm: The Boltwyrm will slow you and cast Arresting Bolt on players, causing a moderate amount of damage. If the Boltwyrm is facing you, you will do more damage to it than another player.
Staff Strike: This is the boss’ heavy attack. It’s very clearly visible and should definitely be blocked or even dodge rolled. After he strikes you with his staff, there will be a shock field on the floor.
Soulstorm: From time to time, the boss will cast an ability that you can’t block. The only way to avoid the damage is by dodge rolling it. You will see a red ghost skull being cast on you and if you aren’t standing close to a healer, your best bet is to simply roll dodge it.
Dread Surge: These are the red waves emitting from the so-called Crystal Cathodes. These should, under all circumstances, be avoided. In non-HM they will deal high damage and in hardmode they instantly kill you on contact.
Hardmode Mechanics
Hardmode adds a lot more damage to the fight and one additional mechanic. From time to time, the boss will cast a debuff on you which will be cast on two players and make you drop a lightning orb which causes a ton of damage if you remain standing in it.
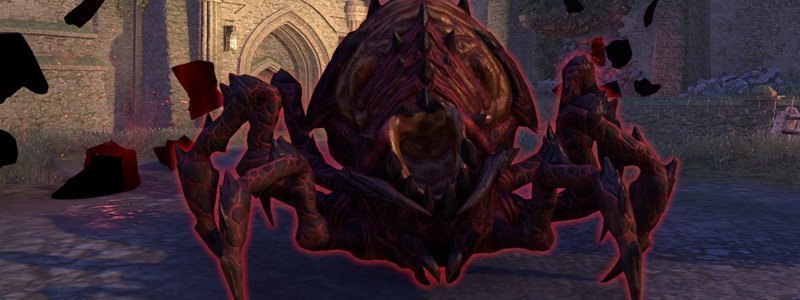
Magma Incarnate
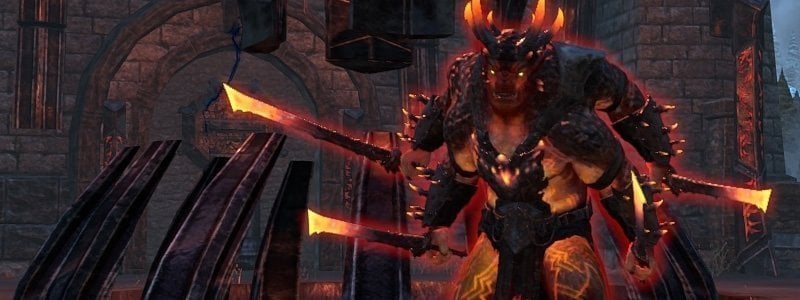
Magma Incarnate is the third and last boss of this dungeon. There’s a lot going on in the fight and definitely a lot of fire damage.
Unstable Blitz: This is like a chain reaction and will echo off itself to cause devastating results. It can also cause Blitz Bonfires which will cause a ton of damage.
Dancing Flames: These are tornadoes that will move around and try to cause a lot of fire damage. These need to be avoided.
Catastrophe: From time to time, the Incarnate Machine will cast out a huge AoE and cause a moderate amount of damage to anyone standing in it.
Path of Fire: This is an attack that the boss will cast from time to time. He will cast it from himself, unto the players, which will look like a path and cause quite some damage and should be blocked or dodge rolled. He will also be casting a Flame Aura during this, which is why players shouldn’t stand too close to him.
Frenzy: This is Magma Incarnate’s Heavy Attack and deals a ton of damage. This should definitely be blocked, otherwise it will kill the player that’s getting hit by it.
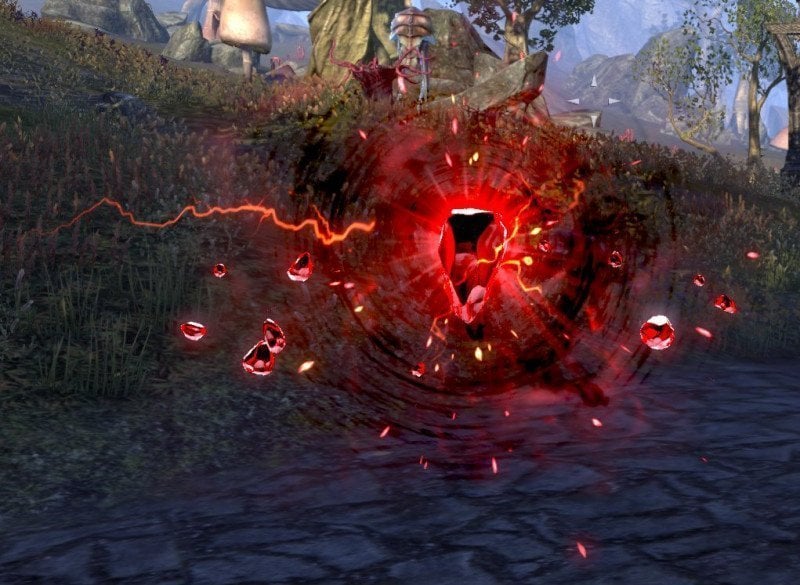
Portal: Around every 20% there will be a portal with an Agonymium Stone that needs to be killed, otherwise a Scorion spider will absorb it and empower it during the bossfight. The boss itself will become invincible during this phase and non-attackable. After the portal phase there will be the spider joining the fight.
Path of Fire: In hardmode, this will also leave a pool of flames, which will be dropped where the player is standing and cause a lot of damage.
Incarnate Outburst: This will kill everyone if the tank is not standing in it when he casts it and blocks it.
Tornado Wall: Towards the end of the fight a tornado wall will appear and will make the players want to avoid it, otherwise they are highly likely to die from the damage of it. However, you can dodge roll this to avoid damage.
Hardmode Mechanics
At around 60% and 30%, Scorions will join the fight and the lightning lines will leave AoEs behind on the ground.
Secret Bosses
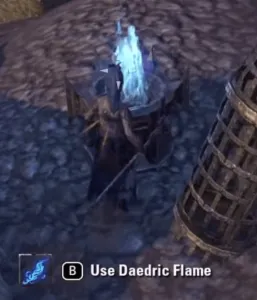
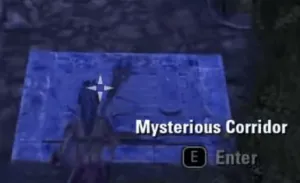
The secret bosses in the Red Petal Dungeon will give bonuses to the players, which will be showcased here. In this dungeon, the secret bosses are quite challenging, so that you should definitely come prepared. In order to unlock the entrances to the secret bosses, you have to find Daedric Flames first which you need for lightning braziers by a Mysterious Corridor. If you have lit the braziers, the door will unlock.
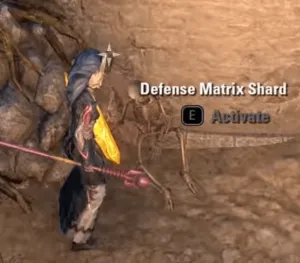
When you went down the trapdoor, you will reach an area where you will have to activate these shards at the same time and a portal opens which will lead you to the minibosses.
Purgator
You will enter an arena and be greeted by a ghost called Vitellia Laenius. She tells you to activate a specific crystal by lighting the braziers in order to call the miniboss. At first you will meet the Purgator, which packs quite a punch. He can call Flame Atronachs, which should be killed first if your group DPS isn’t too high, otherwise they can be more or less ignored. He can also let meteors rain from the sky which will throw you down upon impact. The buff you will get is the following:Purgator’s Accession – Weapon and Spell Damage increased by 300. Activating Purgator’s Guardian Stone summons Purgator for 1 minute and resurrects allies. With Purgator active: Light, Medium, Heavy and Bash attacks trigger Searing Sting which deals 50% additional fire damage and grants stacks of Heating Up.

Undertaker
You will enter an arena and be greeted again by the ghost Vitellia Laenius. She tells you to activate a specific crystal by lighting the braziers in order to call the miniboss, same as before. This time the miniboss is a lich, which will summon skeletal archers to his side. You can either take them down or continue killing the miniboss, as they are more or less just a nuisance. This boss’s special attack is an array of bolts he shoots forth from his staff. This needs to be healed. The buff you will get is the following: Undertaker’s Accession – Magicka and Stamina Recovery increased by 200. Activating Undertaker’s Guardian Stone summons Undertaker for 1 minute and resurrects allies. With Undertaker active: Light, Medium, Heavy and Bash attacks apply stacks of Siphon Essence which saps health from the target based on your max health.

Grim Warden
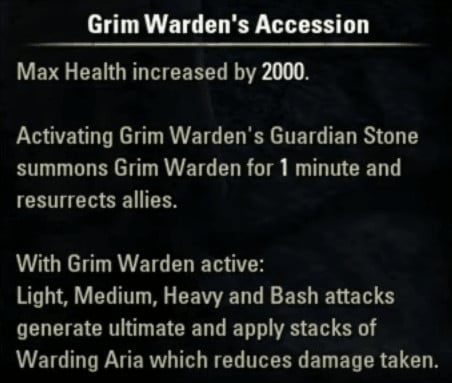
You will enter an arena and be greeted by the ghost Vitellia Laenius. She tells you to activate a specific crystal by lighting the braziers in order to call the miniboss. This miniboss has very hurtful attacks. They will be cast on anyone that has aggro and especially the spinning blade one will kill any unprepared tank. The boss can also call upon Air Atronachs and a whirlwind. The Air Atronachs need to be killed in order for it to loose the buff it gets by the additional adds. The buff you will get is the following: Grim Warden’s Accession – Max Health increased by 2000. Activating Grim Warden’s Guardian Stone summons Grim Warden for 1 minute and resurrects allies. With Grim Warden active: Light, Medium, Heavy and Bash attacks generate ultimate and apply stacks of Warding Aria which reduces damage taken.
Skipping in The Dread Cellar
There is no real skip in this dungeon except for skipping the additional, secret bosses.
Video Gameplay The Dread Cellar
- 1st Boss: Scorion Broodmother –
- 2nd Boss: Cyronin Artellian –
- 3rd Boss: Magma Incarnate –
- 4th Boss: Name –
- 5th Boss: Name –
- Endboss: Name –
Video soon
Solo Red Petal Bastion
Next up you can also watch a full solo dungeon run with a Magicka Nightblade on normal mode.
Related Topics: