Welcome to the BG3 Mirror of Loss Guide. We will show you everything you need to know about the Mirror of Loss and its hidden mechanics.
The Mirror of Loss allows you to get up to 3 extra Ability Points on your character, and is vital for fully optimising builds.
Spoilers: This guide inevitably contains some spoilers for Act III and Shadowheart’s story, although I have done my best to minimise them as much as possible.
Table of Contents:
How to Access the Mirror of Loss in BG3
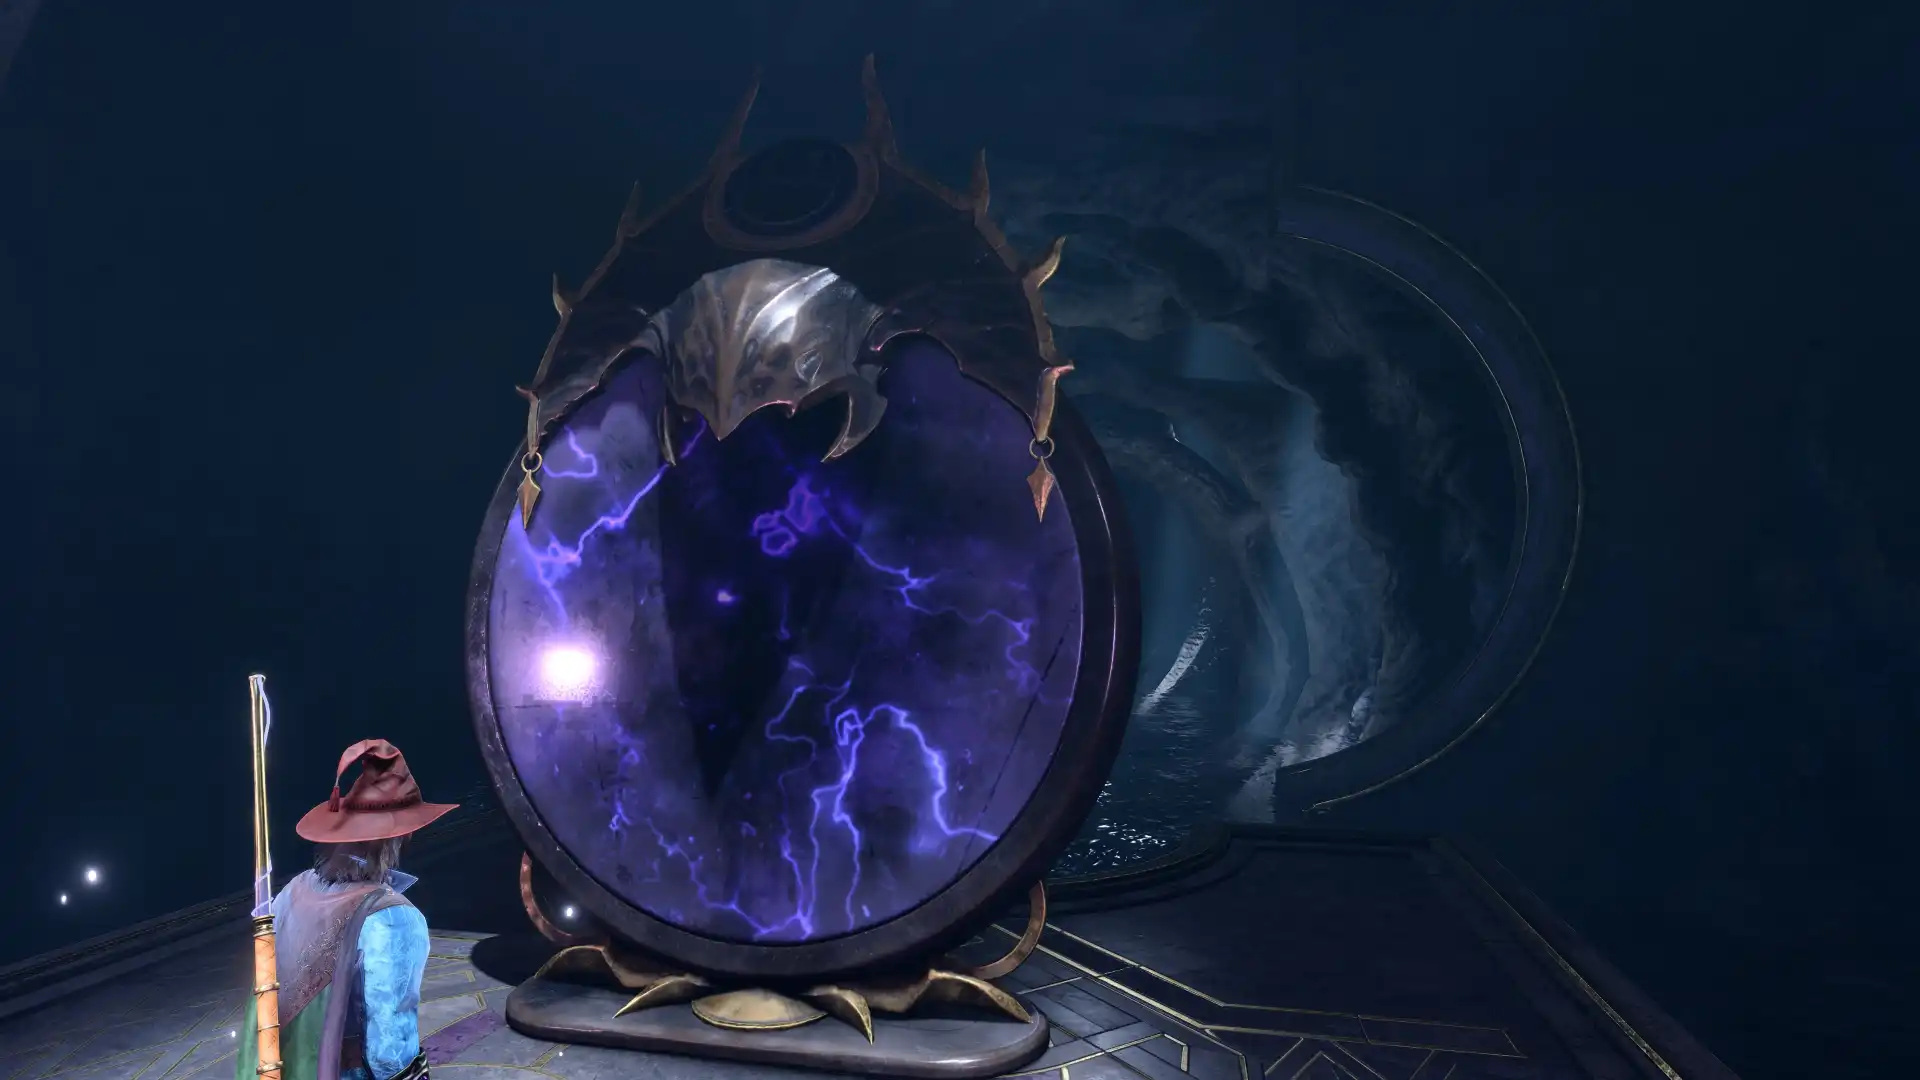
The Mirror of Loss is found in the Cloister of the Sombre Embrace in Act III.
How the Mirror of Loss Works in BG3

The Mirror of Loss involves some hidden dice rolls that make it difficult to understand what’s going on, and this is made worse because the outcomes of your choices are quite ambiguous and poorly explained.

With this rather complicated set of rules, you have two strategies for the mirror.
Low Risk Strategy
The low-risk strategy is to take the DC25 ![]() Religion test straight away. The +3 buff from passing the religion test makes you less likely to get the +1 Charisma boost.
Religion test straight away. The +3 buff from passing the religion test makes you less likely to get the +1 Charisma boost.
This strategy makes it very likely that you will get the +2 bonus to an ability of your choice, but there’s a fairly good chance you’ll miss out on the +1 Charisma buff.
High Risk Strategy
To maximise your chance of getting both of the rewards, sacrifice 3-4 of your memories before praying to the mirror. This gives you a reasonable chance of getting the +1 Charisma boost, but it’s still far from guaranteed.
Next, pass the ![]() Religion check, and then sacrifice the remaining 2-3 memories to get the +2 boost.
Religion check, and then sacrifice the remaining 2-3 memories to get the +2 boost.
This strategy gives you the highest chance of getting both rewards, but also has a markedly higher chance of only getting the +1 Charisma, or getting nothing at all.
For most builds, the low-risk strategy is sufficient because +2 to an ability of your choice is all you need. You only need to take the high-risk option if you’re playing as a Charisma-based spellcaster and want to push your Charisma score to 24.
How to Pass the Mirror of Loss Religion Check in BG3

Arguably, the greatest difficulty with the Mirror of Loss is passing the DC25 ![]() Religion check, which is required to access the +2 ability score boost. The good news is that only one party member needs to pass this check.
Religion check, which is required to access the +2 ability score boost. The good news is that only one party member needs to pass this check.
If you are playing on story, normal or tactician difficulty, you can save scum (keep reloading your save file if you fail) to pretty much guarantee that you’ll get the buff on all of your party members. Try to save up some Inspiration points before visiting the Mirror of Loss, as these will allow you to reroll the check.
If you’re playing on honour mode (or don’t want to save scum), then you might want to put a lot of extra effort into passing this check, potentially even performing a temporary respec on one of your characters. Below is a comprehensive list of methods to improve your odds:
Necromancy of Thay Bypass
If you have the Necromancy of Thay book, you can sacrifice it to guarantee success on the Religion check. You will lose any benefits you have from the Necromancy of Thay book and be unable to reacquire them.
See Also: BG3 Necromancer Build
Detailed Description of the Mirror of Loss’ Dialogue
The Mirror of Loss has a lot of ambiguous dialogue, making it hard to tell exactly what’s going on.
In this last section, we will explain which of the mirror’s responses are good and which options you should choose for a desired outcome.
When surrendering memories…
When choosing your +2 ability boost…
After getting the “You feel the presence of something, ancient and unknowable. It has taken notice of you.” reply from the mirror, you are prompted to choose which ability you want to boost. Except it isn’t exactly written in plain English.
In my opinion, it’s not too hard to figure out which one is which. But in case you are struggling, here is the required choice for each ability: