Welcome to our Throne and Liberty Spear and Greatsword Build.
This is a DPS build with Spear and Greatsword that excels at dealing massive blows to enemies both for single target (ST) and area of effect (AoE). Spear and Greatsword synergize perfectly with each other because both are melee range and have some passives that work together. Additionally, you also have some range if needed because of Spears throwing mechanics that also stun enemies.
For a full overview of all builds please visit the Throne and Liberty Builds Database.
Since creating and fully optimizing a Throne & Liberty build is a long and complex process, this guide will not only explain how to create the build and how it works but also has early and midgame setups and suggestions about which aspects of the build to prioritize farming, crafting or upgrading.
Mainhand: Spear
Offhand: Greatsword
Table of Contents:
- How to build your Character [Important]
- Leveling Character
- Leveling Skills and Gear
- Spear & Greatsword Basics
- Skill Setups for Spear and Greatsword Build
- Attribute Stat Priority
- Gear Progression for the Spear and Greatsword Build
- Guardians
- Buff Food & Potions
How to Build Your Spear and Greatsword DPS Character in Throne and Liberty
Playing Throne and Liberty can be overwhelming at first. In this section, I want to explain quickly how your character build progression works in this game. Leveling up to max level is easy and won’t take long, just follow the main story purple quests and you will hit max level at the end of the story. During this period the game teaches you how to craft gear, this will allow you to get full green gear fairly fast while also working on some basic blue items.
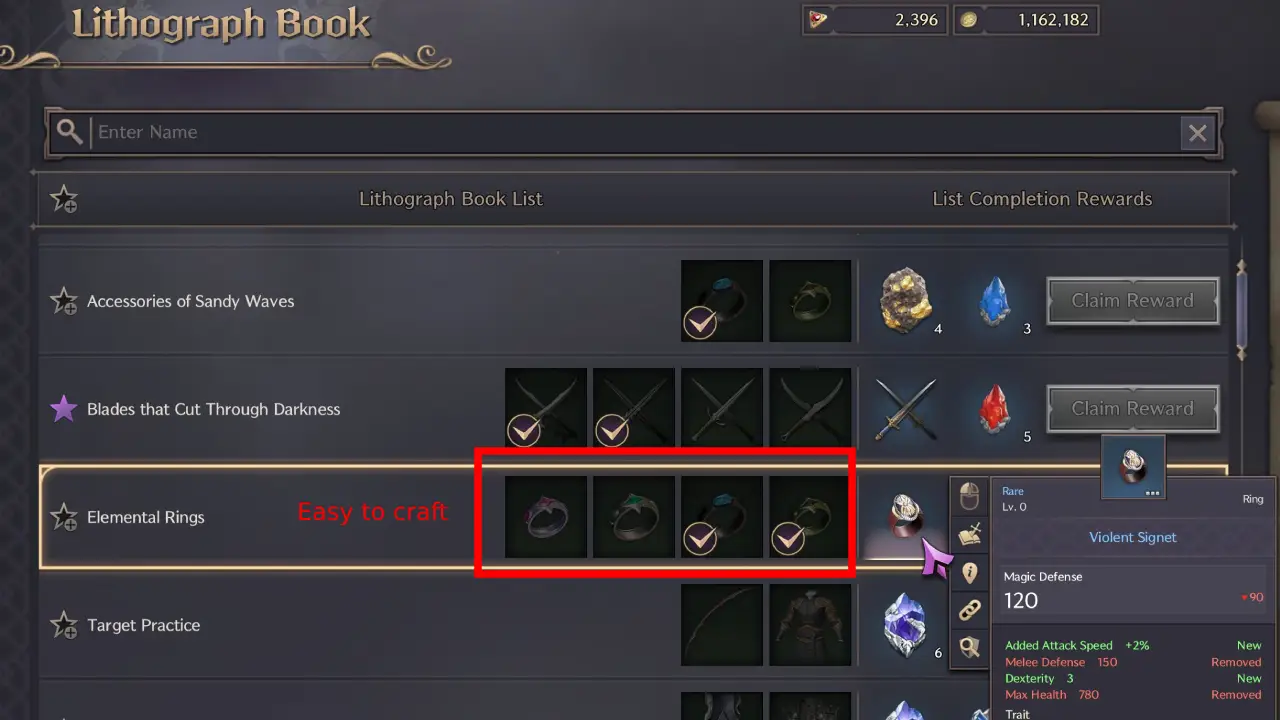
Now you are at max level, you can get some easy wins with the Lithograph Book (Check Menu in-game). This allows you to sacrifice certain items and in return you get better items. So you can get slightly better blue gear.
Important: Now, this is where most players make a big mistake. They want to start going from blue to purple gear. But this is too early! The main strength of gear comes from attribute stats (buffs to Strength, Dexterity, etc) and traits. Fully traiting a purple item is impossible as a new player unless you swipe your credit card. Therefore, you want to first get good blue gear with good attribute stats and good traits before you even consider going after purple gear.
It is best to either bank purple items you drop or sell them at the Auction House if they are worth a lot. You don’t sell items in this game, you sell the extract of it with the trait. Traits are the most important aspect of this game and is where most of your time commitment will be.
You always want to level up your blue gear too. You won’t lose any materials on this, because you can transfer the level and trait power of a blue item into a Purple item. So a level 9 blue item transferred into a purple will result in a level 6 purple item. The blue traits will disappear but the purple item gets “trait blessing”. This makes it cheaper to get your purple item traited.
Once you have good blue gear, then you can think about starting to equip purple items! Finding a purple item isn’t necessarily difficult, but fully traiting and maxing it out definitely is!
- Leveling up is easy, follow purple main story quest to hit max level.
- While leveling, you get green items and a few blue items.
- After max level, focus on getting good blue gear.
- Don’t focus on purple items yet! (Rookie Mistake)
- Focus on getting good blue items to max level and fully traiting them
- After that, you can think about starting to equip purple items.
- Max level blue gear with full traits is better than non-maxed purple gear with no traits.
- Do your dailies, co-op dungeons, and public dungeons to get pouches and other loot.
This is more or less it about progressing your character. Even getting blue gear fully trained will already be a challenge. Getting purple items to max level is even more difficult and time consuming.
Once Again: A max-level blue weapon with full traits will do more damage than a max-level purple weapon without full traits in Throne and Liberty!
Leveling your Spear and Greatsword Build in Throne and Liberty
The leveling progression in Throne and Liberty is easy. Follow the main story quest (Purple Markers) and you will hit max level at the end of the story. If your level is too low at any point, complete the Exploration quests (blue markers) in the areas you just completed. During this phase, the game will also teach you how to craft gear to get all green gear with some blues at the end of the story.
During this process, you also want to get used to your skills. Make sure to read all the skills so you know what they do! Also, test the skills out on monsters or the target dummies you can find, for example, in Vienta Village.
Once you are max level you should focus on getting good blues before you go for purple gear. I explained this above in the How to build your Character section. Maxed out blue gear with full traits is stronger than max level purple gear without maxed out traits. Blue gear is also a lot easier to get, see the Gear Progressions section of our Throne and Liberty Spear and Greatsword DPS Build.
Leveling Skills and Gear in Throne and Liberty
While leveling up, you will get plenty of upgrade materials, but eventually, you will have a shortage of these. So here are a few important tricks to keep progressing as fast as possible with your character build in Throne and Liberty.
Skills Progression:
- Upgrade all skills from green to blue first
- Upgrade all skills from blue to purple next
- Dissolve purple growth materials to get 10x the amount of the lower quality. That means 1 purple growth material will get you 10 blue growth materials.
- Doing Exploration quests will give you plenty of upgrade materials.
- Purchasing the Leveling Pass and Battle Pass will also give you plenty of growth materials. You can sell items in the Auction House to get Lucent without spending real money.
- Inside the store there is a section with Ornate coins where you can also purchase growth materials. Purchase the purple materials and dissolve them instead of buying blue materials directly (which is a lot more expensive).
- Ornate Coins are often received for maintenance downtime and other things like events.
Gear Progression:
- Green to Blue: A max level 6 green item infused into a blue item will become a level 3 blue.
- Blue to Purple: A max level 9 blue item infused into a purple item will become a level 6 purple.
- Fully gear yourself with blue items and trait them before you consider going purple. (Takes weeks or months).
- Look out for good blue items that give attribute stat points that you need for your build.
- A max-level blue weapon with full traits will do more damage than a max-level purple weapon without full traits.
- Dissolve purple growth materials to get 10x the amount of the lower quality. That means 1 purple growth material will get you 10 blue growth materials.
- Doing Exploration quests will give you plenty of upgrade materials.
- Purchasing the Leveling Pass and Battle Pass will also give you plenty of growth materials. You can sell items in Auction House to get Lucent without spending real money.
- Inside the store there is a section with Ornate coins where you can also purchase growth materials. Purchase and dissolve the purple materials instead of buying blue materials directly (which is a lot more expensive).
- Ornate Coins are often received for maintenance downtime and other things like events.
Spear and Greatsword Build Basics in Throne and Liberty
This TL Spear and Greatsword build combines the heavy burst damage of the Greatsword with the mobility and buffs offered by the Spear.
The Spear can also be thrown as a Javelin, offering some ranged potential to make the build a bit more versatile. There are new passive skills brought to the table by the Spear, which can increase your Attack Speed, Critical Hit Chance and Heavy Attack Chance, a powerful synergy that can make the Greatsword hit even harder than usual.
Skill Setups for our Spear and Greatsword Build in Throne and Liberty
In this section, we will list the Skills and Passives we are using along with the correct Specialisations, along with the best way to prioritise your Skill Upgrades and Weapon Mastery.
Skills
| Icon | Skill Name | Skill Spec |
|---|---|---|
 |
Guillotine Blade | Cooldown Reduction, AoE Damage |
 |
Javelin Surge | Javelin Inferno |
 |
Willbreaker | Damage Area Change |
 |
Culling Arc | Flaming Arc, Cooldown Reduction, Damage Increase |
 |
Cyclonic Fury | Phoenix Barrage, Critical Aftermath |
 |
Rising Slash | Explosive Damage |
 |
Abyssal Cleave | Ascending Cleave, Critical Cleave |
 |
Unyielding Sentinel | Sentinel’s Bastion |
 |
Death Blow | Charges Damage, Cooldown Reduction |
 |
Stunning Blow | Damage Increased |
 |
Precision Dash | None |
 |
Vicious Fury | Explosive Fury, Damage Increase |
Important Single-Target Skills
- Unyielding Sentinel – boosts the Heavy Attack Chance of you and your party, and is always good to use at the start of a fight or before a damage burst
- Precision Dash – Provides a further boost to Heavy Attack Chance, and gives you some extra mobility
- Abyssal Cleave – Stun or Shock targets
- Guillotine Blade – Deals heavy damage, which is increased even more when hitting a target that is Prone or Shocked. Use Abyssal Cleave just before Guillotine Blade for extra damage.
- Willbreaker – Applies a strong debuff to enemy Defences. Use this often, especially before you drop your heaviest damage skills.
- Rising Slash – Dash towards the target and attack three times. Can be used one additional time. At the end of the additional use, explodes dealing bonus damage based on how many stacks of Burst or Ignite are on the target.
You can use the following rotation to tie these skills together and deal strong single-target DPS:
Unyielding Sentinel > Precision Dash > Abyssal Cleave > Guillotine Blade > Death Blow > Willbreaker > Precision Dash > Culling Arc > Stunning Blow > Cyclonic Fury > Vicious Fury > Javelin Surge > Rising Slash
Important AoE Skills
- Cyclonic Fury – Rapidly attack nearby targets, applying stacks of Ignite.
- Vicious Fury – Three attacks against enemies in a small AoE. Can be reused up to twice within 1 second if 5 stacks of Burst are present. Critical Hits apply Ignite.
- Javelin Surge – Throw a spear at the target, dealing damage that can randomly spread to other nearby enemies. Critical Hits apply stacks of Ignite.
You can use this AoE rotation when fighting numerous enemies:
Unyielding Sentinel > Precision Dash > Willbreaker > Abyssal Cleave > Cyclonic Fury > Vicious Fury > Javelin Surge
Passives
| Icon | Name |
|---|---|
 |
Vital Force |
 |
Cold Warrior |
 |
Robust Constitution |
 |
Victor’s Morale |
 |
Retaliatory Strike |
 |
Malice Surge |
 |
Imposing Form |
 |
Mortal Wrath |
Skill Upgrade Priority
Progressing your skills in Throne and Liberty takes time. Therefore, it is important to first get all your used skills and passives from green quality to blue quality. Green to blue is achieved fairly easily. After that, start going from blue to purple.
Tip: At the beginning, it makes sense to dissolve purple upgrade materials. Because 1 purple material will give you 10 blue materials. This way you can progress the blue quality faster. You could dissolve this even further, so technically, 1 purple upgrade material results in 100 green upgrade materials. Of course you can also craft some books, but dissolving is far more efficient than anything else.
Dissolve Upgrade Mats: 1 Purple > 10 Blue > 100 Green
IMPORTANT: Don’t dissolve OMNIPOTENT books (Purple growth books, says in the text on the book). These are special and can only be used for your special level 50 skills.
So that leaves us with a priority list for our Throne and Liberty Spear and Greatsword Build:
- Priority 1: Get all used skills from green to blue (if necessary, dissolve purple growth materials into blue and then into green like explained above.
- Priority 2: Get all skills from blue level 1 to purple level 1. This takes a bit more time. (Once again, dissolve purple growth materials into blue to get plenty of blue books.
- Priority 3: Purple skill progression to level 5
The reason we want to push as many skills to purple as possible, is because they often gain a new effect when going to a higher quality. Therefore, we want to achieve this quickly with as many skills. Afterward, from purple level 1 to max purple, there are only small differences.
Time estimate: Going from green to blue can be achieved after the end of the story + a few exploration quests. Going from blue to purple is a lot more tricky and might take 1-2 months. Going from purple level 1 to max purple will take months but isn’t that important since you only gain small extra stat boosts.
Weapon Mastery
For your Spear Weapon Mastery, start by finishing the Will of Annihilation line, which gives you the best overall DPS boost. For your remaining points, you can either put them into the Ultimate Power Line (best possible DPS) or into Steady Charge (adds some defensive buffs, making it easier to survive).
For the Greatsword, start by maxing out the Fierce Glare line, then put the rest of your points into Firm Resolution for more damage and some sustain buffs.
Leveling up the Weapon Mastery to max 16 points takes a long time. You should be able to get to 8/9/10 fairly fast, but afterward, it starts dragging.
Attribute Stat Priority for our Spear and Greatsword Build
When adding stat bonuses to your Spear and Greatsword build in Throne & Liberty, try to aim for the milestones at 30/40/50/60 or 70 points, because you gain special bonuses for hitting these numbers.
At the beginning, you won’t have many stats, but once you get decent blue gear you will notice that stats can go very high and this will increase your combat power tremendously.
We are primarily focusing on increasing Strength which improves your HP and base damage, and Dexterity which increases your Critical Chance. When you’re progressing towards endgame, use your stat points to increase Strength and Dexterity as much as possible without hitting diminishing returns (in other words, stop when it costs 2 points for 1 stat boost). Then use any remaining points to increase another stat, hitting Milestones if possible.
Your final stat distribution will depend on what gear you get. I recommend redistributing your stats every time you get new equipment to ensure you’re hitting as many stat milestones as possible.
Primary Stat Points:
- Strength
- Dexterity
Secondary Stat Points:
- All Other Stats
Gear Progression for our Throne and Liberty Spear and Greatsword Build
The most difficult part of any build is the gear progression. This is where you will spend most of your time. With this Throne and Liberty Spear and Greatsword Build we will have three different setups, Early Game, Mid Game and Endgame. It is important to understand that any gear is placeholder gear until the endgame setup, which means it’s okay to deviate somewhat from the early-game and mid-game setups. However, getting the End Game setup is no easy task because the items all drop in different parts of the game.
Important: Fully leveled blue gear with max traits is stronger than fully leveled purple gear with no traits. I mentioned this above in the Leveling Skills and Gear section.
That means it is best to focus on getting good blue items that give you extra stats (mid-game). After you have all that, you want to start farming for the end-game gear. Getting purple items is often not even the problem, but traiting them is insanely expensive, especially for meta gear.
You will find three different setups below:
- Early Game Setup: Easy to get gear from your Lithograph Book
- Mid Game Setup: Co-Op Dungeon and Public Dungeon Gear
- End Game Setup: Co-Op Dungeon and World Boss Gear
Early Game Setup
The Early Game setup for the Throne and Liberty Spear and Greatsword DPS Build can be obtained very fast after you start doing your dailies. It is important to understand that it doesn’t matter if you don’t have all the pieces. Generally, aim to get as many blue items as possible here fast. I call this “quick wins” because it is easy to get these blue items since most come from the Lithograph Book in Throne and Liberty.
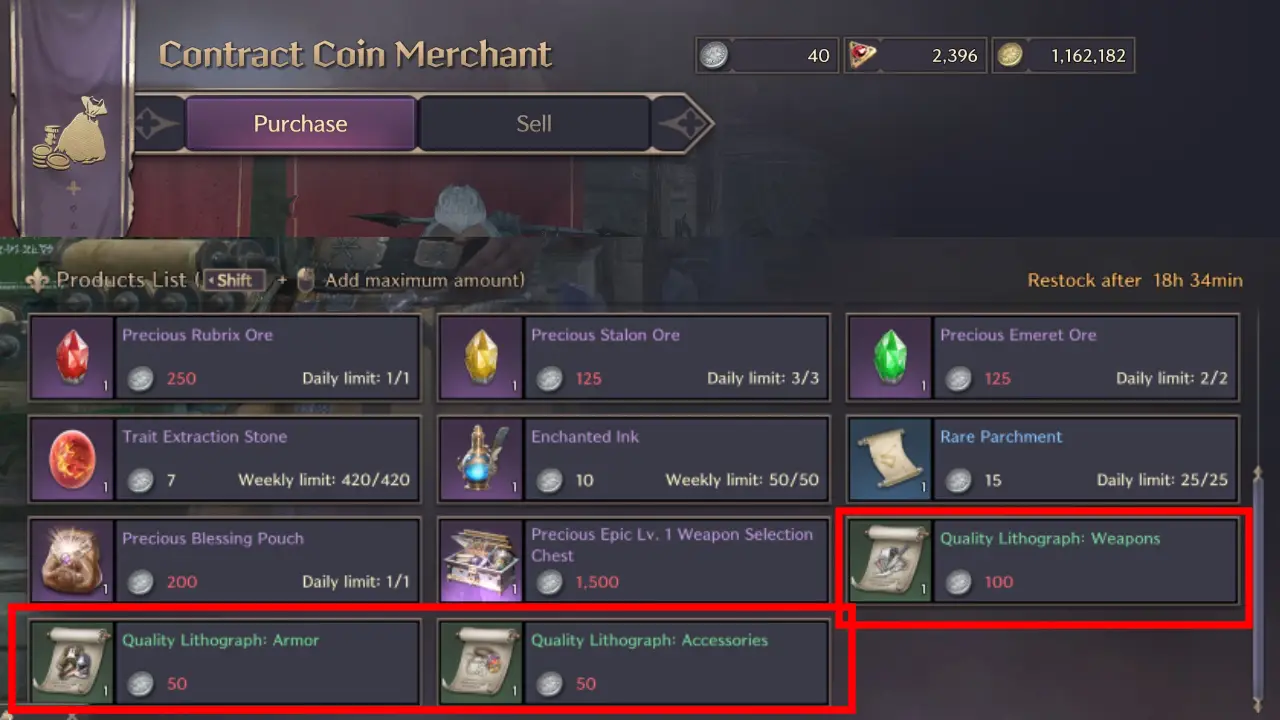
IMPORTANT: By doing your dailies you get Contract Coins (Always do them in high level areas for max gains). With the Contract Coins, you can buy Quality Lithographs: Weapons, Accessories, and Armor. These can be used to craft green items you put into your Lithograph Book to get blue items. This is how you get your first blue items easily!
LB = Lithograph Book
Every time you have enough materials to craft an item, immediately go for it.
| Icon | Type | Item | Drop Location |
|---|---|---|---|
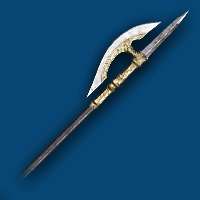 |
Main Hand | Halberd of the Resistance | Optional Reward from Adventure Codex Chapter 5, Precious Blessing Pouch |
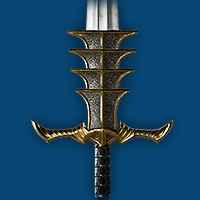 |
Off Hand | Broadsword of the Resistance | LB Bigger, Better Greatsword |
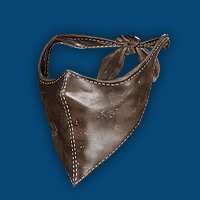 |
Head | Mask of the Resistance | LB Hawk’s Eye |
 |
Cloak | Deadeye’s Cloak | LB Beginner Cloaks of Victory |
 |
Chest | Heroic Armor of the Resistance | LB Unfaltering Protection, Precious Blessing Pouch |
 |
Gloves | Gauntlets of the Resistance | Optional Reward from Adventure Codex Chapter 7 |
 |
Pants | Trousers of the Resistance | LB Trapper’s Reliable Pants, Precious Blessing Pouch |
 |
Boots | Glade Stalker Boots | LB Offroad Footwear |
 |
Necklace | Necklace of Clarity | Crafted |
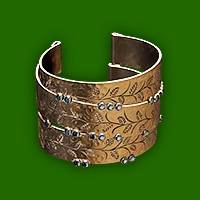 |
Bracelet | Bracelet of Conquest | Crafted |
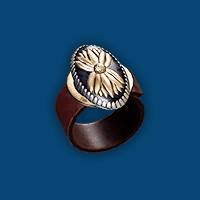 |
Ring | Violent Signet | LB Elemental Rings |
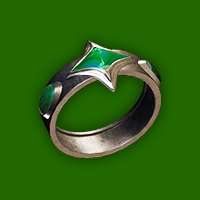 |
Ring | Ring of Precision | Crafted |
 |
Belt | Belt of Deftness | Crafted |
Mid Game Setup
The Mid Game setup for our Throne and Liberty Spear and Greatsword Build is where you will spend most of your time because it is incredibly hard to get End Game equipment.
Don’t grind just one dungeon for loot! This is the number one mistake of getting gear from Co-Op Dungeons. There is a mathematically faster way to get gear from dungeons.
- In Stonegard there are purple item crafters (Map).
- Check all of them and read carefully what you need to craft items (Also check the Treasure Chests!)
- To craft purple dungeon weapons you need 2 Dimensional Essence: Salvation
- For each Dungeon completion, you get 4 Dimensional Soul Shards when you open a chest at the end.
- That means, if you run each dungeon 5 times you can craft the weapon of your choice.
- Purple Jewelry can be obtained via Chests from the Accessories Crafter in Stonegard too (Map).
RANDOM QUEUE: If you use the random queue system, you also have a small chance to get a Dimensional Essence: Salvation.
It is mathematically faster to rotate dungeons and then simply craft the purple item of your choice rather than getting a lucky drop at 2-5% drop chance.
Auction House: Check the Auction house for blue item lithographs. Sometimes, they can be cheap, so you can buy them and craft the item directly.
That means getting the items below is mostly farming Co-Op Dungeons and doing Public Dungeons to get enough currency to craft the purple items. Blue item drop chances are mostly fine in dungeons so you should be able to get them eventually. But focus on the purple items!
| Icon | Type | Item | Drop Location |
|---|---|---|---|
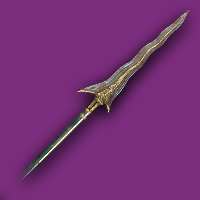 |
Main Hand | Shaikal’s Tentacle Spear | Co-Op Cursed Wasteland |
 |
Off Hand | Duke Magna’s Fury Warblade | Co-Op Butcher’s Canyon |
 |
Head | Mask of the Resistance | LB Hawk’s Eye |
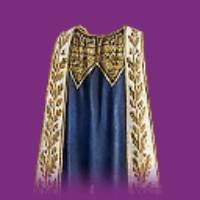 |
Cloak | Supreme Devotion | Co-Op Cave of Destruction |
 |
Chest | Plate of the Field General | Co-Op Death’s Abyss & Island of Terror |
 |
Gloves | Gloom Guard Gauntlets | Co-Op Death’s Abyss & Cave of Desparation |
 |
Pants | Trousers of the Resistance | LB Trapper’s Reliable Pants, Precious Blessing Pouch |
 |
Boots | Glade Stalker Boots | LB Offroad Footwear |
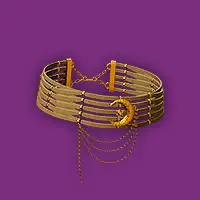 |
Necklace | Clasp of the Conqueror | Precious Epic Equipment Chest: Abyss |
 |
Bracelet | Ancient Saurodoma Bracers | Co-Op Tyrant’s Isle |
 |
Ring | Violent Signet | LB Elemental Rings |
 |
Ring | Amber Dimensional Band | Precious Epic Accessory Selection Chest |
 |
Belt | Butcher’s Belt | Co-Op Butcher’s Canyon |
End Game Setup
The End Game Setup for the Throne and Liberty Spear and Greatsword Build is the best in slot setup that you want to aim for. This will take a long time to achieve. You might be able to get the items needed in a decent time, but traiting them is incredibly time consuming.
Getting World Boss loot is very difficult unless you have a good guild that splits up the loot. If you aren’t in a guild it is very unlikely that you will manage to get any endgame gear unless you buy most of it via the Auction House.
| Icon | Type | Item | Drop Location |
|---|---|---|---|
 |
Main Hand | Queen Bellandir’s Starving Spear | Queen Bellandir Archboss |
 |
Off Hand | Adentus’s Gargantuan Greatsword | Adentus World Boss |
 |
Head | Shadow Harvester Mask | Co-Op Valley of Slaughter, Adentus World Boss |
 |
Cloak | Supreme Devotion | Co-Op Cave of Destruction |
 |
Chest | Plate of the Field General | Co-Op Death’s Abyss & Island of Terror |
 |
Gloves | Gauntlets of the Field General | Co-Op Voidwastes, Precious Blessing Pouch: Abyss |
 |
Pants | Breeches of the Executioner | Precious Blessing Pouch: Shadow, Precious Epic Equipment Chest: Shadow |
 |
Boots | Shadow Harvester Boots | Co-Op Carmine Rage Island |
 |
Necklace | Wrapped Coin Necklace | Grand Aelon World Boss |
 |
Bracelet | Ancient Saurodoma Bracers | Co-Op Tyrant’s Isle |
 |
Ring | Band of the Chosen One | Co-Op Island of Terror |
 |
Ring | Amber Dimensional Band | Precious Epic Accessory Selection Chest |
 |
Belt | Belt of Bloodlust | Aridus boss in Syleus’s Abyss, Precious Blessing Pouch: Tyrant, Precious Equipment Chest: Tyrant |
- Spear – Hit Chance, Heavy Attack Chance, Critical Hit Chance
- Greatsword – Hit Chance, Heavy Attack Chance, Critical Hit Chance
- Helmet – Cooldown Reduction, Magic Endurance, Ranged Endurance
- Cloak – Mana Regen, Debuff Duration, Skill Damage Resistance
- Chest – Buff Duration, Melee Endurance, Magic Endurance
- Gloves – Attack Speed, Melee Endurance, Ranged Endurance
- Legs – Magic Endurance, Max Mana, Ranged Endurance
- Boots – Movement Speed, Melee Endurance, Ranged Endurance
- Necklace – Skill Damage Boost, Max Health, Buff Duration
- Bracelet – Max Health, Debuff Duration, Skill Damage Resistance
- Ring 1 – Max Health, Skill Damage Boost, Buff Duration
- Ring 2 – Mana Regen, Skill Damage Boost, Buff Duration
- Belt – Max Health, Skill Damage Resistance, Debuff Duration
Guardians for your Spear and Greatsword Build in Throne and Liberty
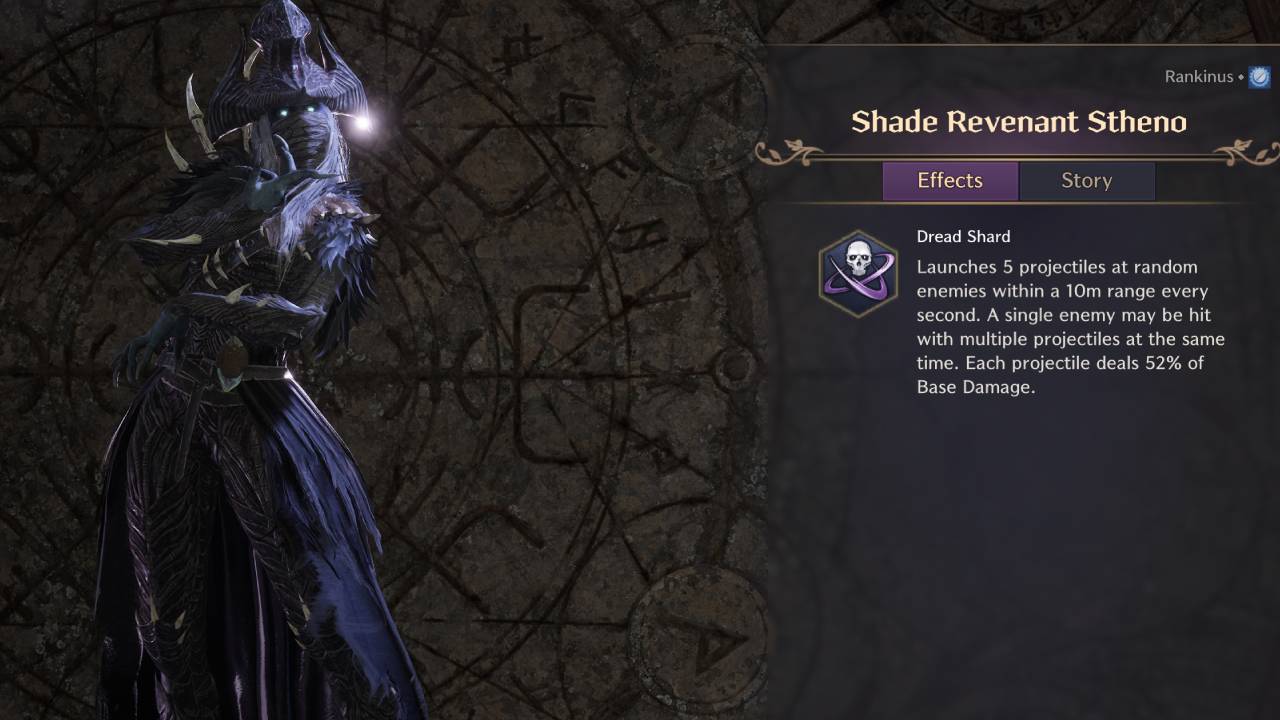
Guardians are special transformations that have a 10 minute cooldown. They have various effects; for our Spear and Greatsword Build, we’re using the Shade Revenant Stheno Guardian. This Guardian is the best option for this build because it has the highest DPS, thanks to the rapid-fire projectiles launches at nearby enemies.
Buff Food & Potions
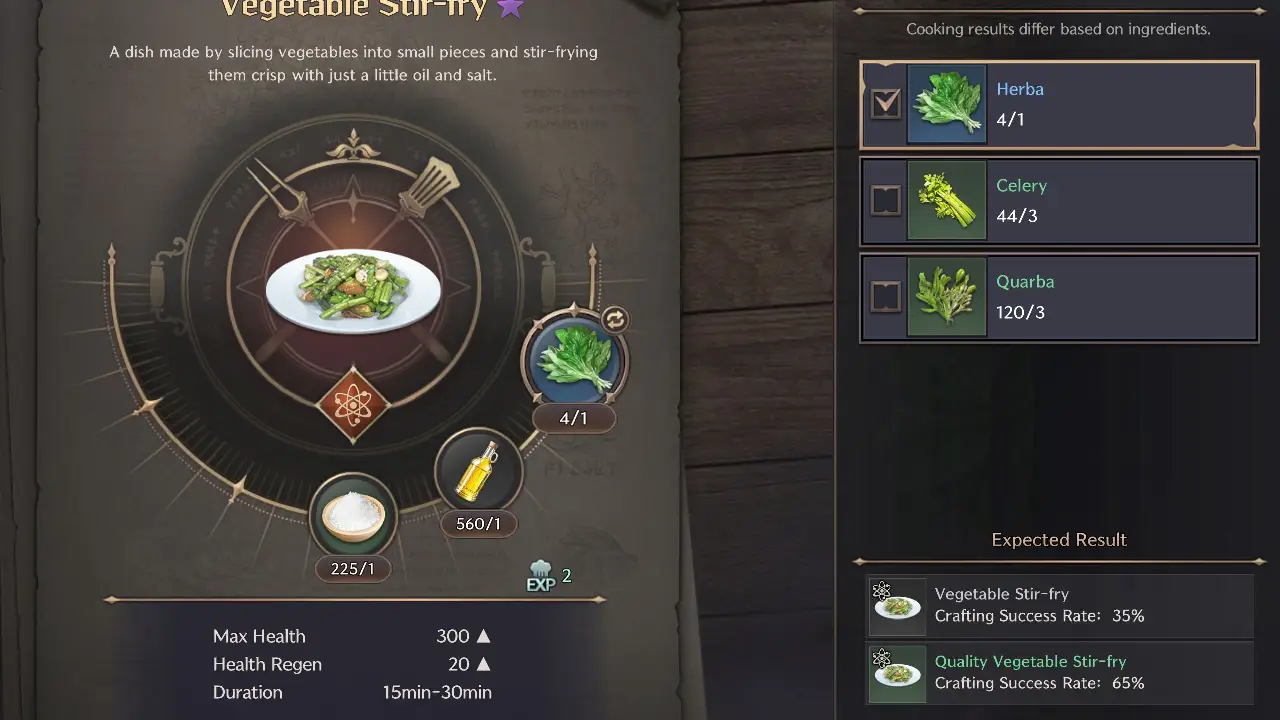
Buff Food and Potions are an important part of any Throne and Liberty Build. It is recommended to level up cooking because some of the later buff foods are very strong. However, for most content right now Vegetable Stir-fry will do. It increases your Max Health and Health Regen for 15-30 minutes.
Fried Egg is also a good option if you want to deal some extra damage on bosses.


