

Welcome to our Aether Warden Fighter Build for Solasta II.
The Aether Warden is a Fighter subclass in Solasta II. This guide will explain how to create a powerful Aether Warden Fighter build, including the best weapons, armour, spells, ability distribution, skills, and more.
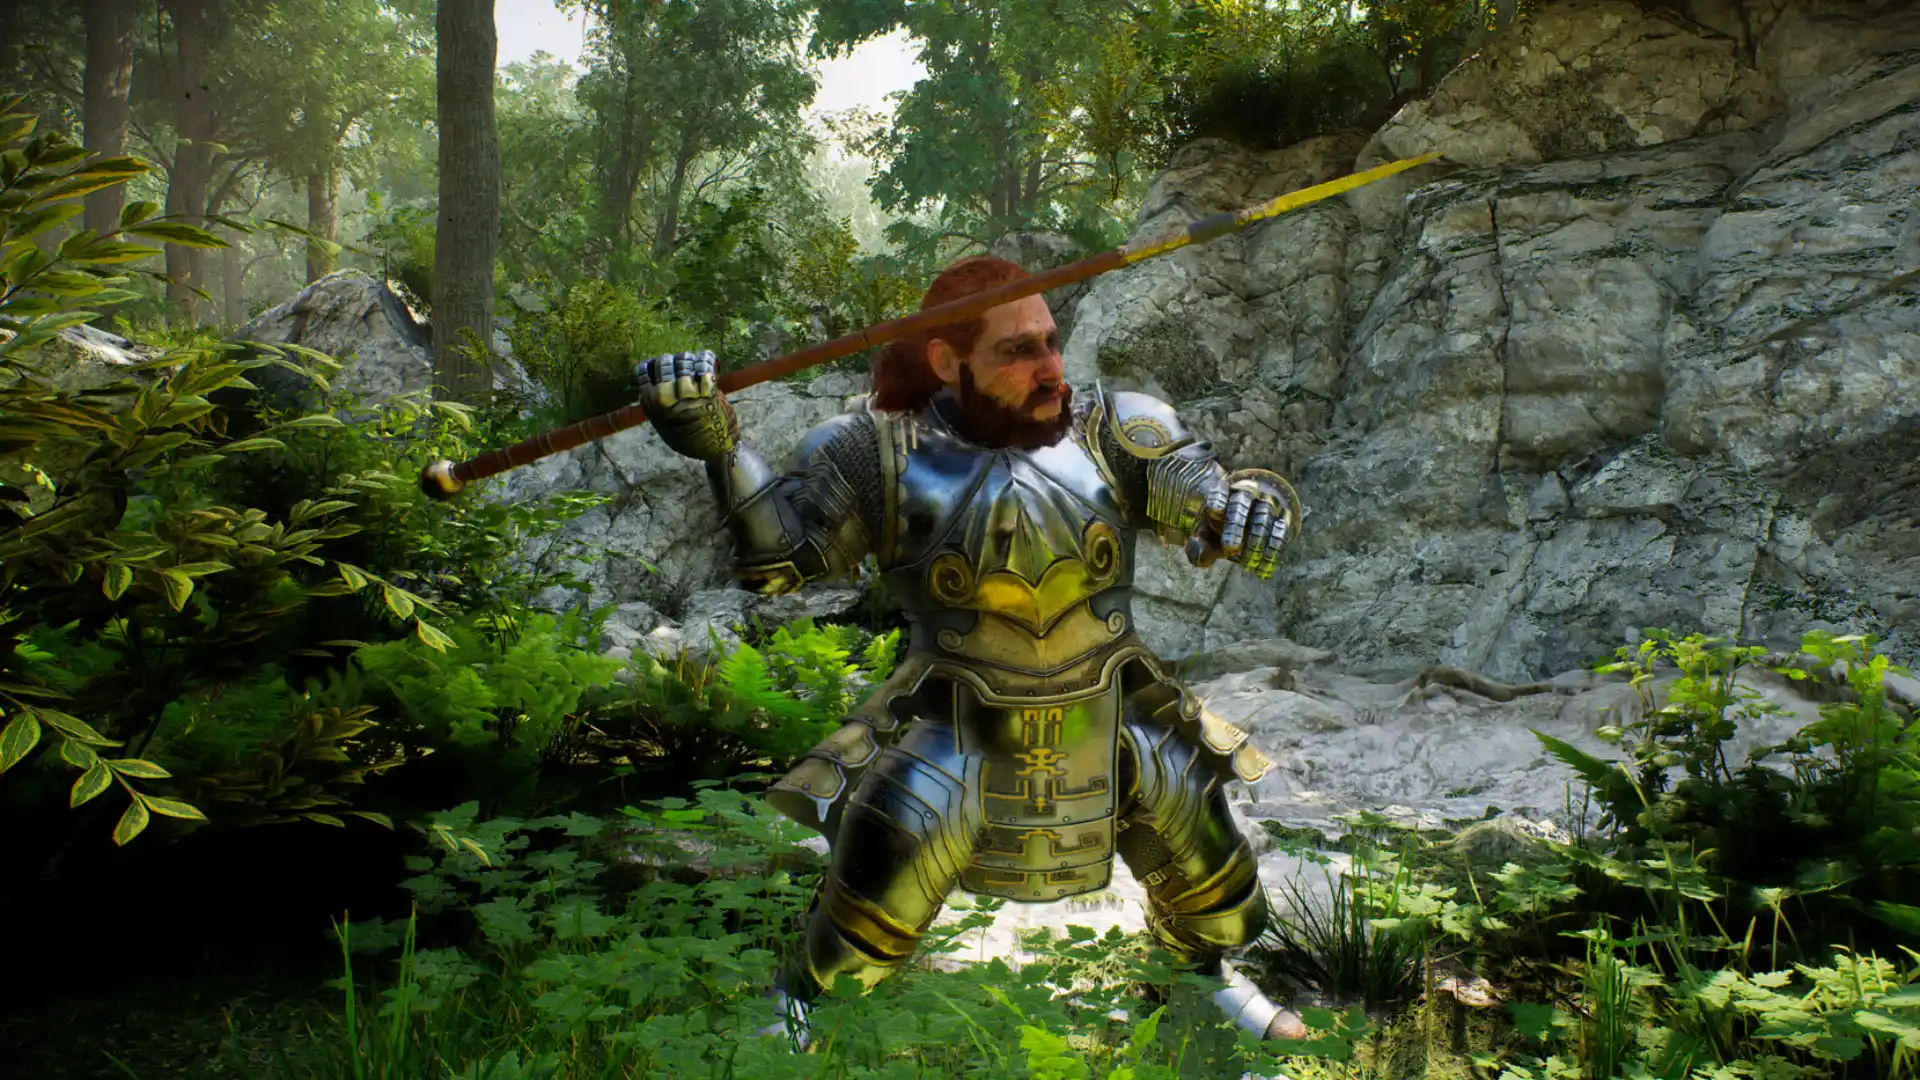
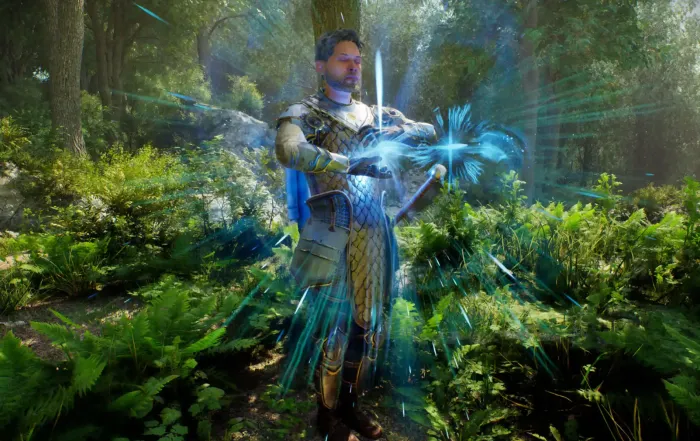
The Aether Warden combines the Fighter’s unmatched melee skill with Constitution-based spellcasting, allowing for a unique build and playstyle.
For more Fighter builds and information, check our Fighter Overview Page. You can find builds for all Solasta II classes from our main Solasta II page.
Table of Contents:
- Fighter Class Overview
- Character Creation
- Levelling Guide
- Best Equipment
- Aether Warden Fighter Tips & Tricks
Fighter Class Overview – Solasta II
Fighters are trained in the arts of combat. They are adept with most weapons, but often choose to specialize. All fighters can use armor, shields, and ranged weapons. Heavily armed and armored, fighters live for battle. They are strong, skilled with multiple weapons, and tough enough to stand up to most kinds of foe.
Please note that Solasta 2 is an early access game, so most of the information in this guide is a work in progress. Last updated March 2026.
Why Choose the Aether Warden Subclass?
Aether Warden Fighter Build Starting Point – Solasta II
This section will explain which options you should choose in character creation, including the best ancestry/race, ability distribution and skills.
The best Ancestry for the Aether Warden build is currently the Human:
However, another very viable option is the Sylvan Elf. This ancestry gives you the same amount of bonus Movement Speed as the Quick Feat mentioned above.
Best Background
The best Background for the Aether Warden Build is ![]() Wanderer. This is very important for the build. It gives you the following bonuses:
Wanderer. This is very important for the build. It gives you the following bonuses:
Ability Distribution
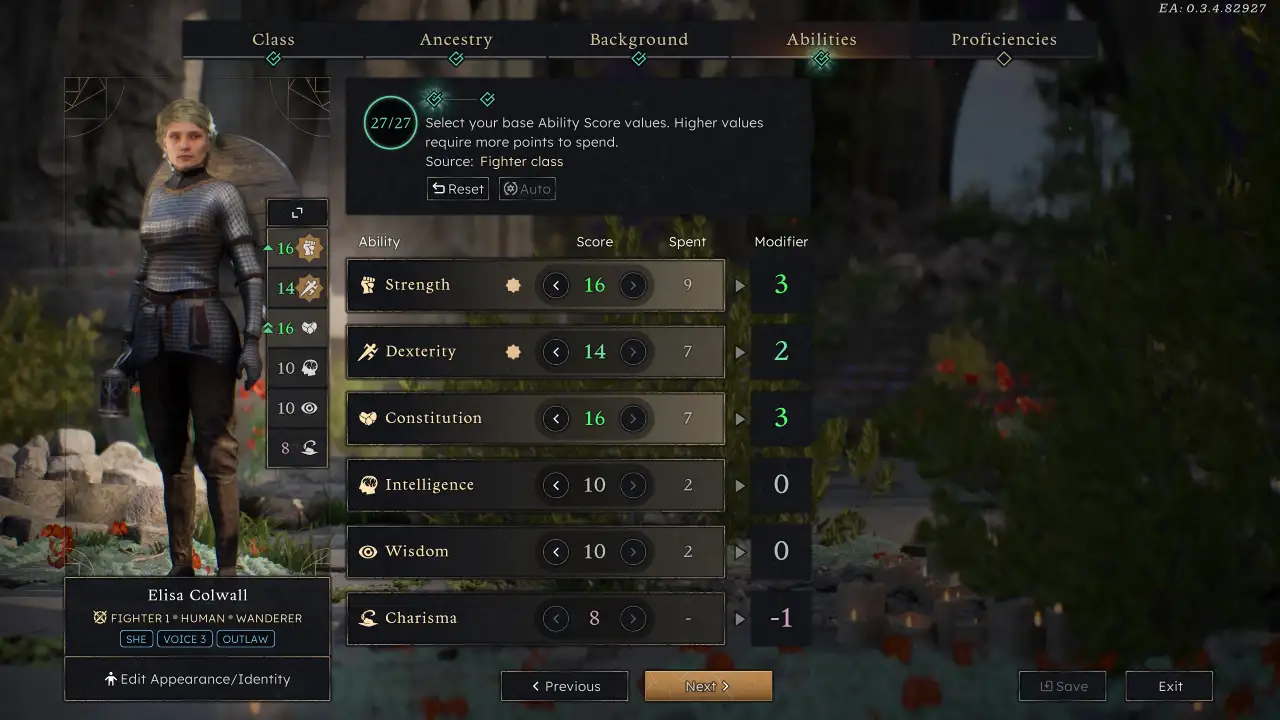
The best Ability Distribution for your Aether Warden Fighter Build is:
Best Proficiencies
Assign the following Proficiencies:
Aether Warden Fighter Build Levelling Up Guide – Solasta II
In this section, we’ll explain what your Aether Warden Fighter will unlock at each level and the best choices to make when levelling up.
Level 2
Here are the new features of the Fighter Class unlocked at Level 2:
Level 3
At Level 3, you must choose your Fighter subclass. We are using the Aether Warden subclass for this build.
New Aether Warden Features:
Aether Warden Starting Cantrips:
We recommend choosing the following Cantrips to begin with:
Aether Warden Starting Spells:
We recommend choosing the following Spells:
Level 4
At Level 4, you can choose a Feat or Ability Improvement to make your Aether Warden stronger.
New Spell Unlock
Level 5
![]() Early Access currently stops at Level 4; the rest of the levelling-up section is speculative and partially based on Solasta: Crown of the Magister.
Early Access currently stops at Level 4; the rest of the levelling-up section is speculative and partially based on Solasta: Crown of the Magister.
Level 6
Level 7
Level 8
Level 9
Level 10
Level 11
Level 12
Aether Warden Fighter Build Best Equipment
In this section, we will list the best equipment for the Aether Warden Fighter in Solasta II, including how to obtain each item.
In the current early-access version, crafting hasn’t been implemented yet, and the amount of equipment you can loot is quite limited.
I recommend working towards obtaining a hard-hitting melee weapon early in the game, such as a ![]() Greataxe. You can buy them from weapon merchants in town, or wait to loot one from an enemy. This is the best way to increase your average damage output in the current early access version of Solasta 2.
Greataxe. You can buy them from weapon merchants in town, or wait to loot one from an enemy. This is the best way to increase your average damage output in the current early access version of Solasta 2.
Furthermore, ensure you have a good ranged weapon like a ![]() Heavy Crossbow and a decent set of medium or heavy armour (a minimum of 16
Heavy Crossbow and a decent set of medium or heavy armour (a minimum of 16 ![]() Armour Class is essential).
Armour Class is essential).
Look out for other drops to further improve your weapon attack damage. For example, the ![]() Poisonous Amulet adds 1d4
Poisonous Amulet adds 1d4 ![]() Poison Damage to your first attack each turn.
Poison Damage to your first attack each turn.
Aether Warden Fighter Tips & Tricks
While the Aether Warden possesses limited spellcasting, it is still by far the most well-suited to melee combat.
You should use your magic for utility functions and to enhance your melee attack and defence (like blocking enemy attacks with the ![]() Shield spell) rather than relying too much on spells and cantrips as a primary source of damage.
Shield spell) rather than relying too much on spells and cantrips as a primary source of damage.
Remember to use your ![]() Action Surge to get an extra burst of damage when you need to quickly bring down a troublesome enemy.
Action Surge to get an extra burst of damage when you need to quickly bring down a troublesome enemy.
More Solasta II Guides
Oath of Judgement Paladin Build – Solasta 2
Welcome to our Oath of Judgement Paladin Build for Solasta II. The Oath of Judgement is a Paladin subclass in Solasta II. This guide will [...]

School of Ruin Wizard Build – Solasta 2
Welcome to our School of Ruin Wizard Build for Solasta 2. The School of Ruin is a Wizard subclass in Solasta II. This guide will [...]

Mana Painter Sorcerer Build – Solasta 2
Welcome to our Mana Painter Sorcerer Build for Solasta 2. The Mana Painter is a Sorcerer subclass in Solasta 2. This guide will explain how [...]
Court Mage Wizard Build – Solasta 2
Welcome to our Court Mage Wizard Build for Solasta 2. The Court Mage is a Wizard subclass in Solasta II. This guide will explain how [...]

Life Domain Cleric Build – Solasta 2
Welcome to our Life Domain Cleric Build for Solasta 2. Life Domain is a Cleric subclass in Solasta 2. This guide will explain how to [...]

Scavenger Rogue Build – Solasta 2
Welcome to our Scavenger Rogue Build for Solasta 2. The Scavenger is a Rogue subclass in Solasta II. This guide will explain how to create [...]