

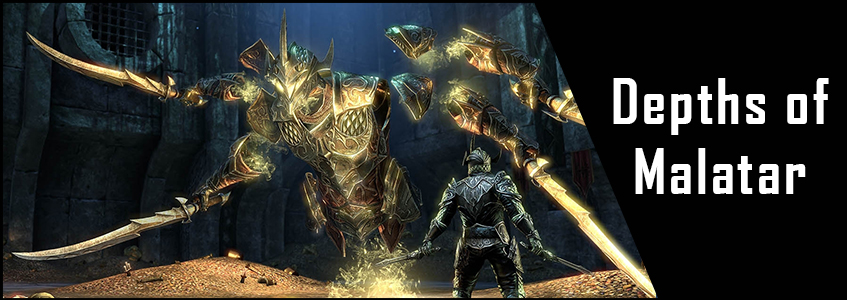
Welcome to the ESO Depths of Malatar Guide. The Depths of Malatar dungeon is located in the Gold Coast, the dungeon is part of the Wrathstone DLC. In the Depths of Malatar dungeon you will encounter a total of five bosses and a few trashpacks. The dungeon is overall a bit longer than Frostvault but also easier to complete.
- Rewards & Loot
- First Boss – The Scavenging Maw
- Second Boss – The Weeping Woman
- Third Boss – Dark Orb
- Fourth Boss – King Narilmor
- Final Boss – Symphony of Blades
- Full Run of Depths of Malatar Dungeon
Rewards & Loot in Depths of Malatar
Sets in Depths of Malatar
There is a total of 3 different sets plus a Monster Set that drops in the Depths of Malatar Dungeon.
Rewards in Depths of Malatar
- Skin: Meridian Purified – Dephts of Malatar Conqueror Achievement. Unlocked by completing the Dungeon on veteran mode.
- Title Purified Devastator – Dephts of Malatar Challenger. Veteran, Speedrun, Hardmode, No Death clear.
- Dye: Glacial Topaz: Enter both Frostvault and Depths of Malatar to obtain this dye.
First Boss – The Scavenging Maw
Boss Health:[HP: 4,511 Mio]
The Scavenging Maw in Depths of Malatar is fairly simple as a first boss. The tank has to make sure to turn the boss away from the group because he has a conal poison spit attack that deals a lot of damage. With the cone attack there will also be a large AoE on the ground that deals damage but is farily easy to avoid.
Now he usually goes into hiding and you have to search the boss. The group has to go TOGETHER to search for the boss, because once you get to him he will jump on a party member and you need to interrupt the boss, otherwise that party member will die if not interrupted. During the hiding phase mobs will spawn and small AoE circles will randomly spawn that have to be avoided.
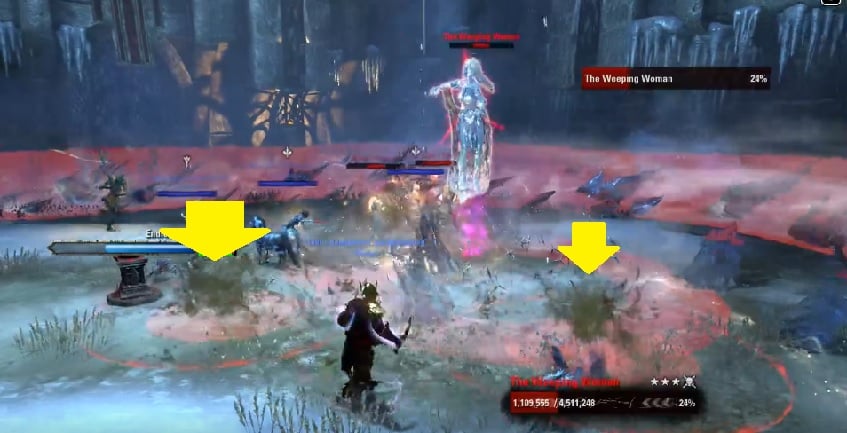
Second Boss – The Weeping Woman
Boss Health: [HP: 4,060 Mio]
The Weeping Woman has a lot of AoE attacks that you need to avoid. She places a big AoE circle below her with ice spikes, everyone has to avoid this, even the tank. Then we do have a huge circle usually around the arena that needs to be avoided, but this is farily simple, just make sure to stay inside as the radius is huge. There will also be disease geyser slowling growing below each group member, once fully charged it will create a fountain, if you get stuck in there you are going to die, it is fairly easy to avoid though.
Then we do have ice spikes following the players that you need to try to avoid, if not avoided they will place a big snare on you which can be very annoying if she already casts other attacks.
Monsters will also spawn through the bossfight, if you have low dps I recommend killing them. If you have enough dps they usually die from the AoE damage from your group members. But be aware, if there are too many alive they might pressure the tank too much and he might die.
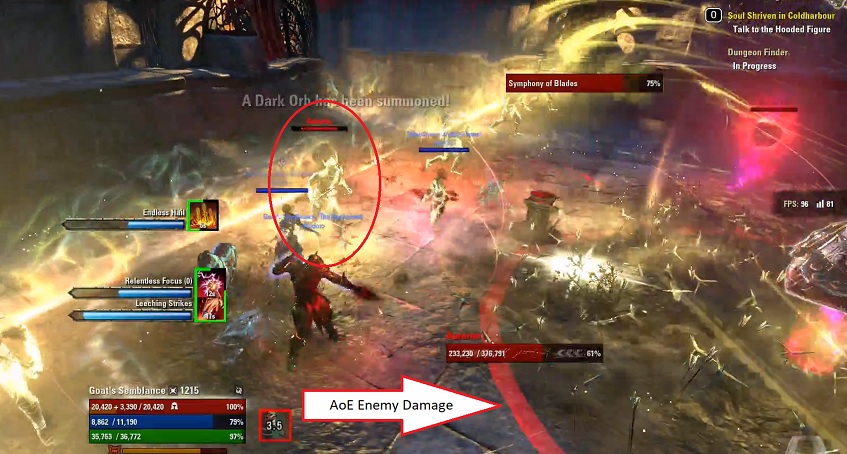
Third Boss – Dark Orb
Boss Health: [HP: 2,460 Mio]
There are not many mechanics on this boss that you have to be aware of. The orb in the middle will keep spawning Radiant Auroran monsters that you have to kill. They deal quite a bit of damage and they also use Dawnbreakers that deal a lot of damage, especially if you are a Vampire or Werewolf.
The boss will also spawn Radiant Orbs a bit on the edge of the arena that will empower some of the monsters, make sure to get rid of these Orbs as fast as possible. Once the Orbs on the outside are destroyed and the monsters are dead you can focus on the Orb in the middle. Rinse and repeat till the boss (Middle Orb) is dead. Any radiant aurorans spawned by the dark orb will also be consistently healed each time the dark orb pulses.

Fourth Boss – King Narilmor
Boss Health: [HP: 3,909 Mio]
This boss is tough, you will fight him and copies of him. Each copy will usually have a different ability, like the ones you saw from the Dark Orb boss fight. Now if you have enough dps you can basically just focus down the main boss and that is it, but it is very hard to do and sometimes can be confusing as to which one is the real boss. The healer can apply visible debuffs (such as Infallible Aether or Elemental Drain) on the boss so you can spot which one is the real one after the teleport.
Most groups will not have the needed dps so you need to kill the copies of him. I recommend kill each copy after each other, so you always have the focus on one copy. Once all copies are dead you damage the main boss again till he will split up and create copies of him.
If you want to speed up killing the copies, the tank can taunt them all and walk into a corner and most of them should then reposition themselves so you can AoE damage all of them at the same time to kill them faster.
Important: A female NPC can be found in one of the corners that sometimes will fight against a ghost. You can and should heal this NPC, because if that NPC dies all the copies will get a big shield on them and they will most likely not be killable anymore and you will wipe. So your healer has to take a look at the Ghosts and heal him.

Here you can see the Infallible Aether debuff on the main boss so you know which one the real one is.
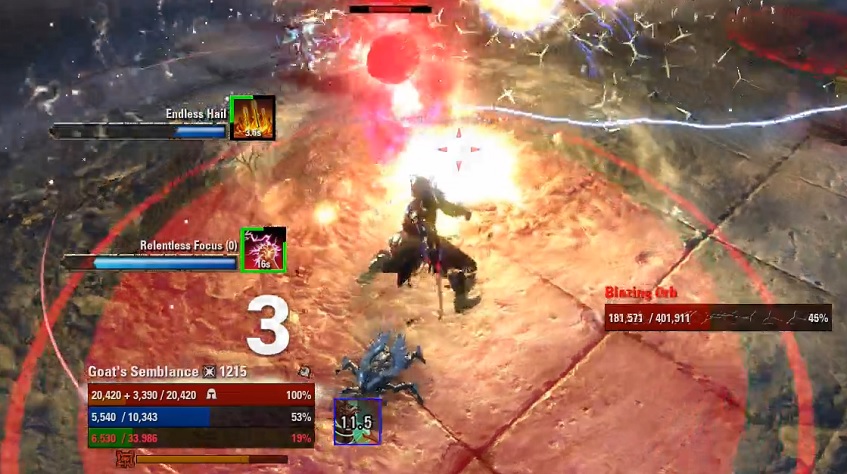
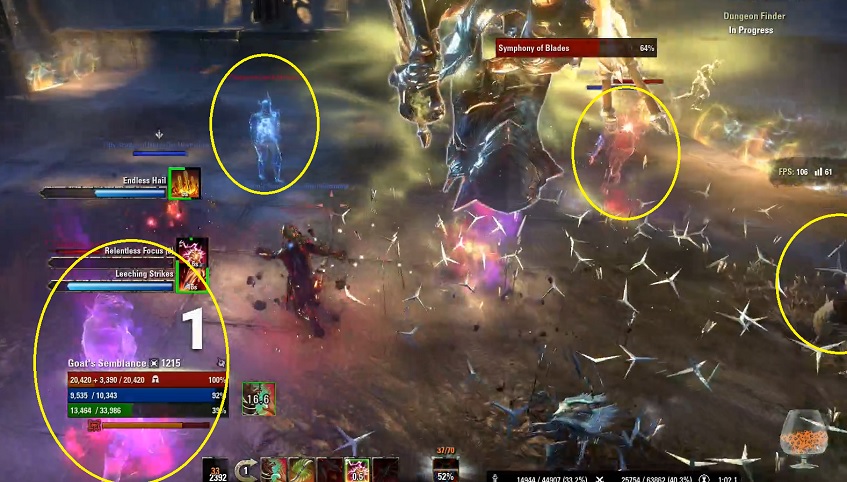
Final Boss – Symphony of Blades
Boss Health: [HP: 6,80 Mio]
The boss has a few AoE attacks, for example when he swings his blades around, make sure to avoid that. He will spawn a wall of yellow ghosts after some time, you need to kill the at least one of the ghosts to make a gateaway to get to the other side. You can either pick the one in the middle so the tank does not have to move too much, but then you need to have fast dps because the boss could still be using AoE attacks in the middle that you would have to avoid as well. Killing one of the ghosts further out is definitely easier as you can avoid most of the bosses attacks that way and just focus the ghost.
Sometimes one of the players will also get a growing red AoE below him, once it reached full capacity you wil get stunned, so make sure to be ready to break free.
When the boss rams his swords into the ground you get a message “You are becoming decreipt”, that means you will get a big heal debuff on you for about 5 secounds that you have to deal with no matter what.
Now one of the more important mechanics is when the boss goes to the middle and then four elemental monsters will spawn in each corner. If the monsters reach the boss then they will basically ascend and change into an actual mechanic like meteors or shock AoE. You can ignore the monsters and just continue to fight the boss but then you have to deal with all the additional mechanics. We usually kill one or two of them so we have to deal with less mechanics.
In case they get to the boss, the boss will gain following attacks:
- Radiant Oppression ability – Radiant Auroran Monster
- Meteor Ability – Blazing Auroran Monster
- Ice Pillar Ability (Immobilize Debuff) – Phosphorescent Auroran Monster
- Call Lightning Ability – Scintillating Auroran Monster
Once the boss reaches 10%, he will teleport to the second arena. Now here the boss has all 4 mechanics of the monsters that ascend in the first part of the fight. In addition, the ghost wall will apear again but this time it will be smaller but more of them will come. So you really need to avoid them if possible, on top of dealing with all the other AoE damage. The boss will get his health back up to 25% once he is in the new arena.

Final Boss Hardmode in Depths of Malatar
Boss Health: [HP: 7,90 Mio]
Orbs will also spawn throught the fight, if the Orbs are not being killed they will once again empower the mechanics like they did with the Dark Orb boss. In the second arena the boss will jump to 50% instead of 25% health, which basically means you have to stay alive longer in that phase. You need to make sure to block the Meteors that rain down, if they are not blocked they will deal a lot of damage and most likely kill you.
During the second phase you will also keep getting Orb spawns, if the Orbs are not killed they will empower the mechanics and deal a lot of damage.
Full Veteran & Hardmode Run
Here you can find our first run through the Depths of Malatar dungeon on the live server with timestamps to all the bosses.
Timestamps for the bosses:
- First Boss Scavenging Maw – Not in the video (forgot to record)
- Second Boss Weeping Woman – 04:15
- Third Boss Dark Orb – 07:30
- Fourth Boss King Narilmor – 11:01
- Final Boss Symphony of Blades Hardmode – 14:26